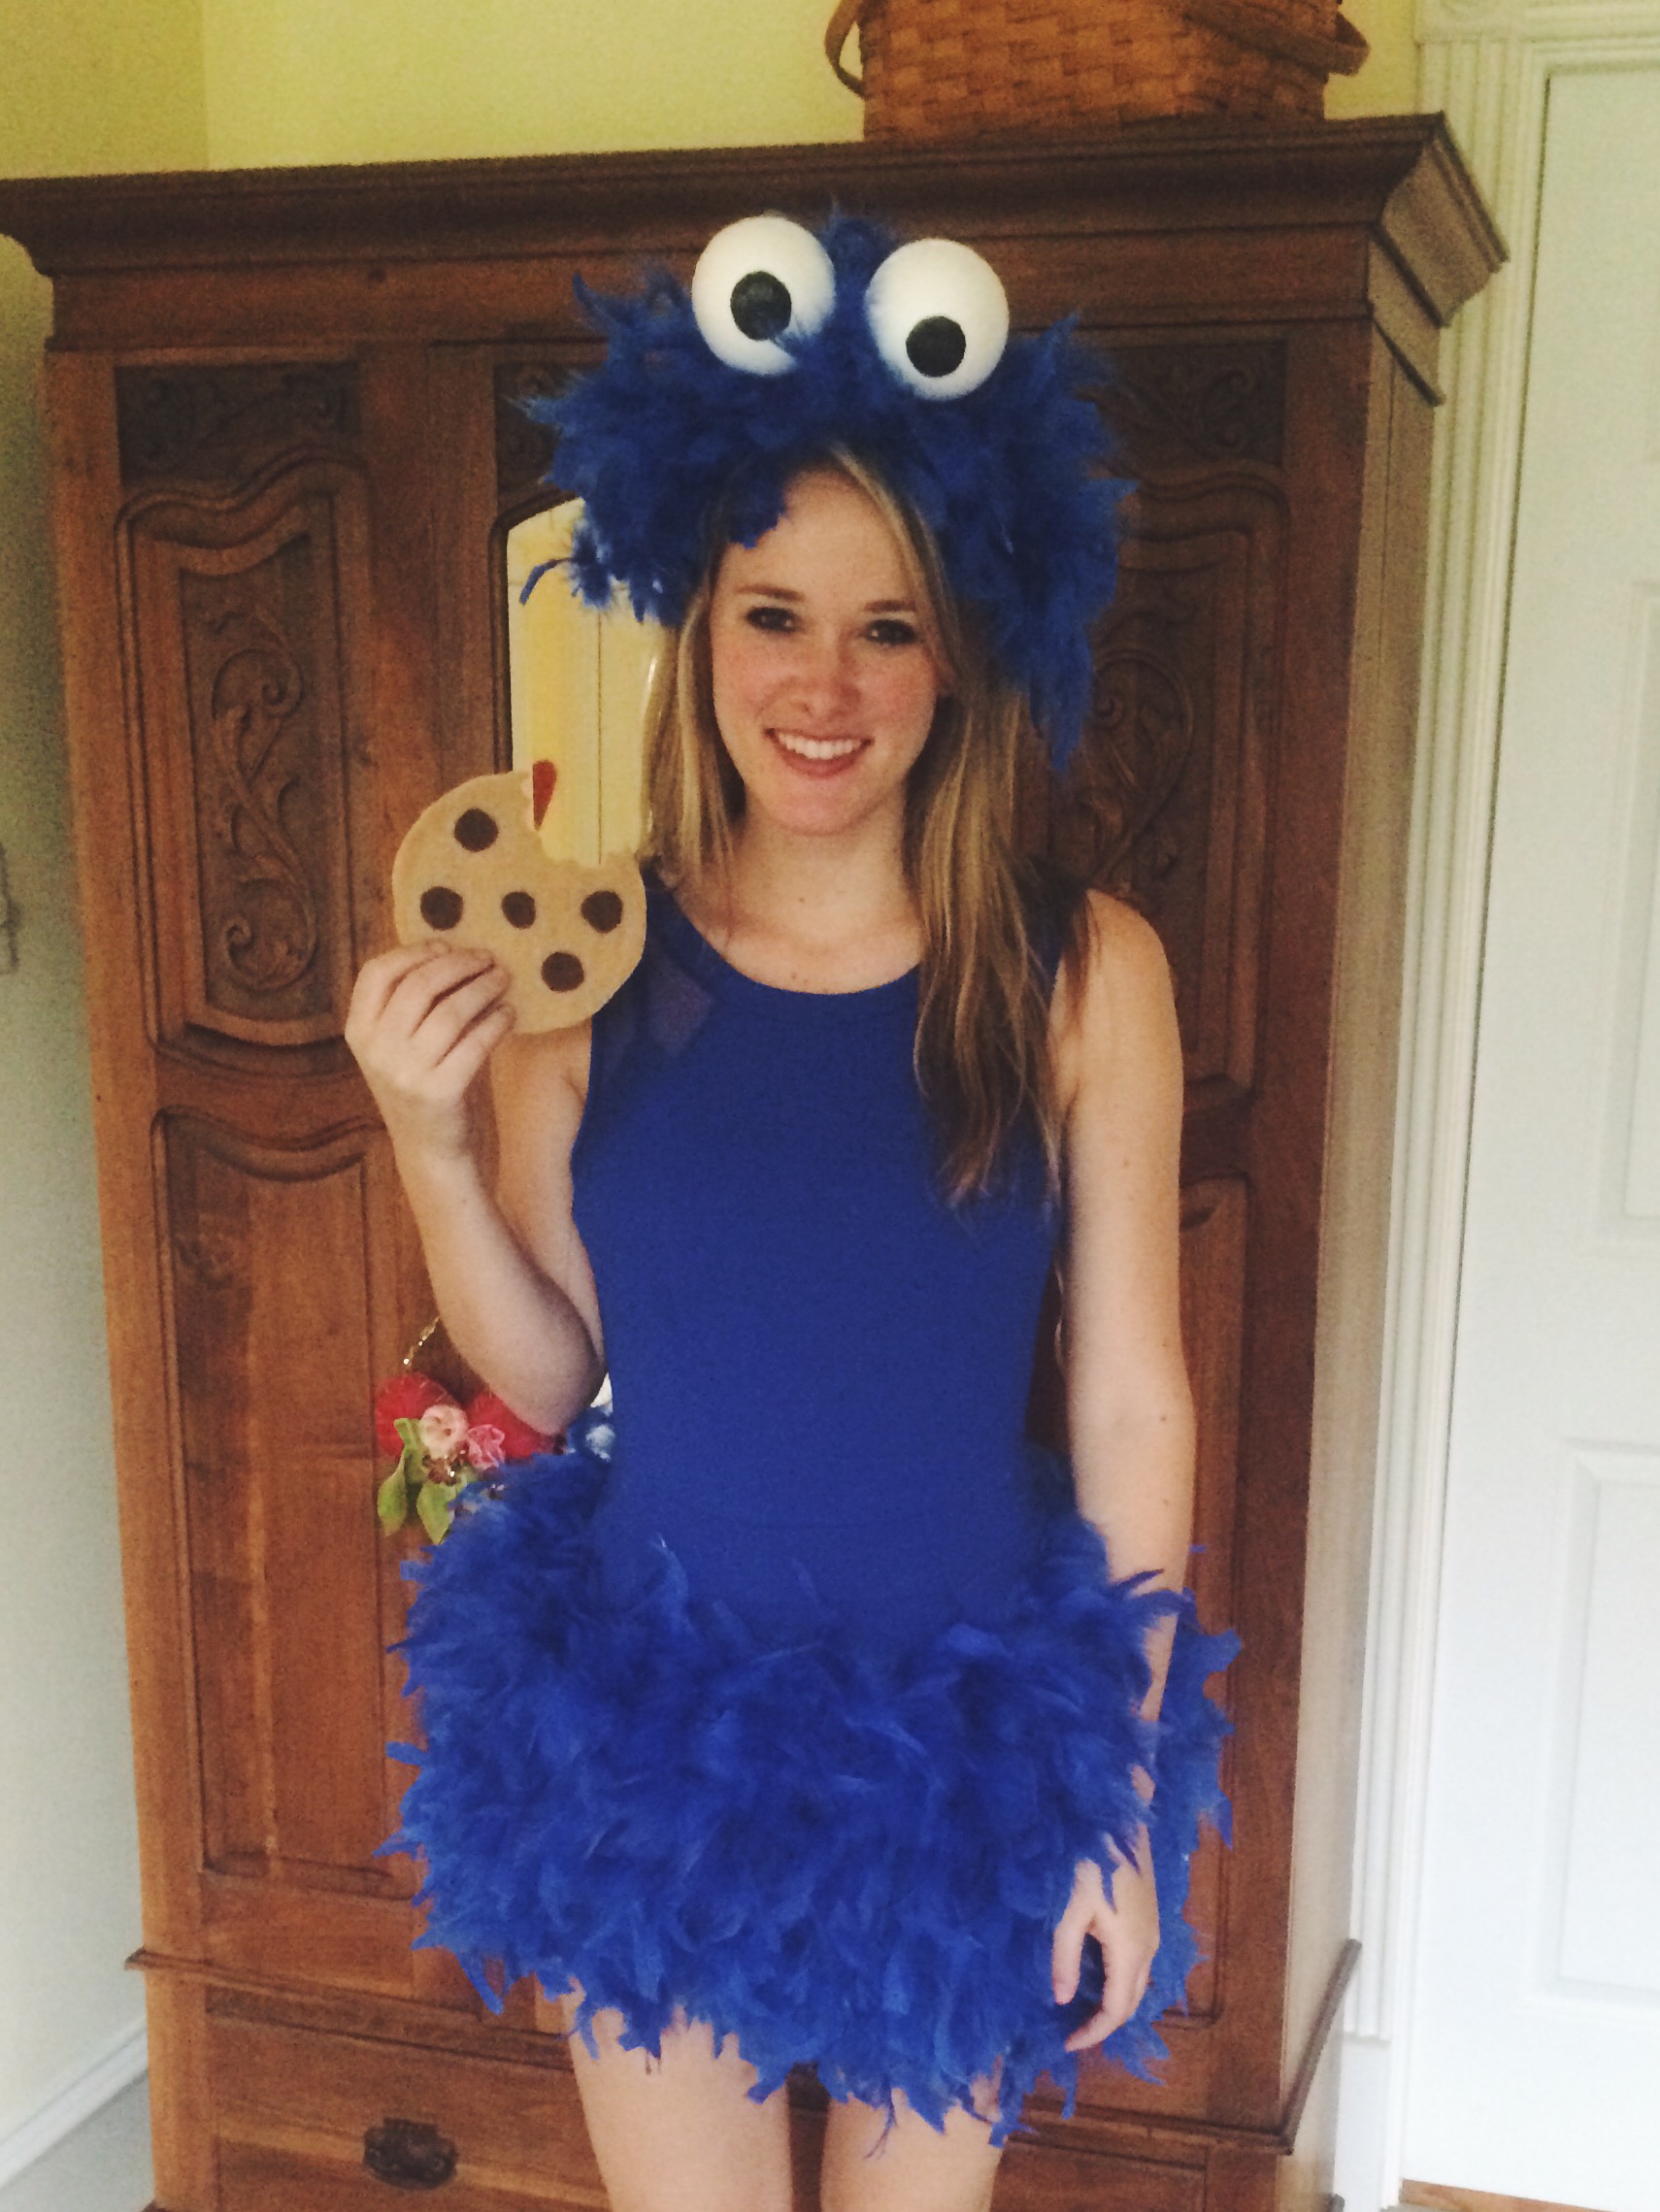
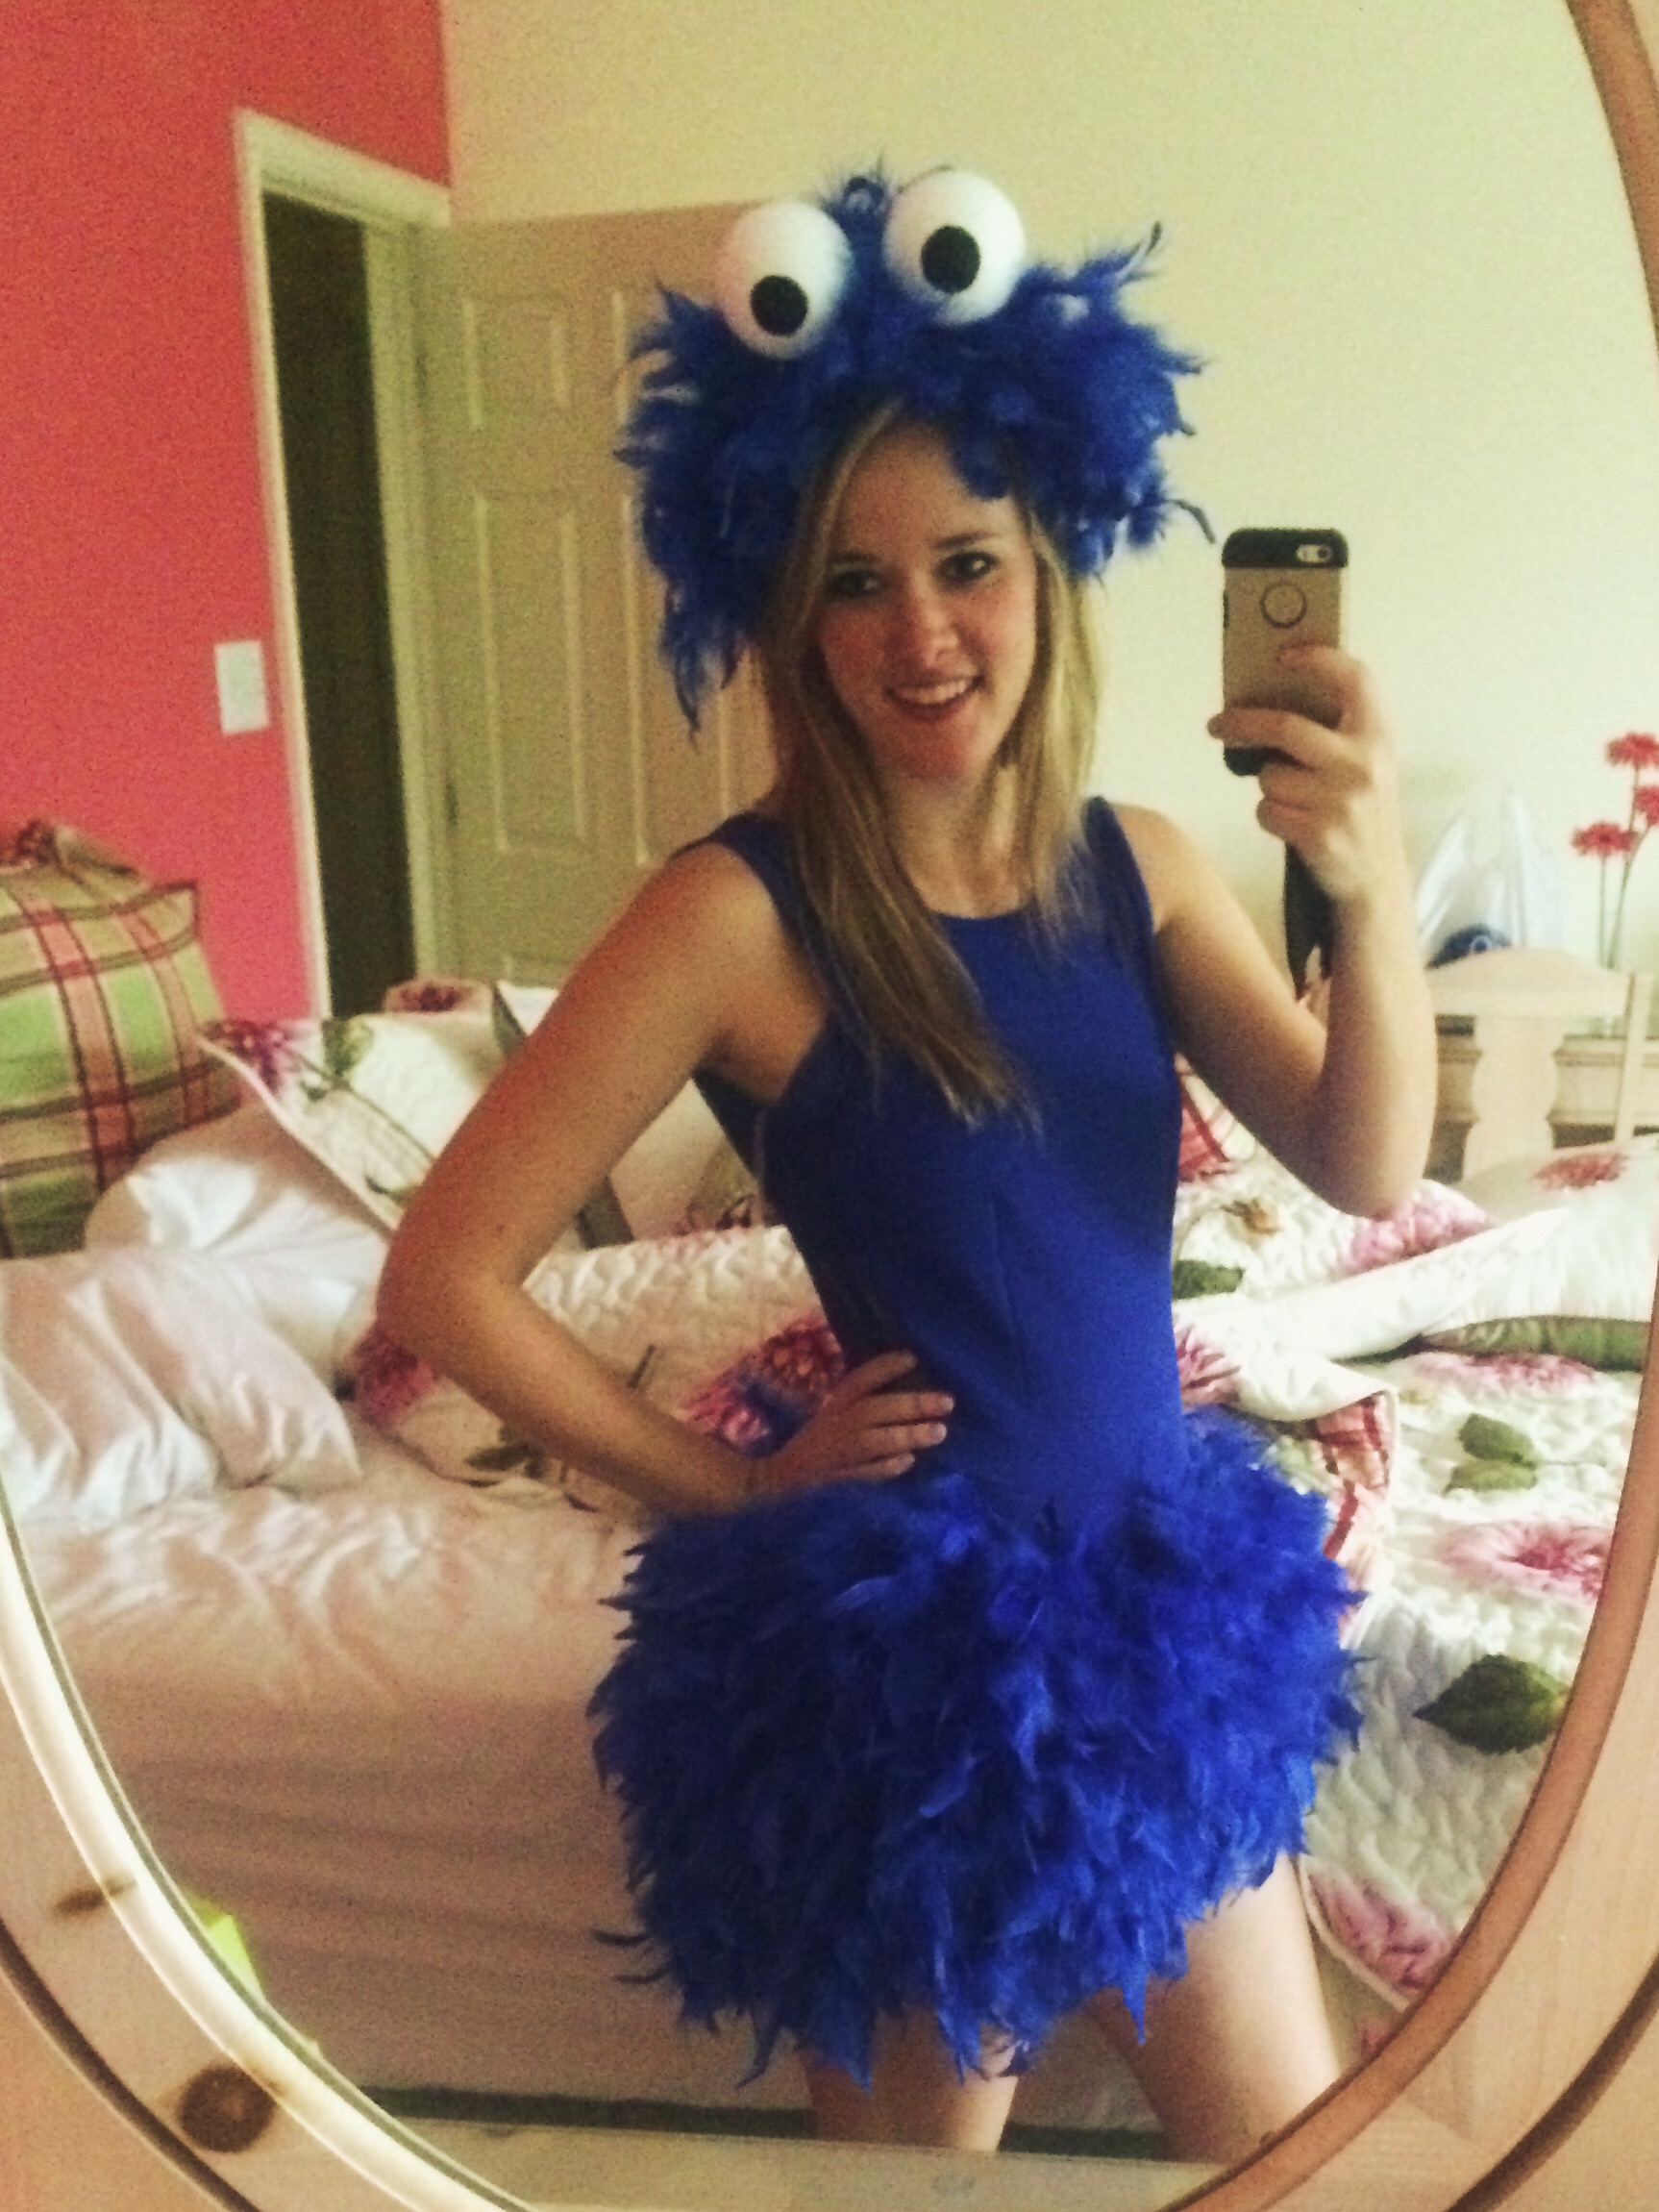
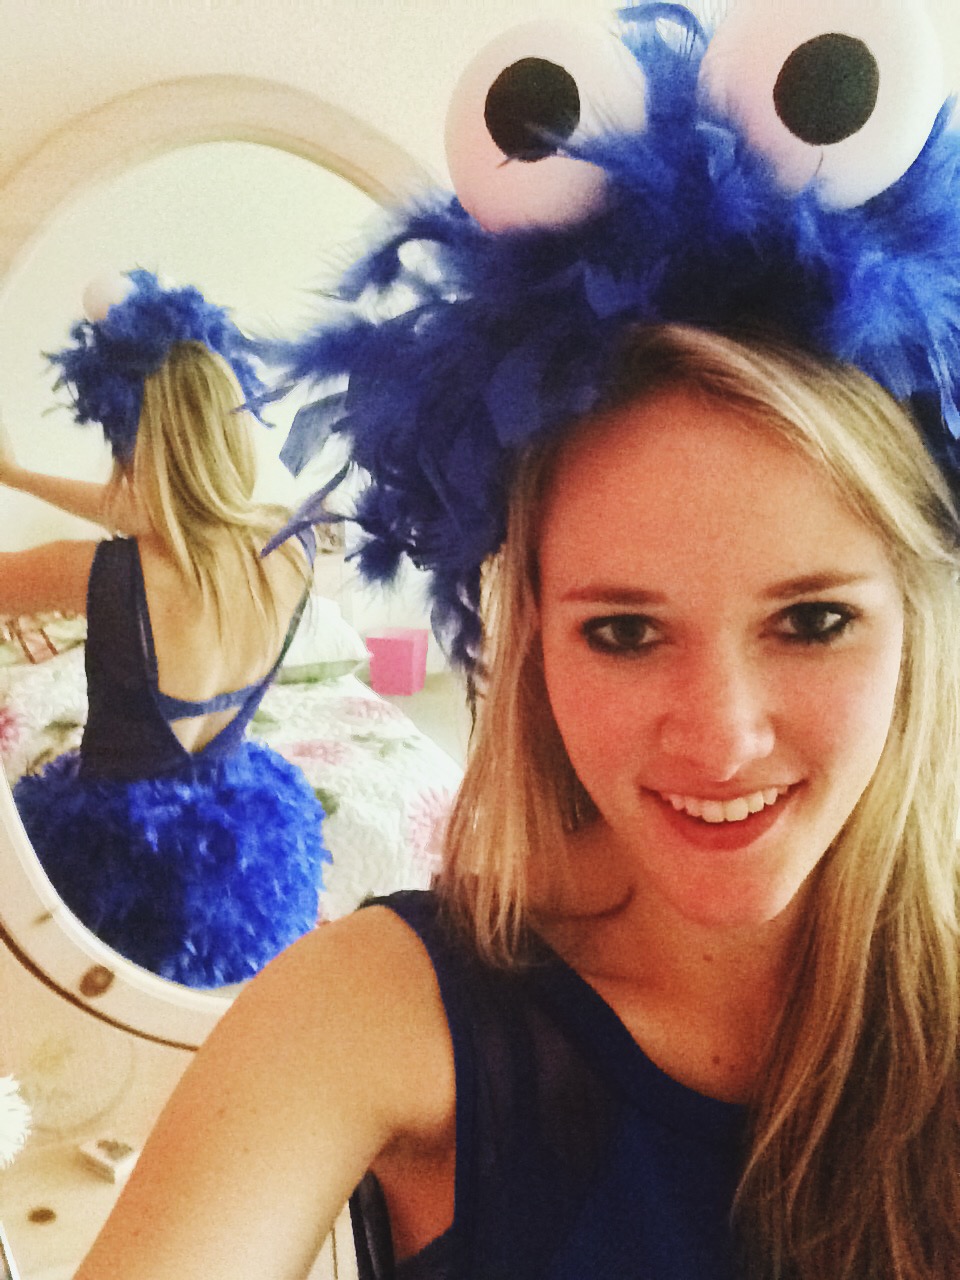
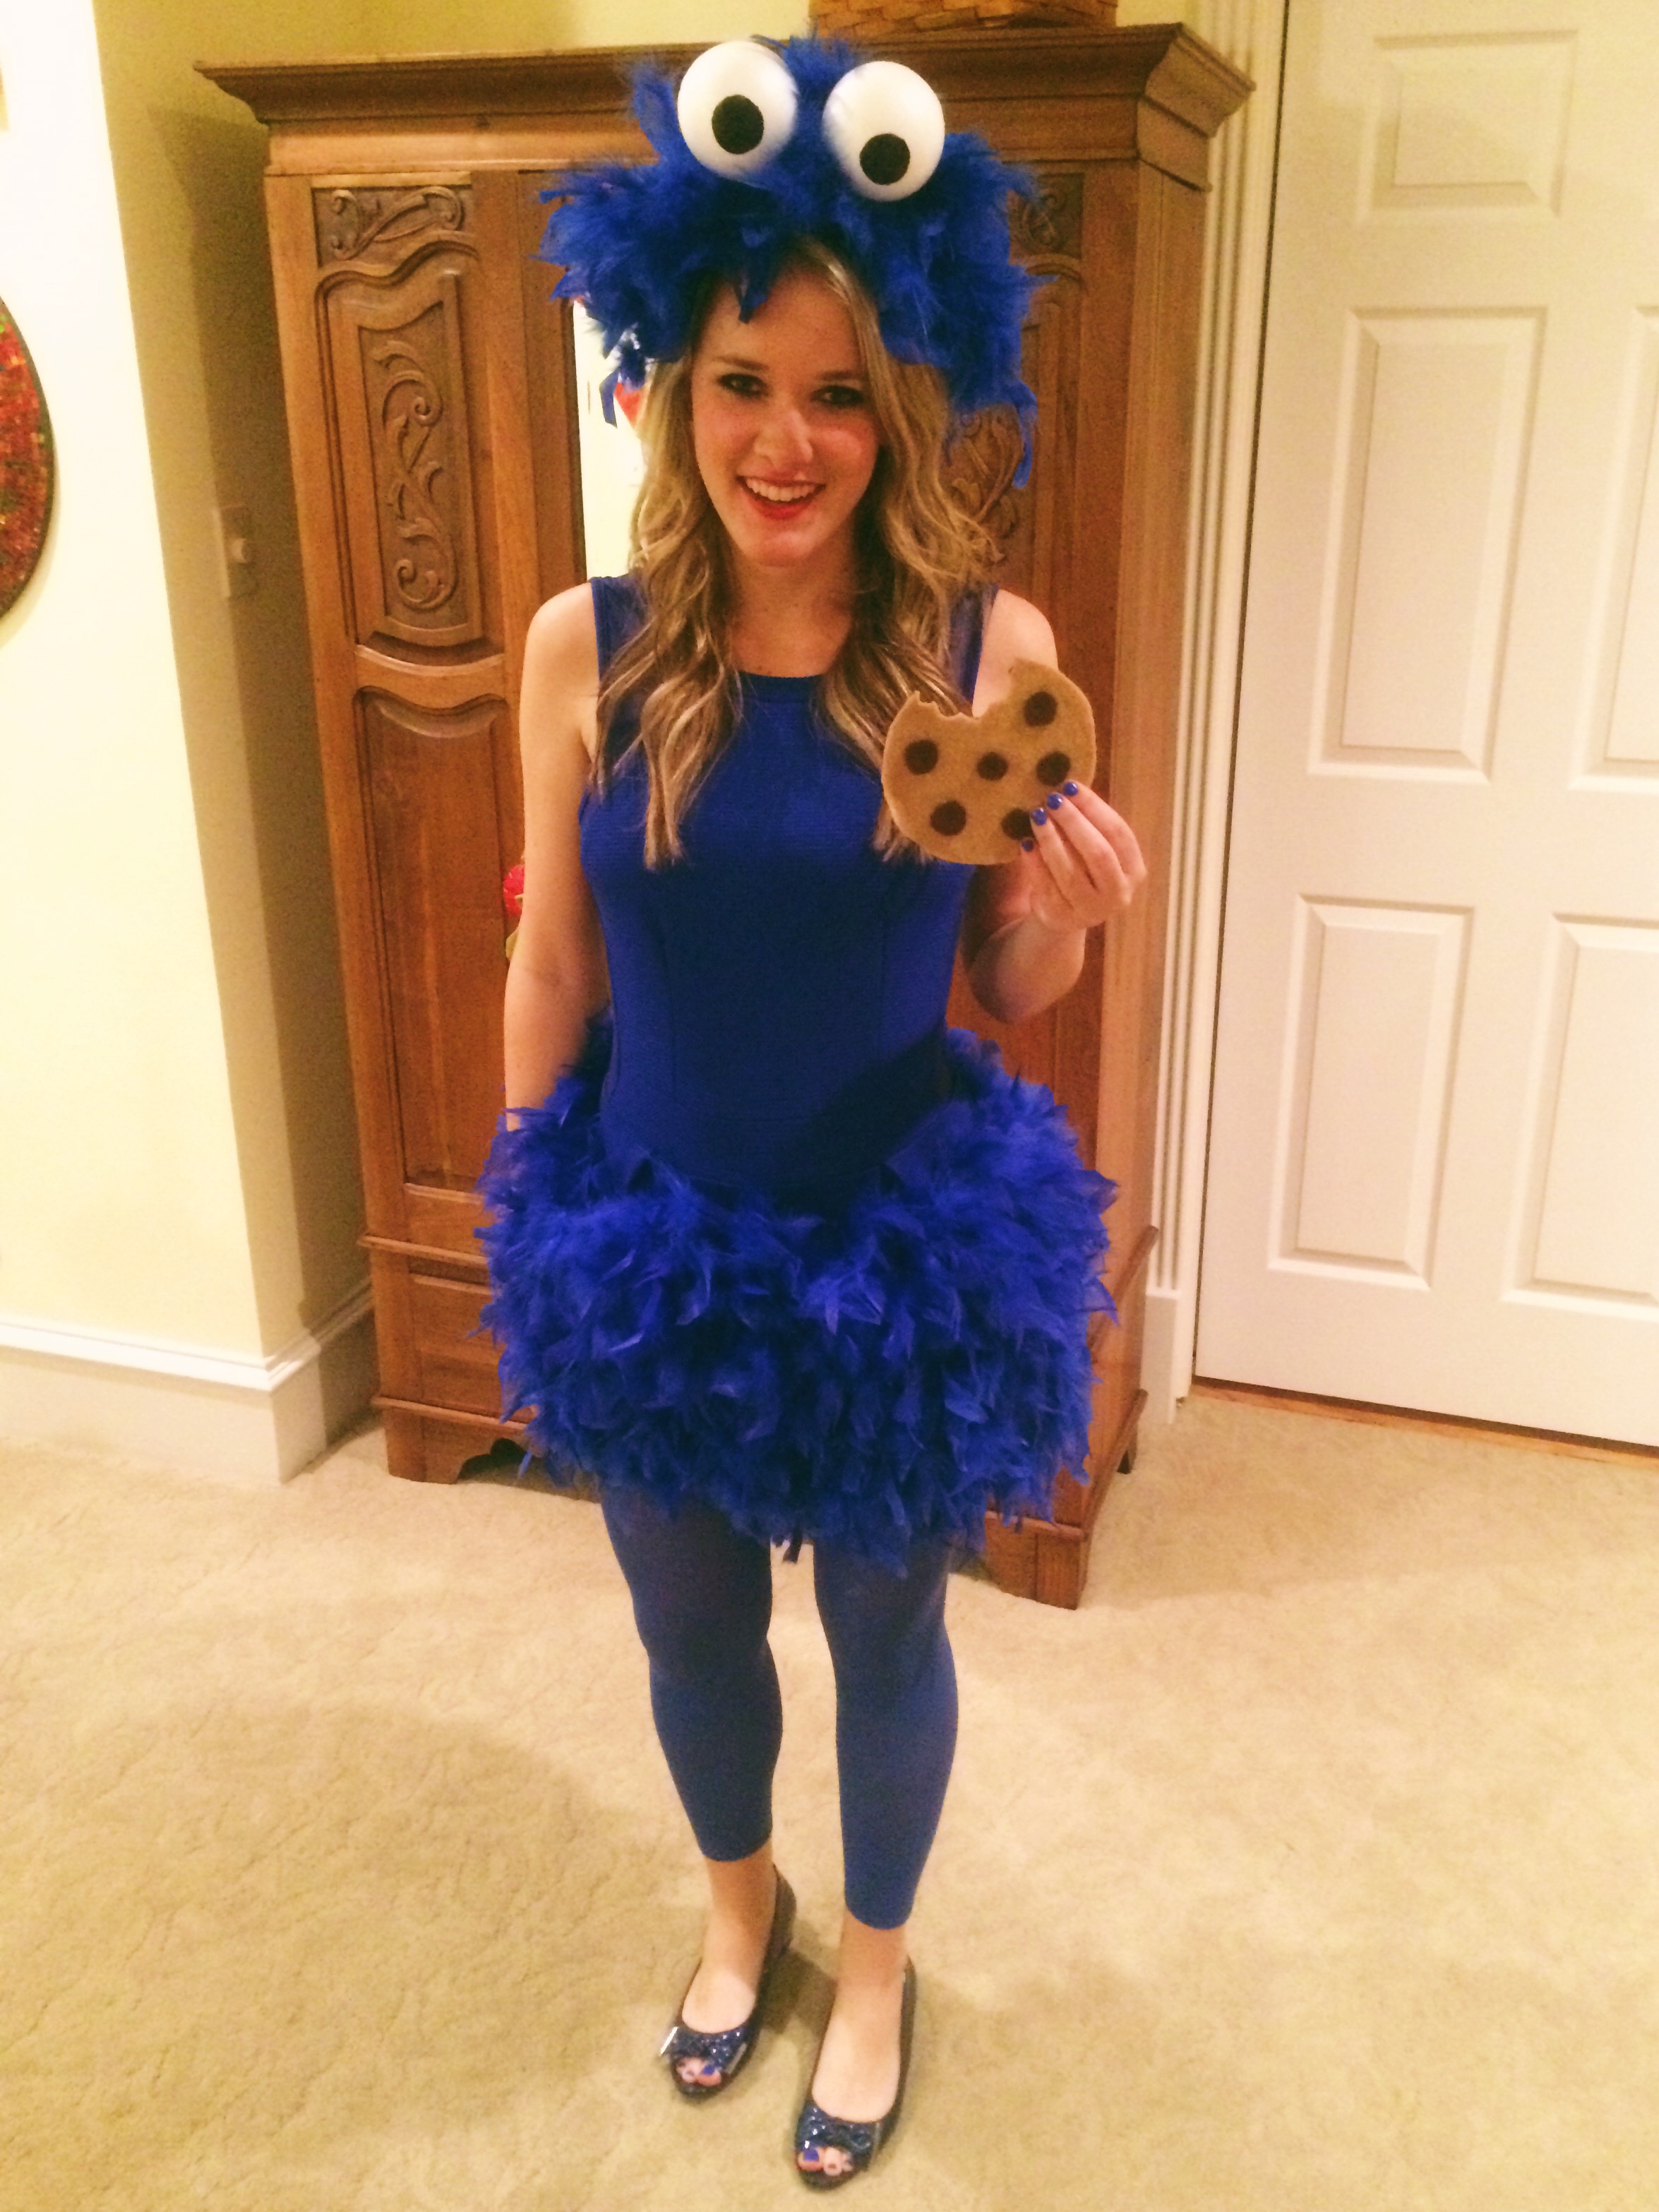
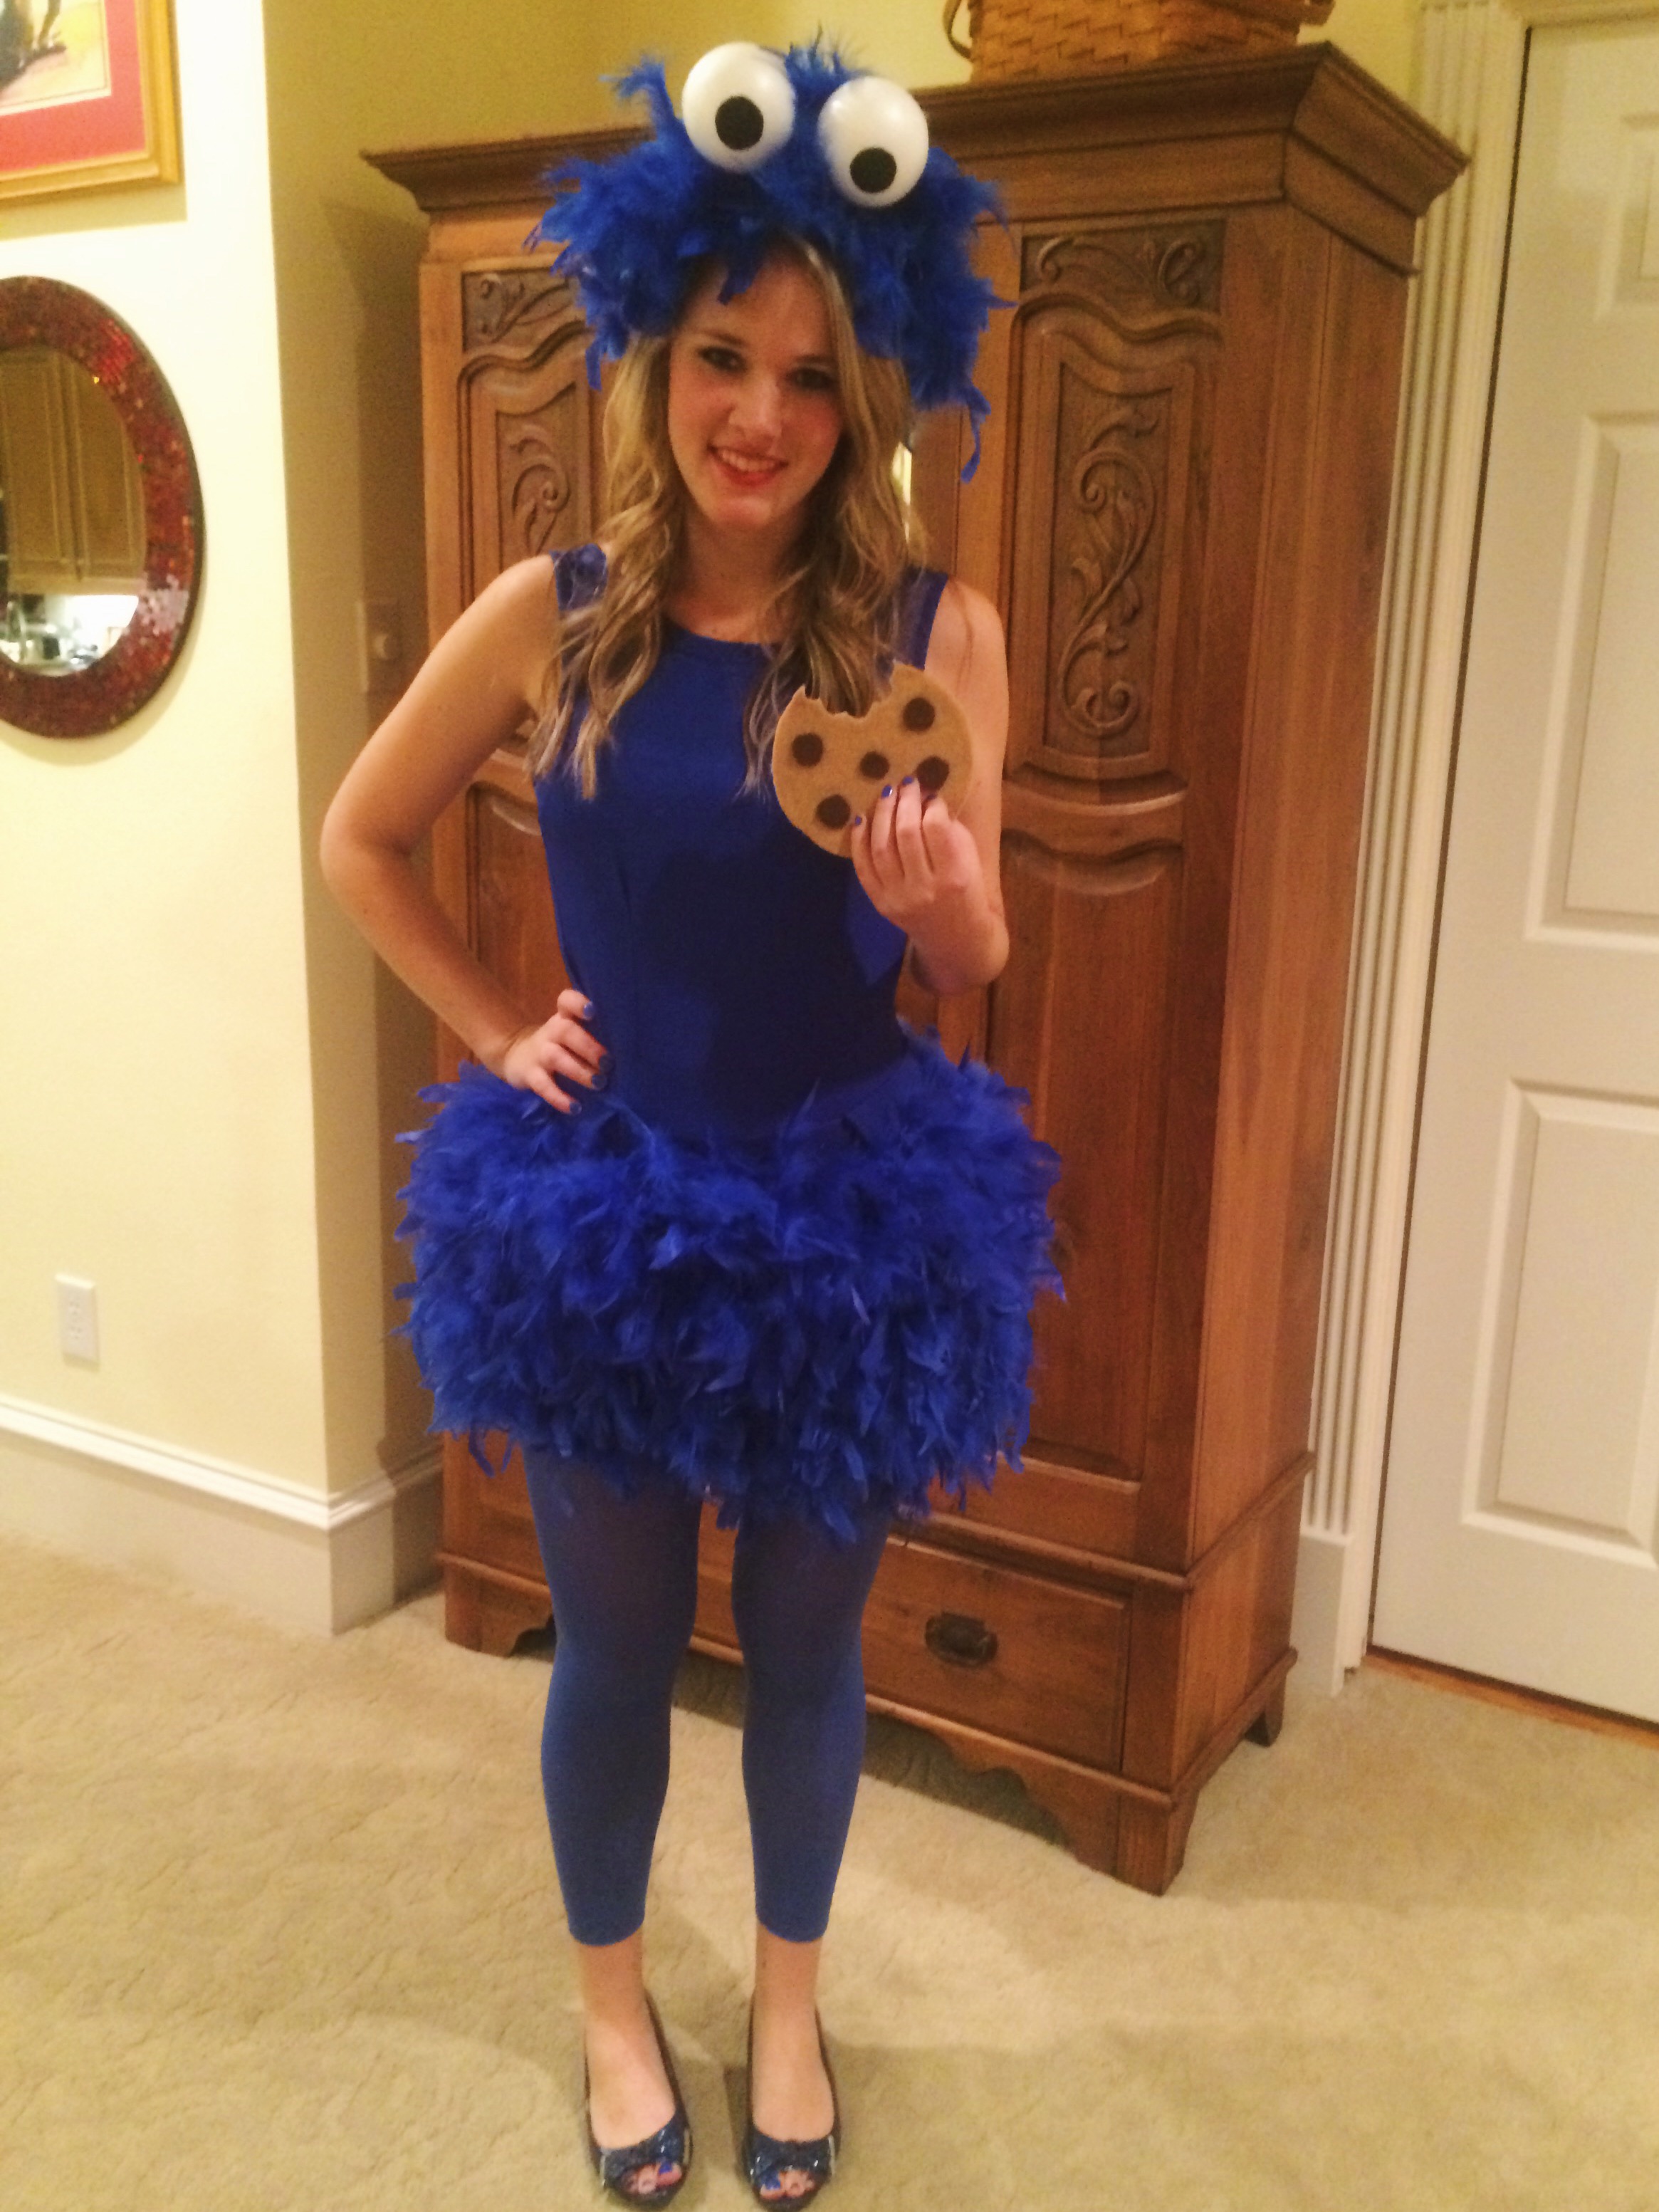
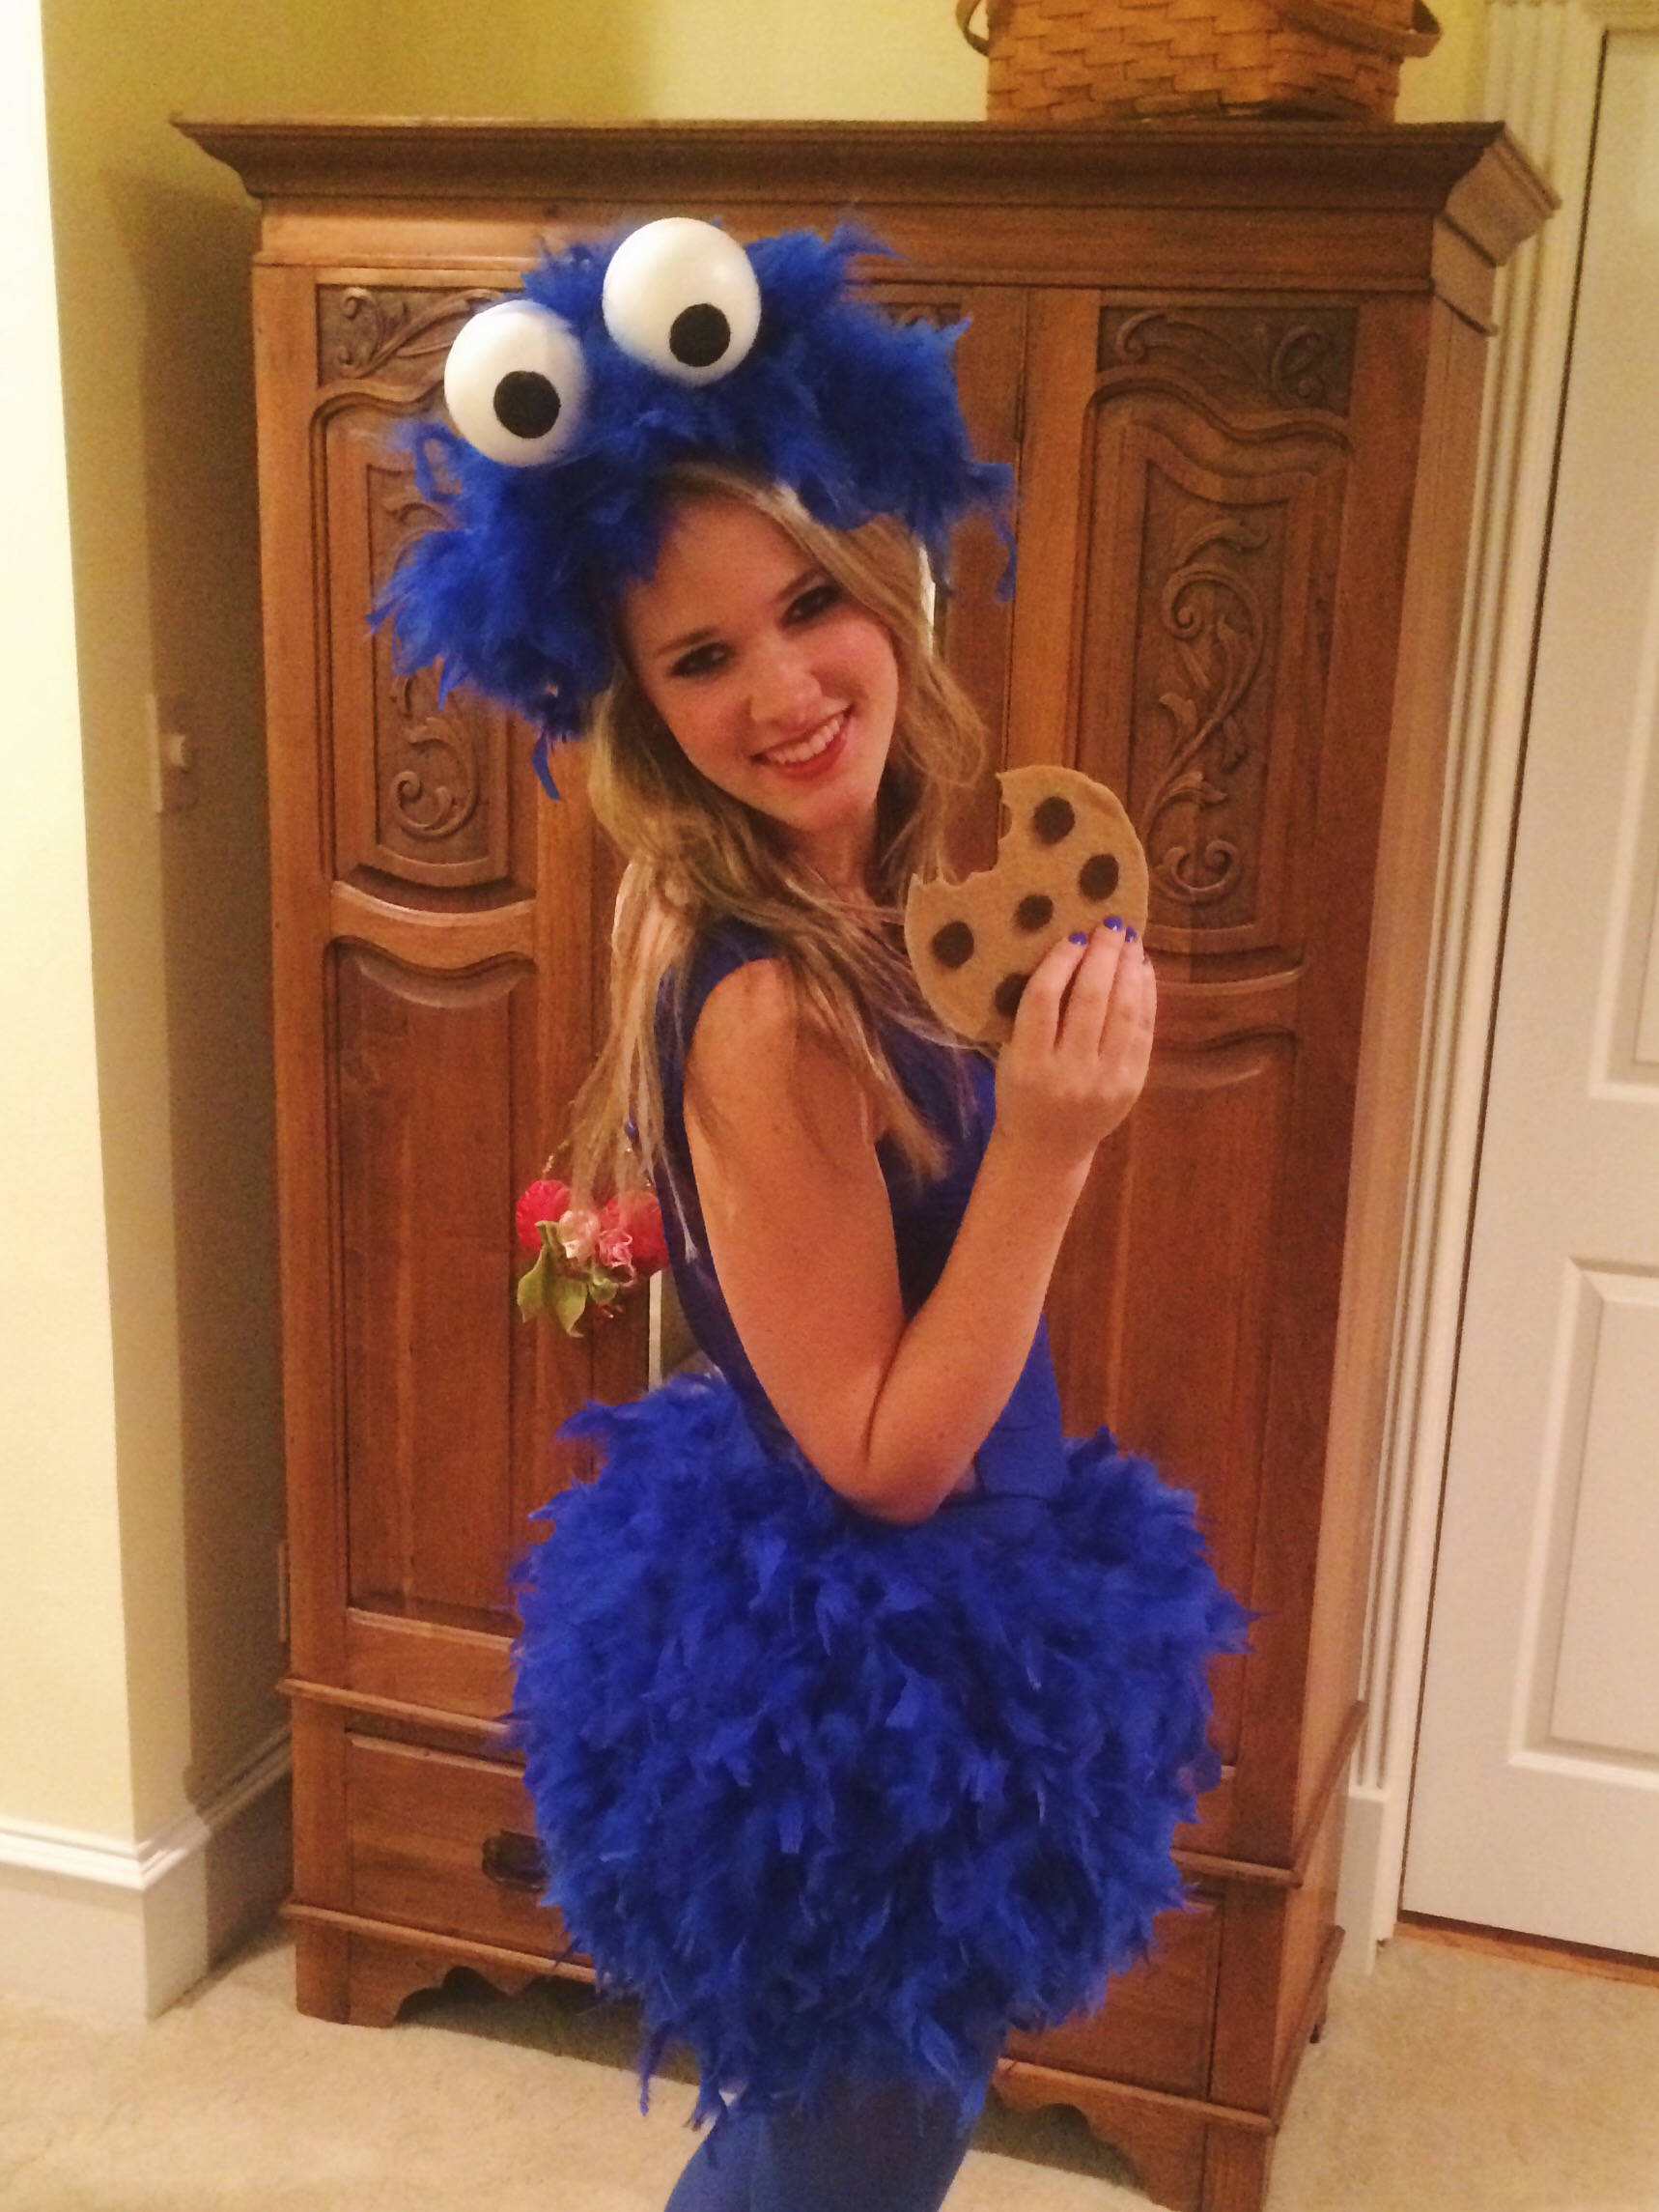
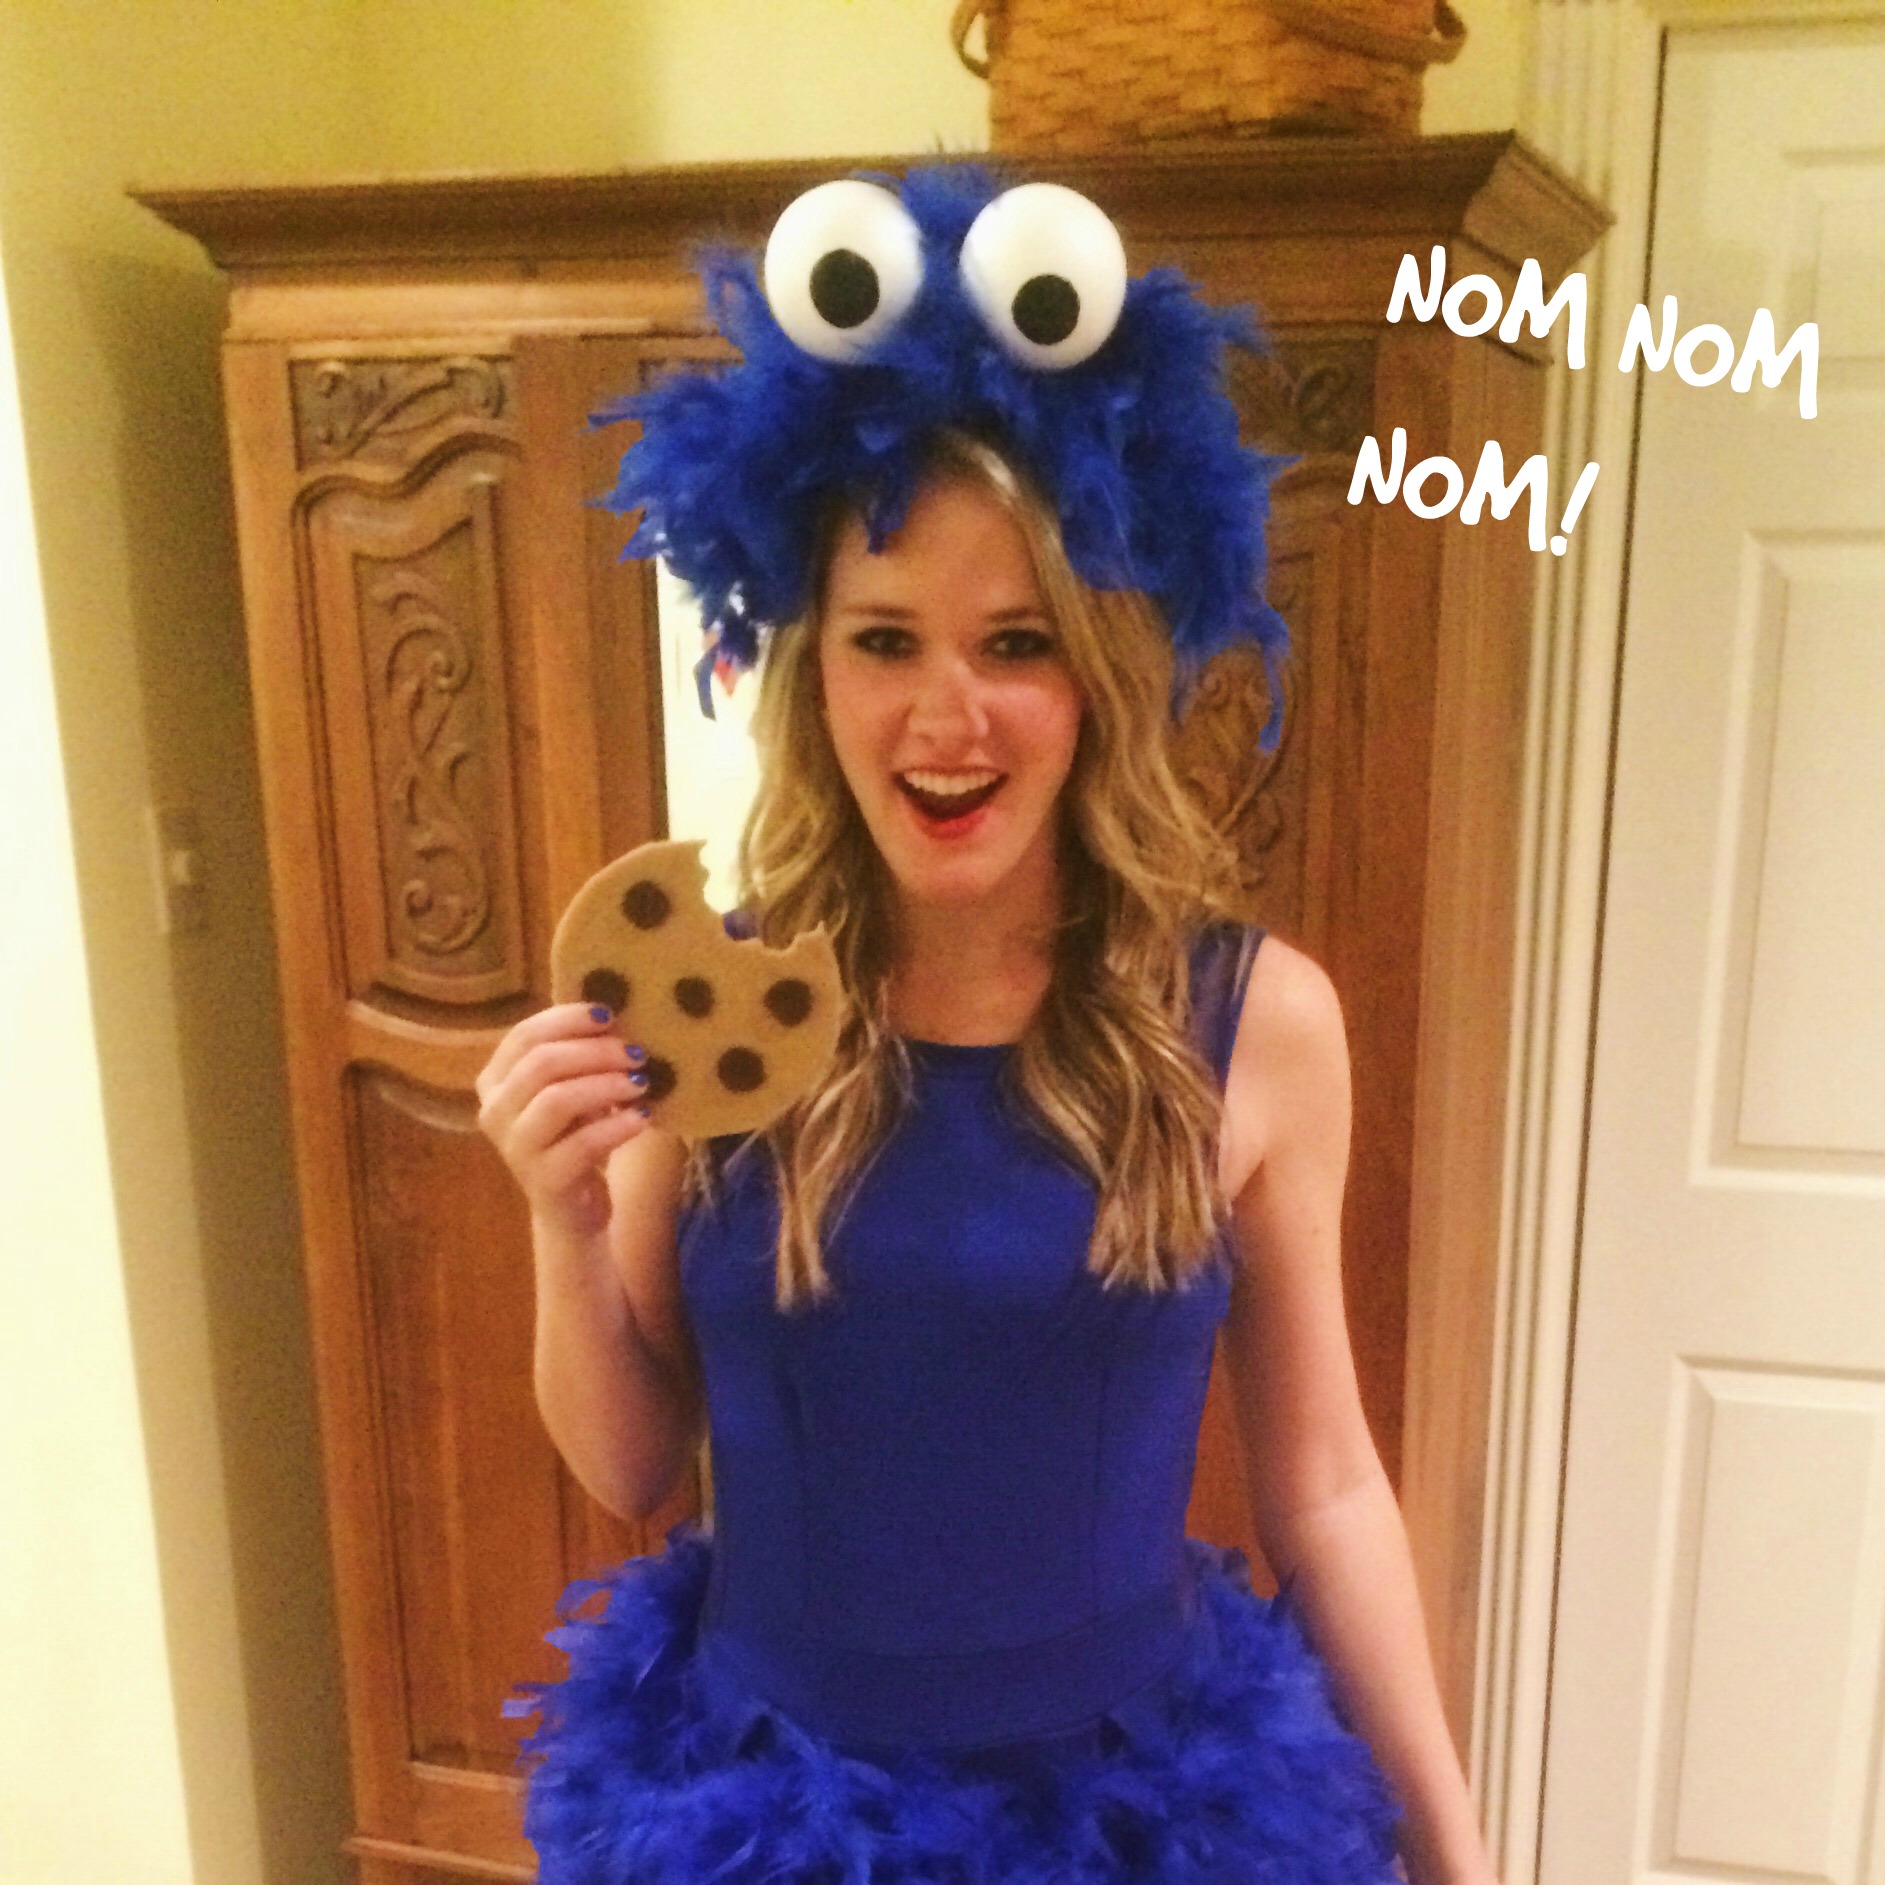
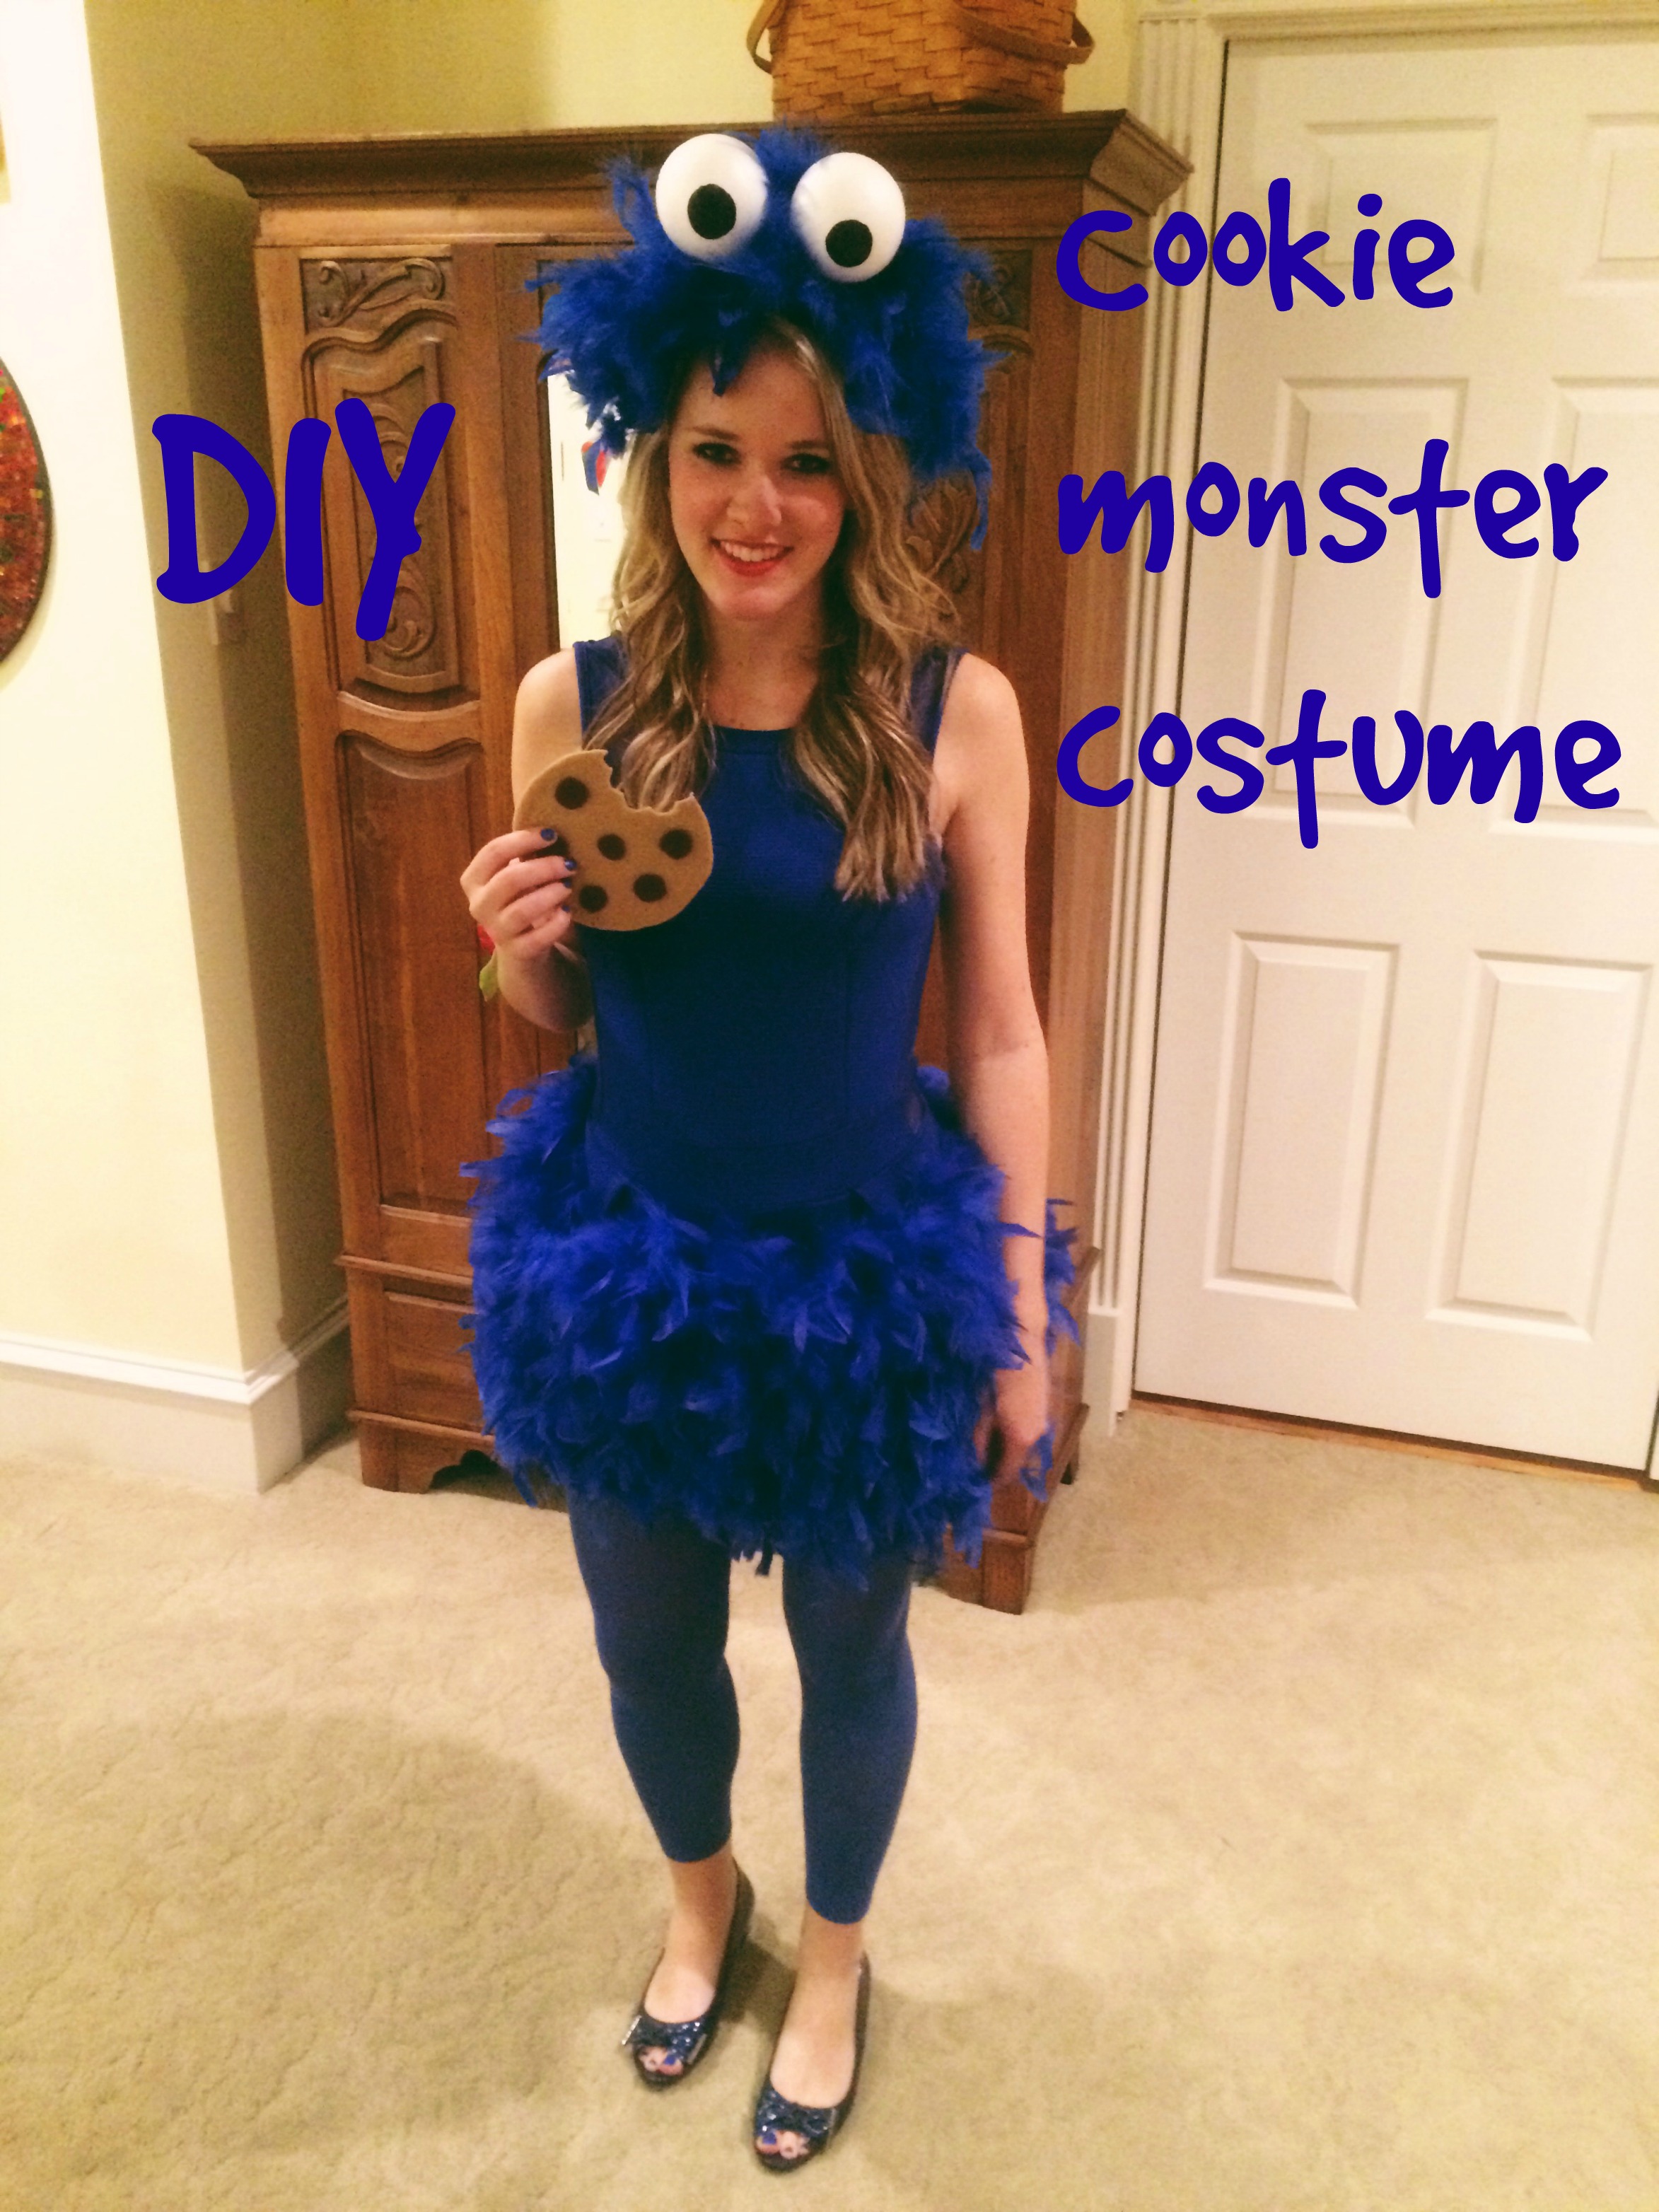
 last year, i was the morton salt girl for halloween, and because i really couldn’t find a good tutorial online for making the salt canister, i created my own tutorial for the whole costume and posted it here on the blog. i love love love putting together my own halloween costumes, and this year, i decided to be the cookie monster! although i didn’t come up with the costume idea on my own, i did want to continue the tradition and share how i made it. the best part was that i actually won the costume contest at the halloween party i went to! so fun.
i had found this tutorial from andrea garcia’s blog, fancy made, and pretty much thought it was the cutest thing ever. it’s no-sew which is REALLY good because i don’t sew, and she has a youtube video on how to make it that’s super easy to follow. adorable, right? i would recommend checking out her tutorial if you want to make your own cookie monster costume as it’s much more detailed and visual than my steps below, but here’s some info on how it all came together for me.
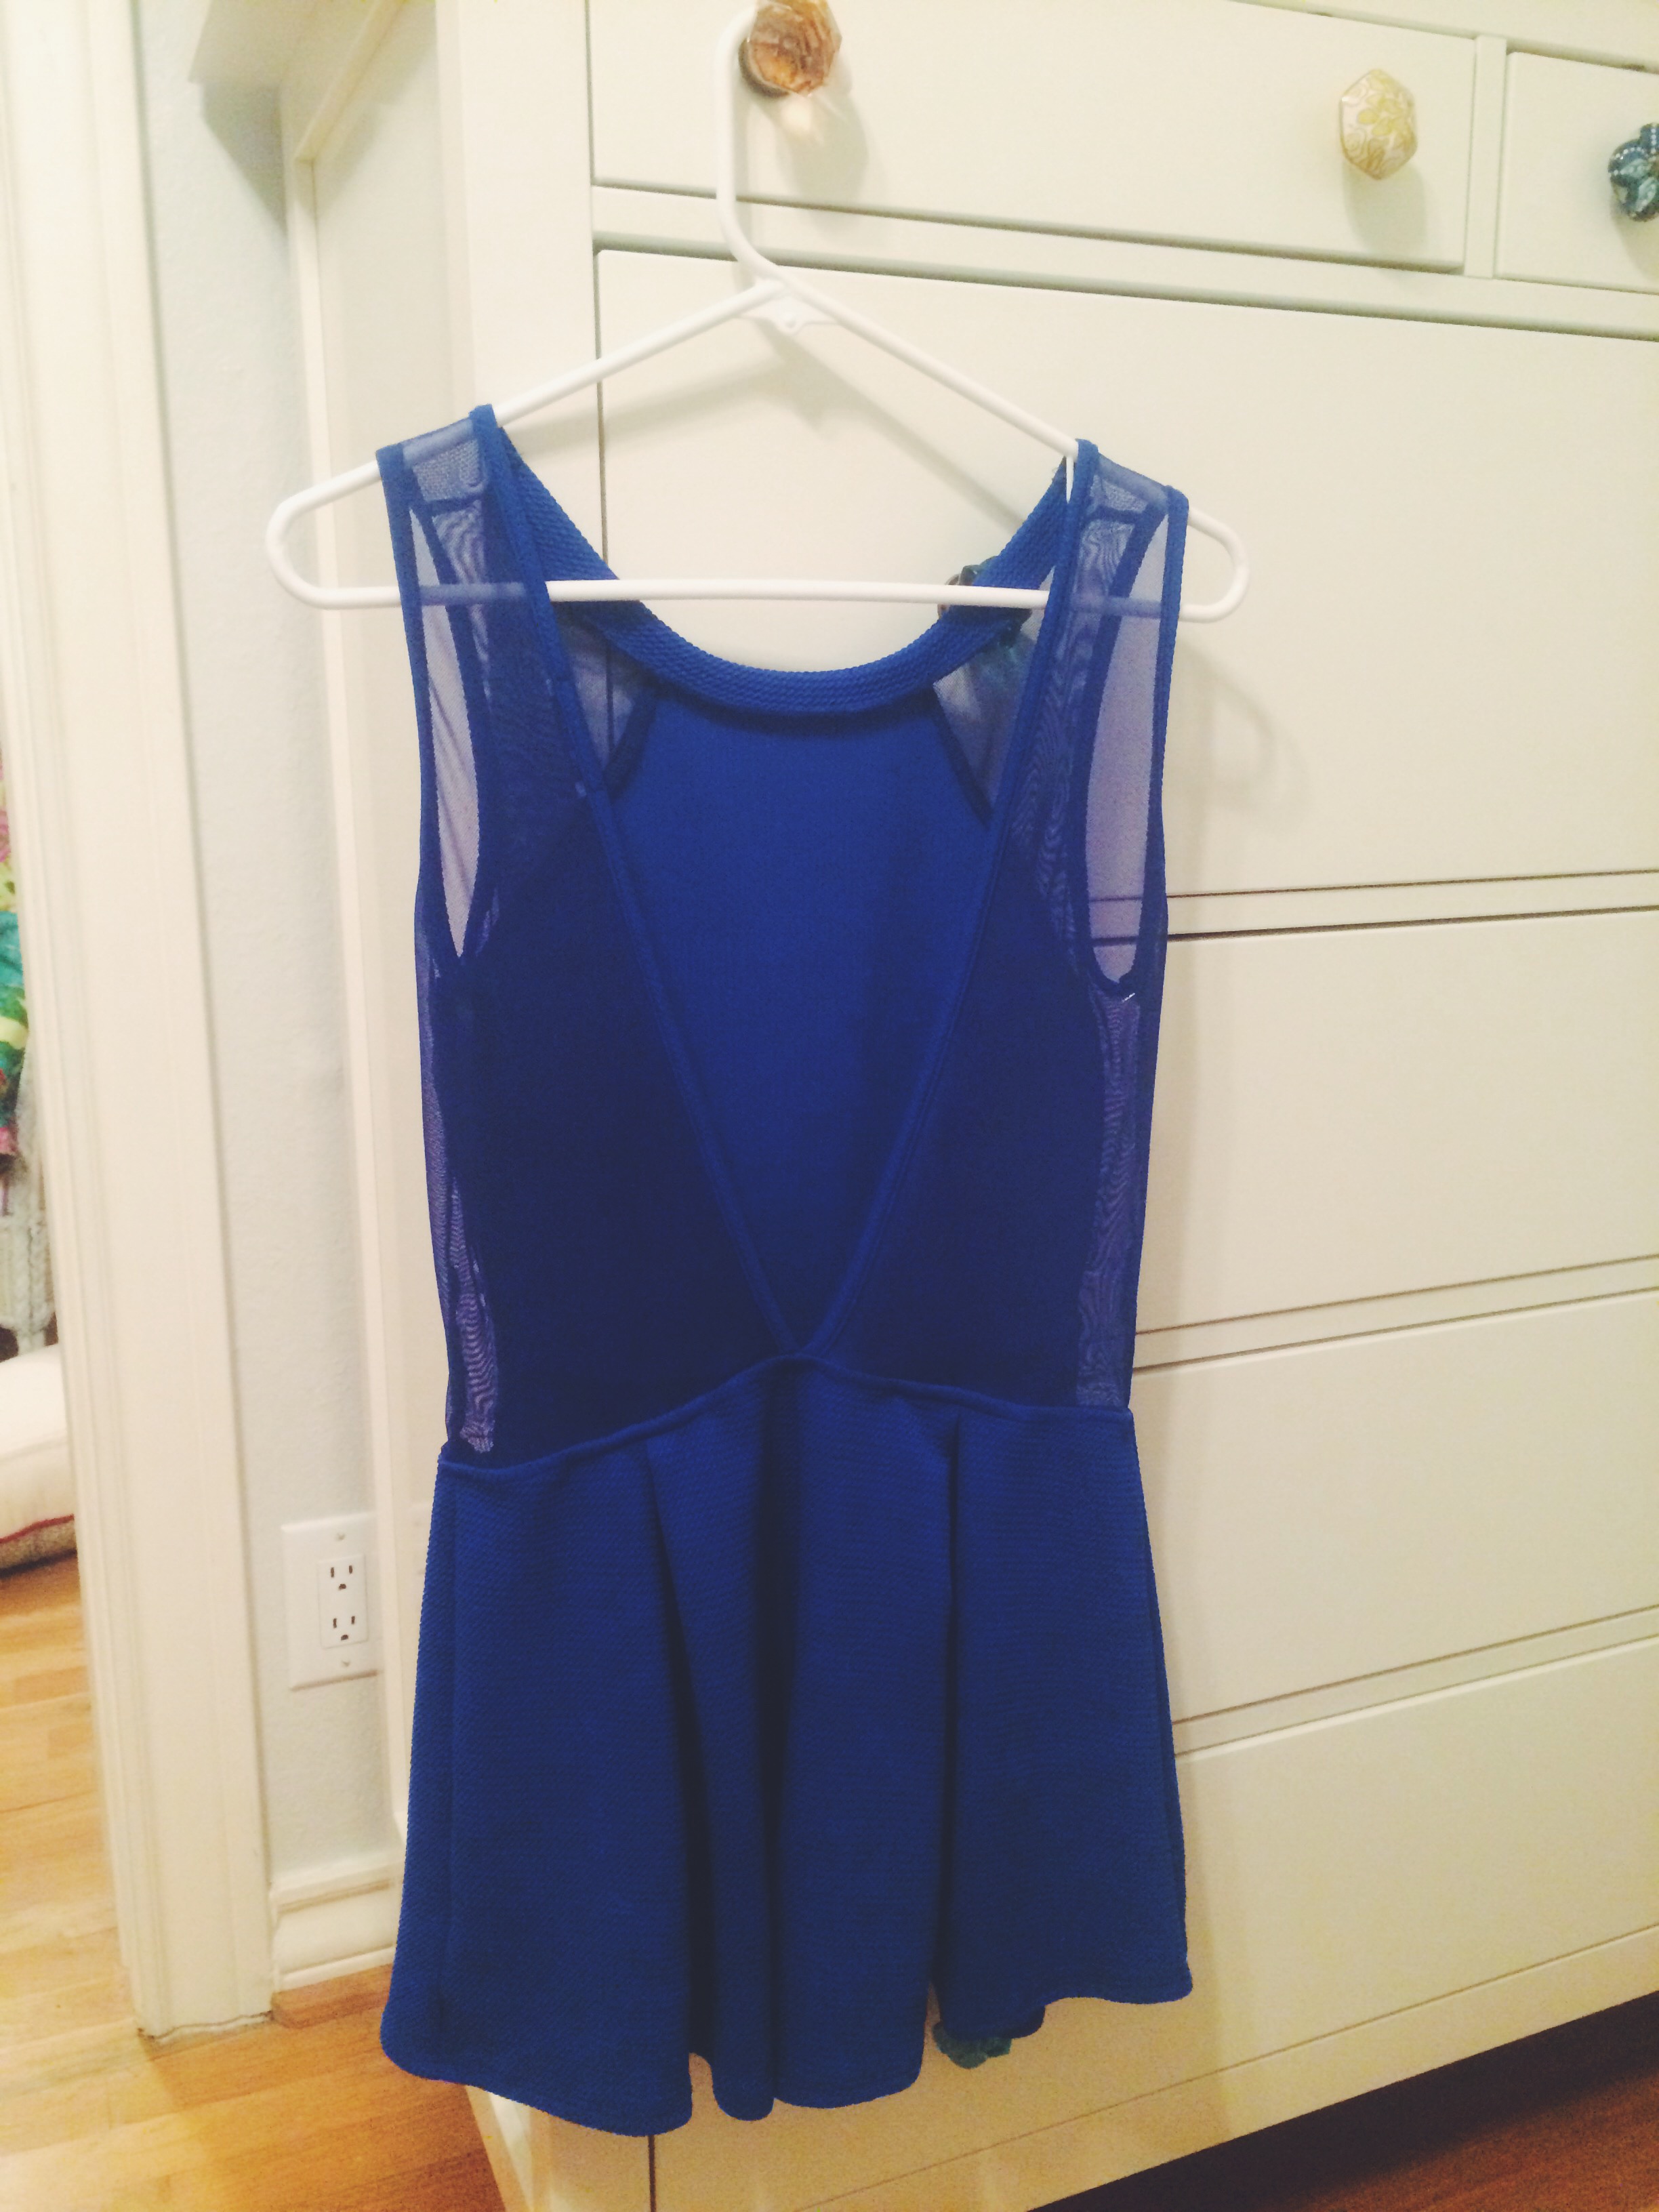
first, buy the “base layer.” andrea used a thrifted bodysuit, and i went to buffalo exchange and tried on every blue thing i could find and ended up settling on this romper which was $8.95.
it literally ended up being the perfect piece for my costume: ridiculously cheap, flattered me in the right places [i like how it had a plunging back and some mesh fabric to show a little skin, the waistline was in the perfect spot, the top part was fitted and the lower body was fitted and not tight], and it was an easy material to put pins in. in fact, the pins didn’t even make any holes so i could actually wear it as an outfit. also, i loved that it was SHORTS instead of a skirt because it was a romper… no fears of flashing people when i sat down was definitely a bonus… i got lucky on this little number! but the main point is to not spend a lot of money and to find something that you’ll be comfortable in and that will flatter your body type.
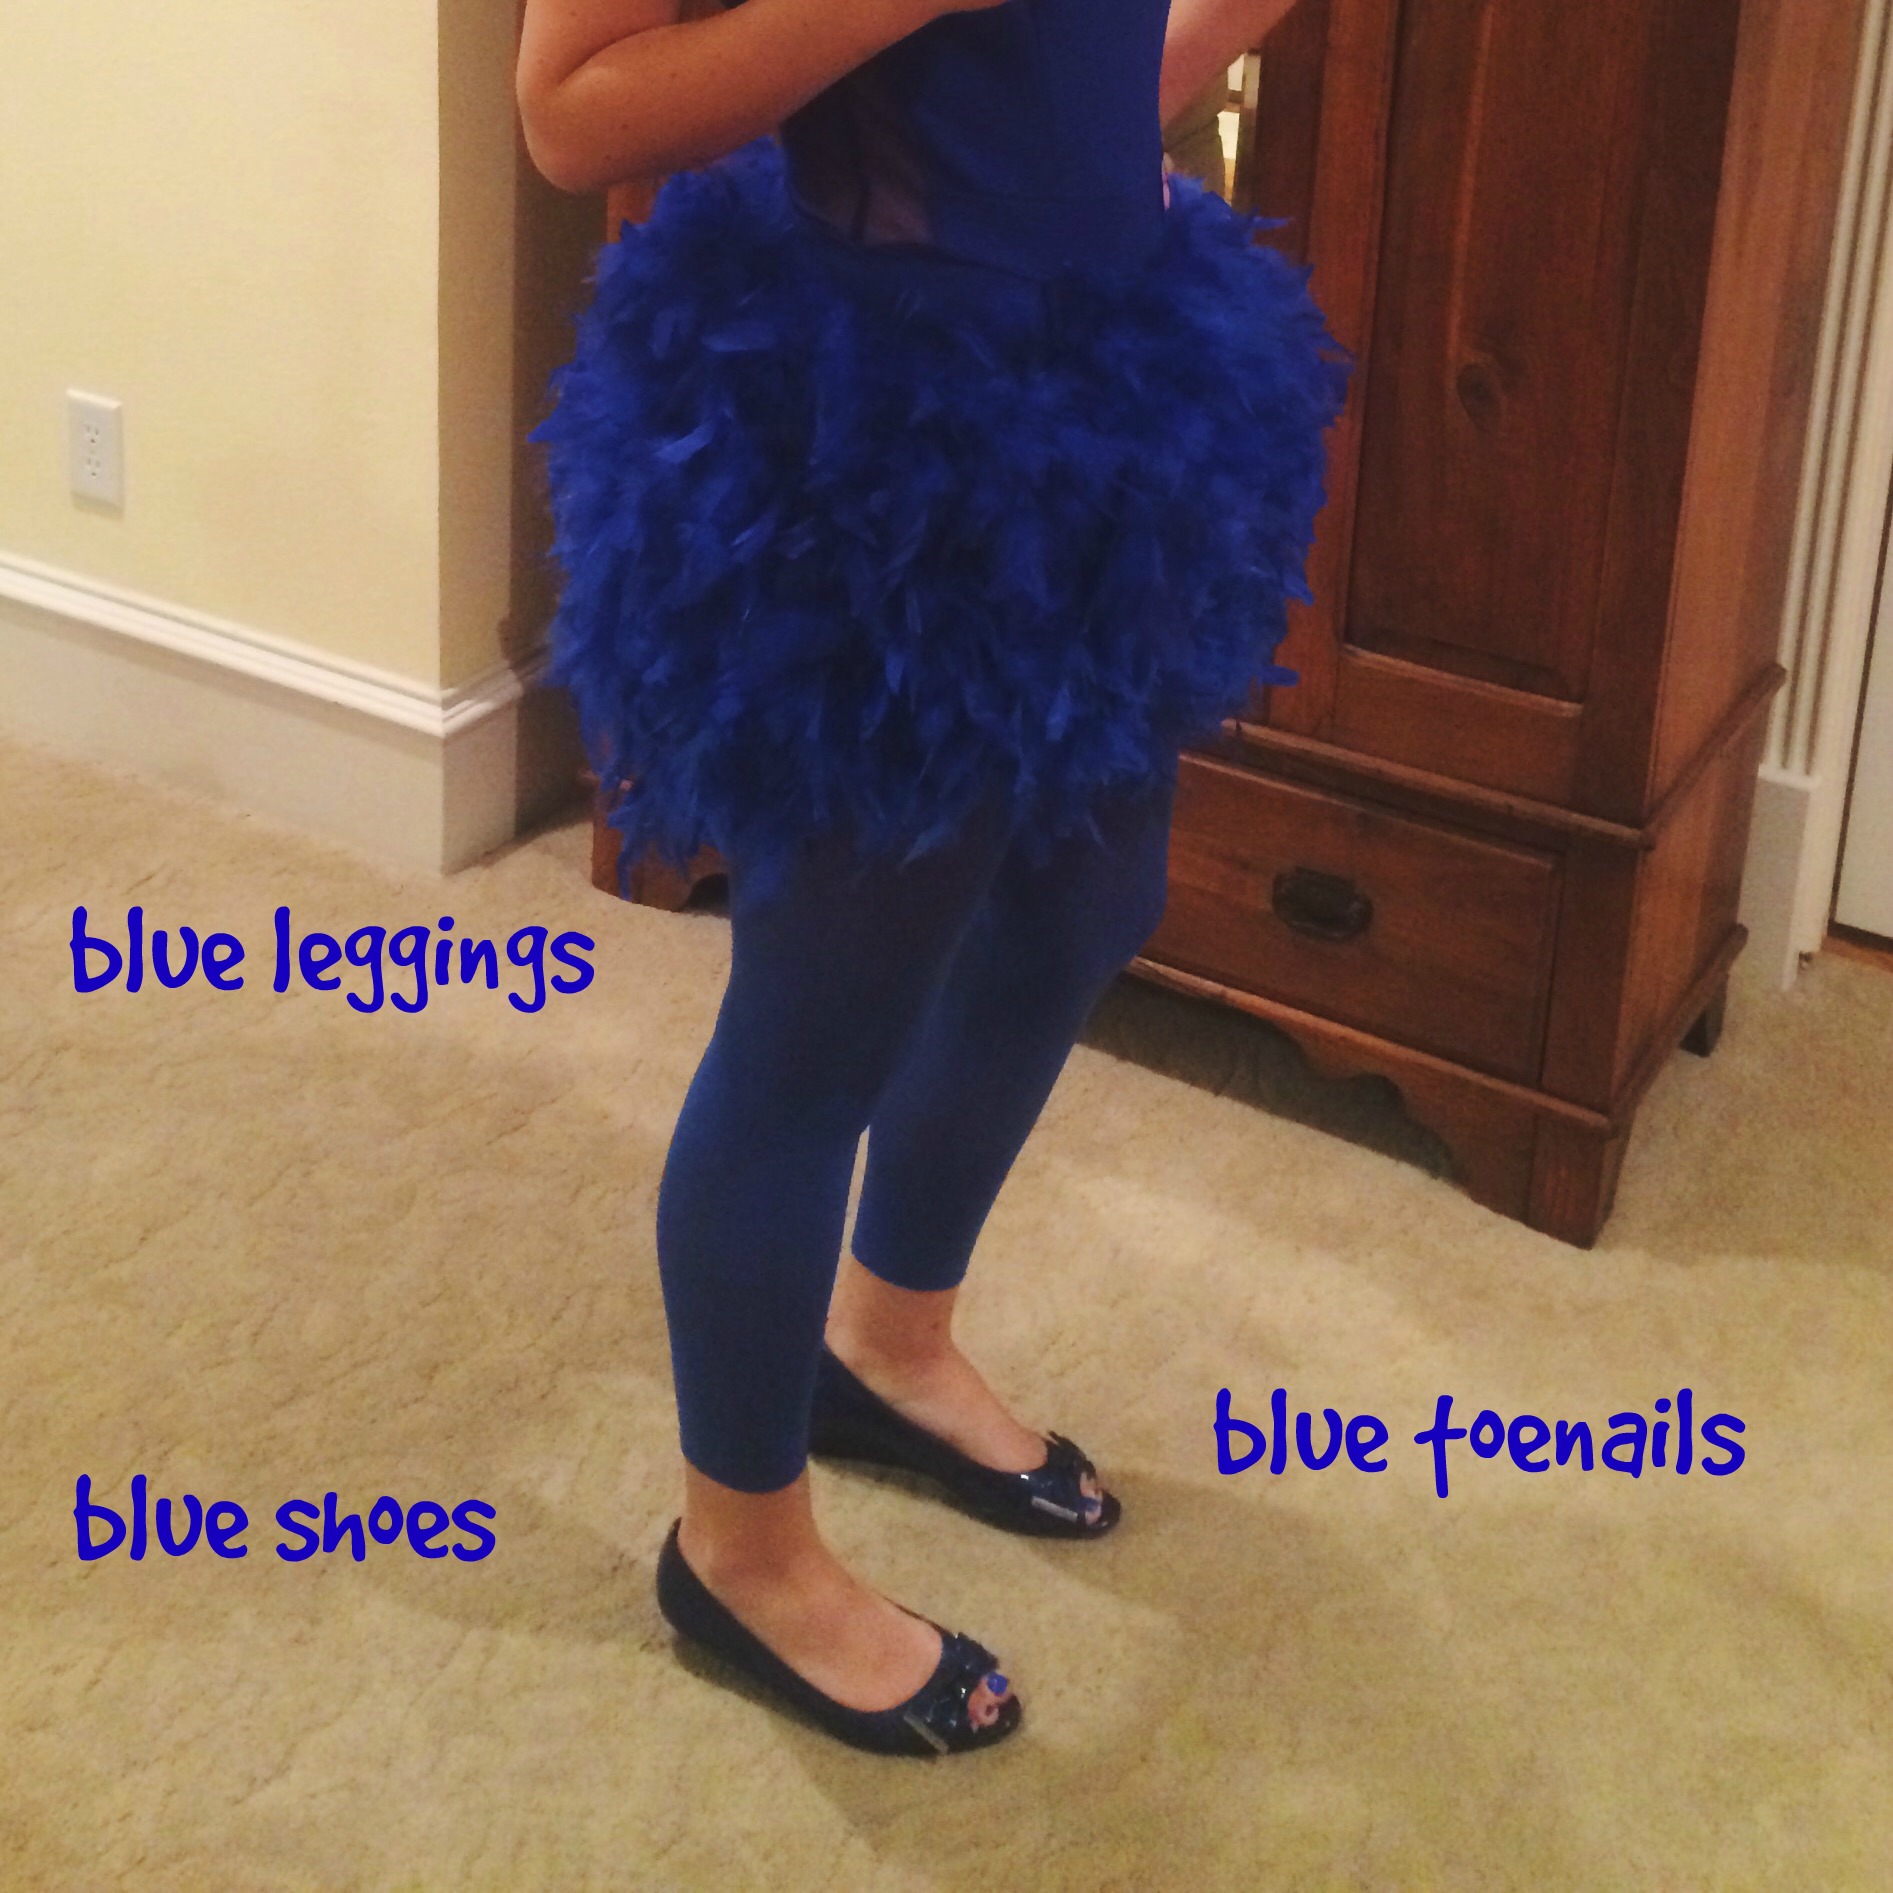
plan on wearing some blue tights and blue shoes if you can [i already had both, surprisingly]. i would try thrift stores, target, walmart, tj maxx, marshall’s and places like that first to avoid spending too much $$.
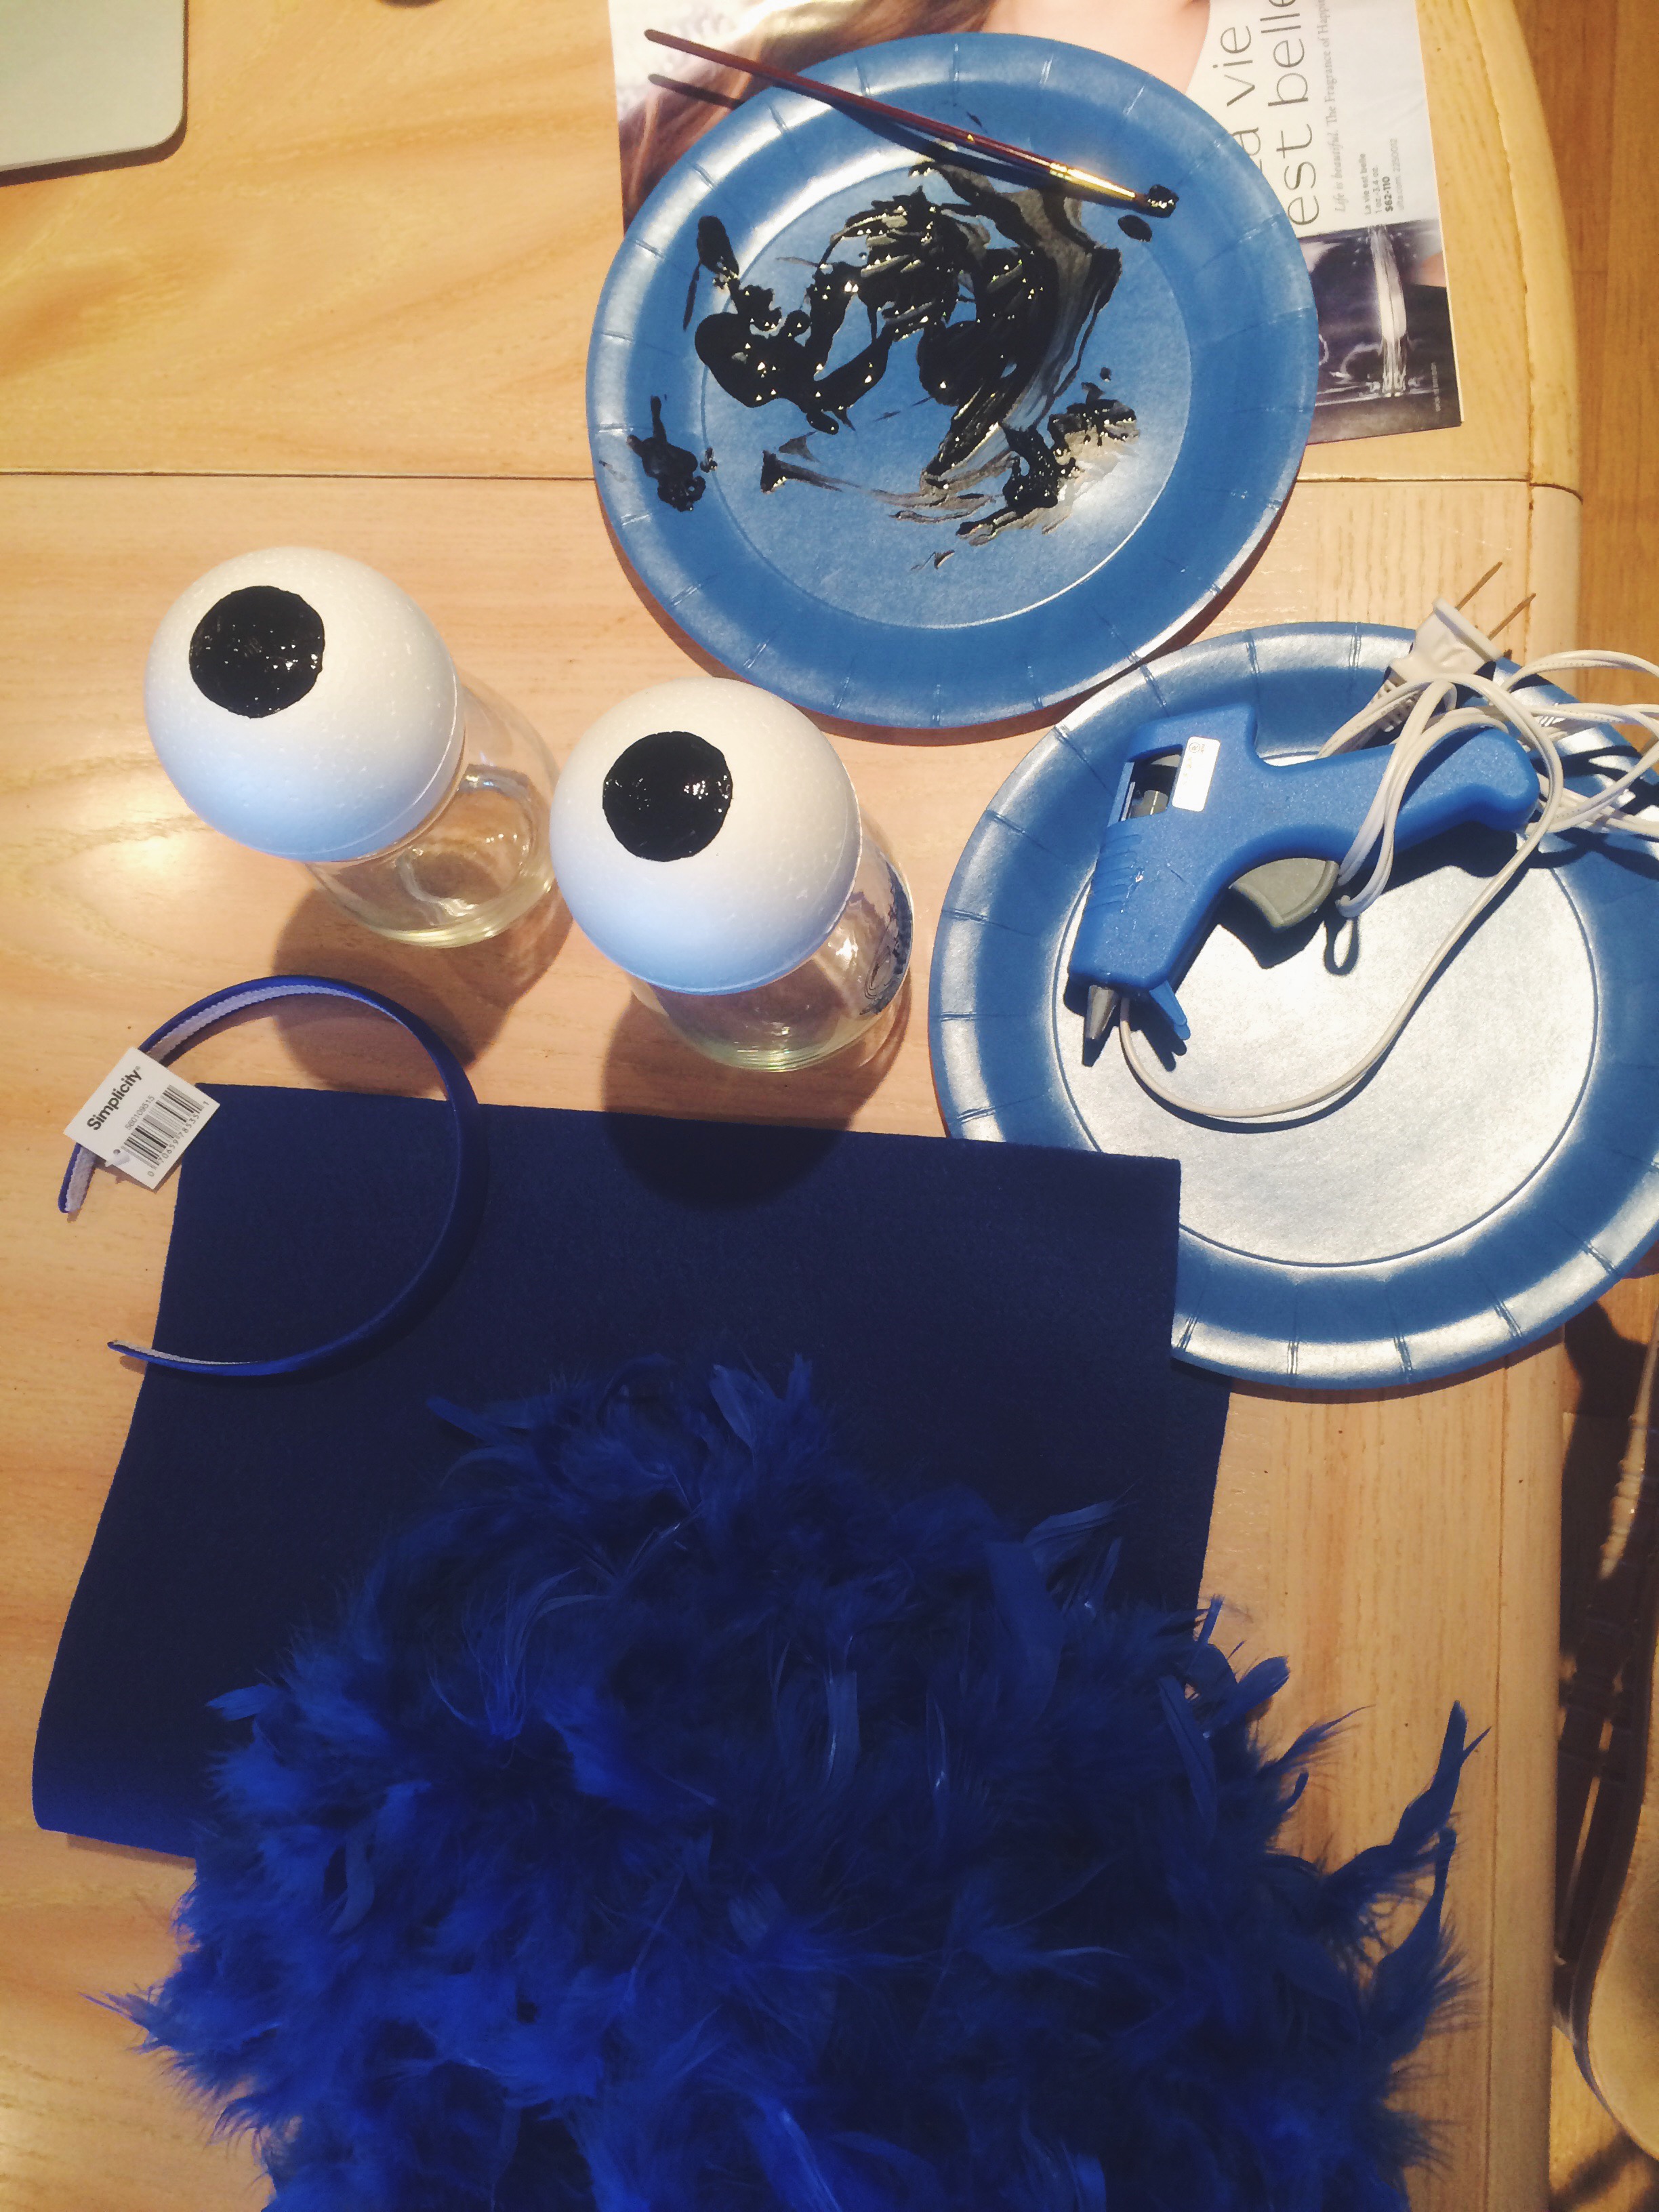
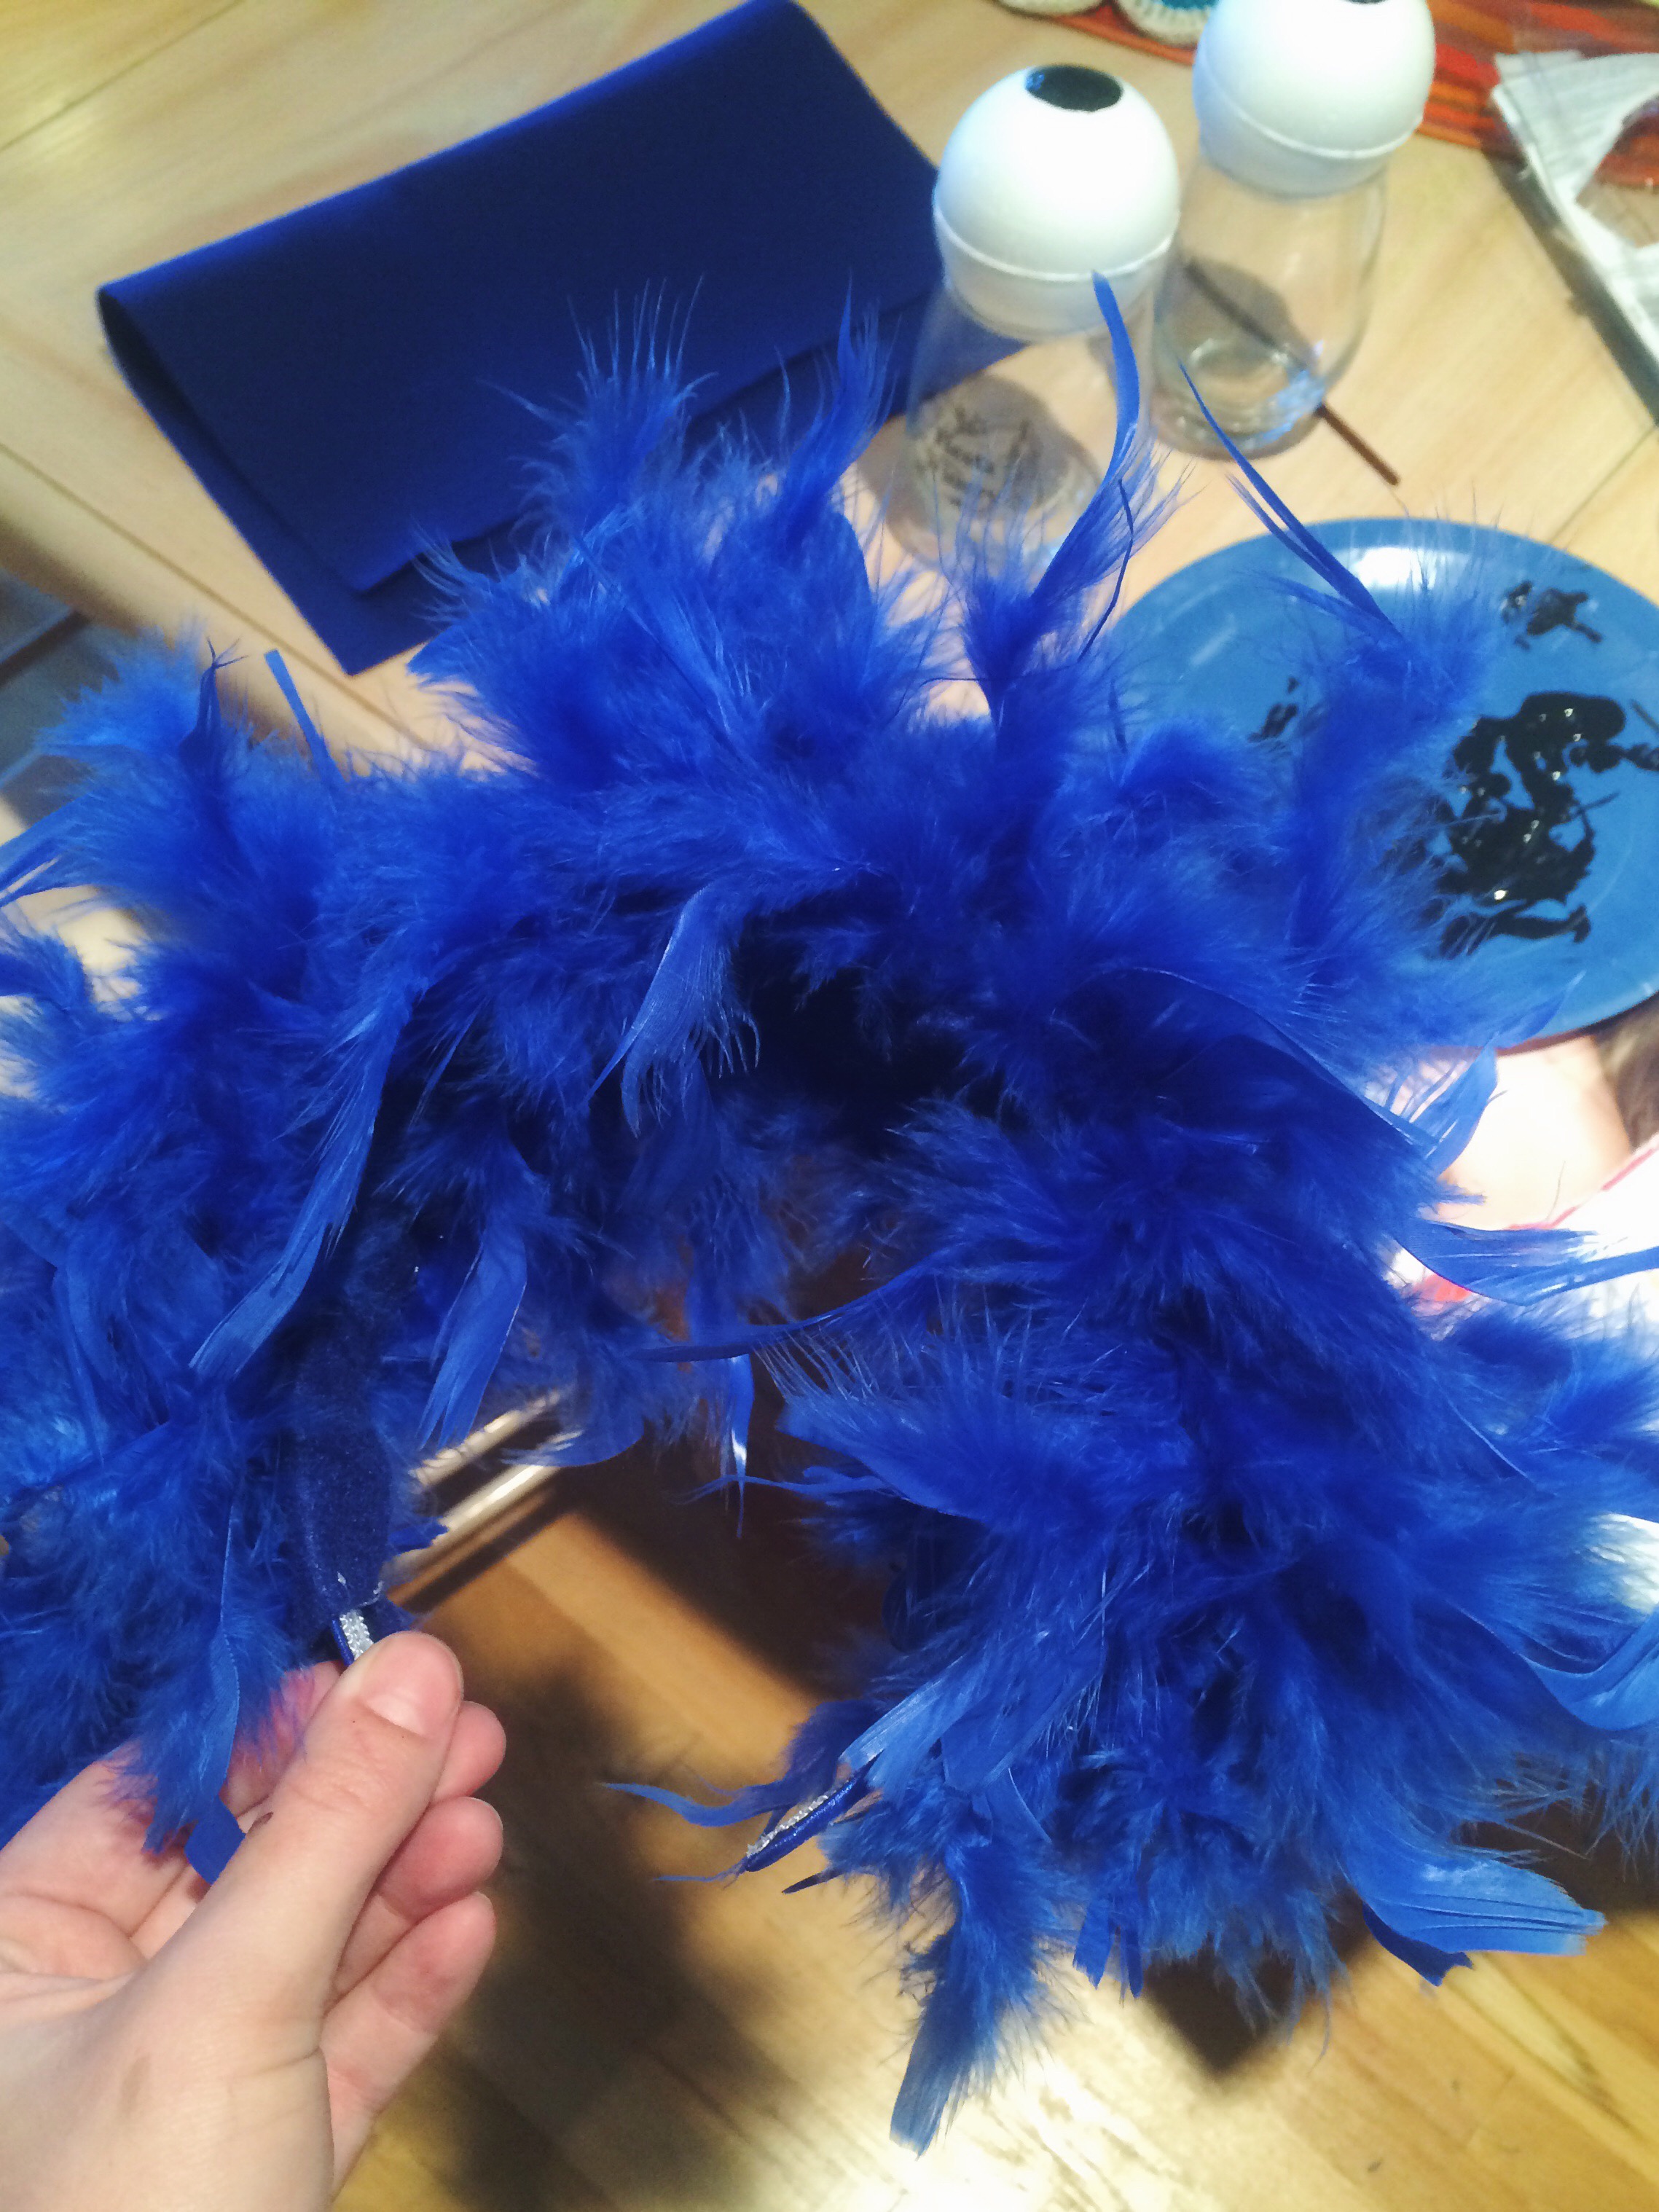
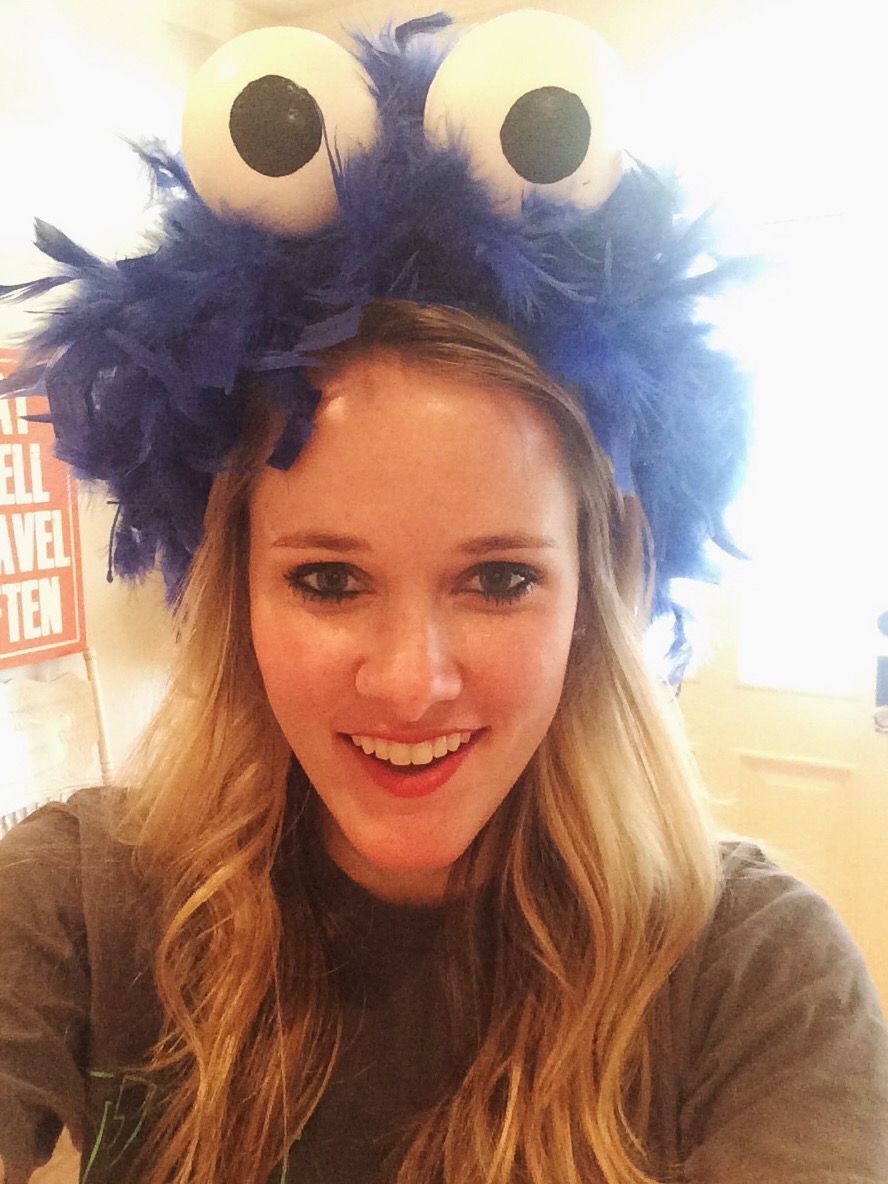
now for the crafty part. i found everything i needed at michael’s and made several different trips so that i could use lots of coupons! it’s a good way to save some money. as andrea mentions in her tutorial, you’ll need blue feather boas [i ended up needing 5 – i used ¾ of one for the headband, and the 4-¼ for the body]. i followed her tutorial for the headband – it was very simple and came out great.
first, you paint black circles on the styrofoam balls to make eyes. when i was letting the circles dry, i set the styrofoam balls on glasses to ensure that they wouldn’t roll away.
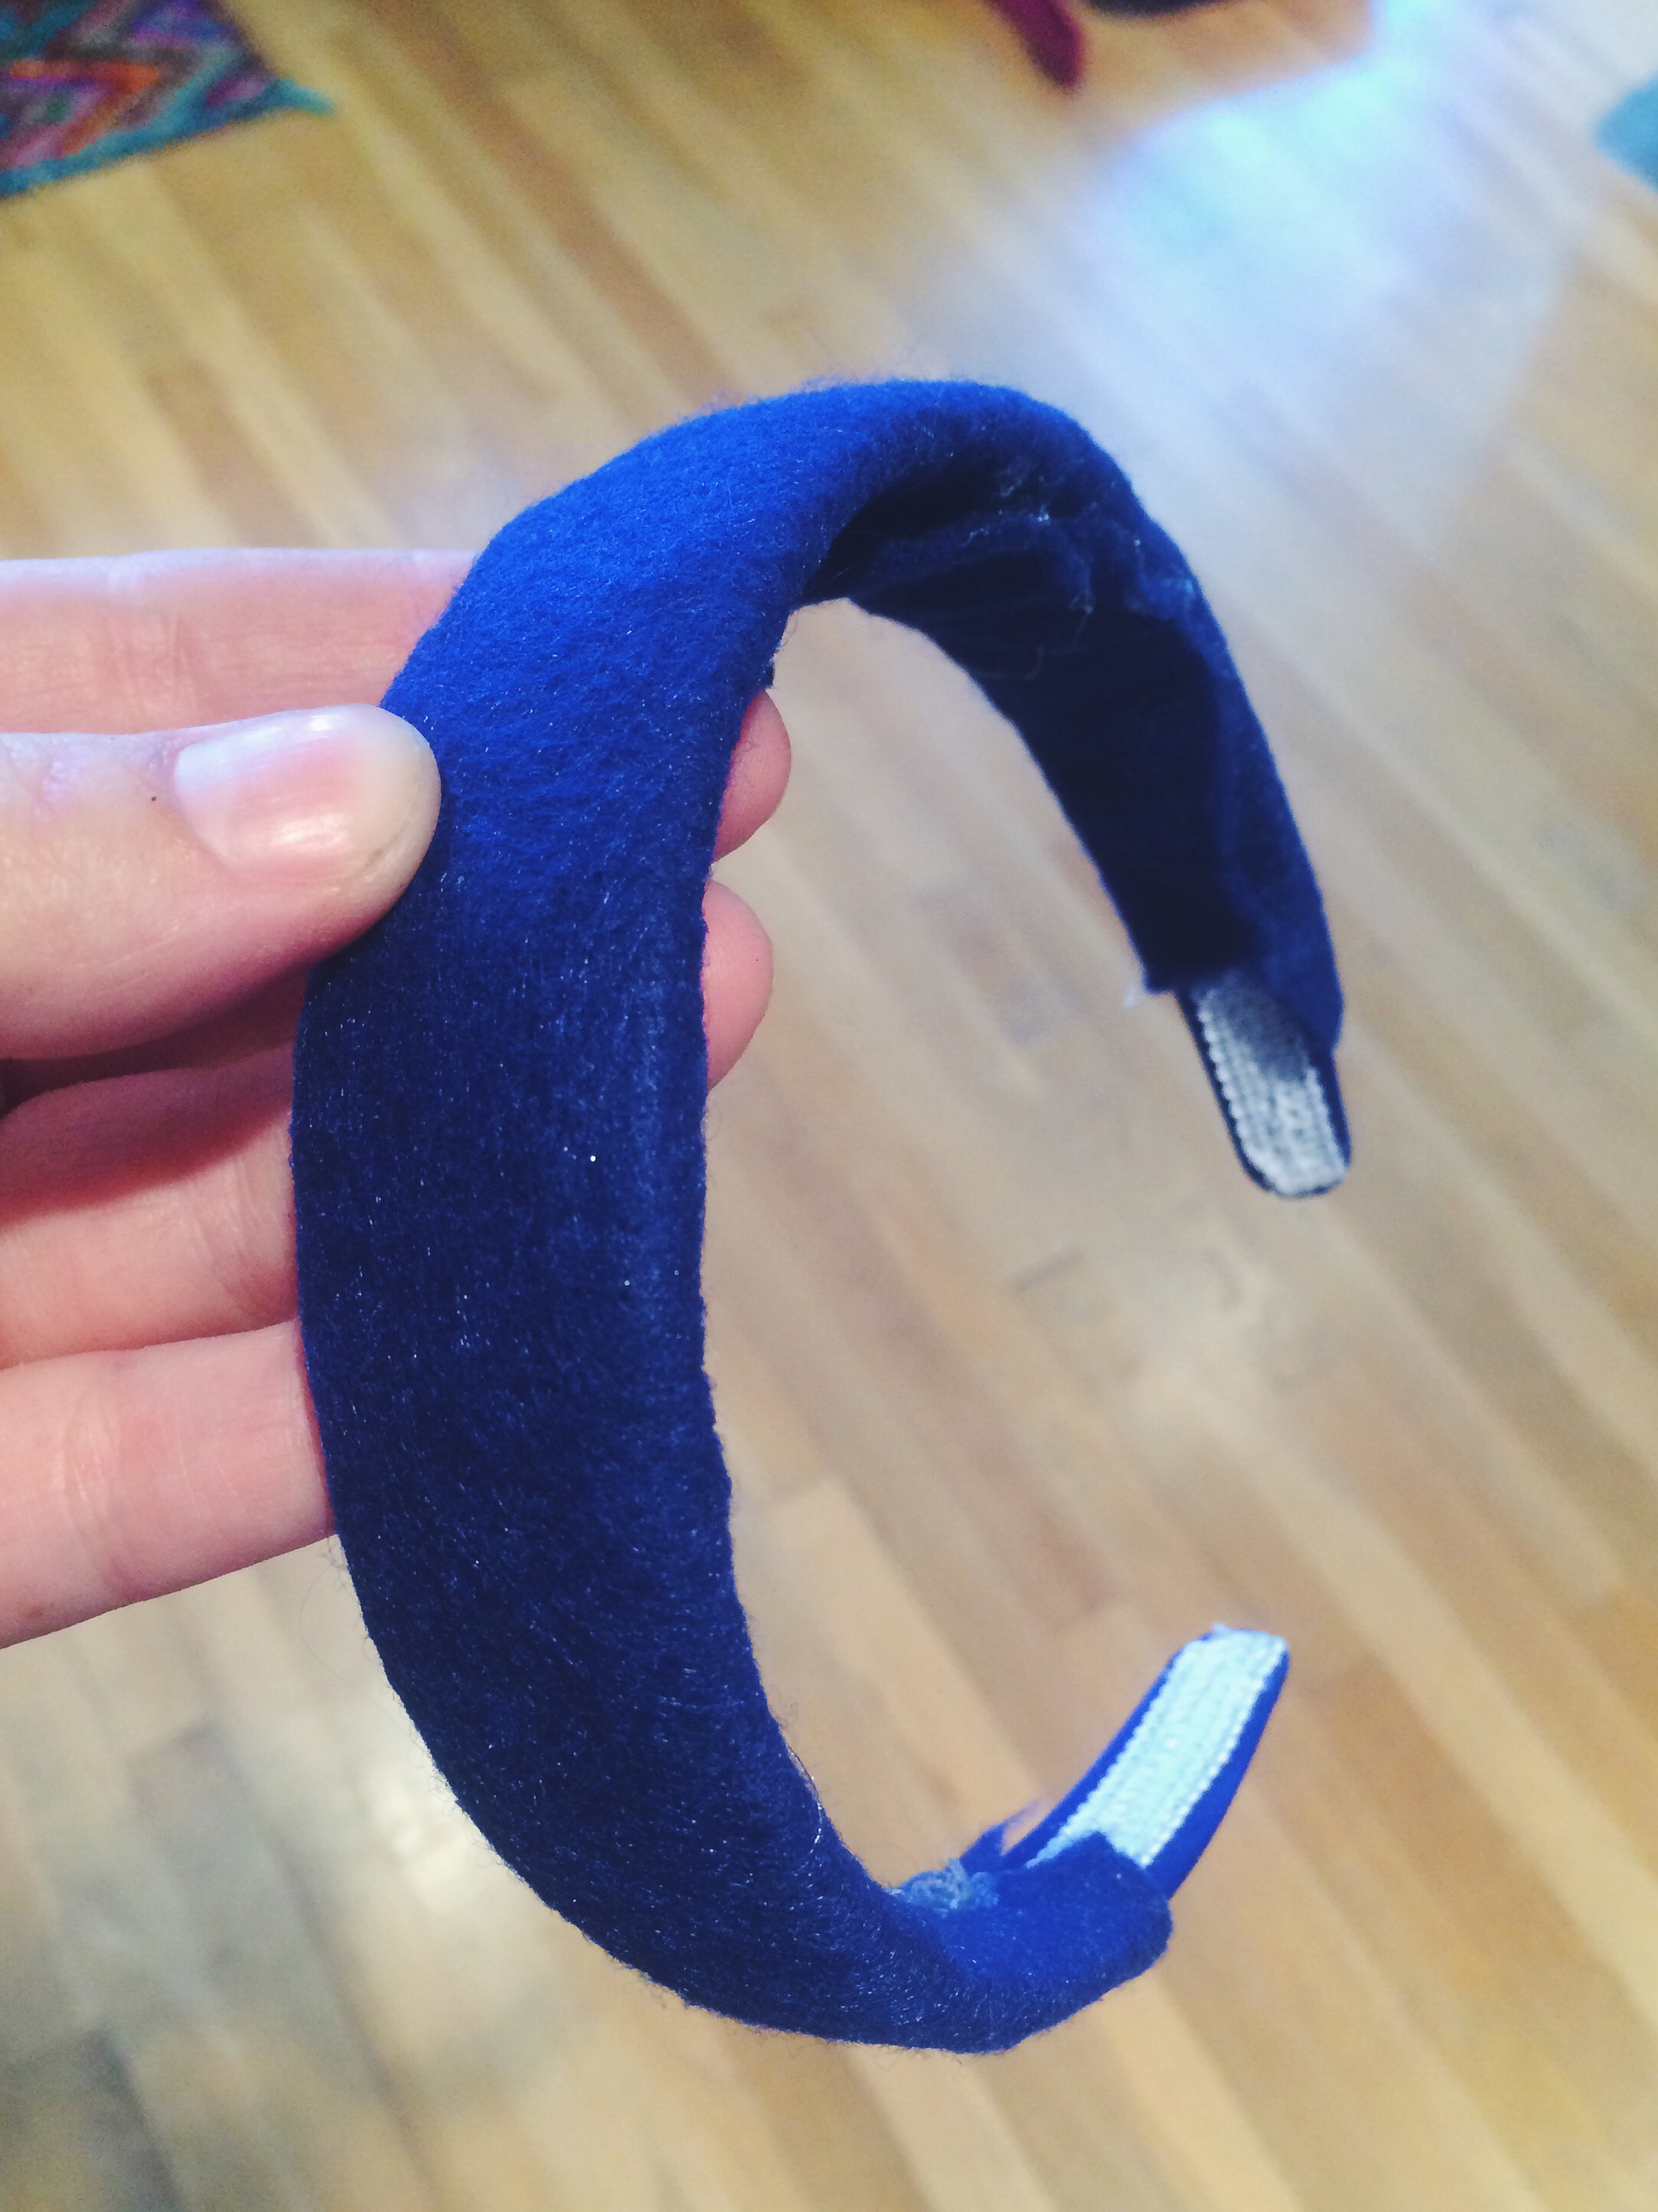
while the eyes are drying, you hot glue some blue felt on the headband to help the feathers stick. i had a blue headband without holes instead of a clear plastic one like she had, but it worked just fine.
{it doesn’t have to be perfect because it will be covered with blue feathers!}
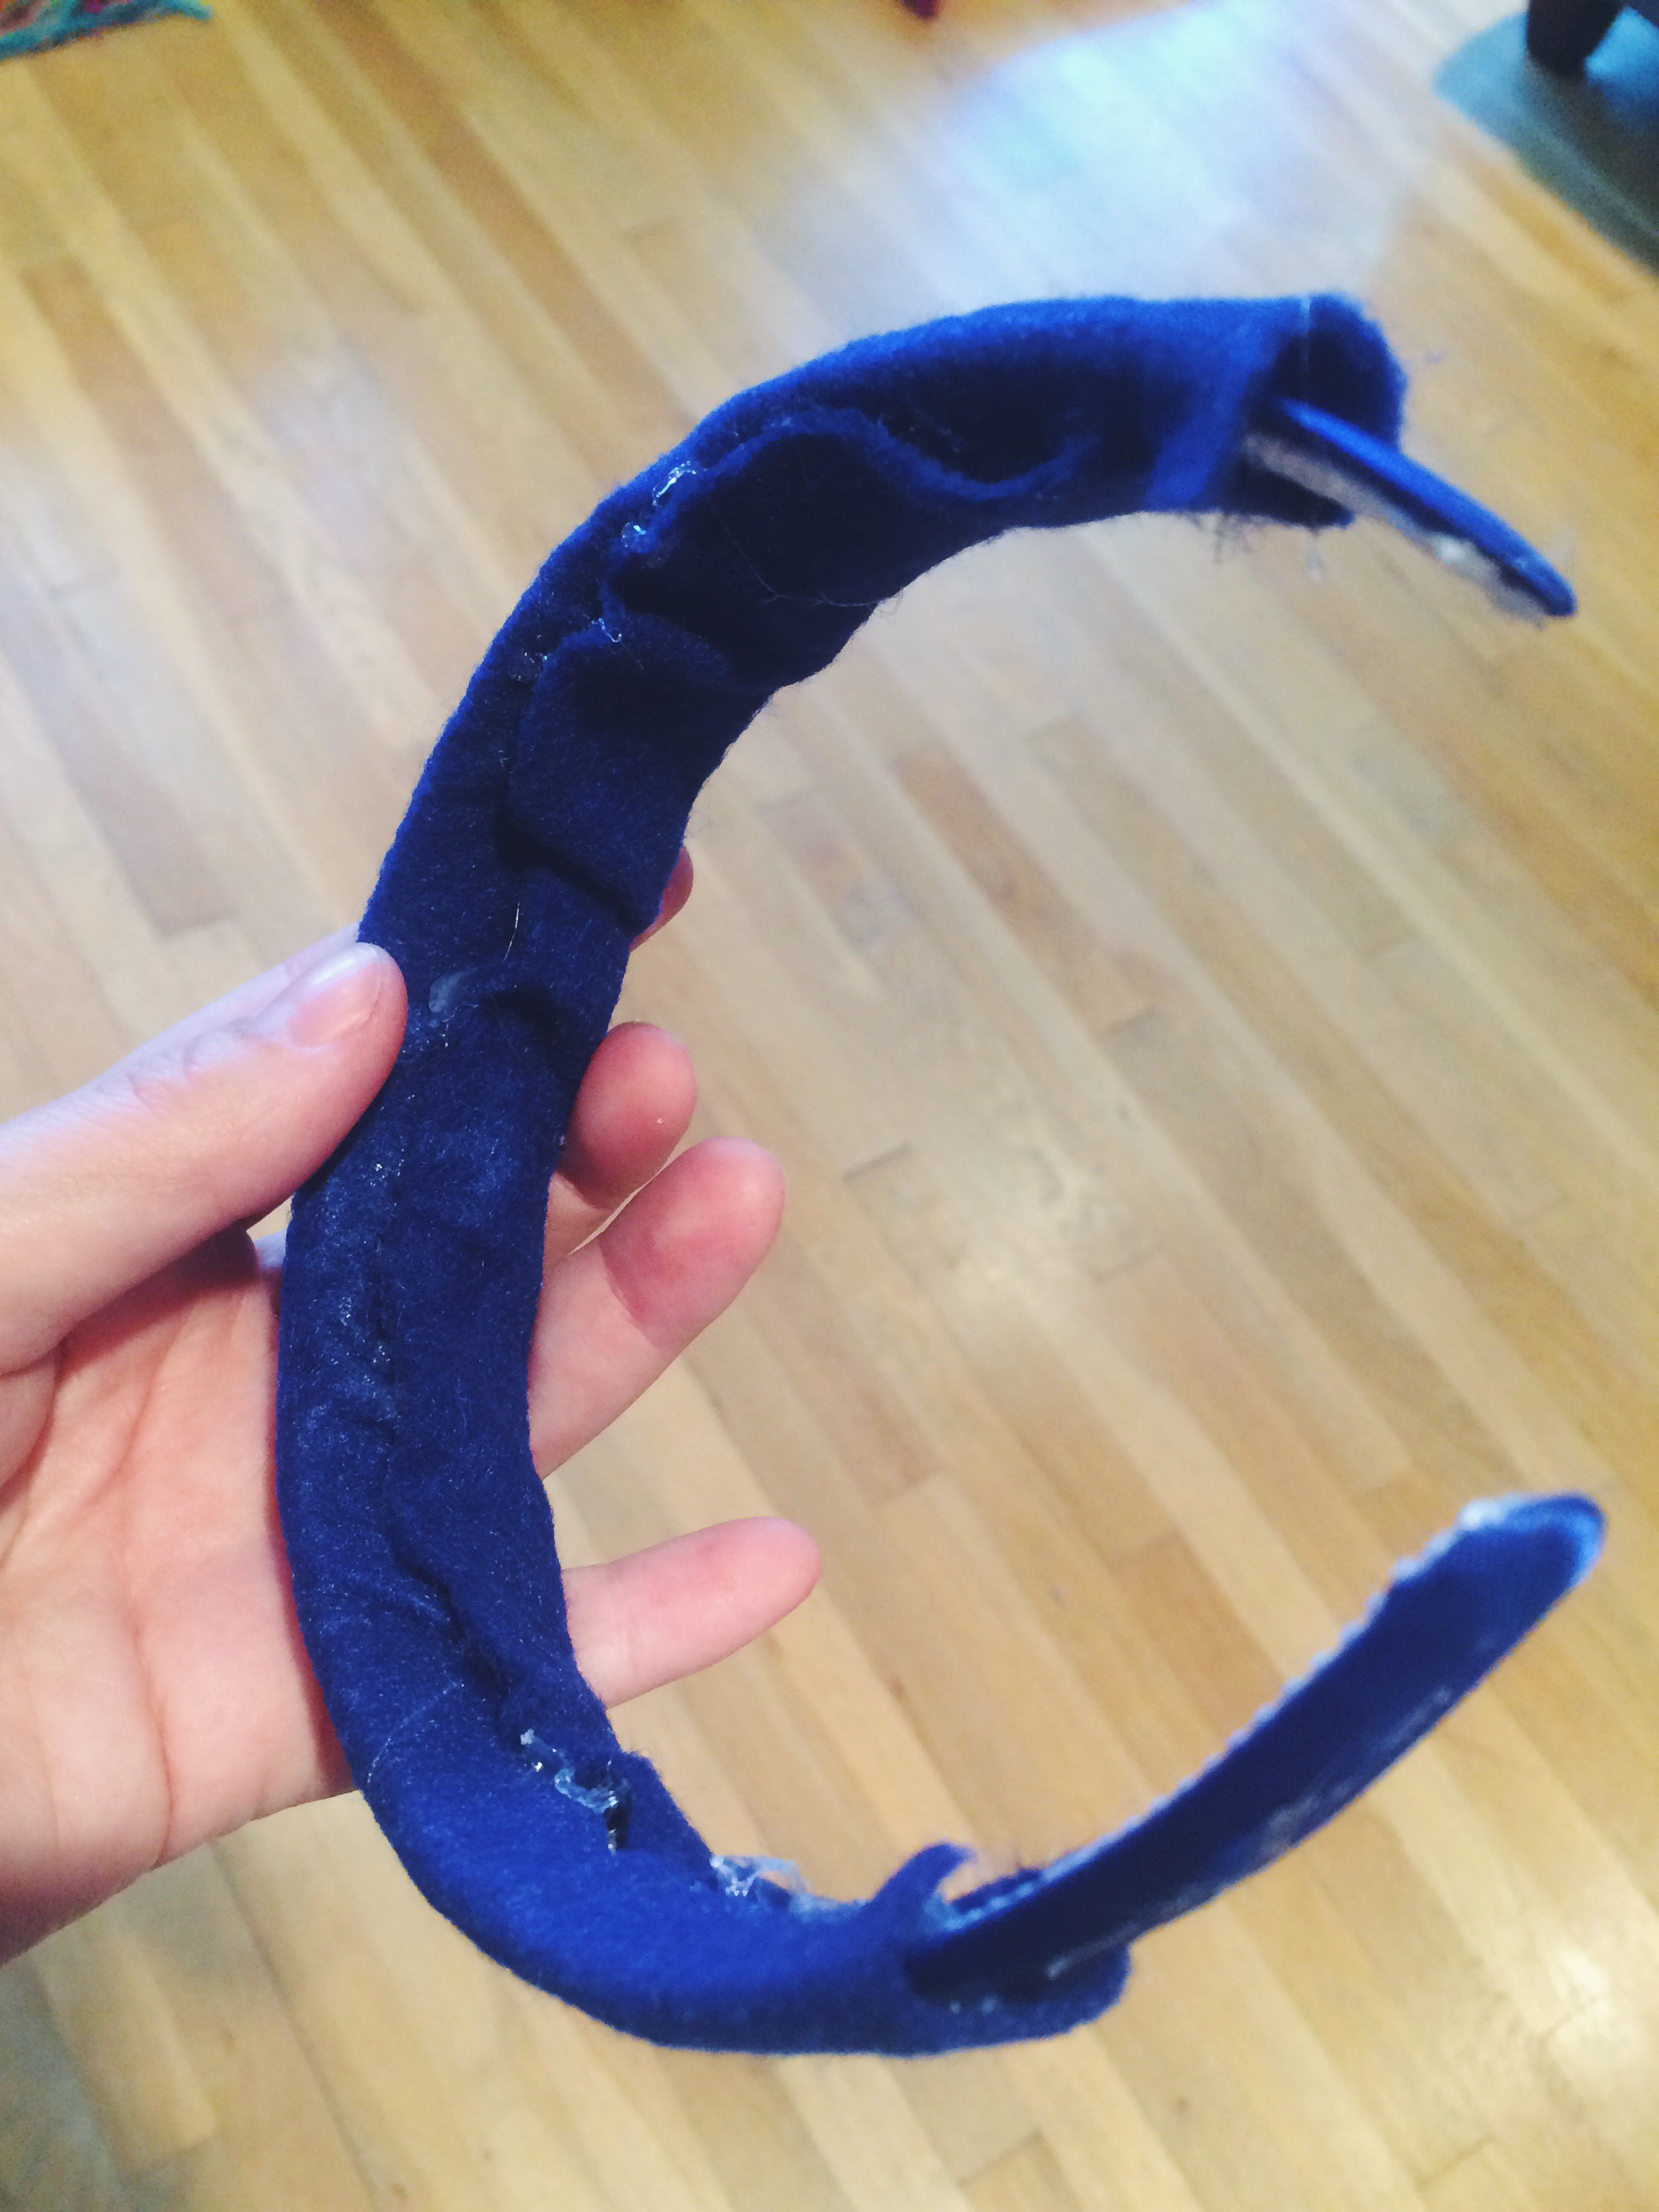
next, hot glue two pieces of the feather boa onto the felt on the headband, one on top of the other.
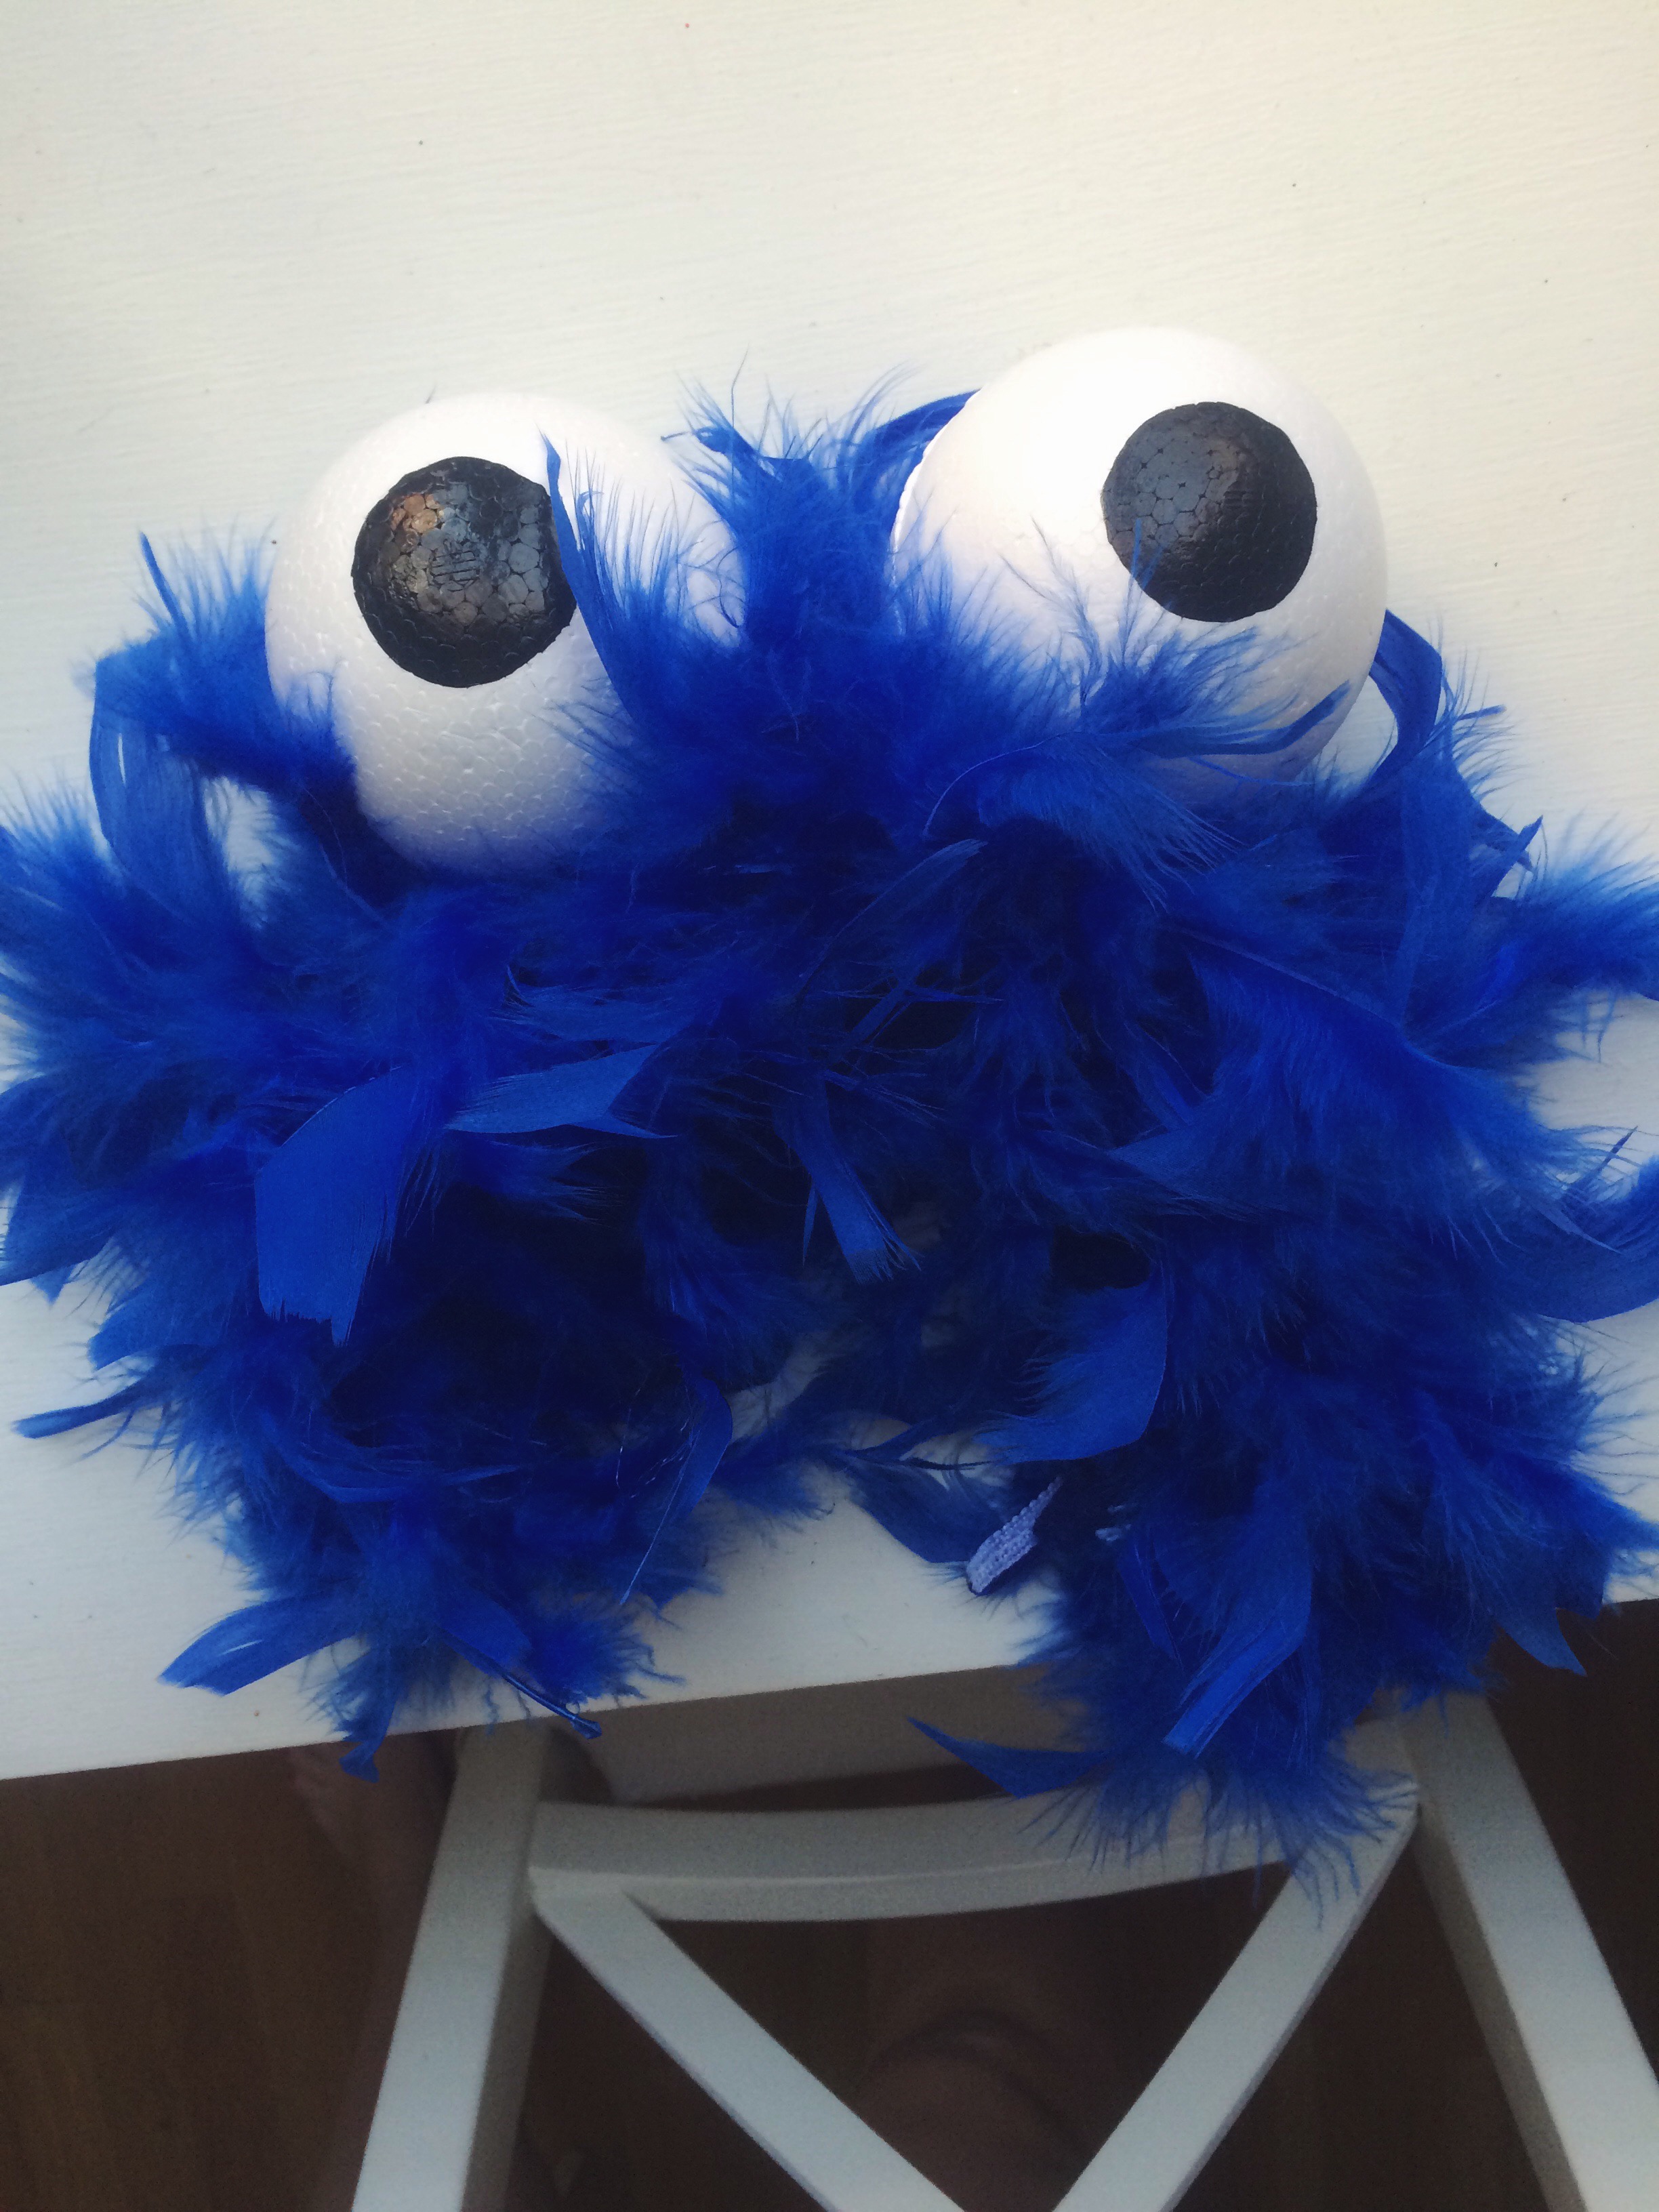
then hot glue on the eyes to the headband, adding felt strips for stabilizers so the balls don’t flop around. i ended up adding extra felt stabilizers because mine didn’t seem sturdy enough with just one, but that worked great.
{cute little cookie monster headband!}
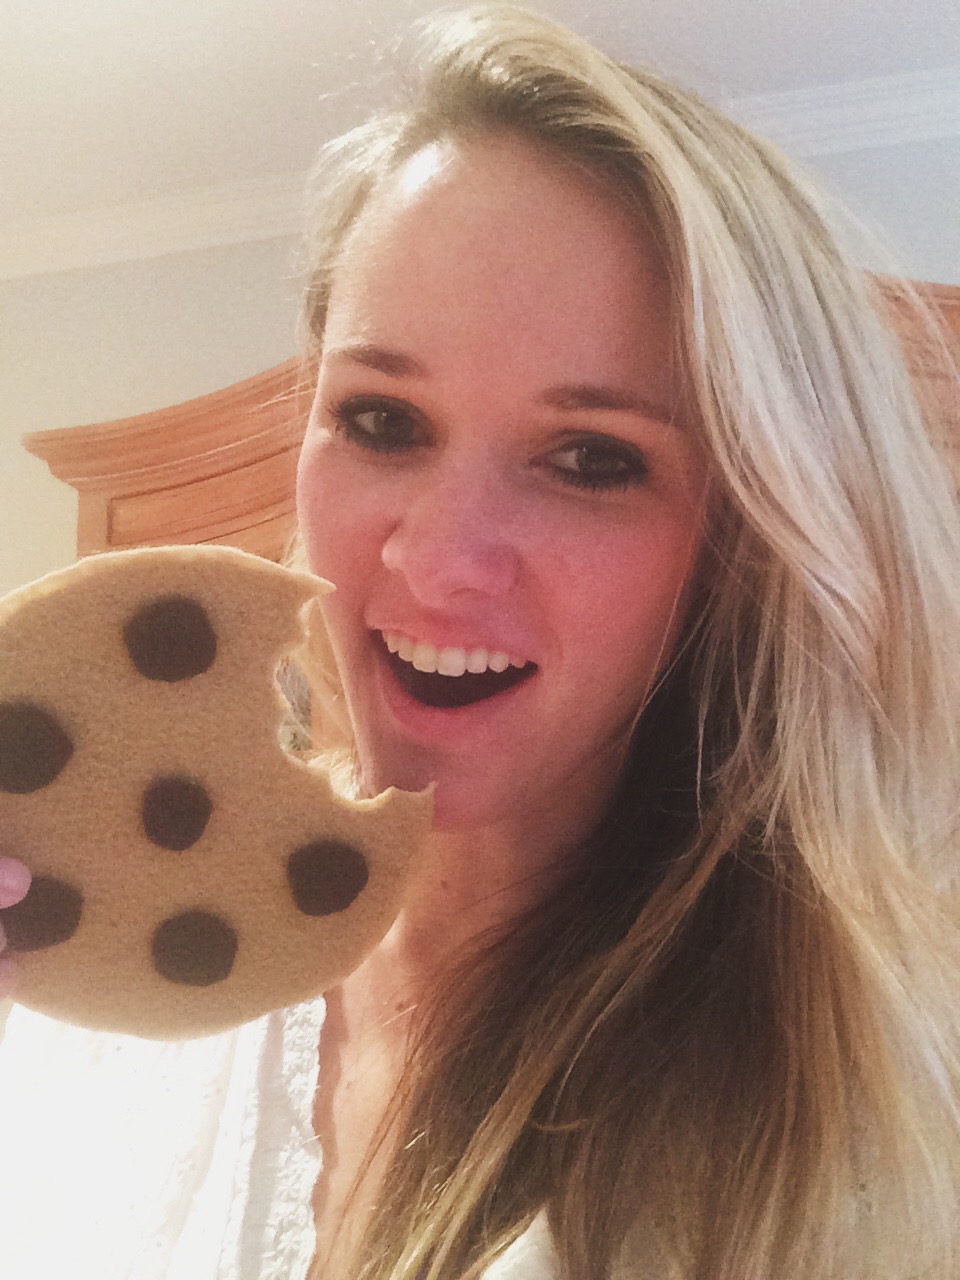
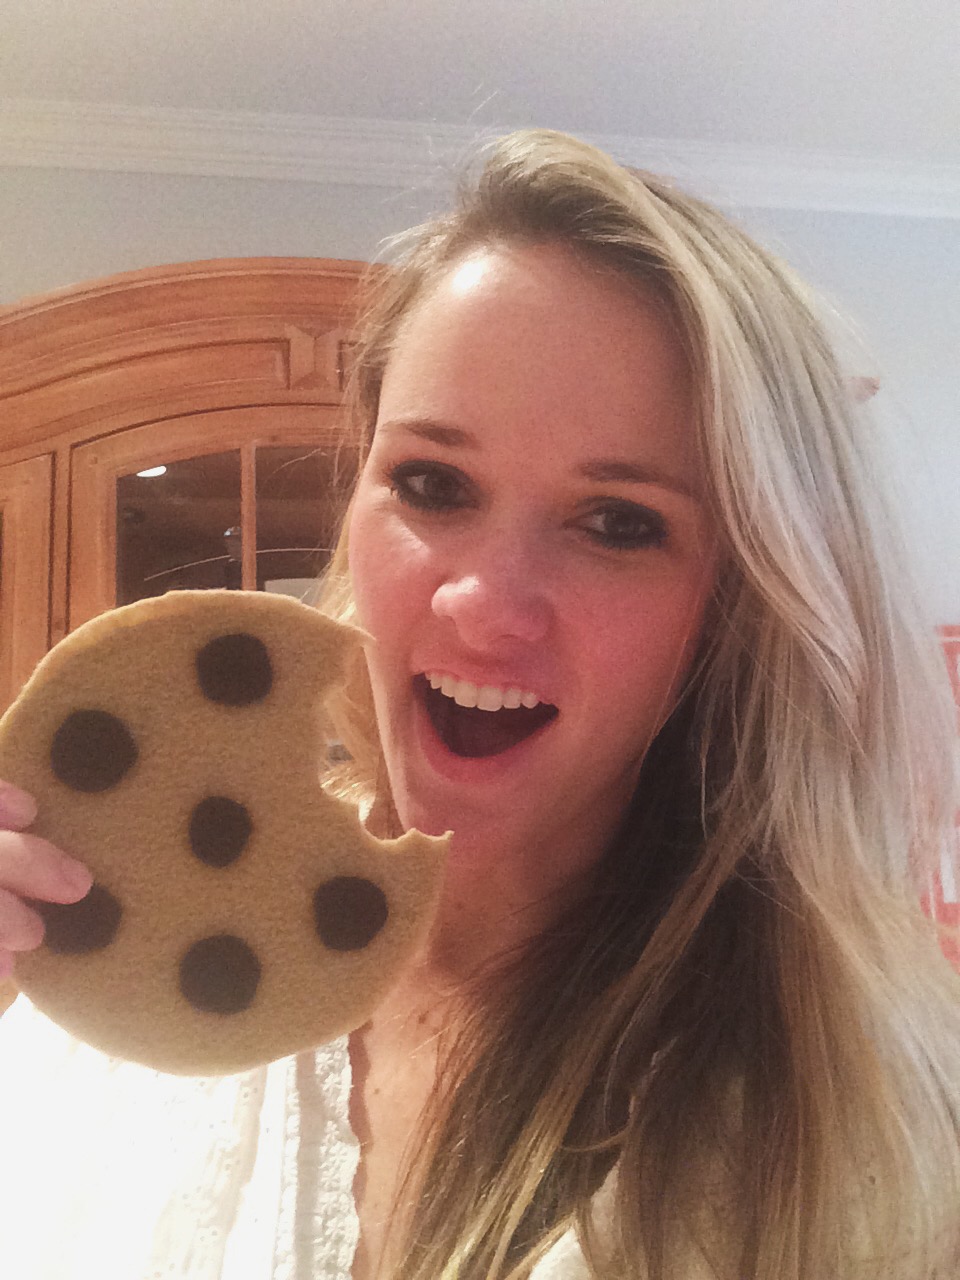
for the cookie, you use something circular that you have in your home as a stencil [i used a large jar] and cut a circle on a piece of stiff black felt and tan regular felt. andrea had mentioned using another smaller stencil to make the chocolate chips, but i just freestyled mine instead of making perfect circles, and i also made them a little smaller than hers. you hot glue the tan felt circle and stiff black felt circle together, and then cut out a “bite.” i pretended i was drawing a cloud on the edge of the cookie to make the bite, cut it out, then hot glued on the chocolate chips.
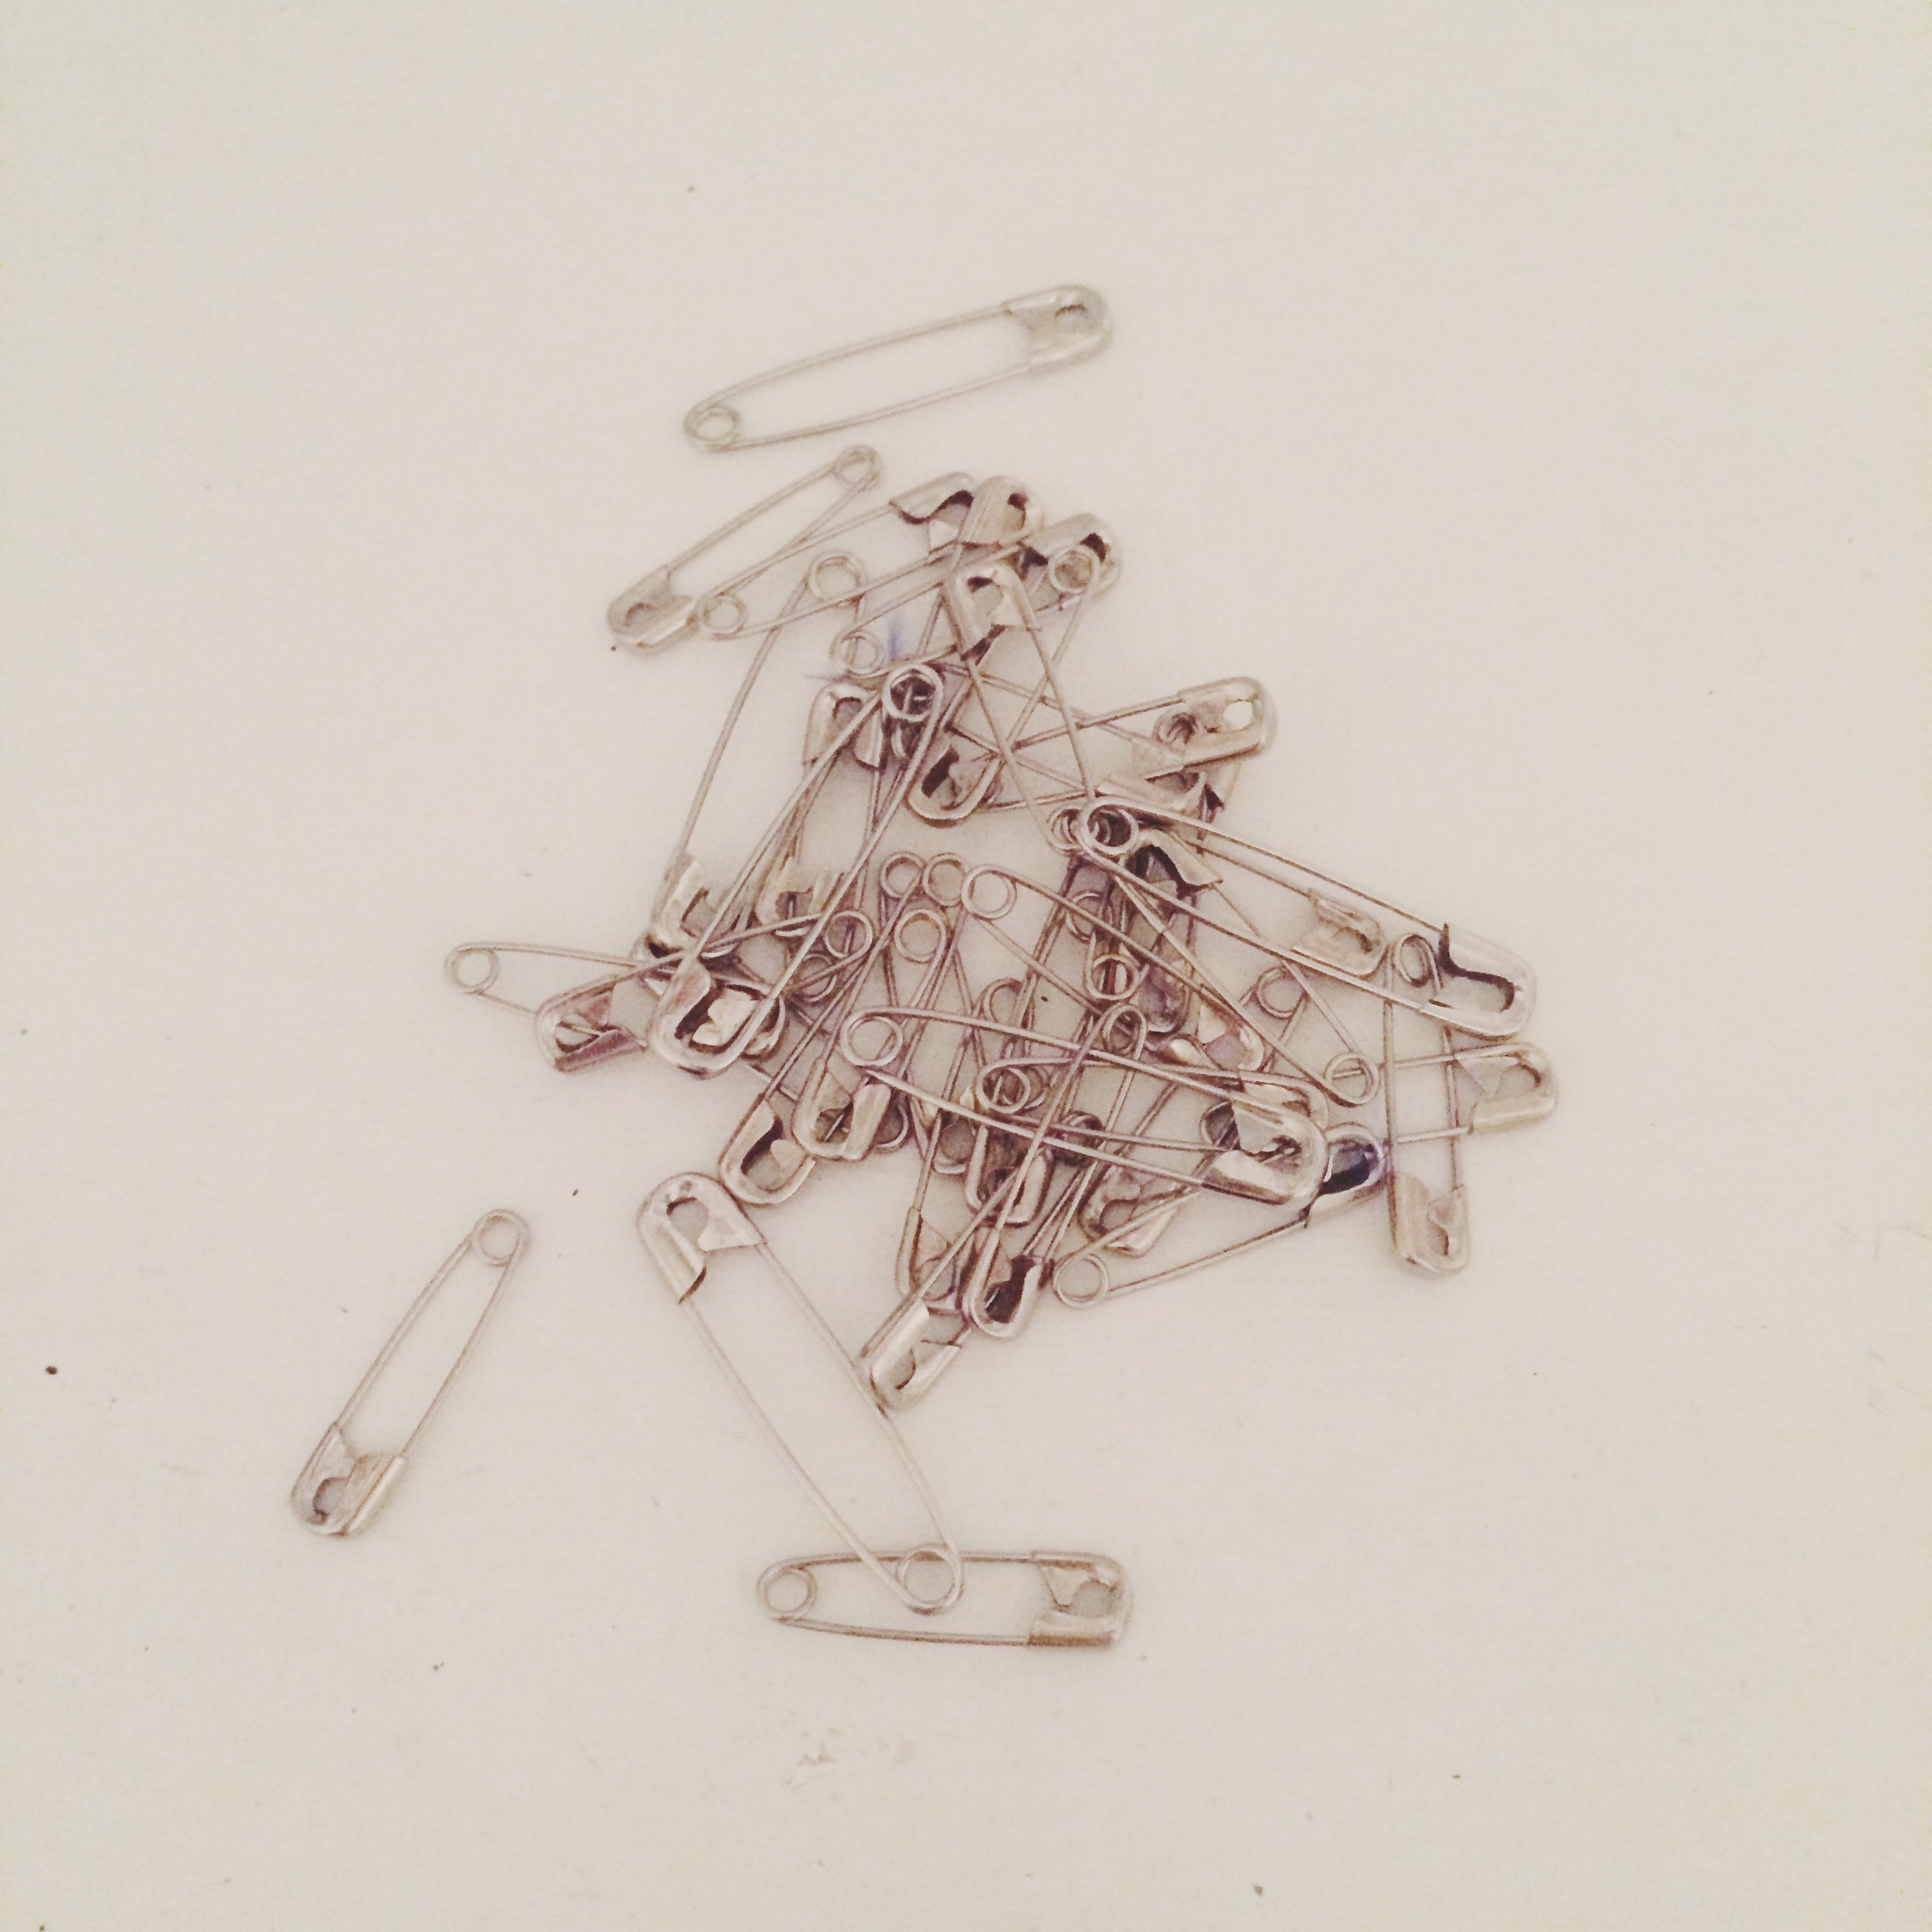
for the body, you’ll pin the feather boas around the body and ensure there are no gaps. i used medium and large safety pins – it took this many:
if your “base layer” has a thicker fabric, i would recommend using only large safety pins. i couldn’t tuck the boa in at the beginning, which andrea recommends in her tutorial, because my romper was loose at the bottom and not tight to my skin, but i just started pinning and it worked fine. i pinned while it was on my body and that seemed to work well, especially since the shorts of my romper had wider legs so i could get my hands in there and the romper was made of stretchy fabric [96% polyester and 4% spandex, to be exact]. i didn’t go up as high with the boas as andrea did because of where the waistline on my romper fell, but that was alright with me.
keep pinning until you’re happy with the result, and then put it all together with the tights, shoes, and headband, plus the cookie of course! i also painted my toes blue just for fun.
i was going to a halloween party, so i made some real chocolate chip cookies and brought those, because what’s a cookie monster without cookies?!
i felt like it was the perfect costume, because similar to my morton salt girl costume last year, it wasn’t too revealing or, uh, slutty [for lack of a better word], but it was still really cute and flattering and not at all frumpy. people seriously loved it.
i hope you have fun making your cookie monster costume and thank you to andrea for the wonderful tutorial! go check it out! xoxo

