i really felt like the halloween costumes were on steroids this year [in a good way], and i think a lot of that is thanks to pinterest. they were soooo creative and i don’t recall seeing a single “generic” store-bought costume while i was out… at least none that looked store-bought. i despise those cheapy store-bought ones – you know, the ones that you just payed $80 for but look like you got them at the dollar store? it’s so frustrating to spend that much money and be getting something that’s made out of fabric that has the quality level of toilet paper. it’s a total rip-off. that’s why in recent years, i’ve ended up just putting together my own. and i’m not hating on people who buy the store-bought ones, because i’ve been there, done that, and putting together your own costume can take a lot of time and sometimes end up costing the same amount as the store-bought ones, BUT if you can be smart about your money and costume choice, you can come out with something that’s better than anything you could get at the store without breaking the bank or spending hours sewing/gluing [i’m a no-sew kind of girl, but if you can sew, more power to ya!]. andddddd it can actually be really fun creating your own!
last year i was my own version of hipster cinderella [inspired by this video, which is hilarious by the way], but to be honest, it didn’t turn out quite as good as i was expecting. it wasn’t as recognizable as i thought it would be [i didn’t end up wearing my black-rimmed glasses because i think they distracted and made it even harder to figure out that i was cinderella]. the year before that, i was a pirate, which was an easy DIY with a store-bought pirate hat.
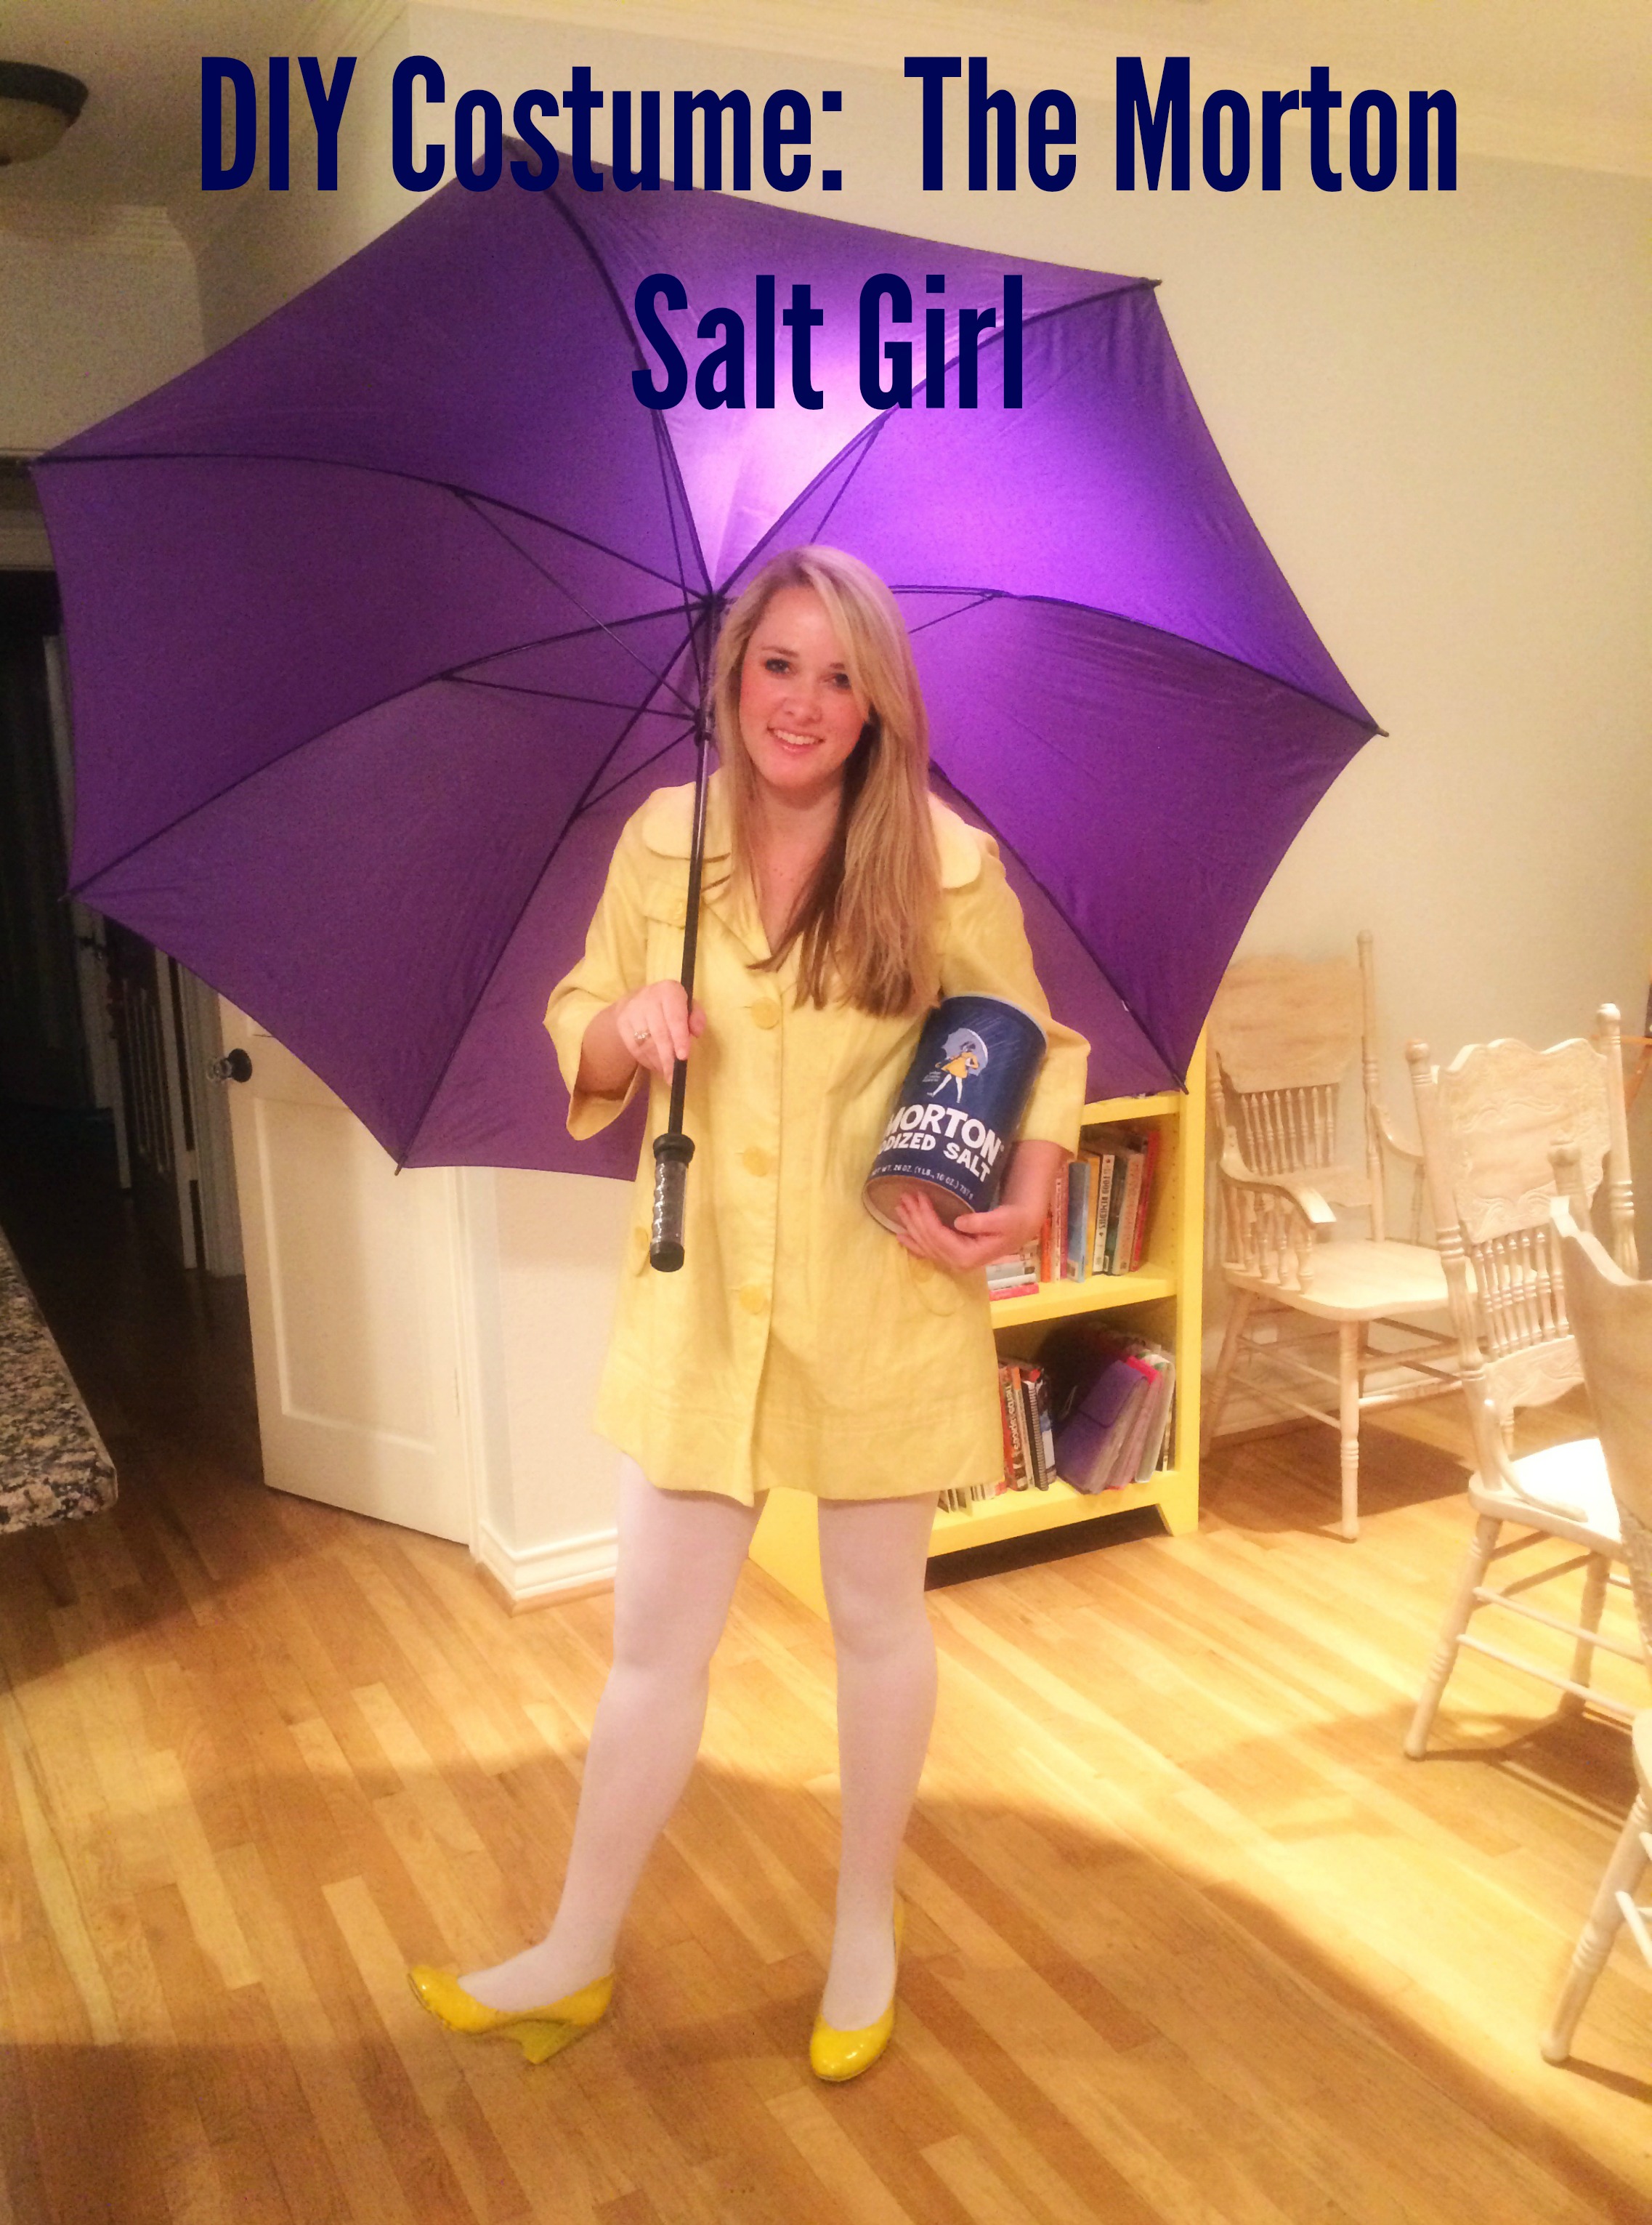
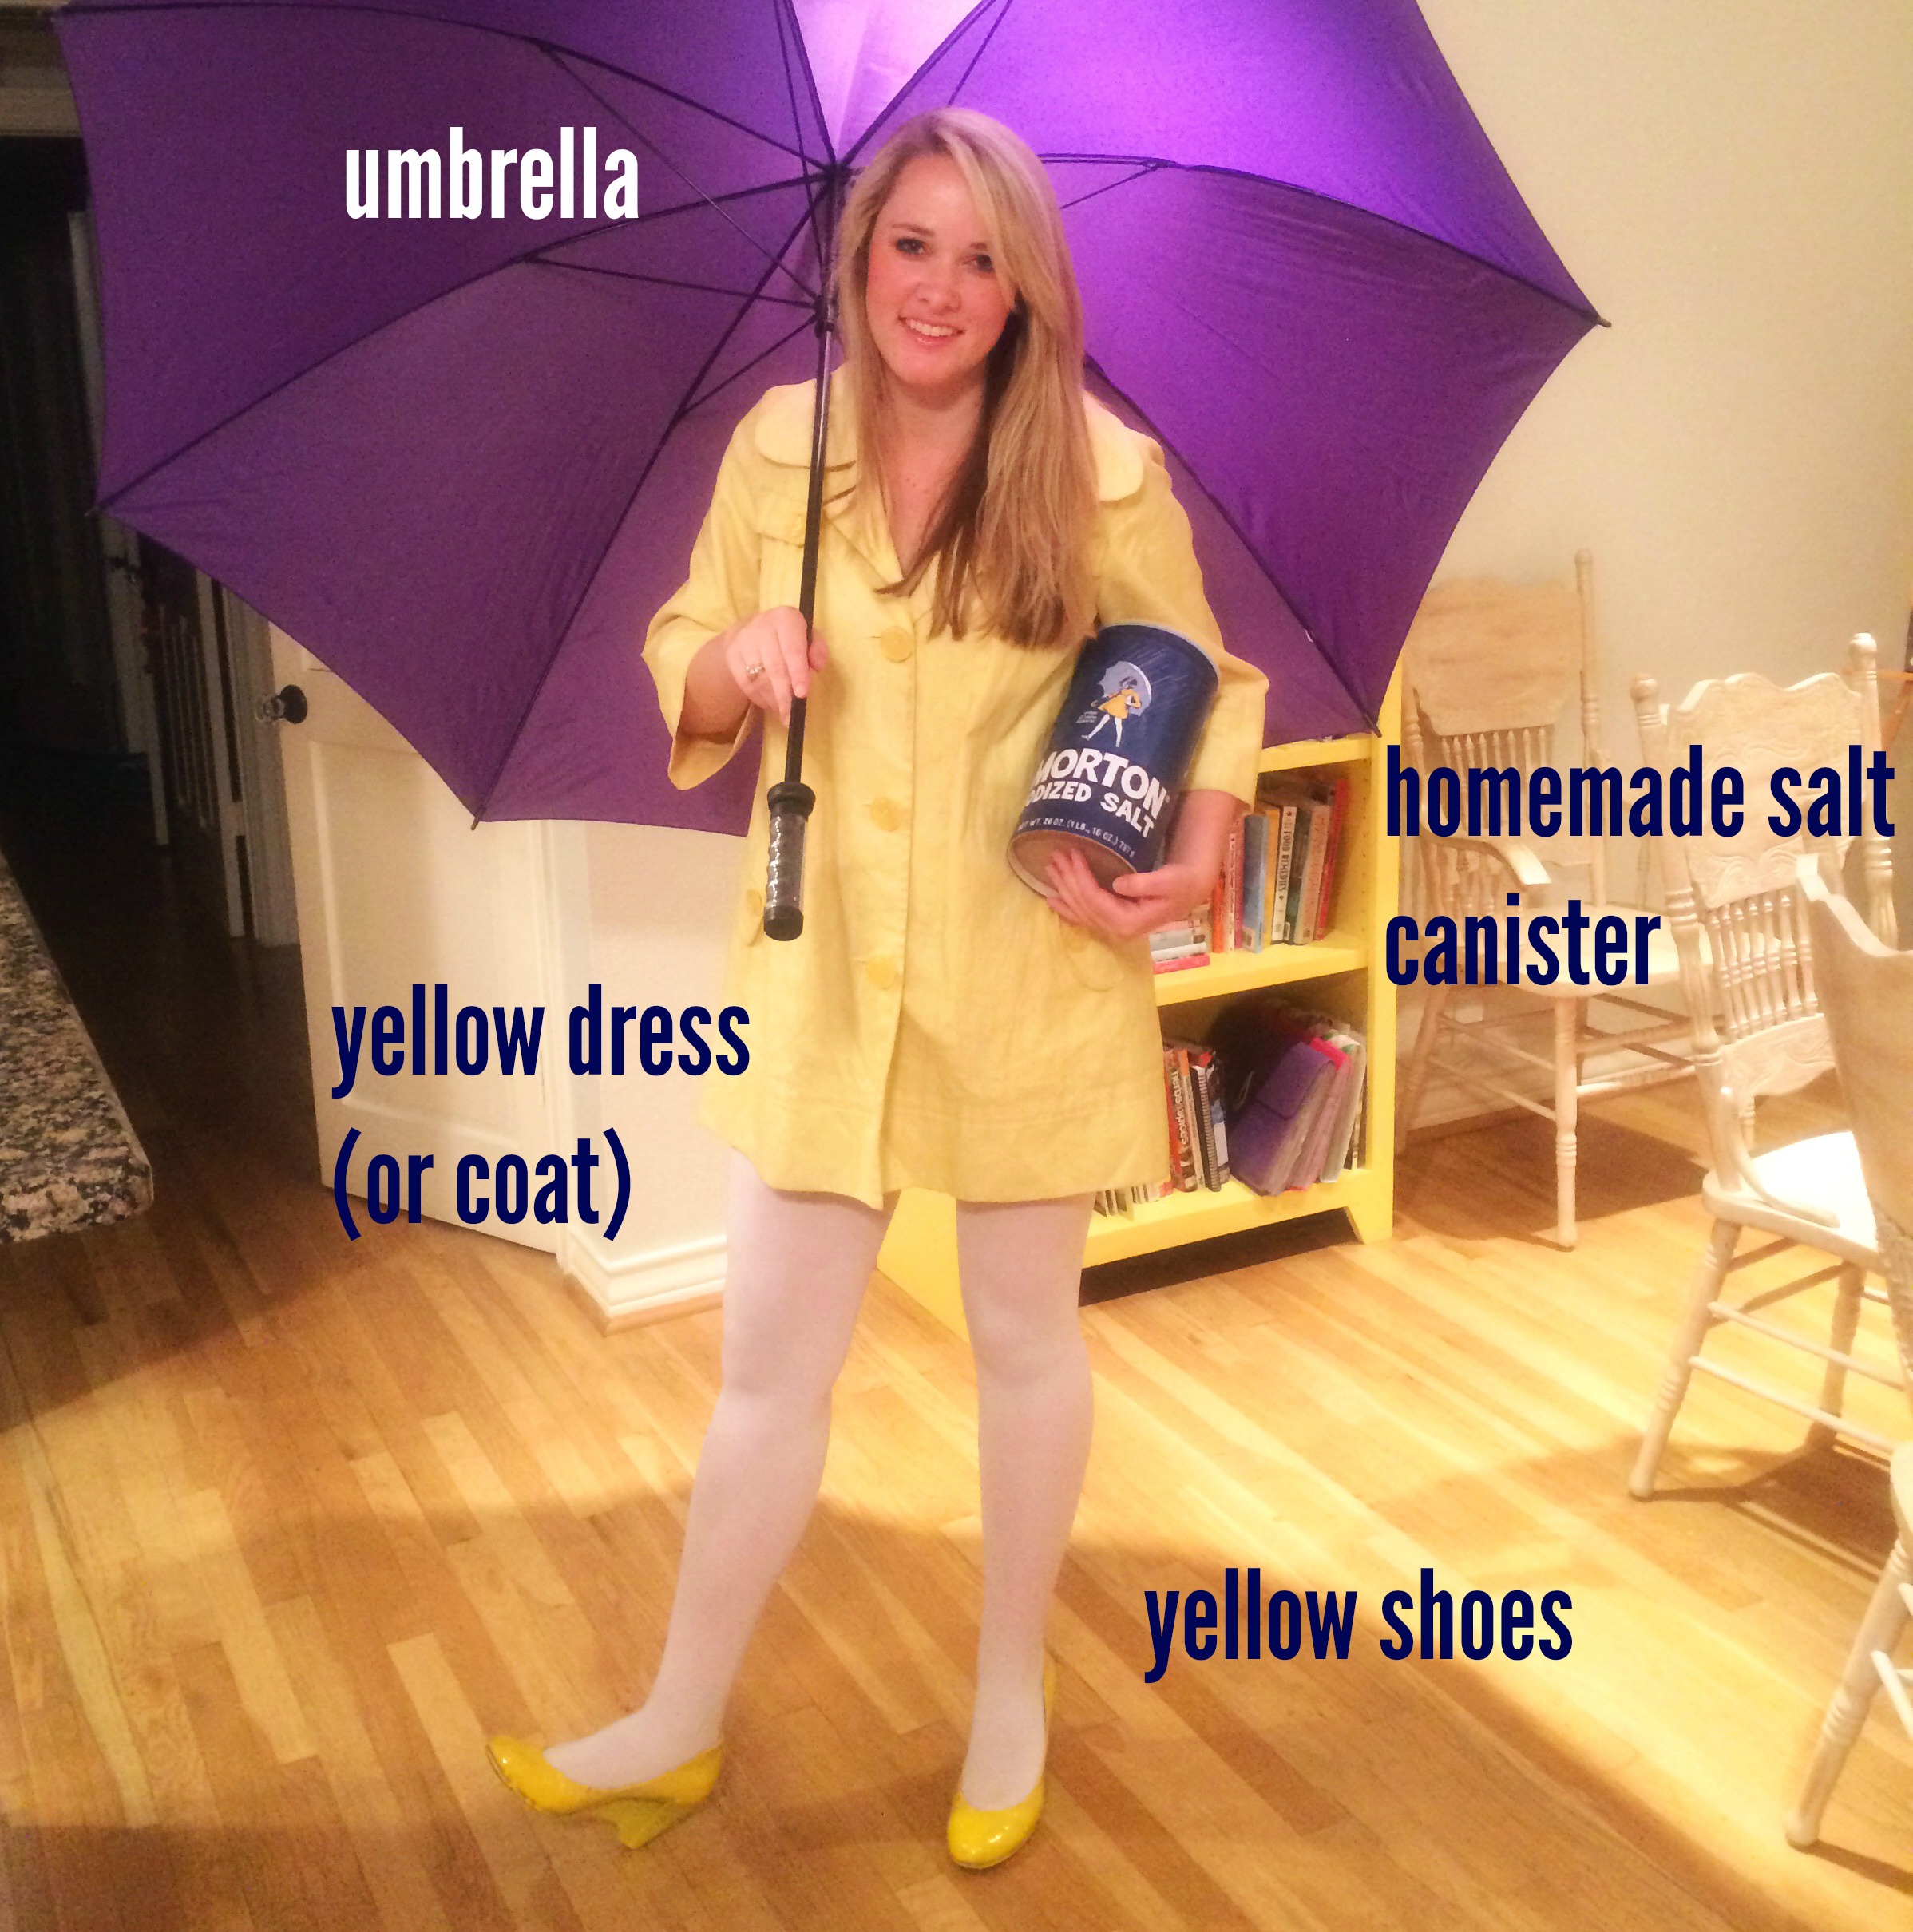
this year’s costume, though, was easily my best DIY costume yet. i was the morton salt girl – you know, the little girl in yellow on the salt canisters who has an umbrella and a salt canister in her arm with a trail of salt pouring out behind her. and the best part? i spent hardly any money and literally put it all together the day of, after work. granted, i had thought about being the morton salt girl prior to that day and knew that i happened to have most of my items in my closet, but it is not a hard costume.
i had seen it on pinterest and liked the idea, but i was disappointed that there were no tutorials on the internet to make a giant morton salt canister to carry around, so this post will teach you how to do just that! emptying out a real morton salt canister is another option, but they’re so small, and to look like the little girl, a big one makes a much better impression. plus it can double as a purse!
here’s my tutorial:
to make the giant salt canister, here’s what you’ll need:
1 sheet of navy blue self-adhesive vinyl [found at craft stores in the scrapbook paper section – i got mine at joann fabrics]
an empty 42-oz quaker oats container
ruler
color printer
glue [i used elmer’s, but craft glue might work better]
a couple sheets of white cardstock
scissors
pencil
white self-adhesive vinyl [optional, for the letters – if you’re not making them with cardstock]
mod podge [if you’re making the letters with cardstock and not the vinyl]
foil
a white extra fine-tip chalkboard pen
a real morton salt canister to copy [optional]
amount of time it will take: i was able to make the canister the day of halloween, in about an hour and a half, but my recommendation would be to do it at least one day before, in case something goes wrong. i also didn’t use mod podge, and if you are, you will want to leave time for this to dry.
step 1: using a ruler, measure the height of the quaker oats container [i believe it was 9-1/2 inches] and cut the navy blue vinyl so that it fits the height of the quaker oats container [the vinyl should have a grid on the back which makes it easy to cut a straight line].
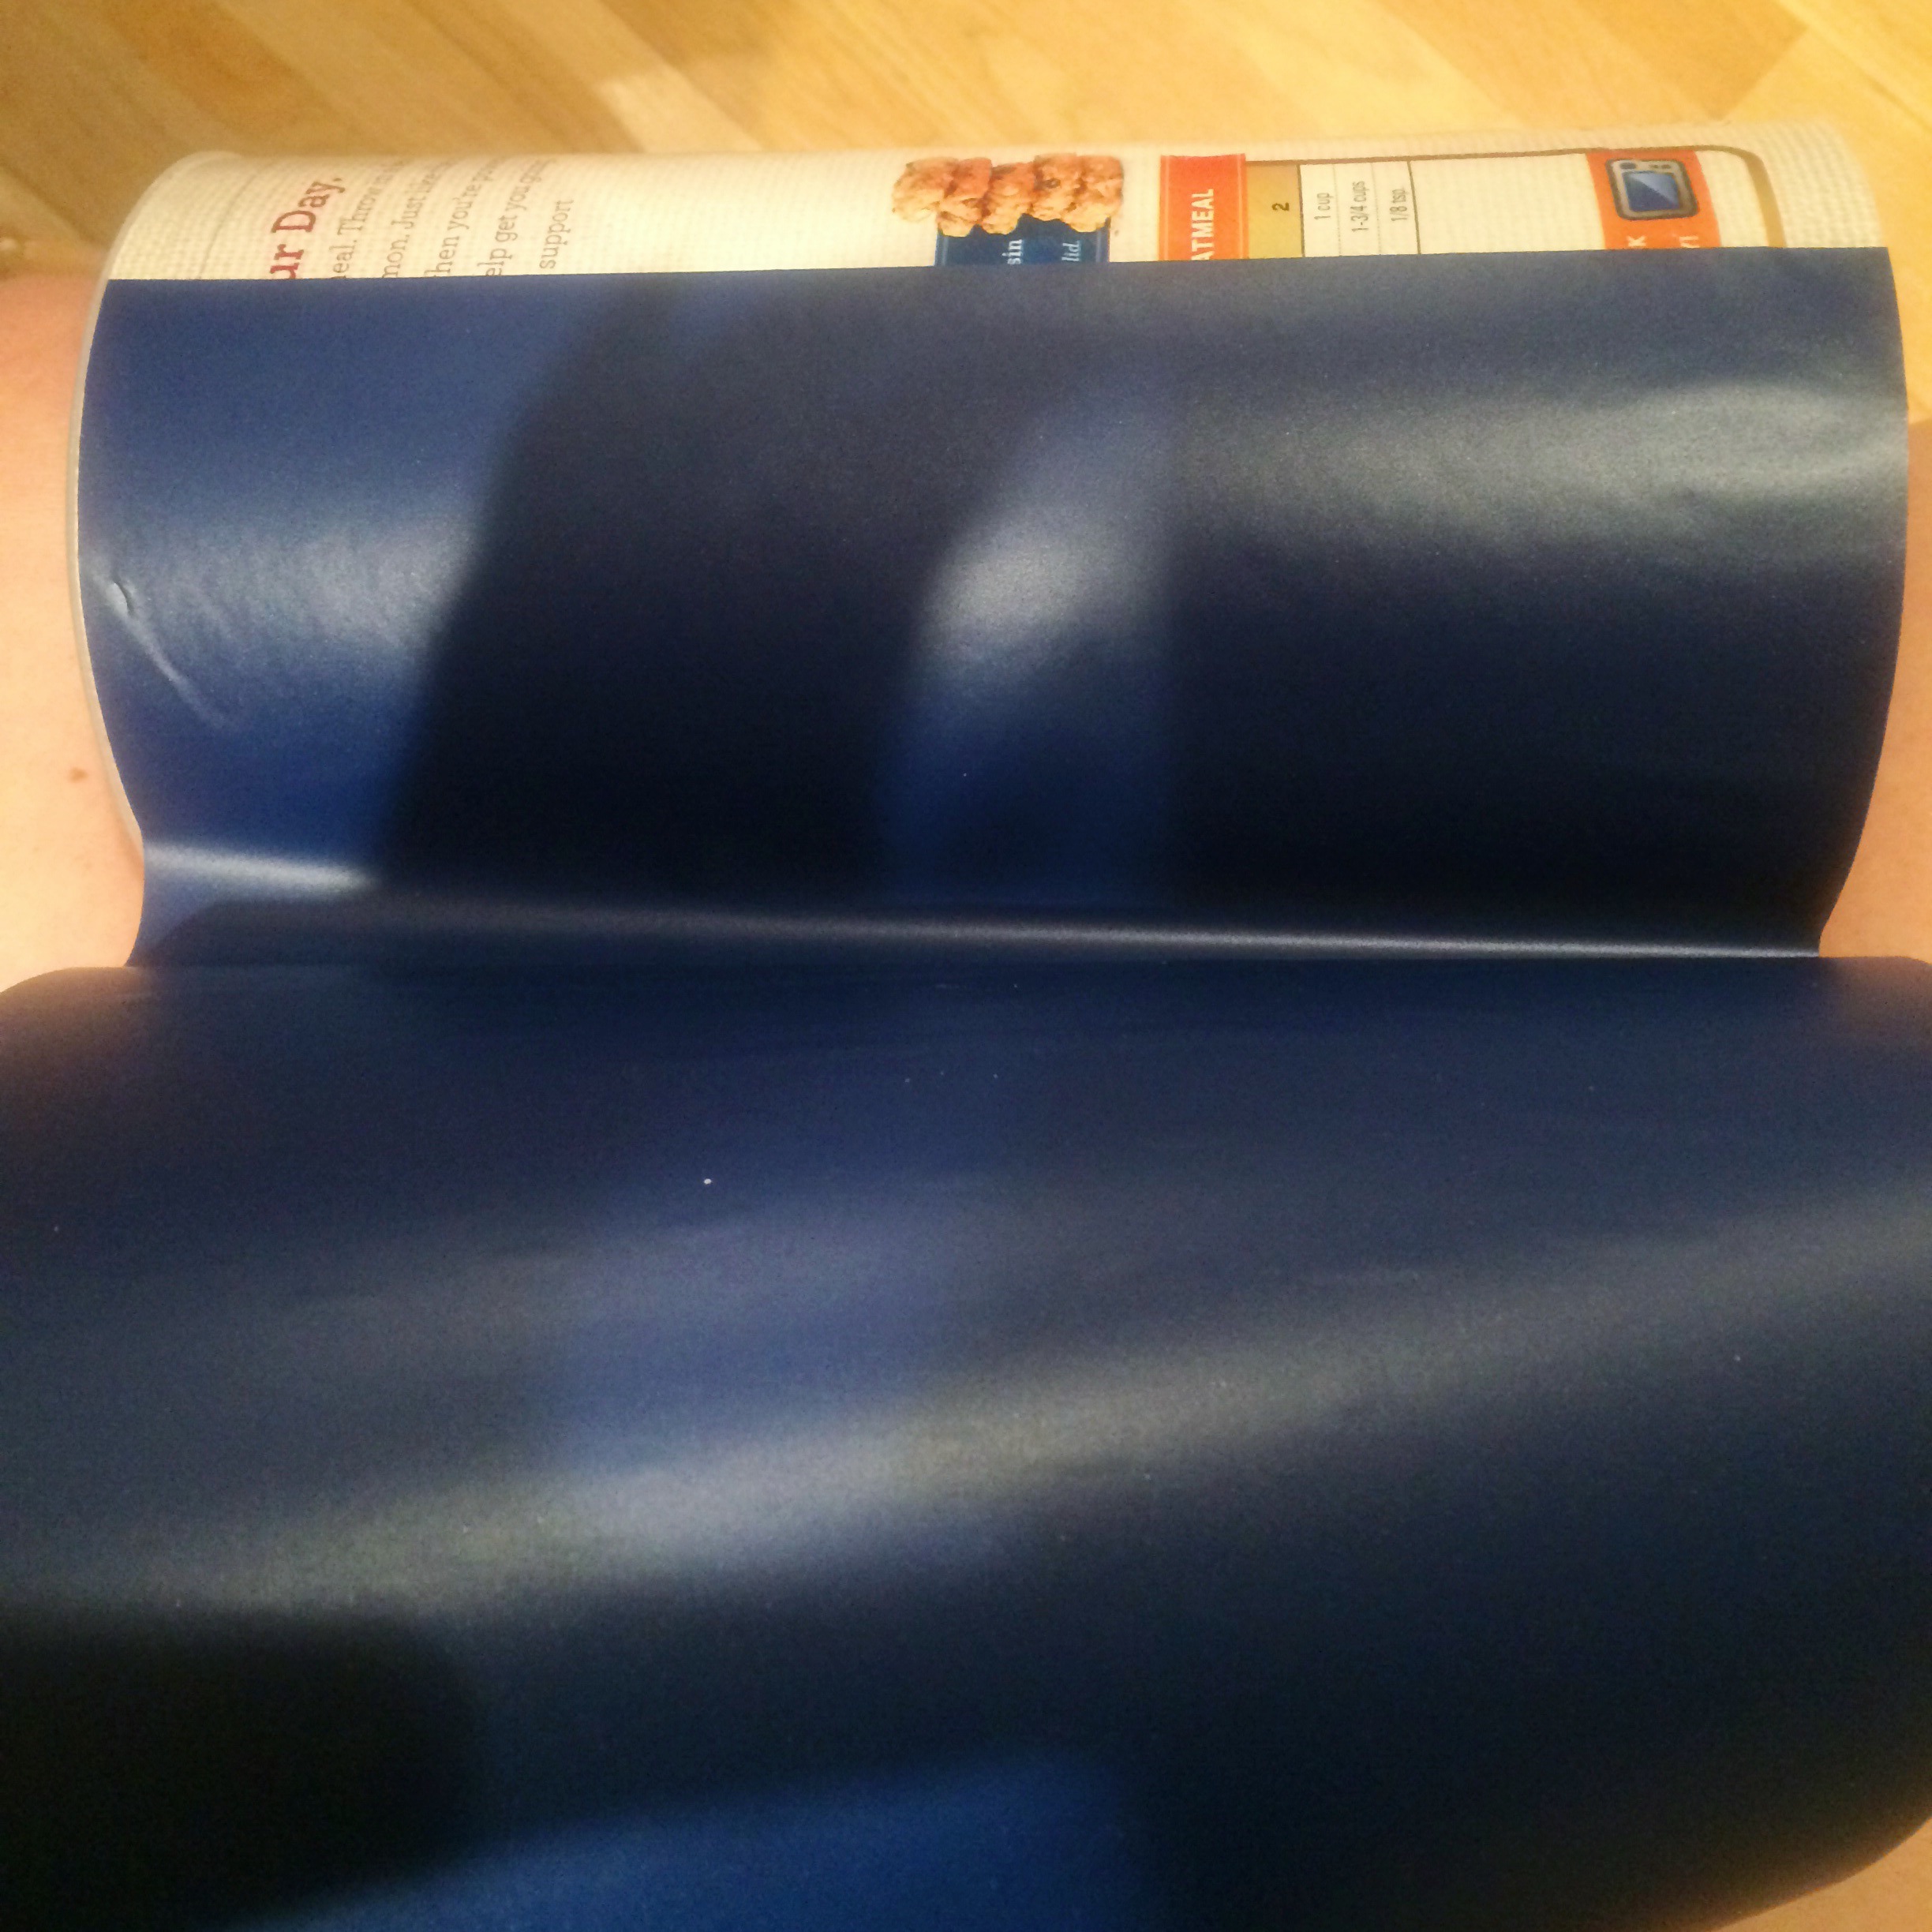
step 2: carefully adhere vinyl to quaker oats container. this sounds harder than it actually is, because the vinyl can be peeled back and “re-stuck” if it’s not lined up properly. i would recommend not taking the entire backing off the vinyl, but instead gradually peeling the backing off as you’re sticking it, just to avoid it sticking before you have it lined up, but it’s easy to fix if this happens.
step 3: on the white cardstock, draw a circle that will be glued inside the rim of the quaker oats container lid. if you have a compass or another tool that will help you draw a circle, that would be ideal. i didn’t have one, so i traced the lid onto the cardstock, used a ruler to make little tick marks 1/4 inside the circle, then made a free-hand circle connecting the tick marks. it wasn’t perfect, but it really doesn’t have to be – no one is going to look at it too closely. cut out the circle and glue it to the inside of the lid.
step 4: print out an image of the morton salt girl as well as a nutritional label for this product. i just googled “morton salt girl” and printed the largest, clearest image that i could find, then did the same thing with “morton salt nutritional label.” you might also consider printing a bar code for yours, and if you want to go all out and print other things on the label like the ingredient statement or other product info, go for it! i kept mine simple because i was short on time. also, if the background color on the printout isn’t exactly the same color navy as the vinyl, don’t worry – you can hardly tell when it’s glued on.
step 5: draw and cut out the letters from the cardstock or the white vinyl – “MORTON” in big letters and “IODIZED SALT” in smaller letters. this is the hardest part. i drew lines in pencil with a ruler to be top and bottom margins of how tall the letters should be, and then i drew them free-style, copying the style of the letters on my little morton salt canister, and cut them out with scissors. drawing letters in different fonts is admittedly my forte for some odd reason, but if it’s not yours, i would try printing them out. you also could try an arts and craft store to see if you can find stencils or pre-made white capital letters. cutting them out with scissors was the worst part for me – i hate cutting things out – and if you have an exacto knife, i think that would work a lot better. again, they weren’t perfect, but it really didn’t matter.
step 6: glue or stick the images and letters onto the vinyl, using a real morton salt canister as a guide. i glued cardstock letters on the vinyl with elmer’s glue and they ended up coming off throughout the night, so i would recommend either 1.) making the letters on white self-adhesive vinyl – they might end up sticking better, 2.) if you make your letters out of cardstock, try using a craft glue that might stick to vinyl better, and/or 3.) cover the entire canister with mod podge so that the letters don’t come off.
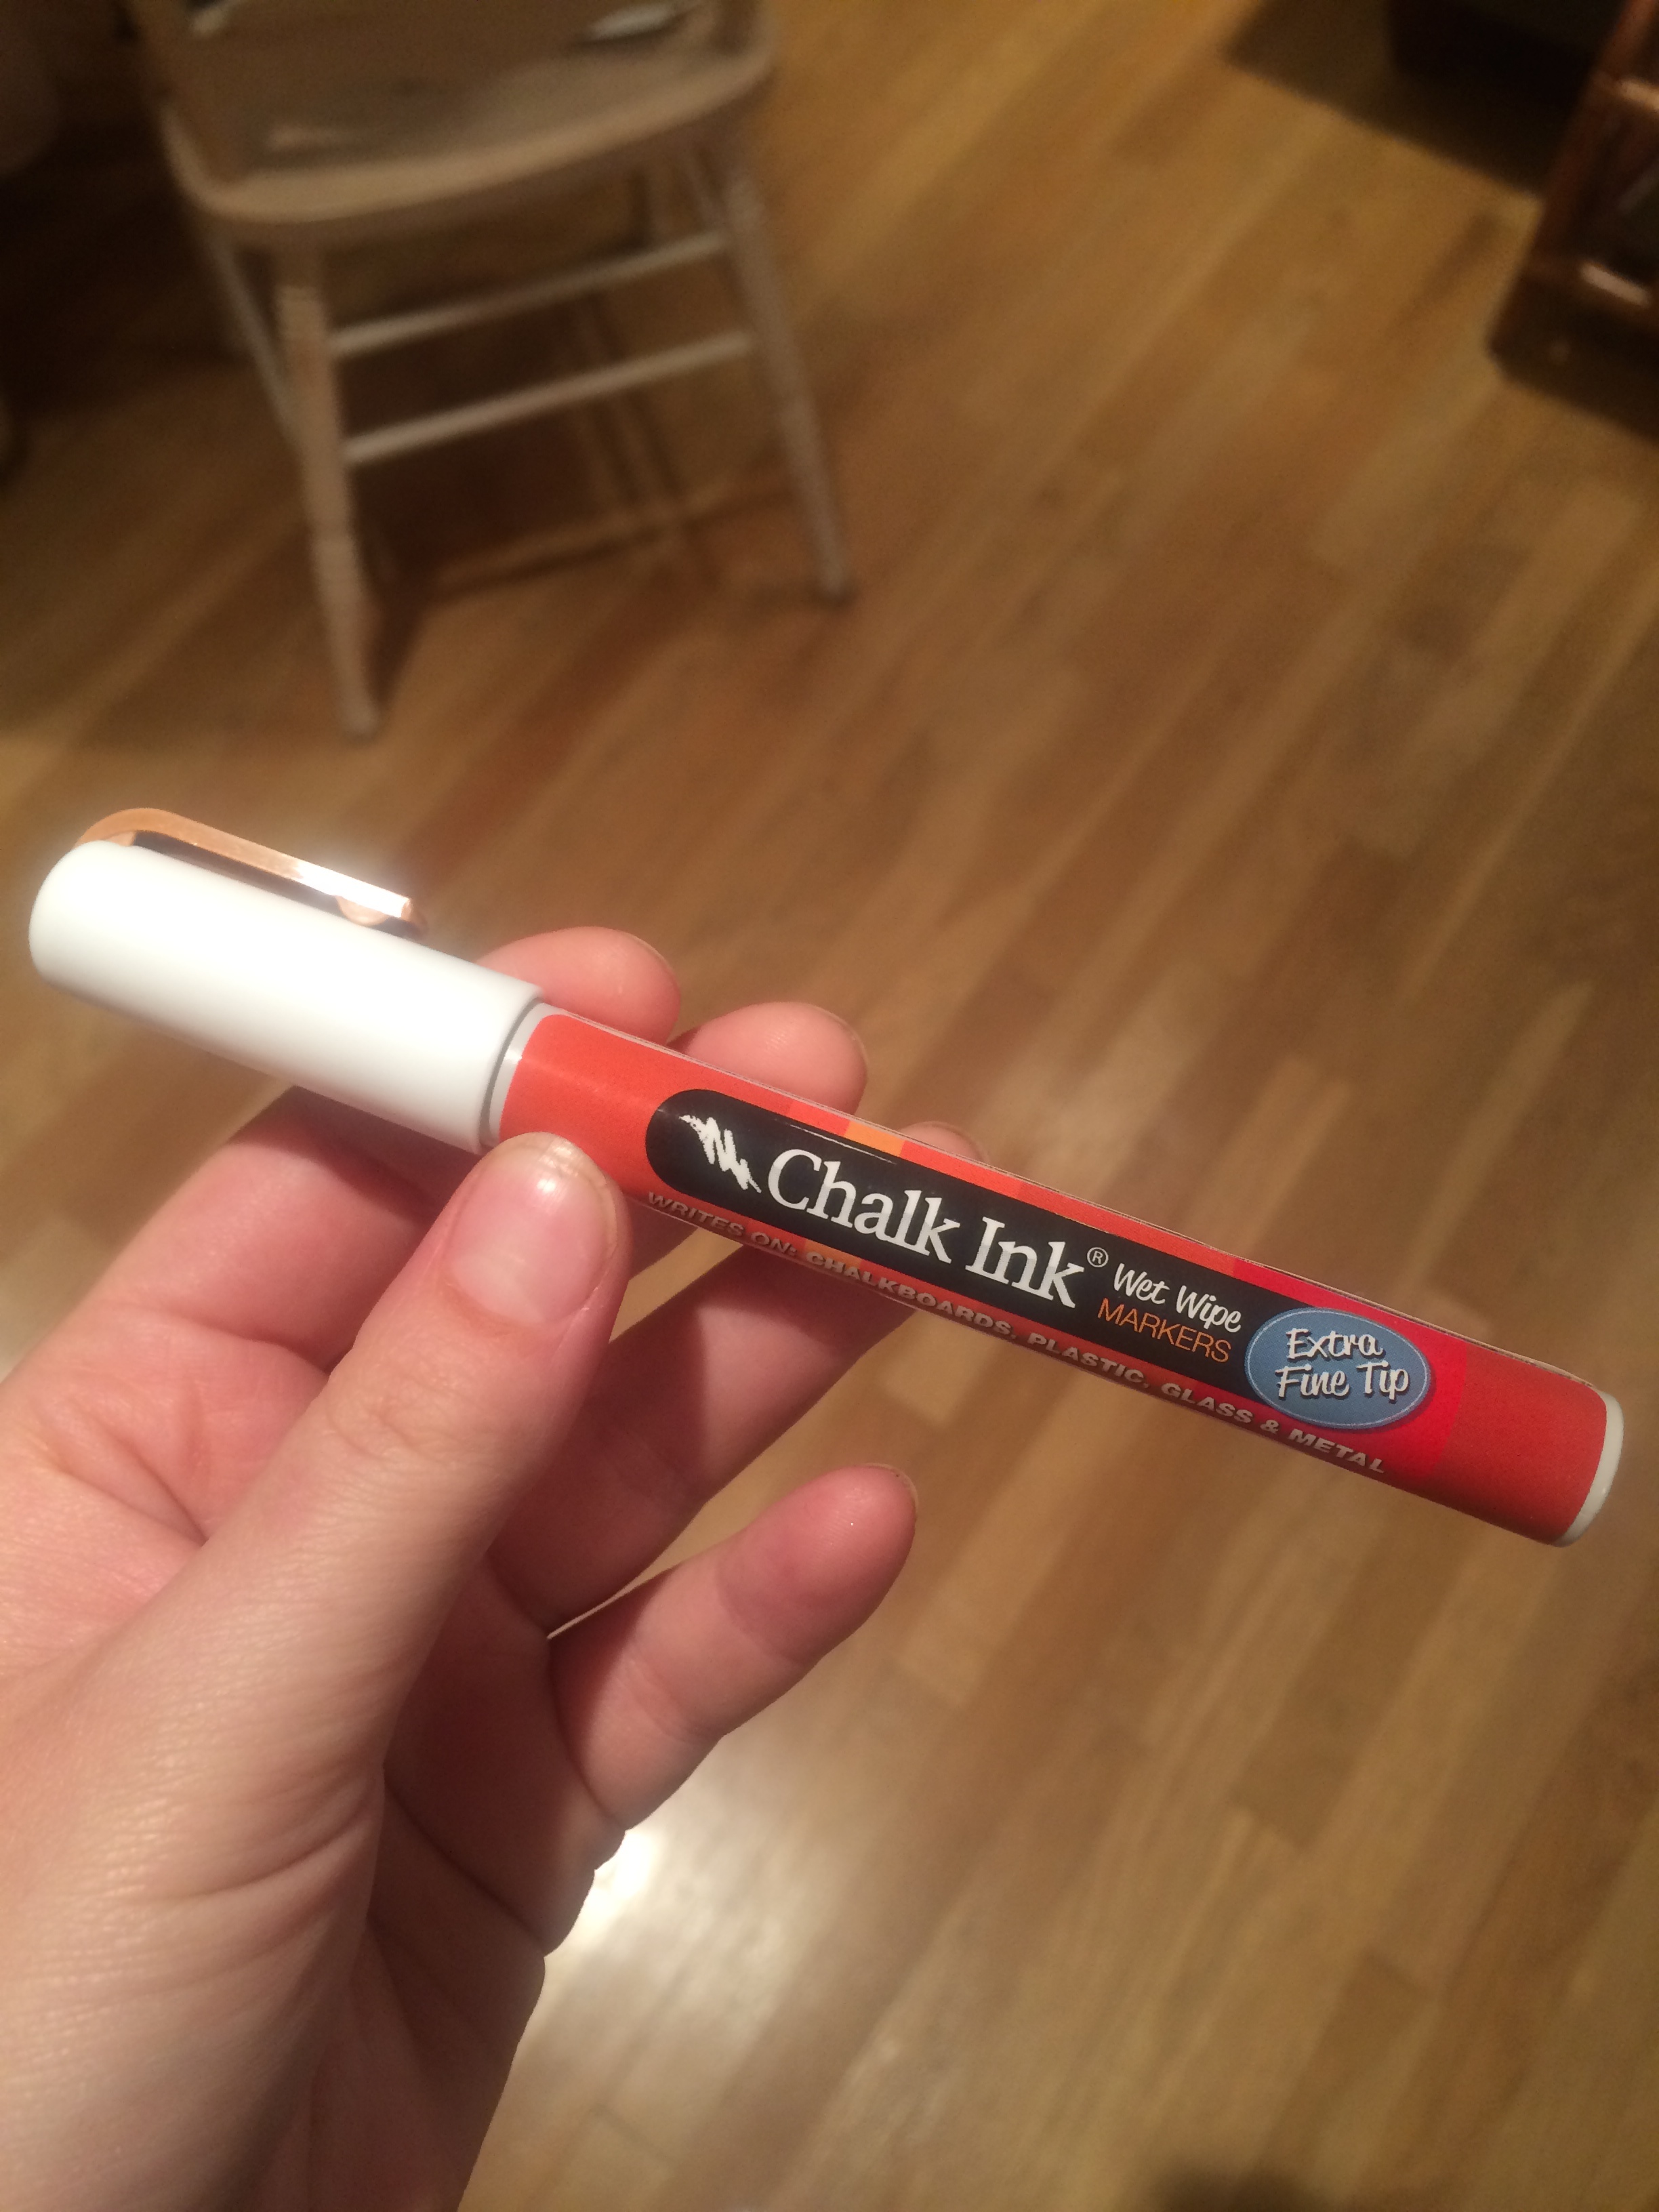
step 7: use the extra-fine tip chalkboard pen* to write the weight information along the bottom of the canister: “NET WT. 26 OZ. (1 LB., 10 OZ.) 737 g.” i also added the little registered trademark circle after “MORTON.” if you want to get fancy and copy more of the text on the canister, go to town, but this is all that i did for mine.
*this extra-fine tip chalkboard pen is the only thing that i’m not sure is easy to find. i already one – i had gotten it online for another project, but they may sell them at craft stores, i’m just not sure. here’s what the one i used looks like:
step 8: cut out a little rounded triangle out of foil to look like the metal dispenser and glue to the lid.
that wasn’t bad now, was it?
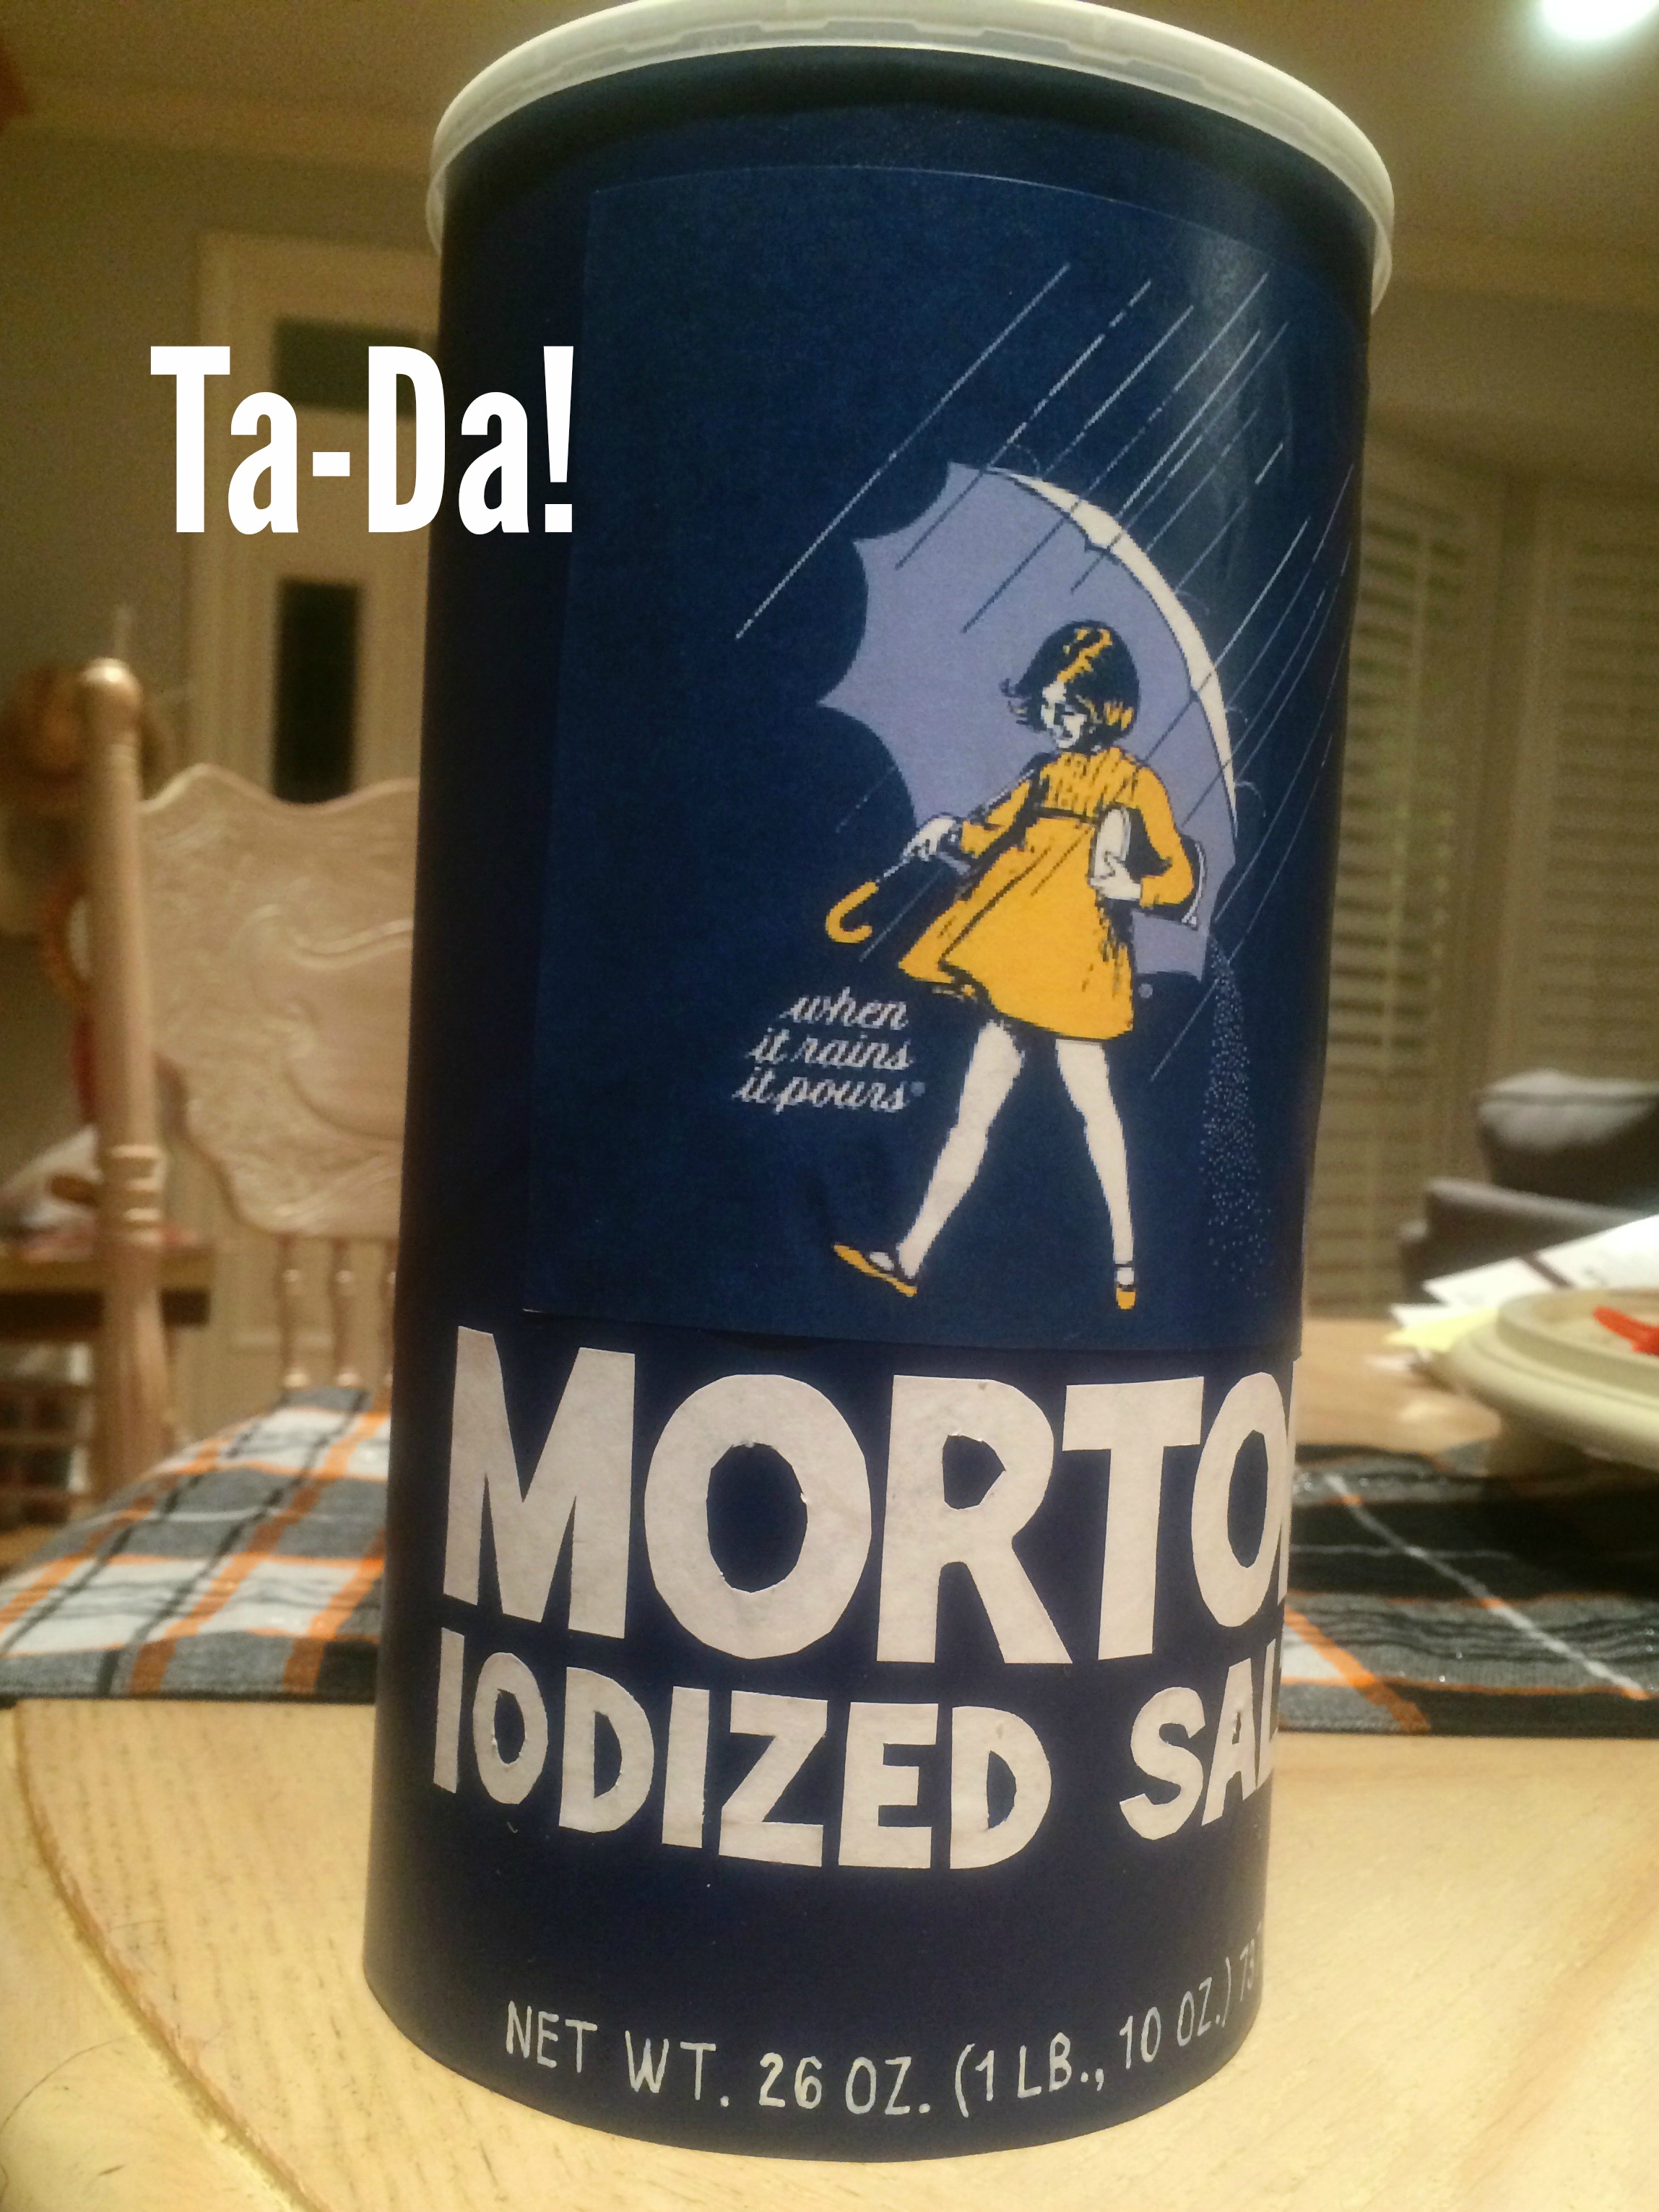
here it is next to the real one:
i think it turned out pretty well. to have it double as a purse, i put the contents of my purse that i wanted to bring in a ziploc bag and stuck them inside so i didn’t have to carry something else around.
here’s how i completed the look of the costume:
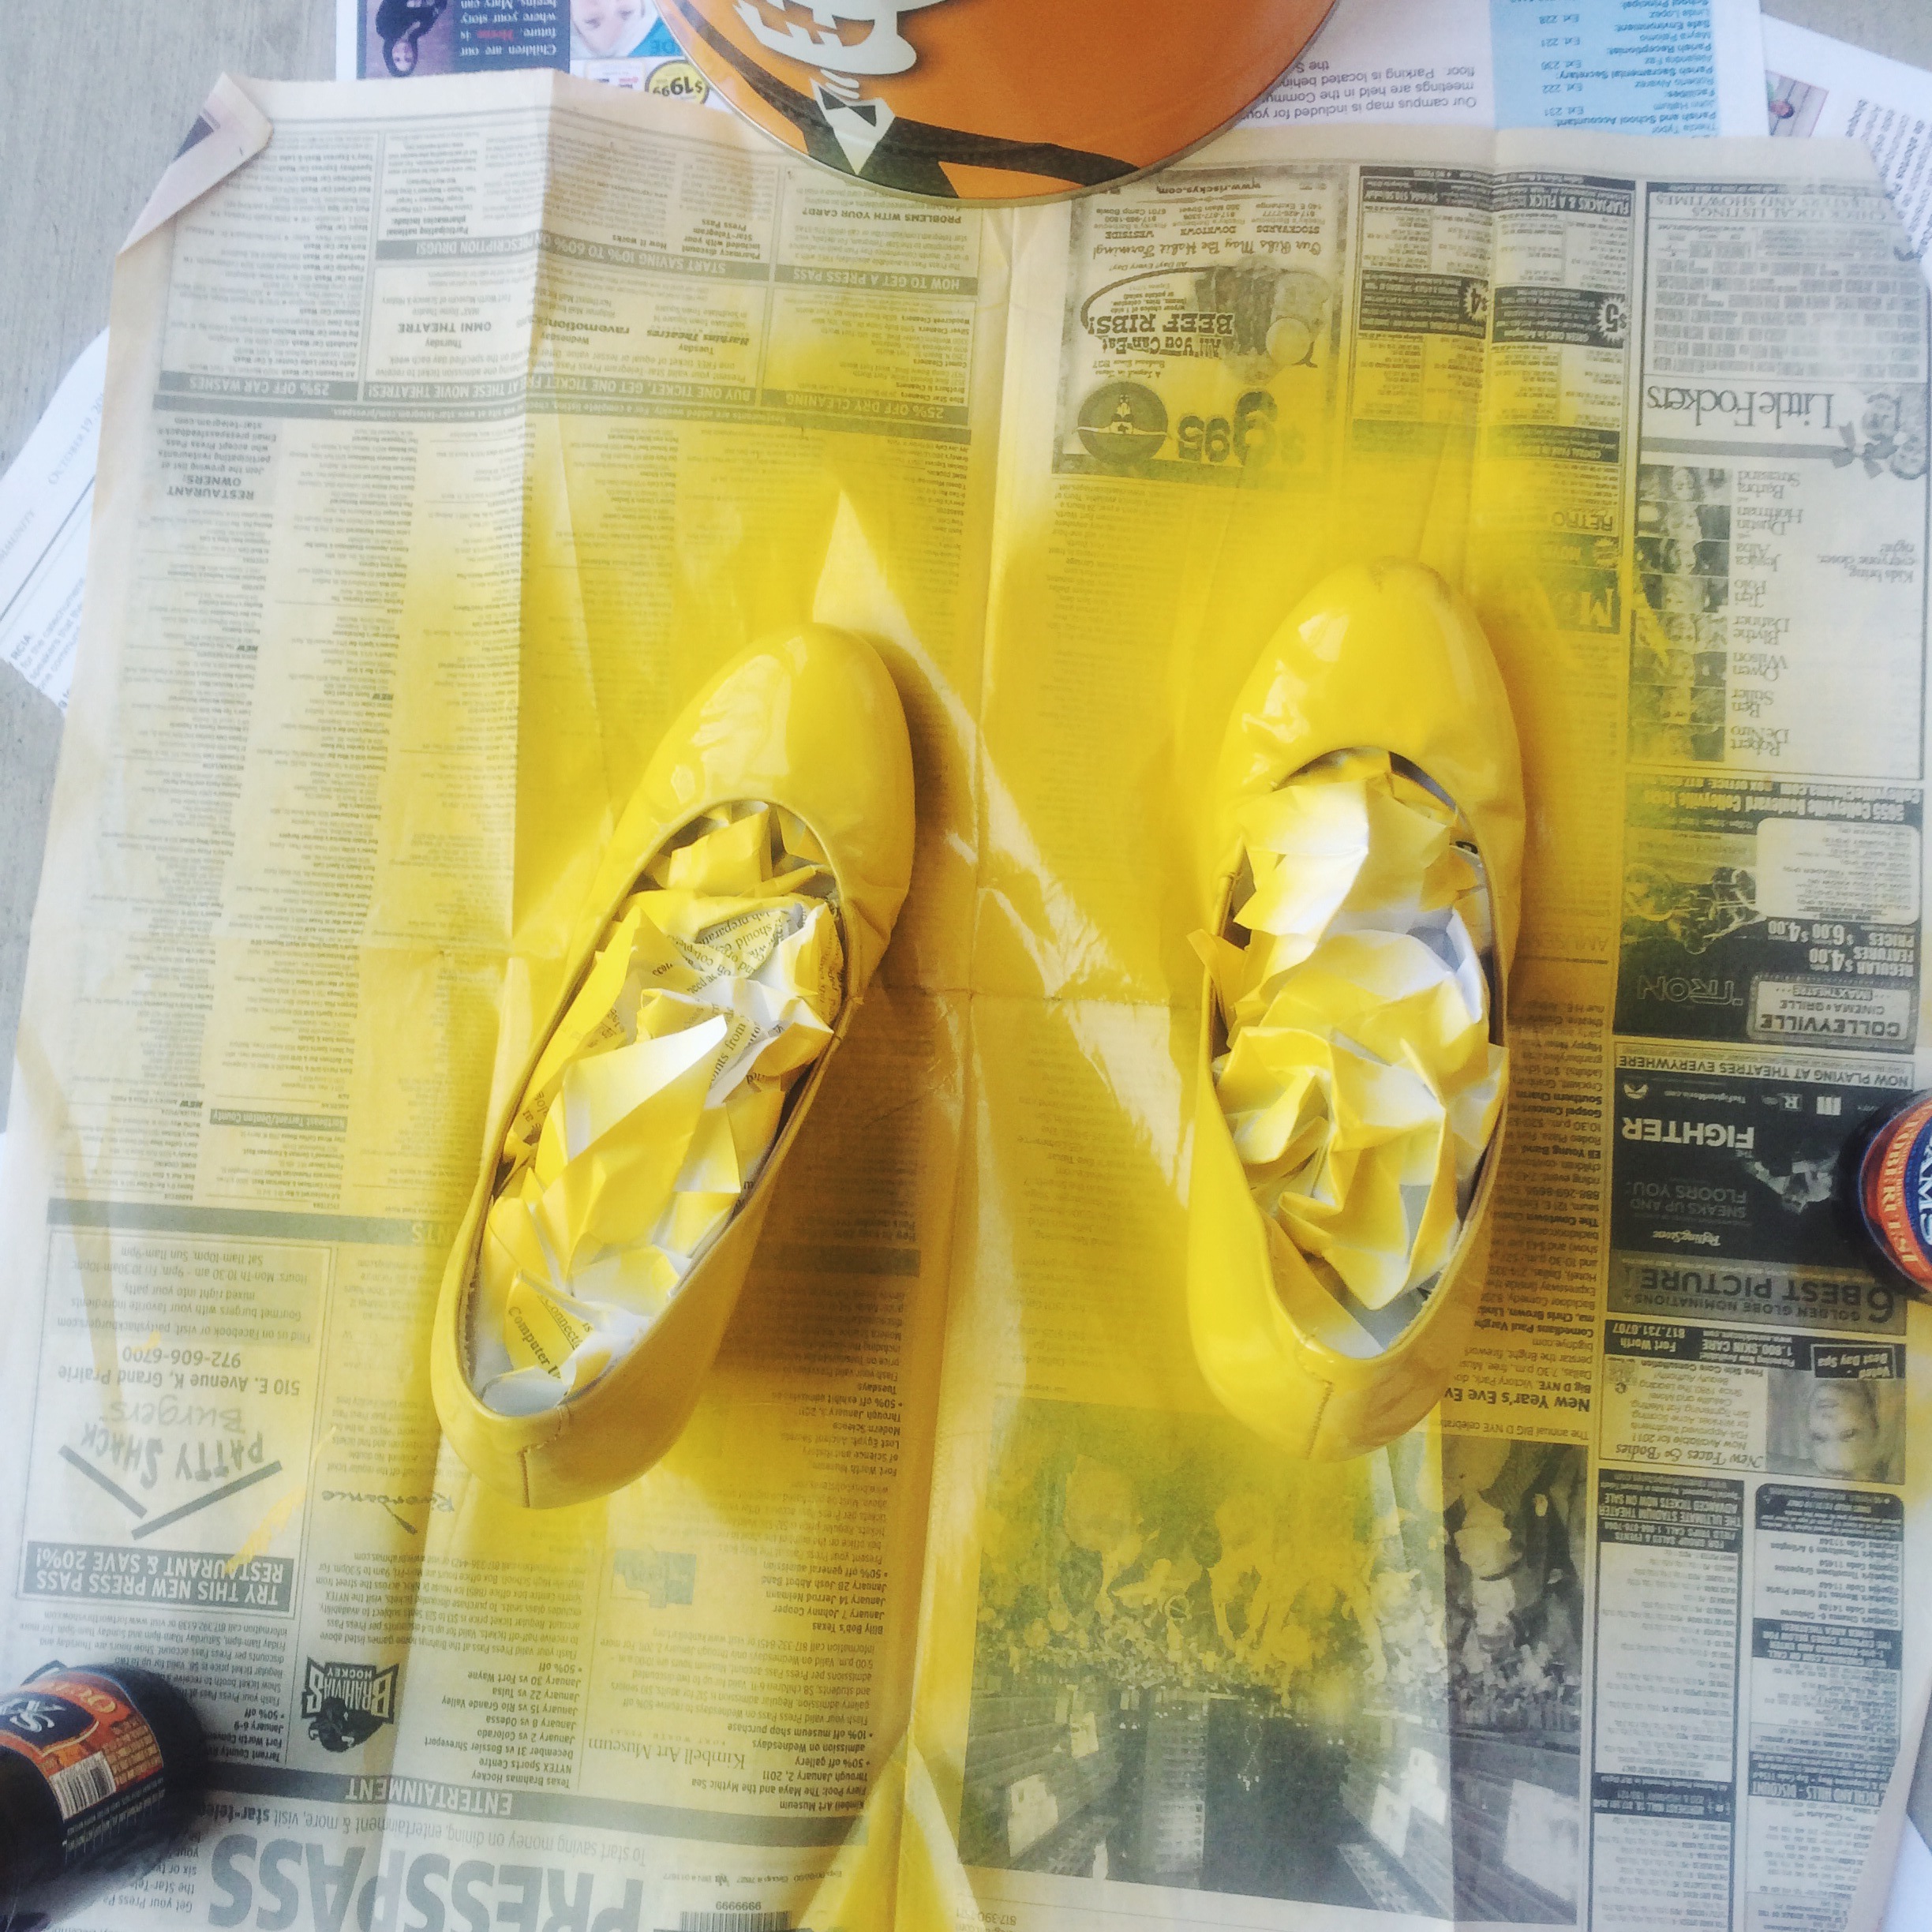
i already had this little yellow jacket and the white tights, so that made it easy. any short solid-yellow dress would be perfect. i really wanted a lavender umbrella, because that’s what shade the umbrella looks in the picture and any time i think of the colors yellow, navy, lavender, and white together, i just think of the morton salt girl. BUT mine turned out to be more purple than lavender. it was also HUGE – way too big to carry around all night, so i cheated and left it at home. but my costume was still recognizable thanks to the giant salt canister and i got lots of compliments on it. and i was still glad to have the umbrella for photos and because now i have a giant umbrella with practically a 5-foot radius around me in case there’s ever a hurricane. :) you could just as easily use a clear or white umbrella for this costume. and for the shoes, well, the first choice would obviously be to find some cute yellow shoes at the store. or you can spray paint some old ones yourself a few hours before like i did:
amazingly, they dried just fine. they were pretty ugly up close but from a distance/up above you couldn’t tell, and i threw them away the next morning. it worked perfectly for the one night with a pair of shoes that i was planning on tossing anyway.
and there you have it! an easy morton salt girl costume and a DIY salt canister tutorial. feel free to comment below if you have questions or improvement ideas!
