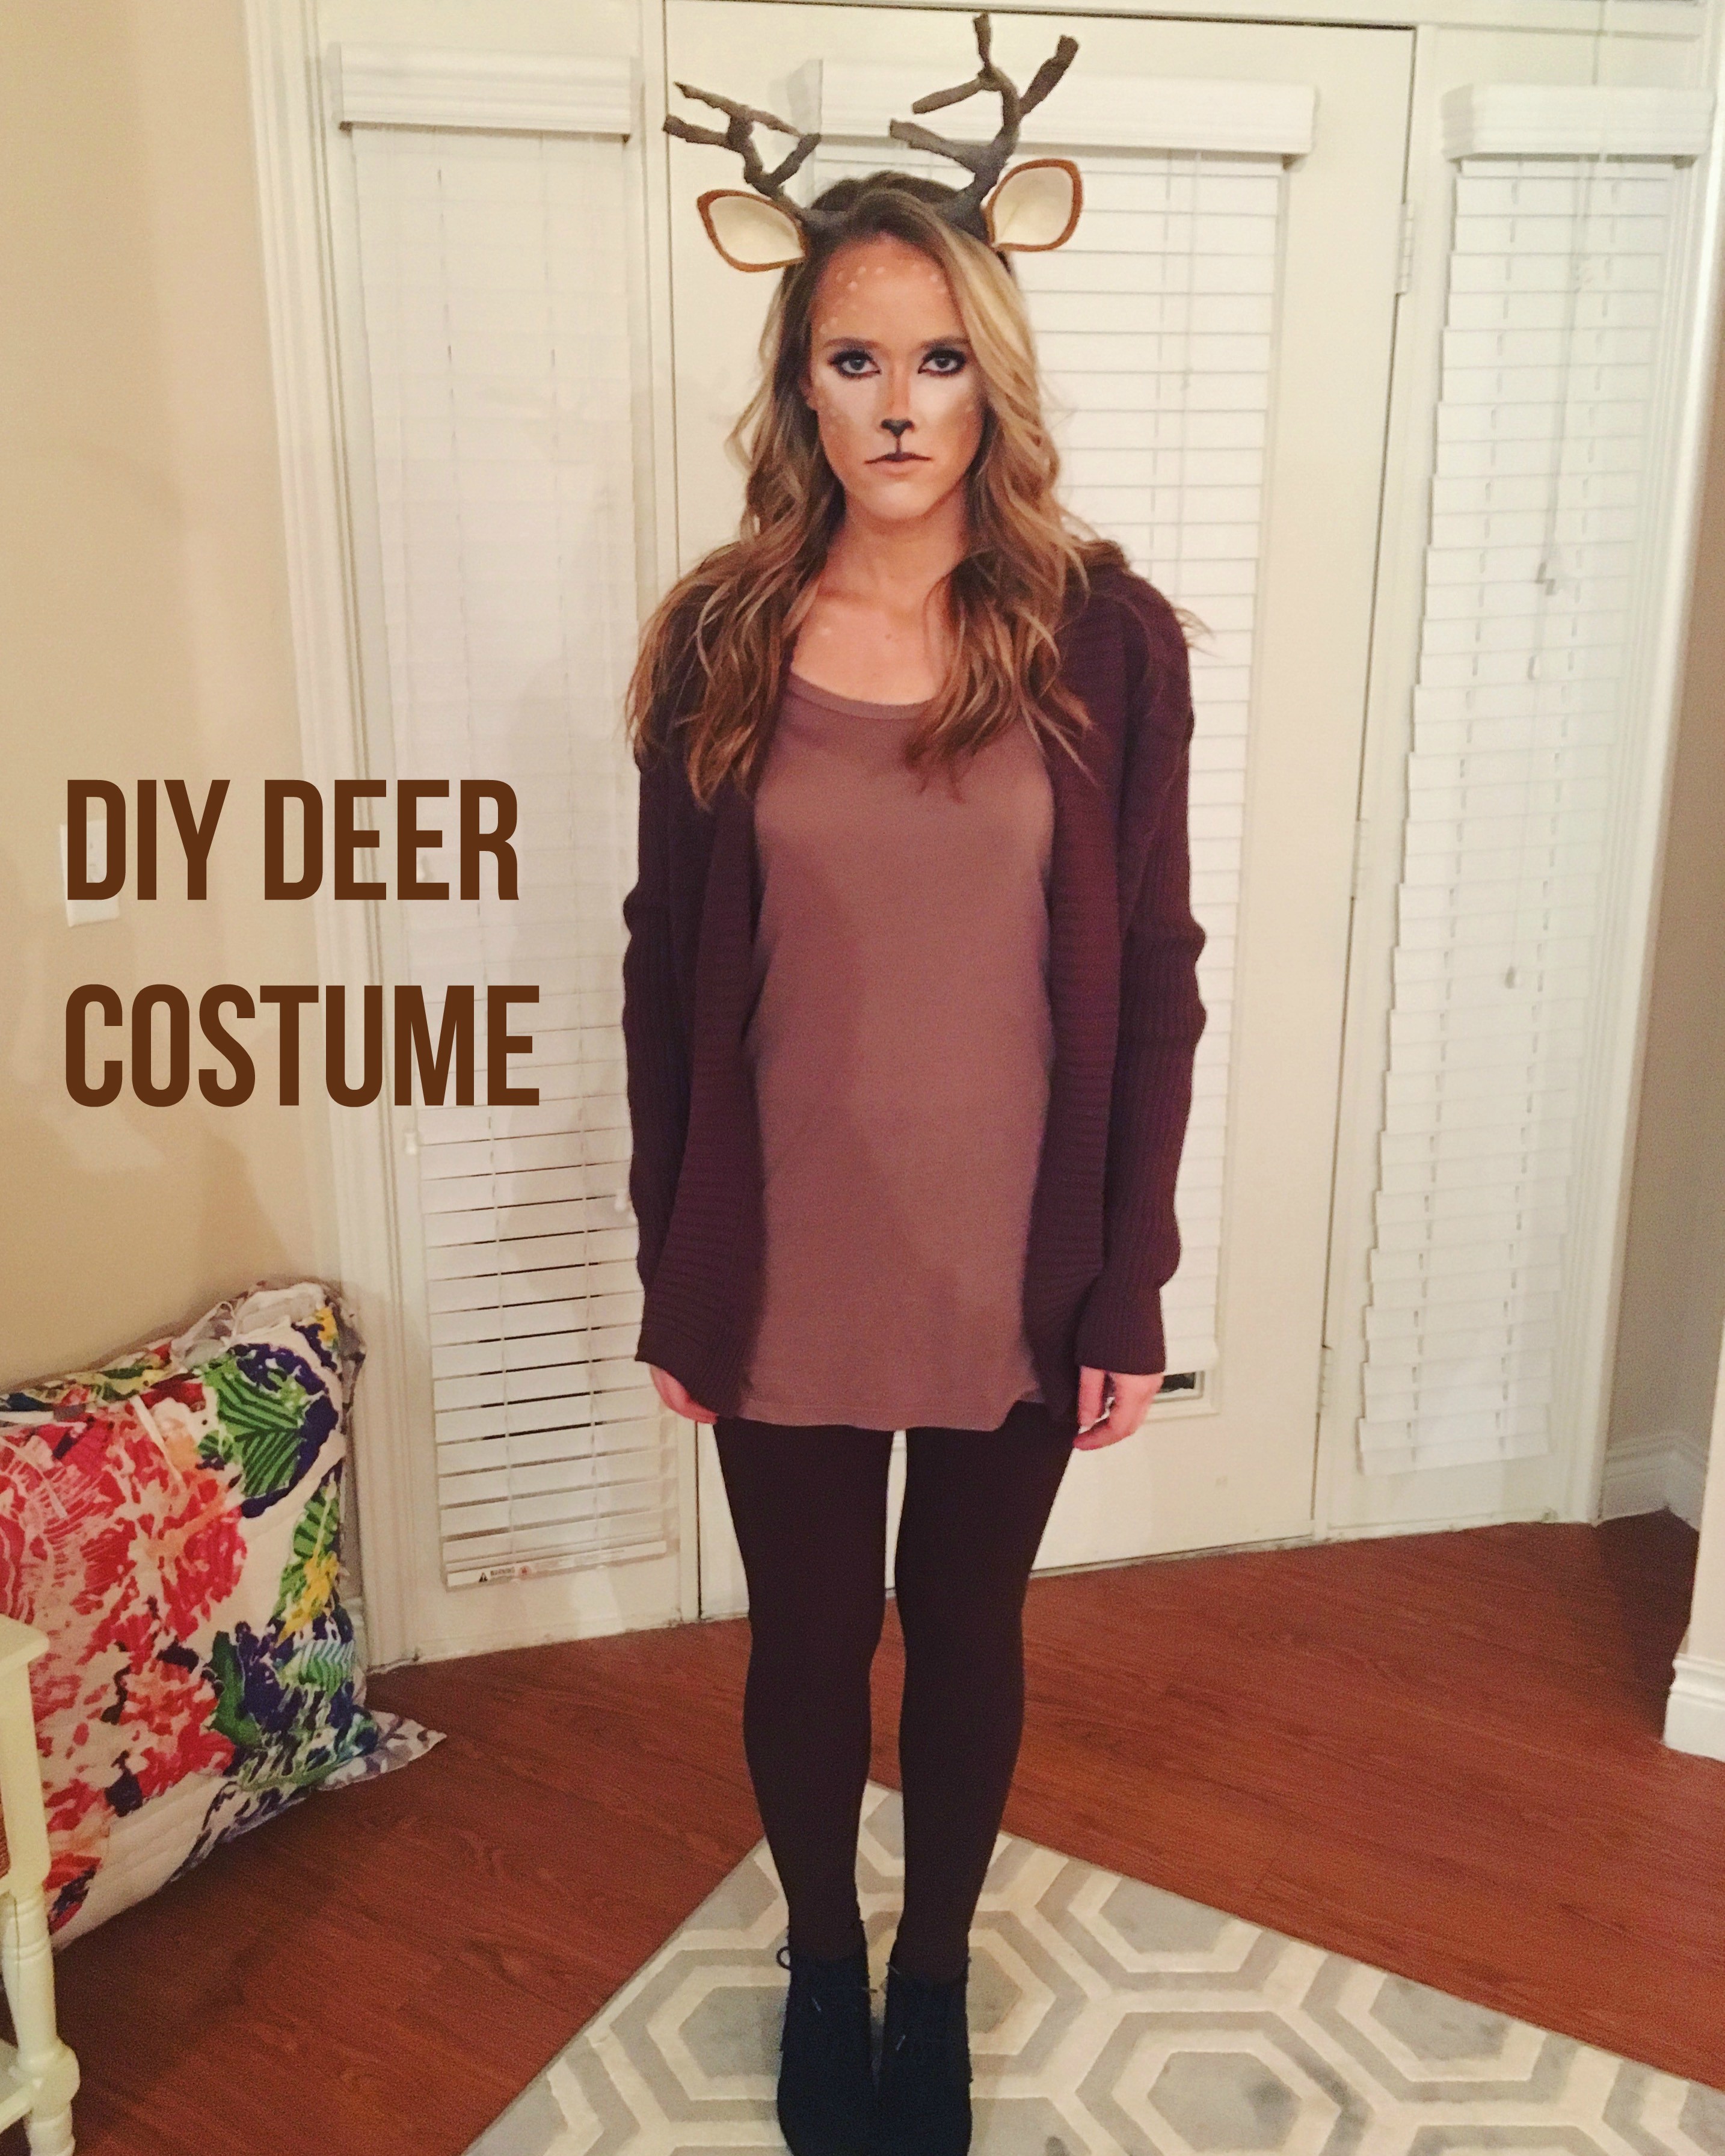
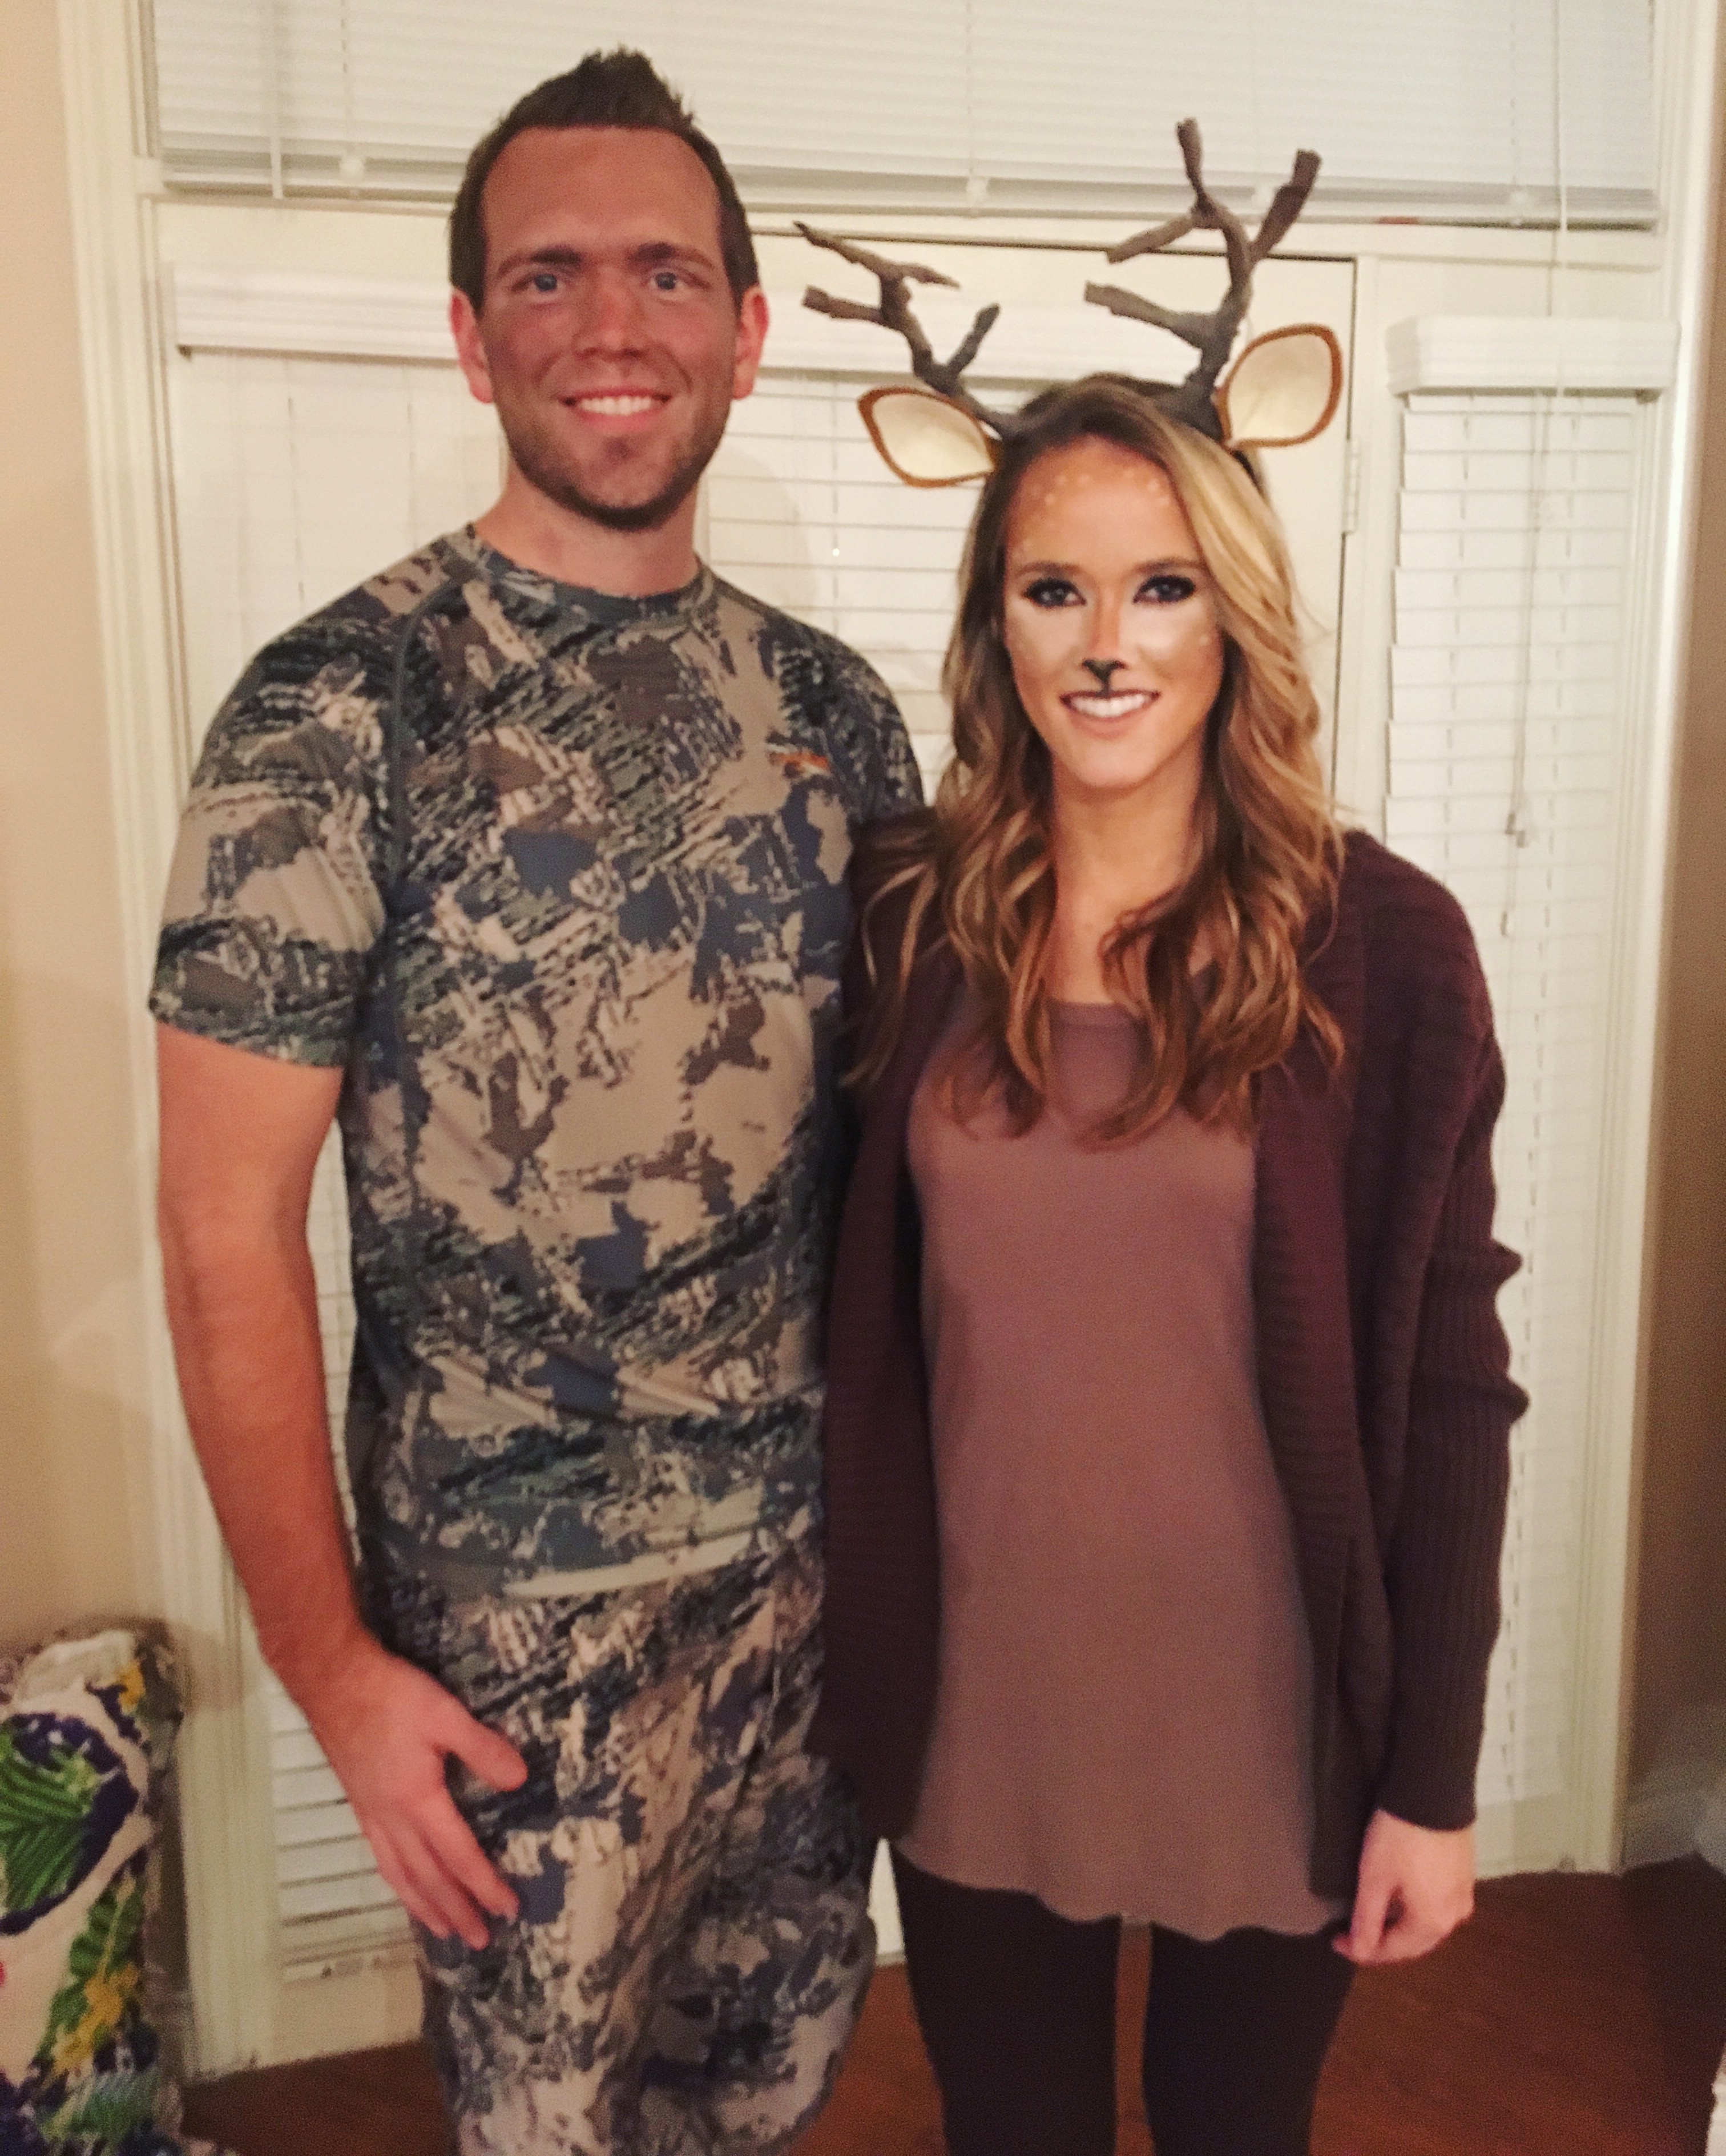
oh, how i love putting together a good halloween costume. this year, i decided to jump on the bandwagon and be a deer for halloween! i feel like the deer probably hit the top 5 list of most popular halloween costumes this year for women/girls, but i can totally see why because: 1.) it’s a super cute and girly costume, and 2.) it’s not challenging to execute. pretty much all you have to do is put on a pair of antlers and you’re recognizable… i added makeup, ears, and a tail for fun, but they’re honestly not even necessary unless you want them. aaaaaand the bonus of this costume is that it turned out to be a great way to get my cute boyfriend to dress up in couples costumes with me! he was a little unsure of costuming until i told him that he should be a hunter, and he loved that idea!! [in his words, “i can’t WAIT to hunt you down!!!” lol.]
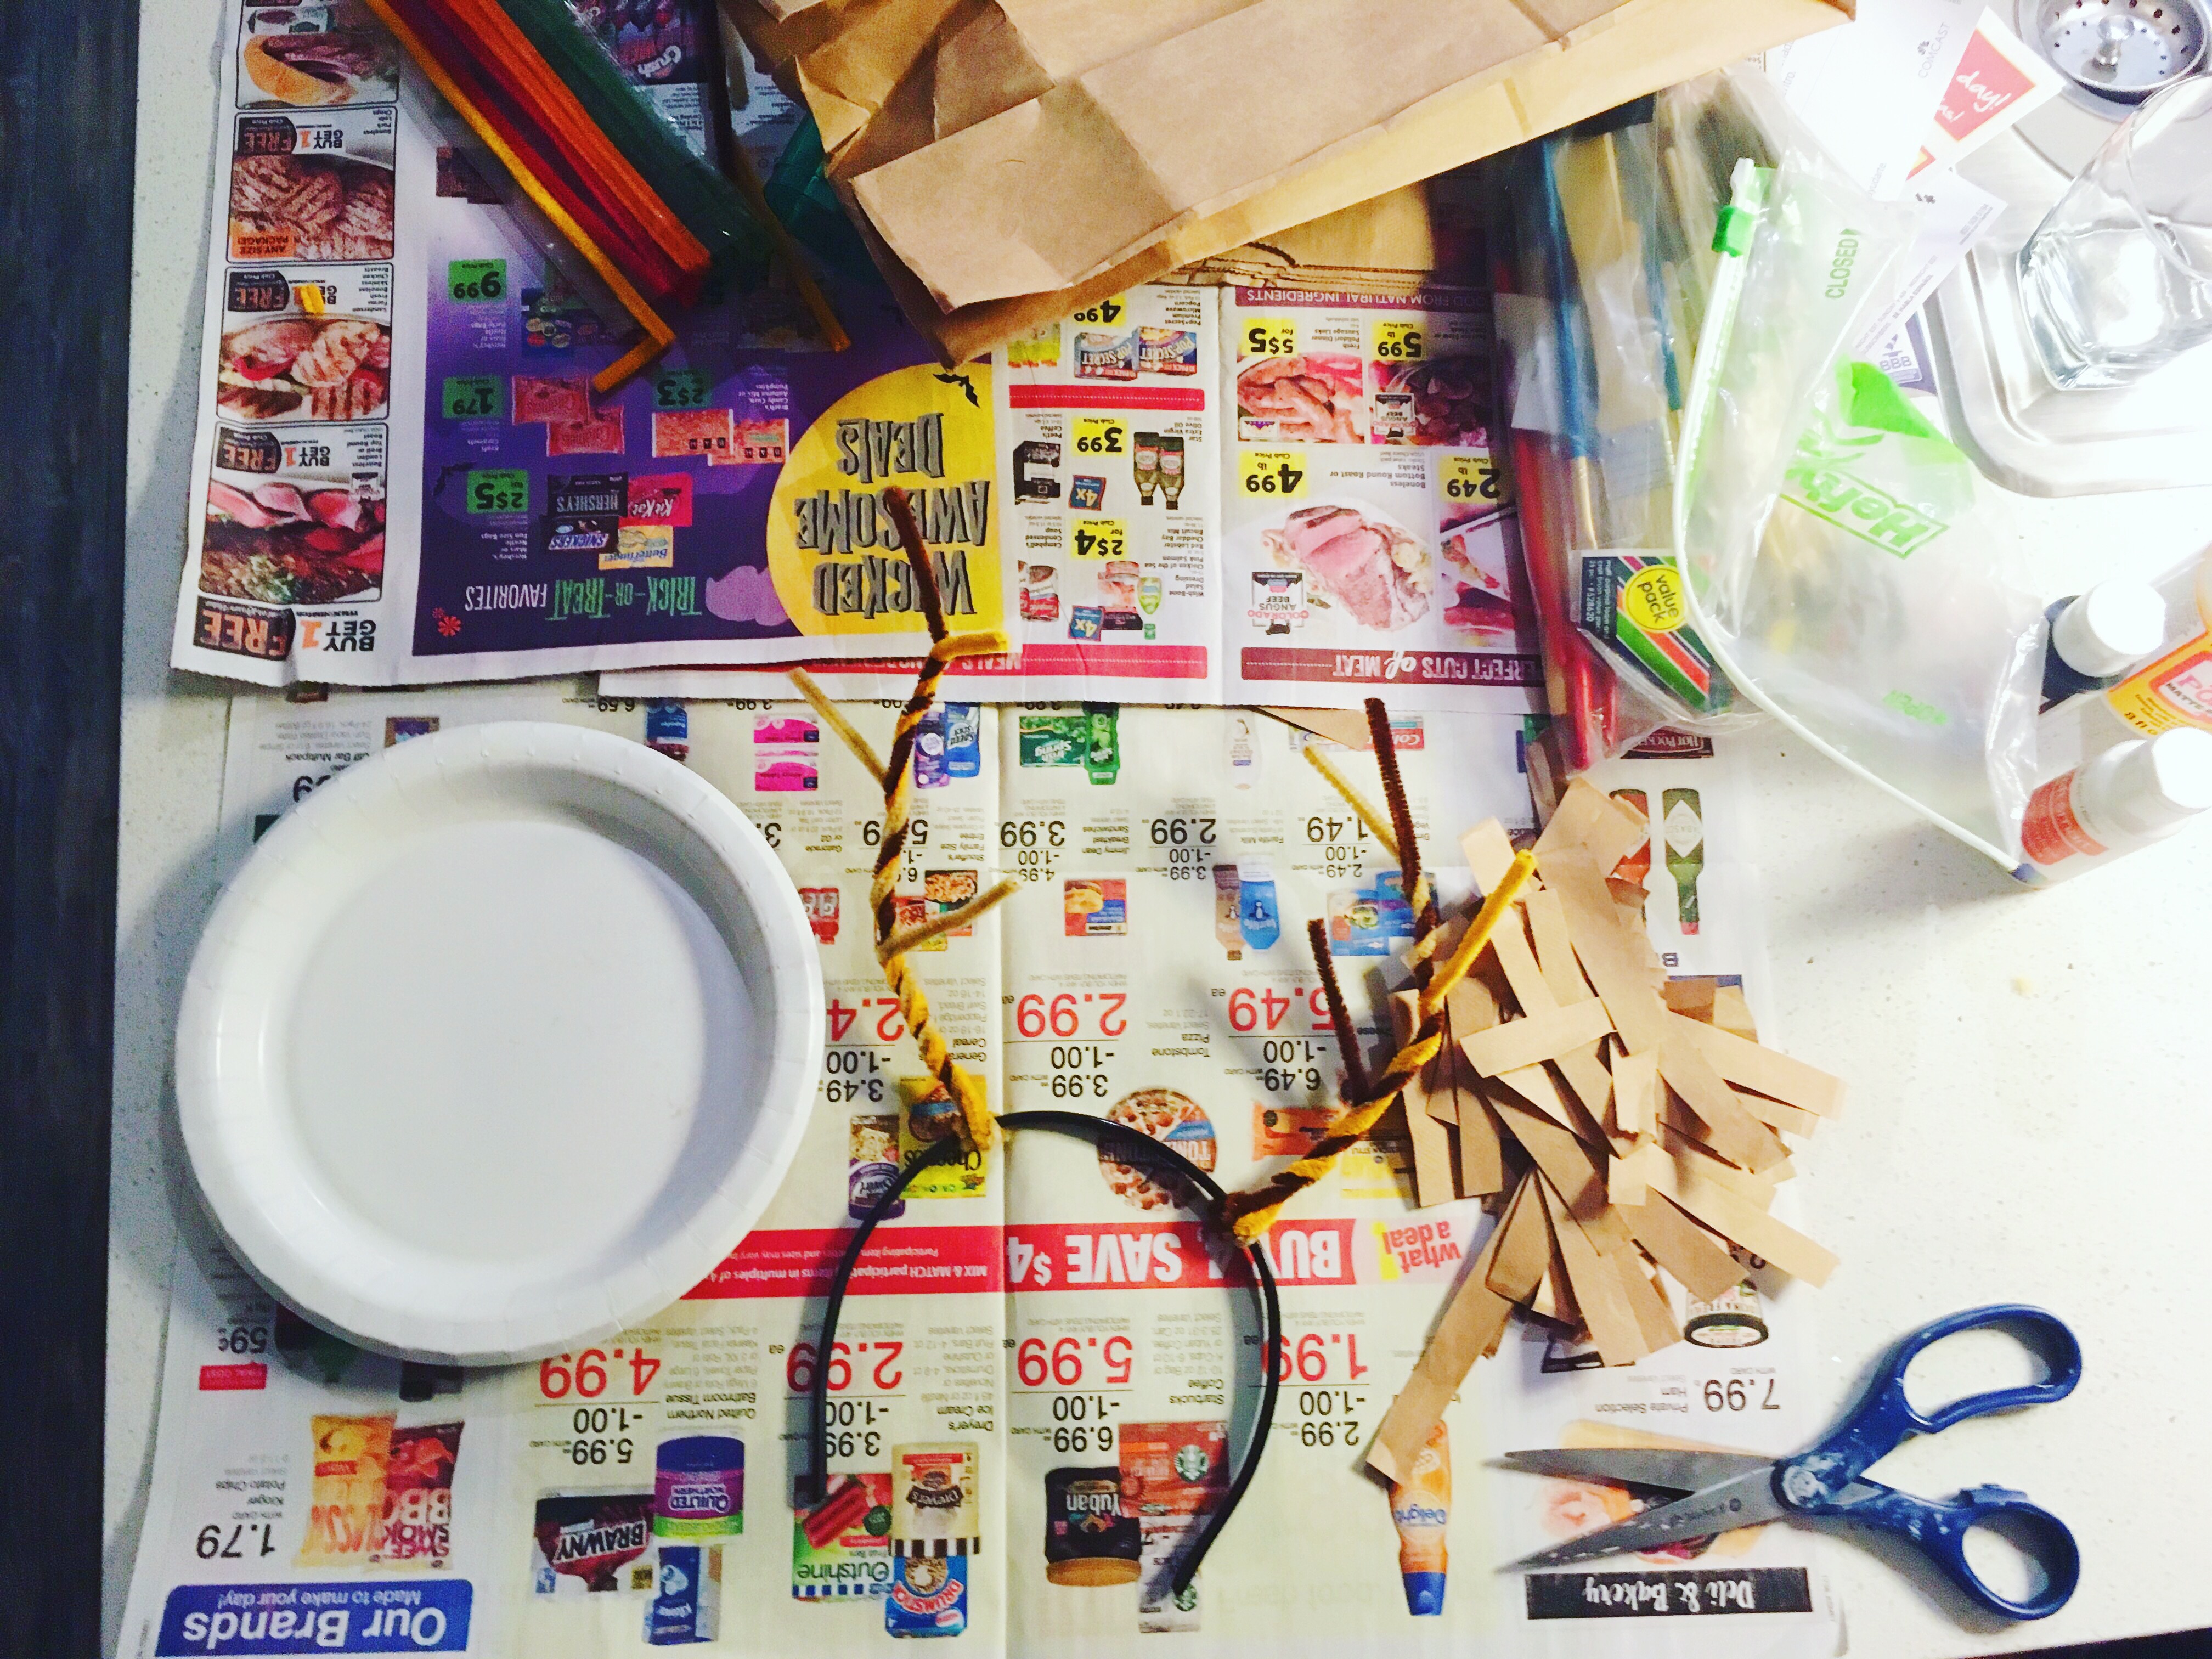
i used a few different tutorials online to put together my costume, so i’ll give you the links to those and also explain anything that i did differently than what the tutorials say. we’ll start with the antlers/ears, which are best if made a few days prior since they take a little bit to dry. i used lauren conrad’s hocus pocus tutorial for the antlers, but i didn’t want to make the furry ears in her tutorial, so i used random housewifery’s tutorial for the ears. here’s what you’ll need for the antlers:
: : plastic headband [i actually used this bendable, no-slip headband from target]
: : pipe cleaners [can be any color since they will be covered up]
: : brown paper bag cut into strips [i only needed one large one]
: : scissors
: : mod podge
: : paint [i used black, white, and brown]
: : paintbrush
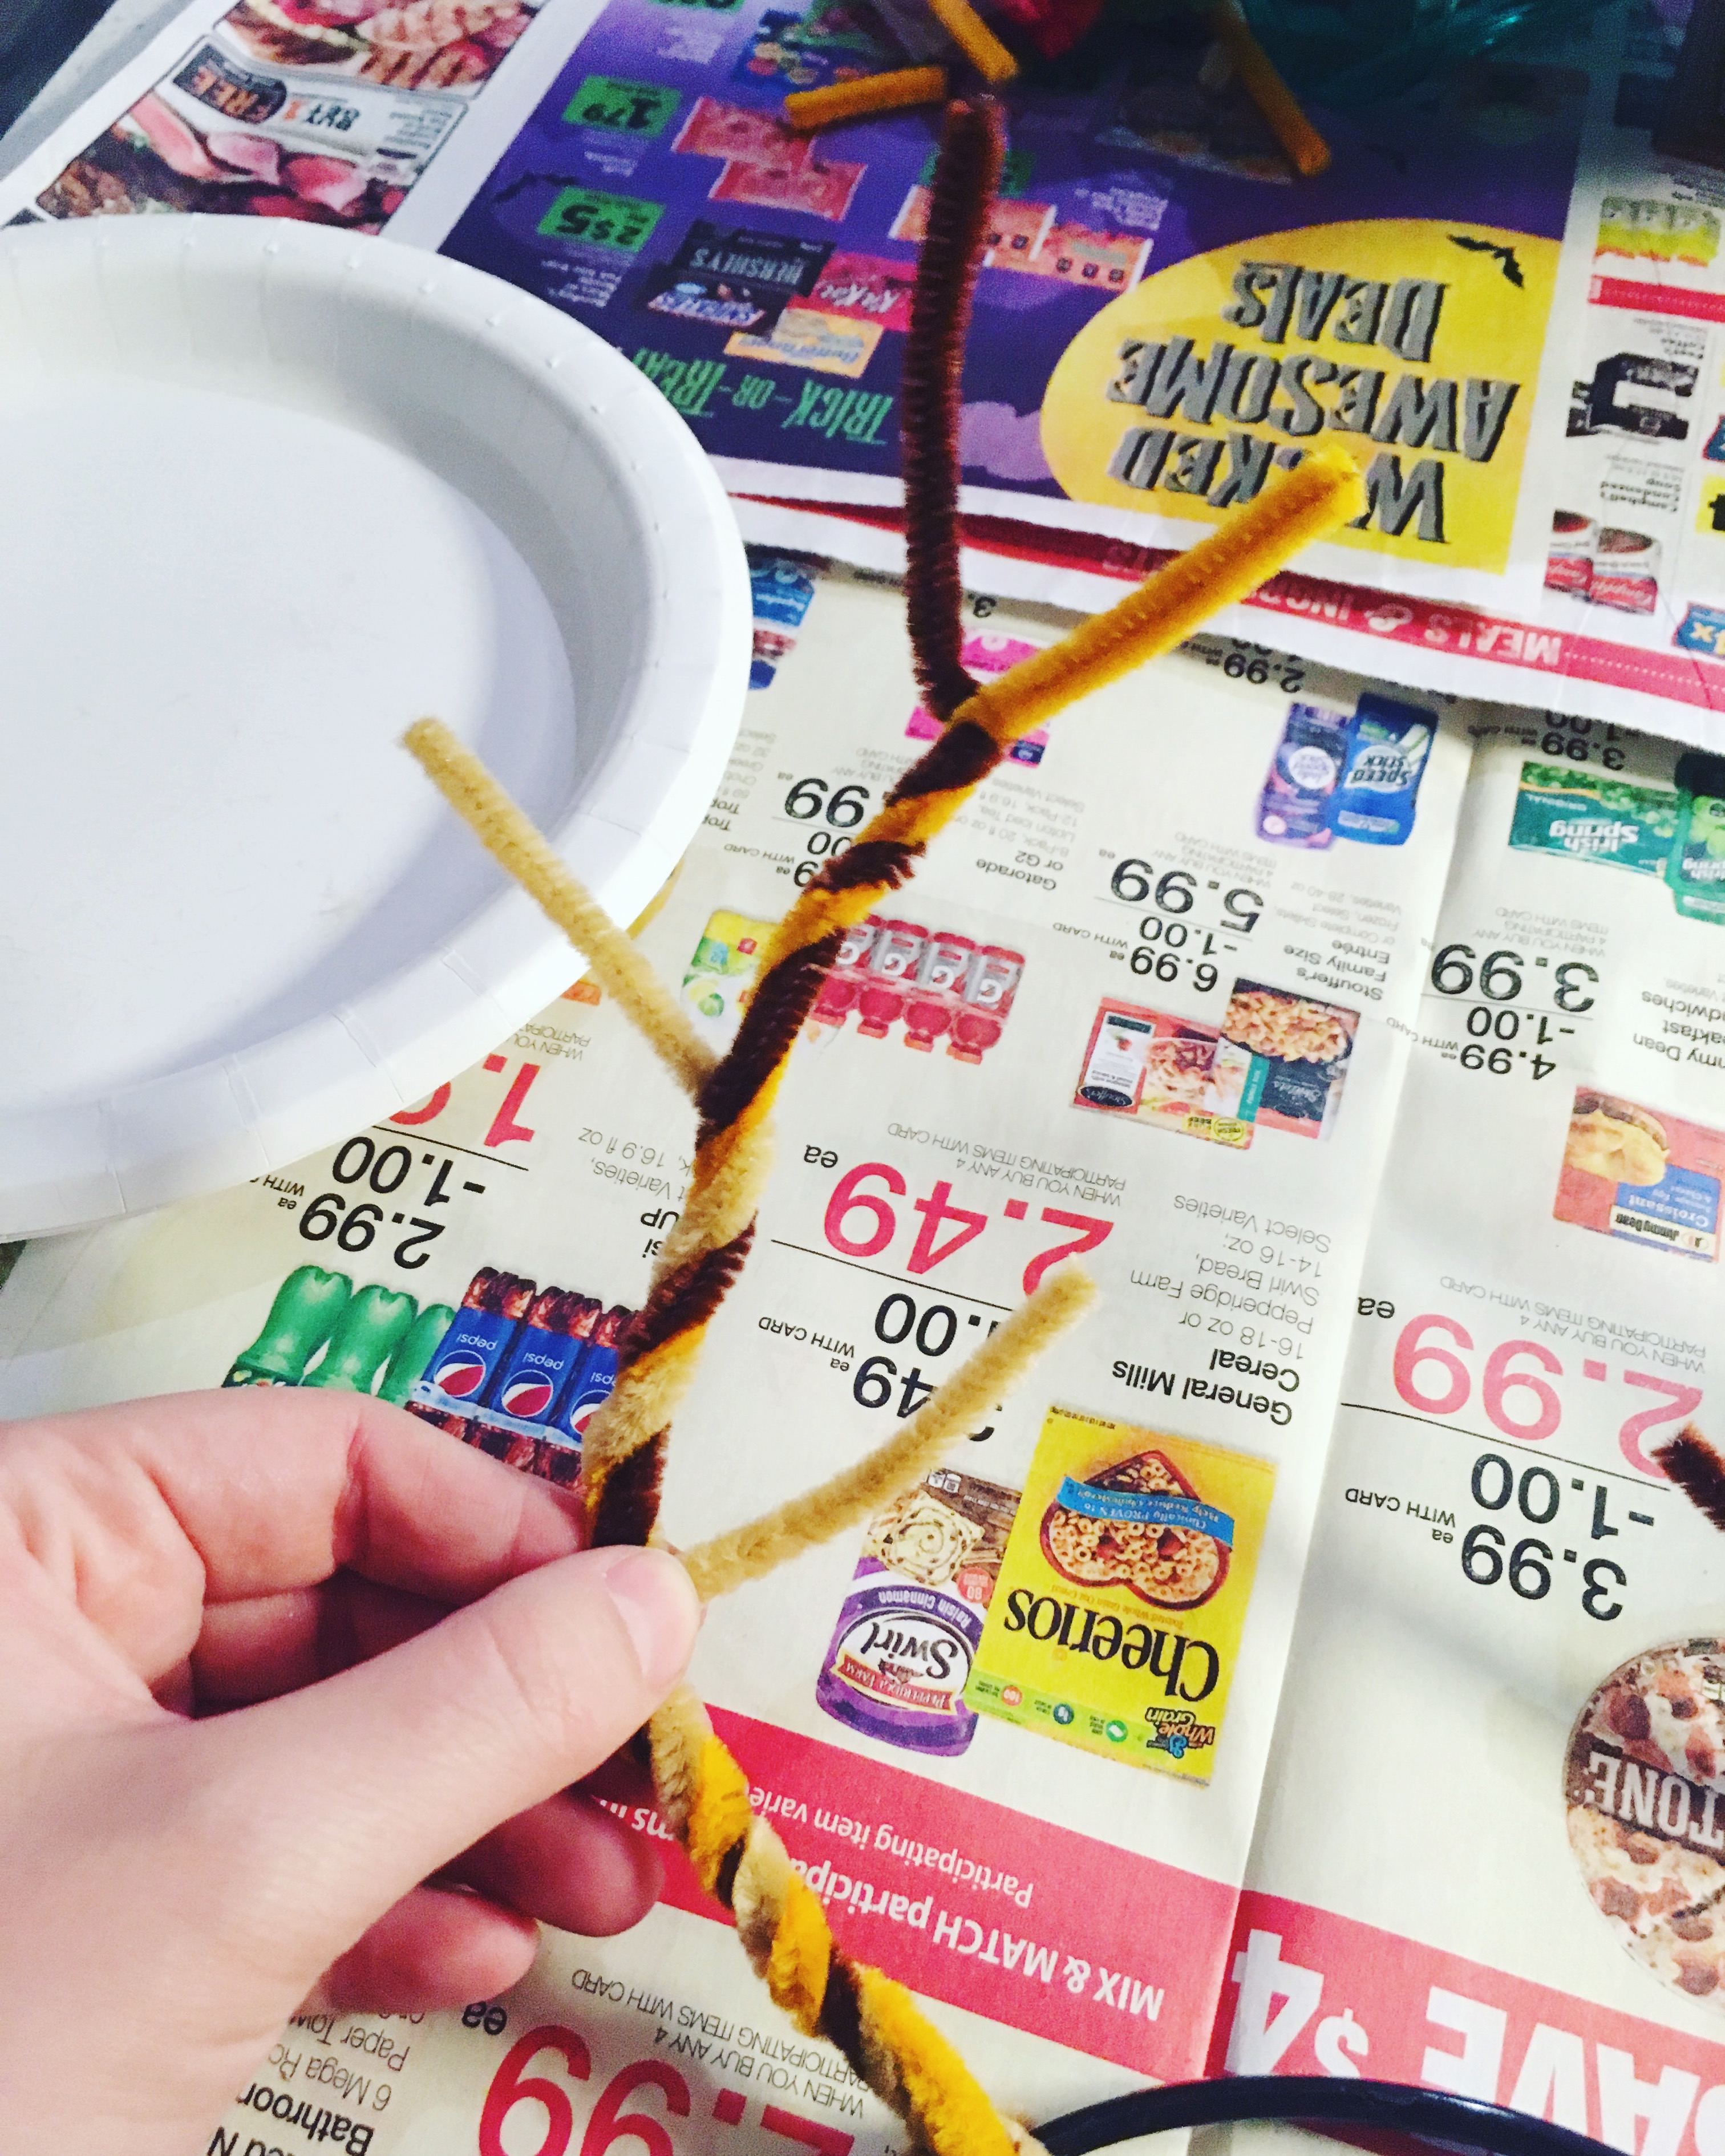
i followed lauren’s tutorial to start – as she mentions, you first wrap the pipe cleaners around the headband and shape them to make antlers of whatever size you’d like. i used three different pipe cleaners for each antler, and i twisted all three around the headband at the base, then twisted them around each other moving up, and gradually branched one off every couple inches. i trimmed several of pipe cleaners that branched off to make them into the shape that i wanted.
they don’t have to be perfect since they’ll be covered up by paper and paint.
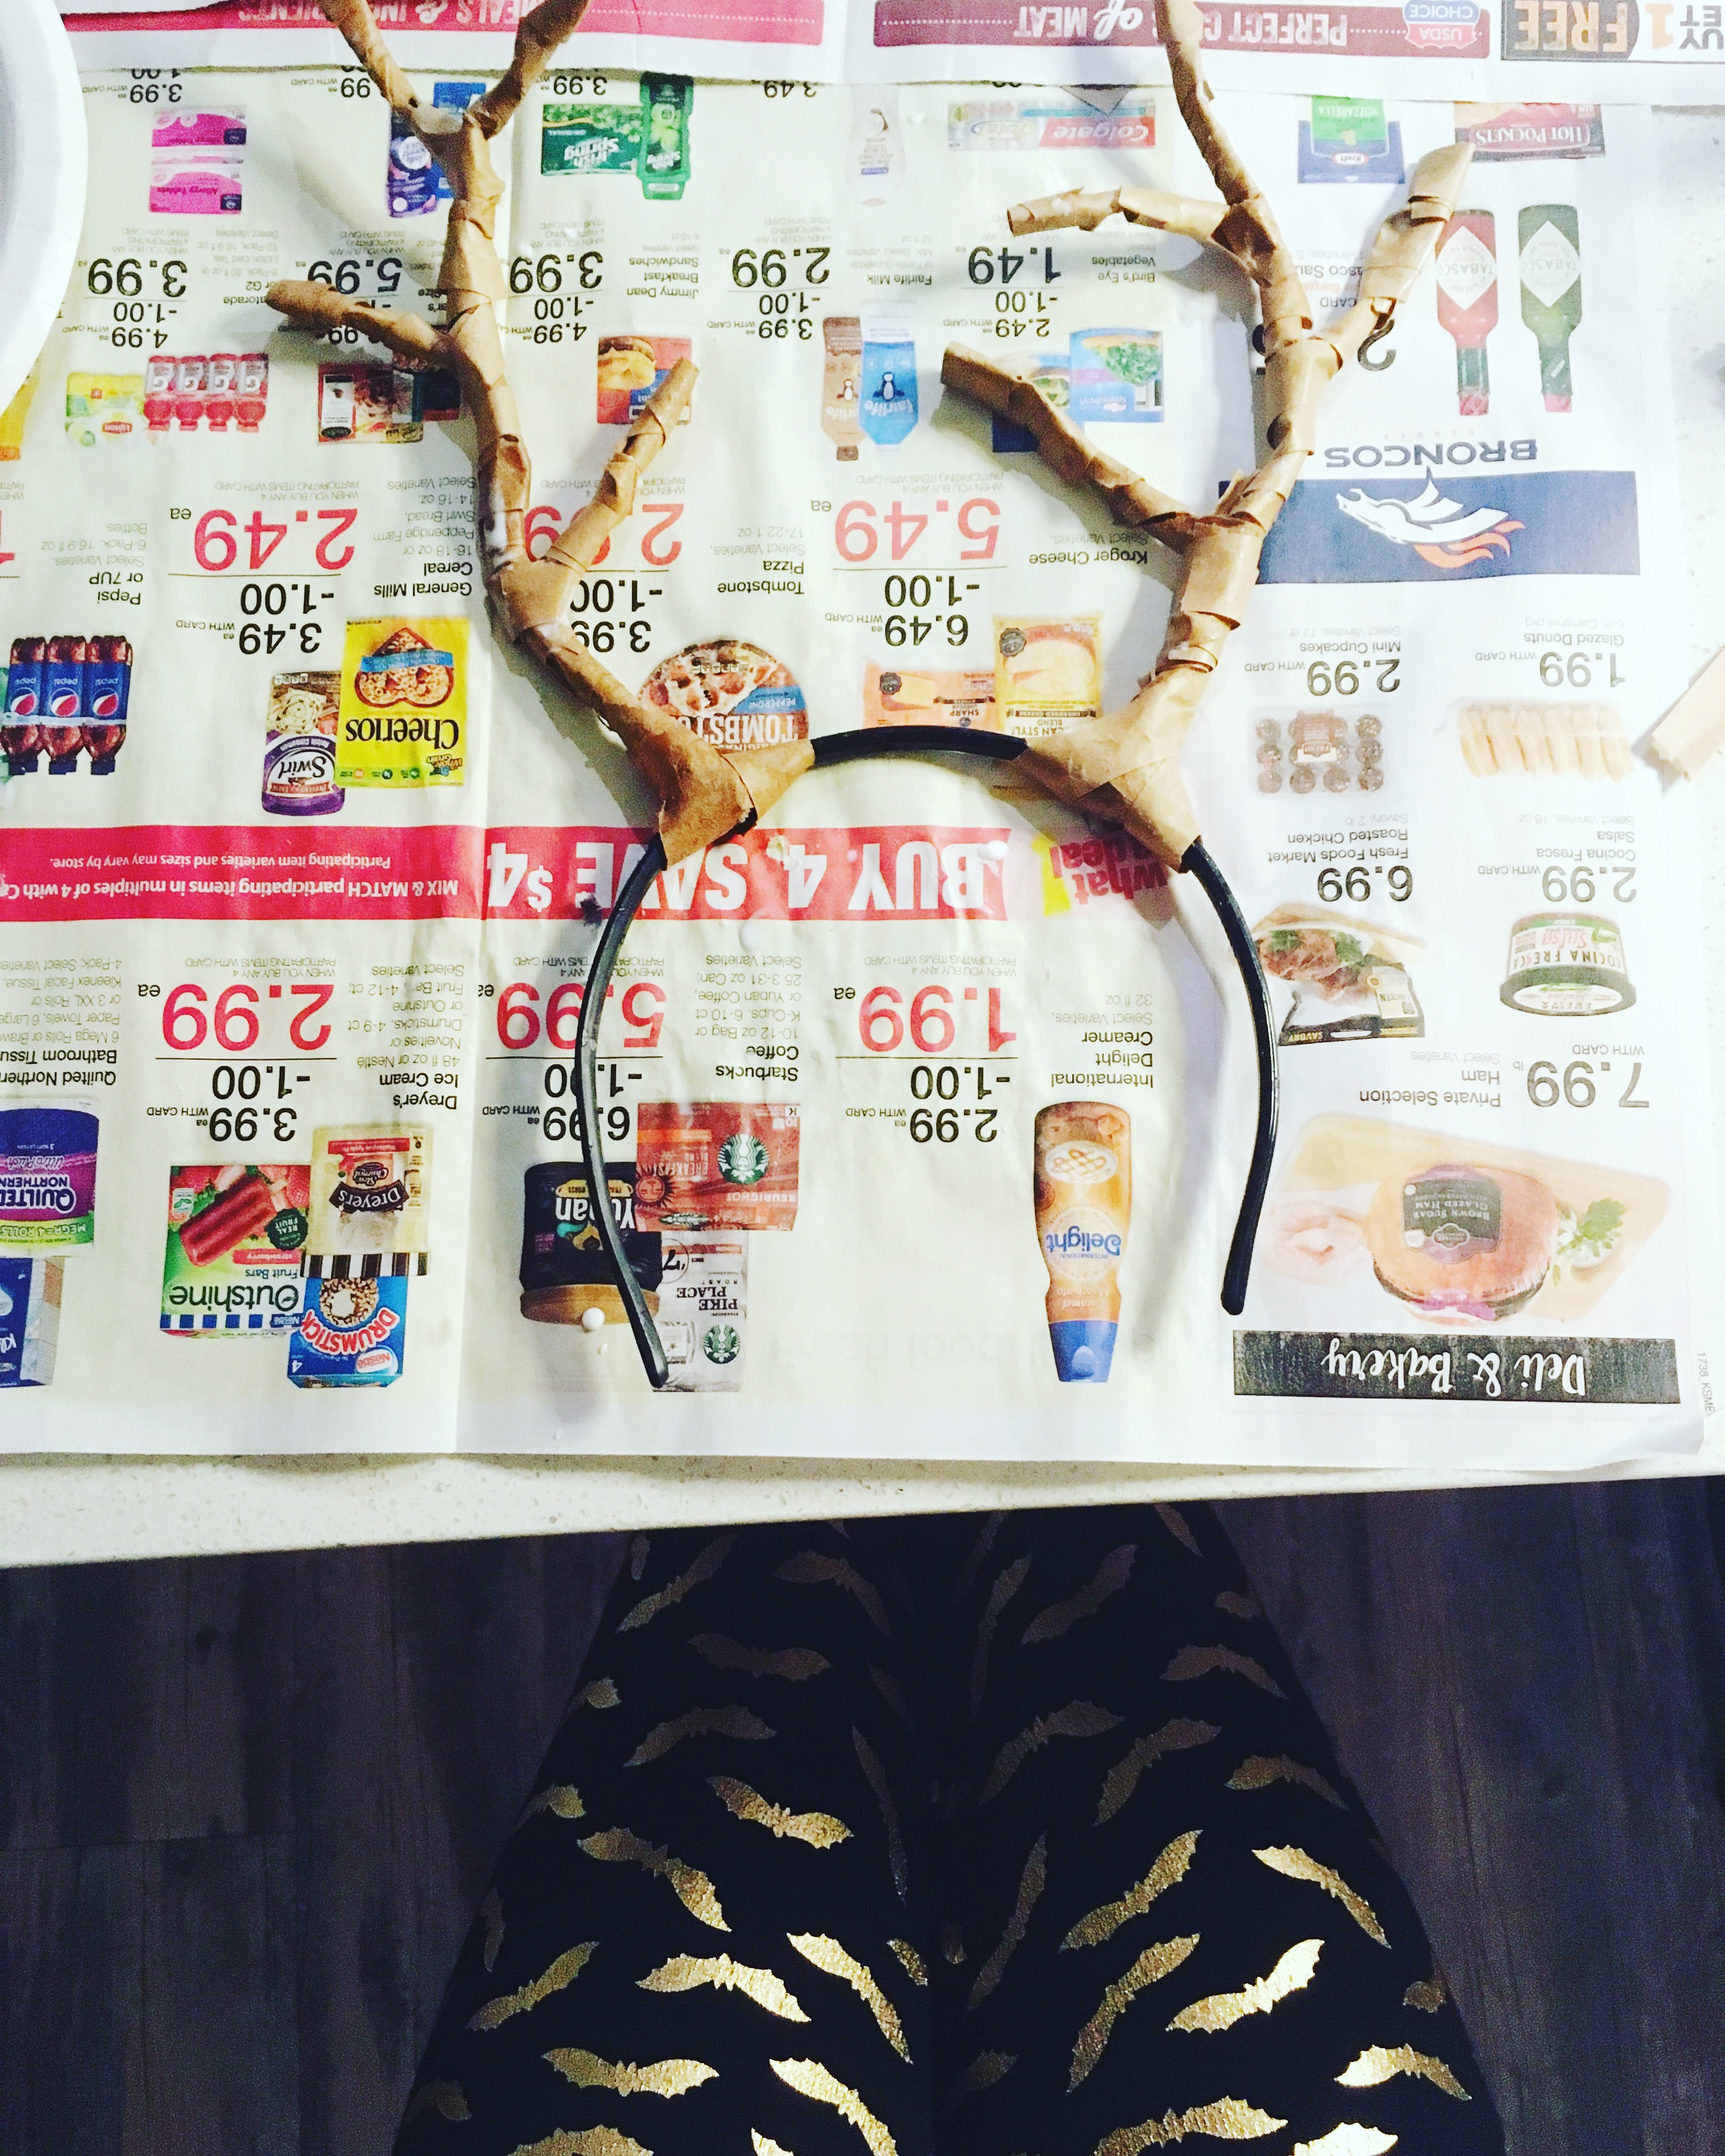
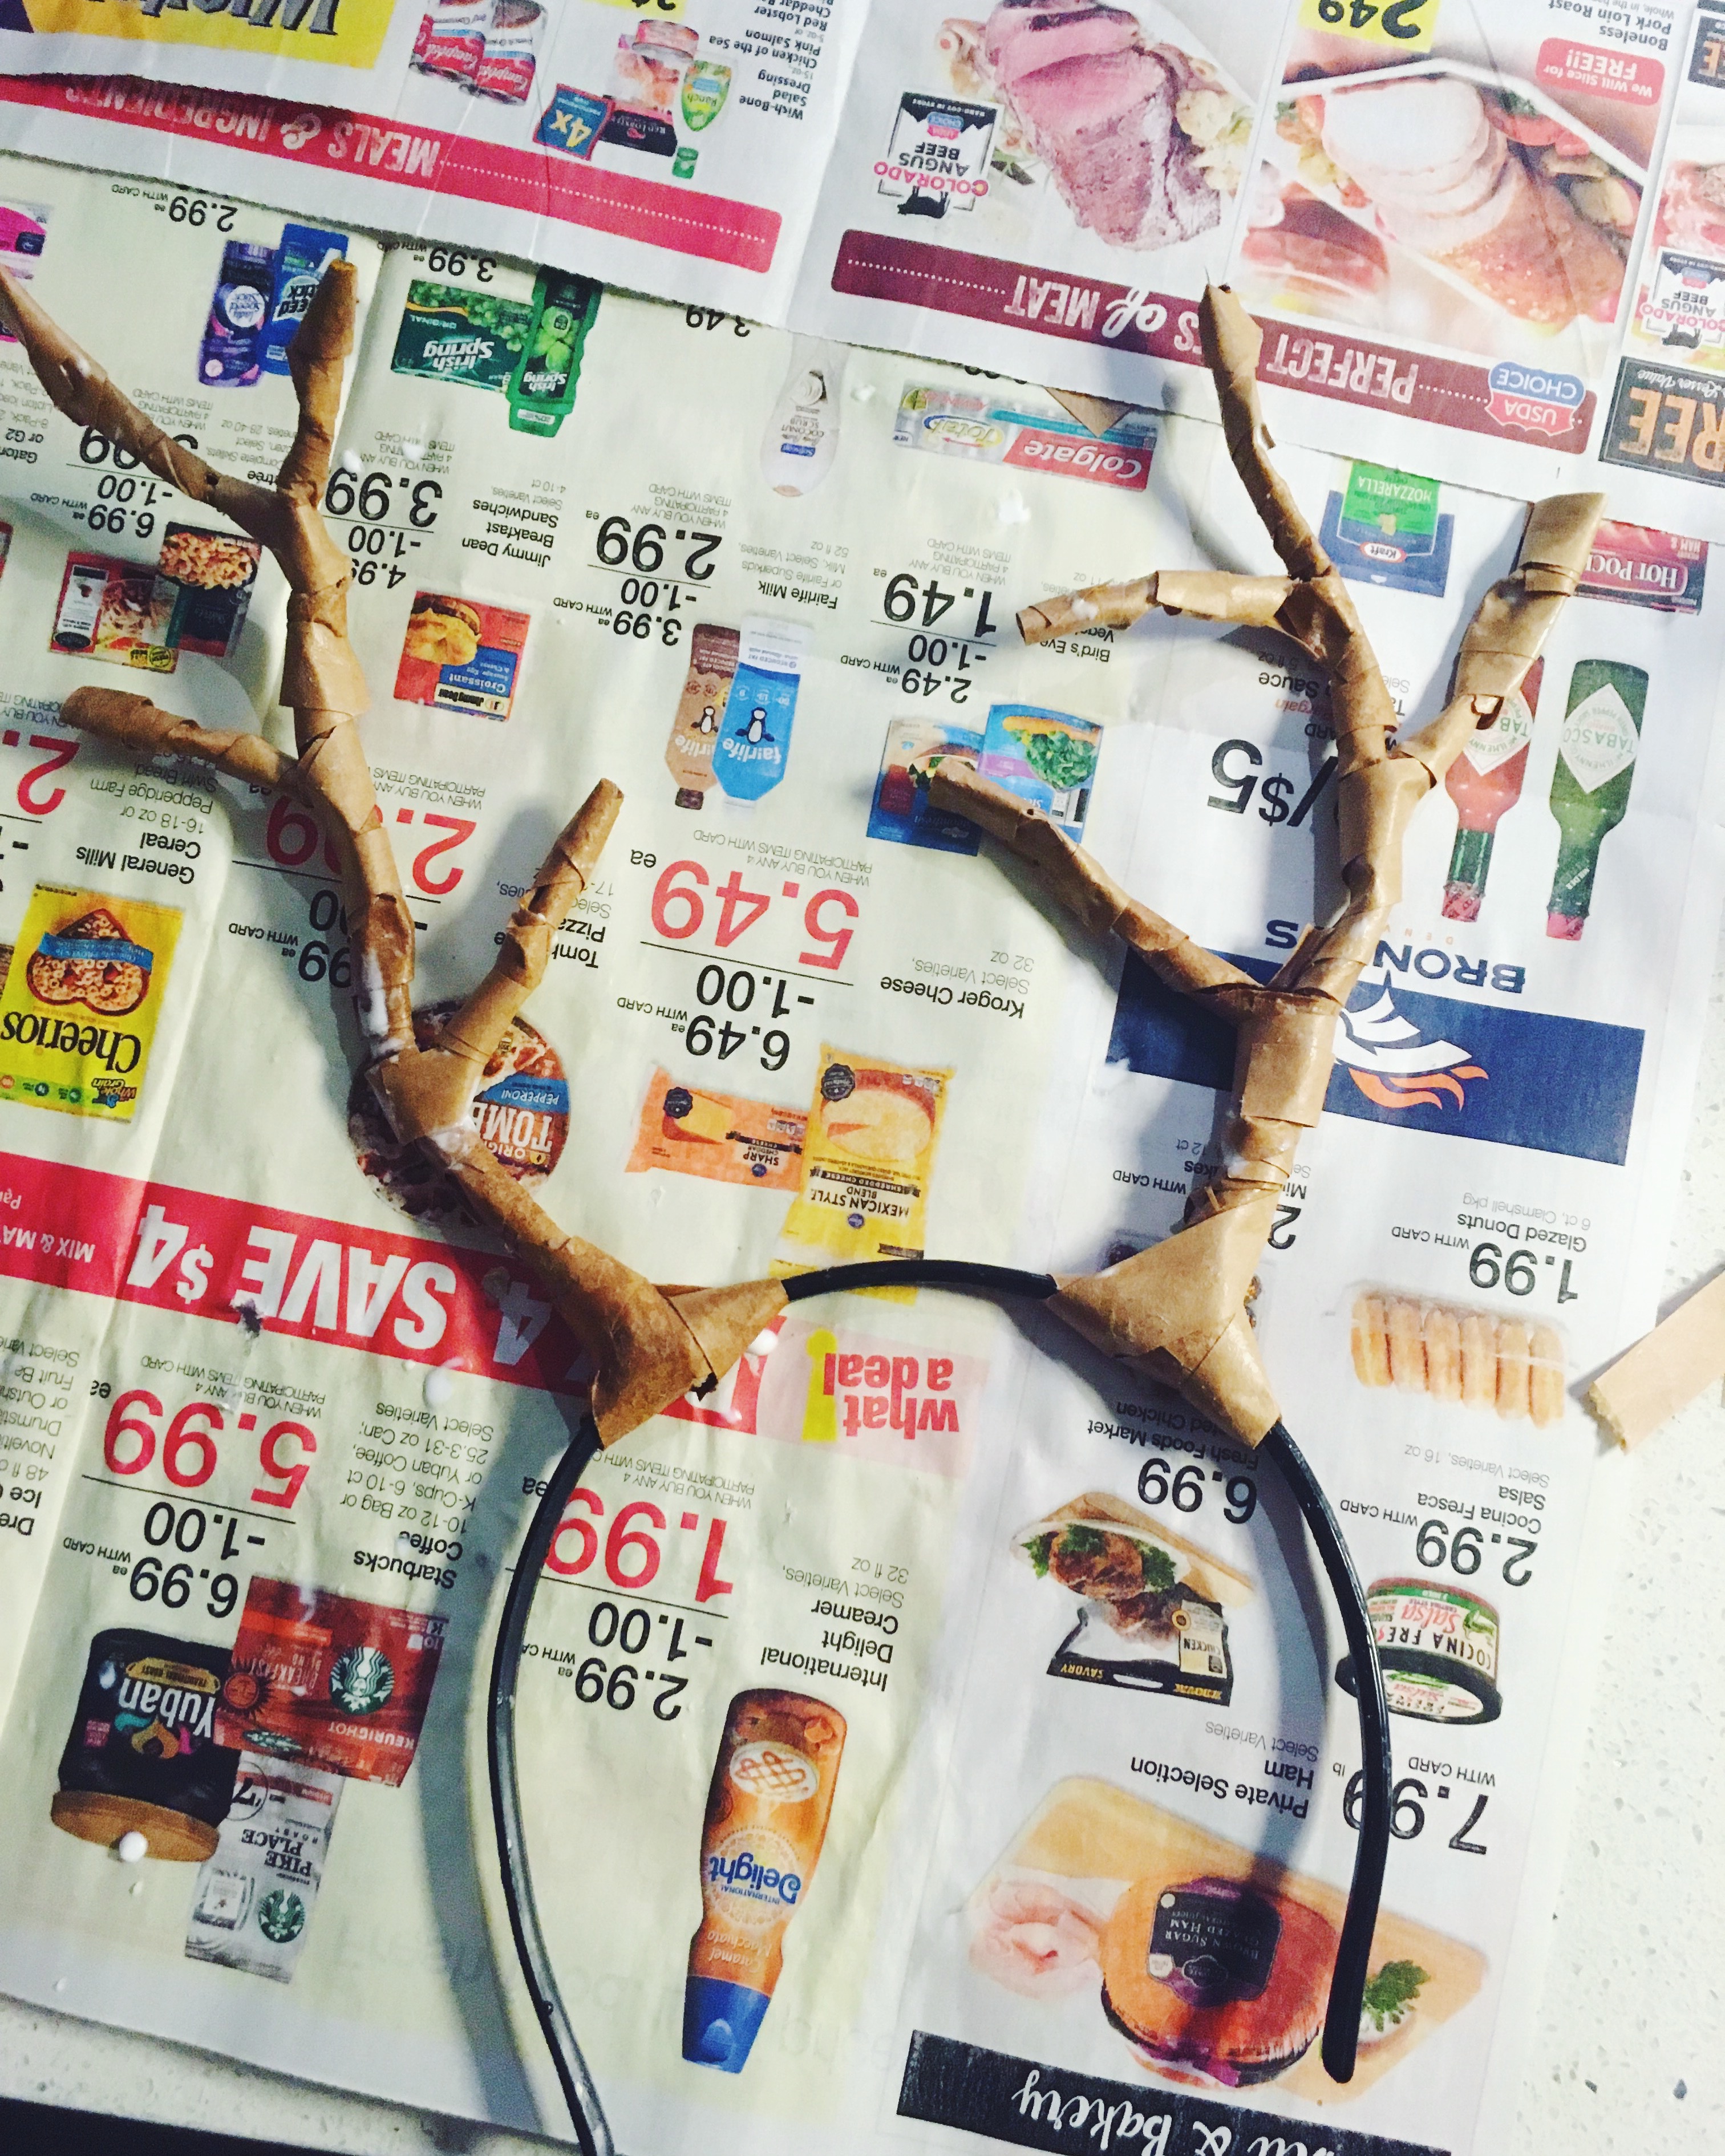
next, you’ll take the strips of paper cut from your brown paper bag and dip them in mod podge, then wrap them around the pipe cleaners. i want to point out that i had started out following lauren’s tutorial here and had mixed 1 part water and 1 part mod podge, but this didn’t work for me. the water was making the mod podge way too runny, and the brown paper wasn’t adhering to itself or the pipe cleaners. this could have been due to the weight of the brown paper bag that i was using [mine was probably a bit thicker than some], but i really struggled with this for a while and finally found that using straight mod podge worked much better for me.
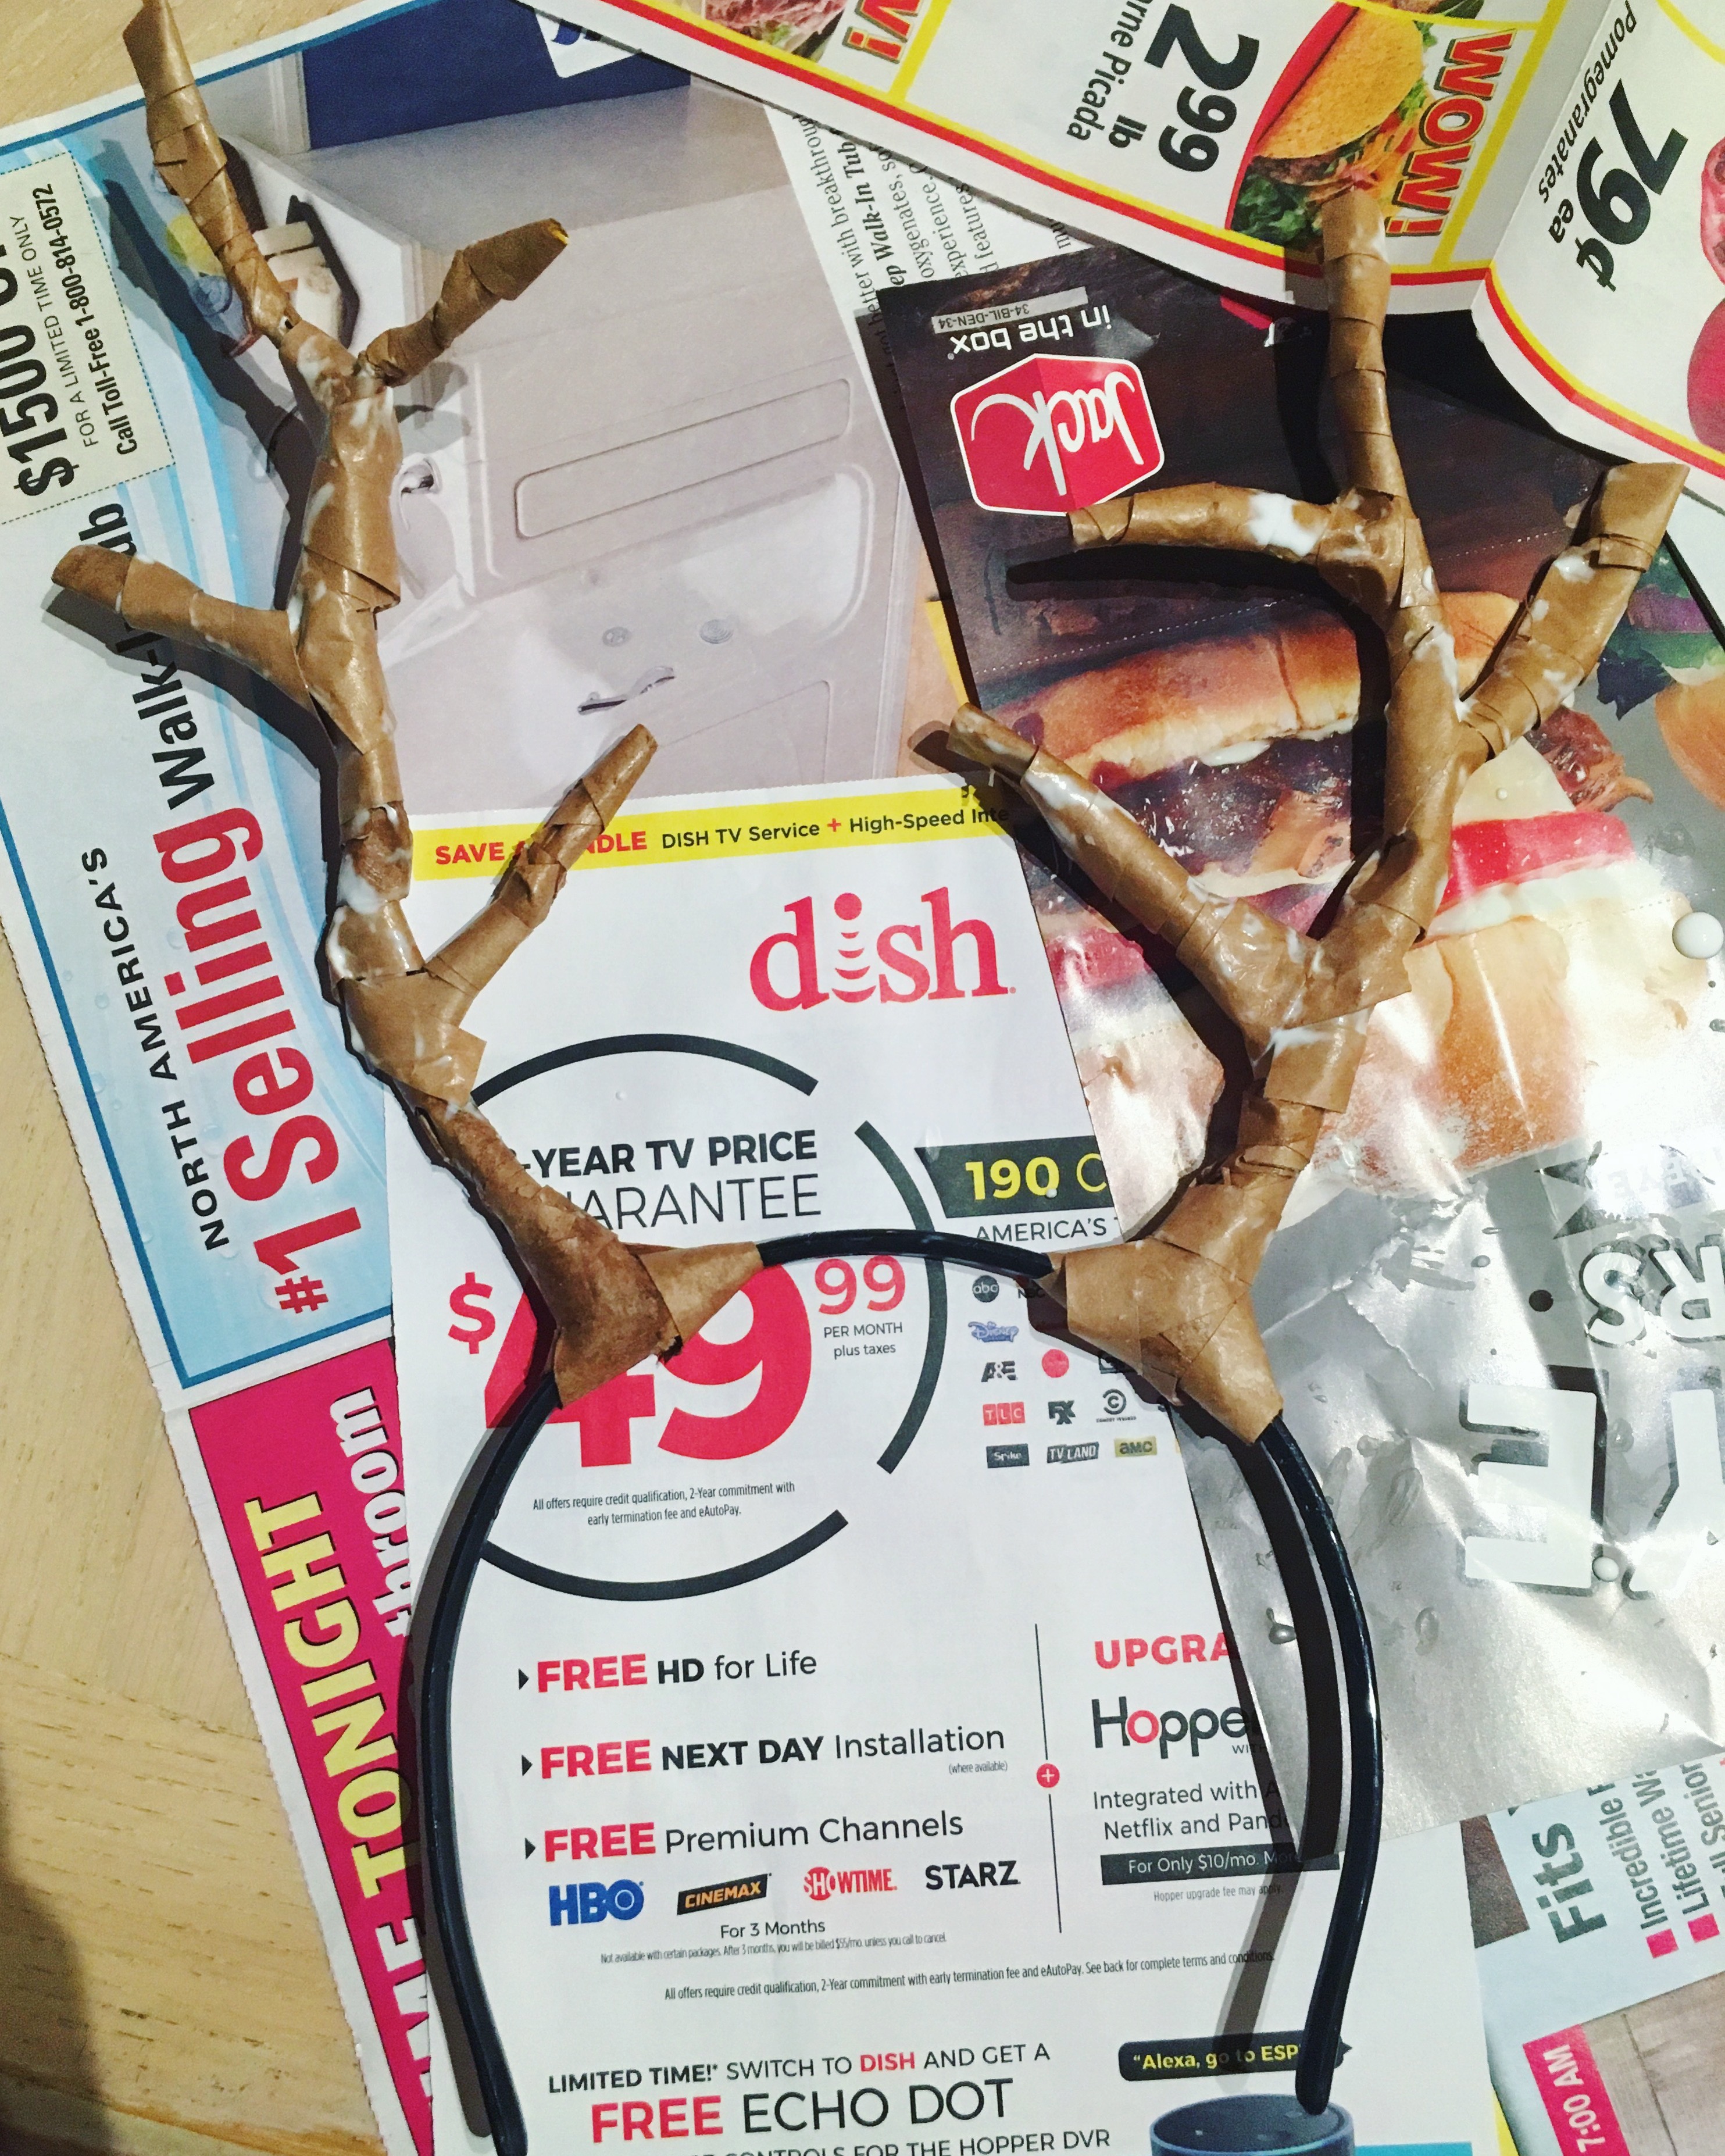
this was probably the hardest part of the whole costume, since i wrestled with these paper strips for a while and was thinking that the antlers weren’t going to turn out, but it all worked out find in the end. the things to keep in mind with this part of the project are: 1.) be prepared to get messy – you will have mod podge all over your hands, 2.) don’t be afraid to let the antlers dry and come back to them. i covered the pipe cleaners as best as i could on the first round, though they were definitely pretty messy, and then i added more strips to clean them up after they had dried the next day. they always look better once they’re dried, and they’re easier to work with too. 3.) they don’t have to be perfect. mine were VERY imperfect, but you cover them with paint. besides, you can’t see the imperfections from a distance, especially not at a spooky, dimly-lighted halloween party!
one more thought on this step: lauren recommends using a hair dryer to speed up the process. i just let mine air-dry, but this might be a good idea if you’re in a hurry OR having trouble getting the strips to stay on. might be worth a try.
crafting with my gold foiled bat leggings, which make an appearance every halloween. :)
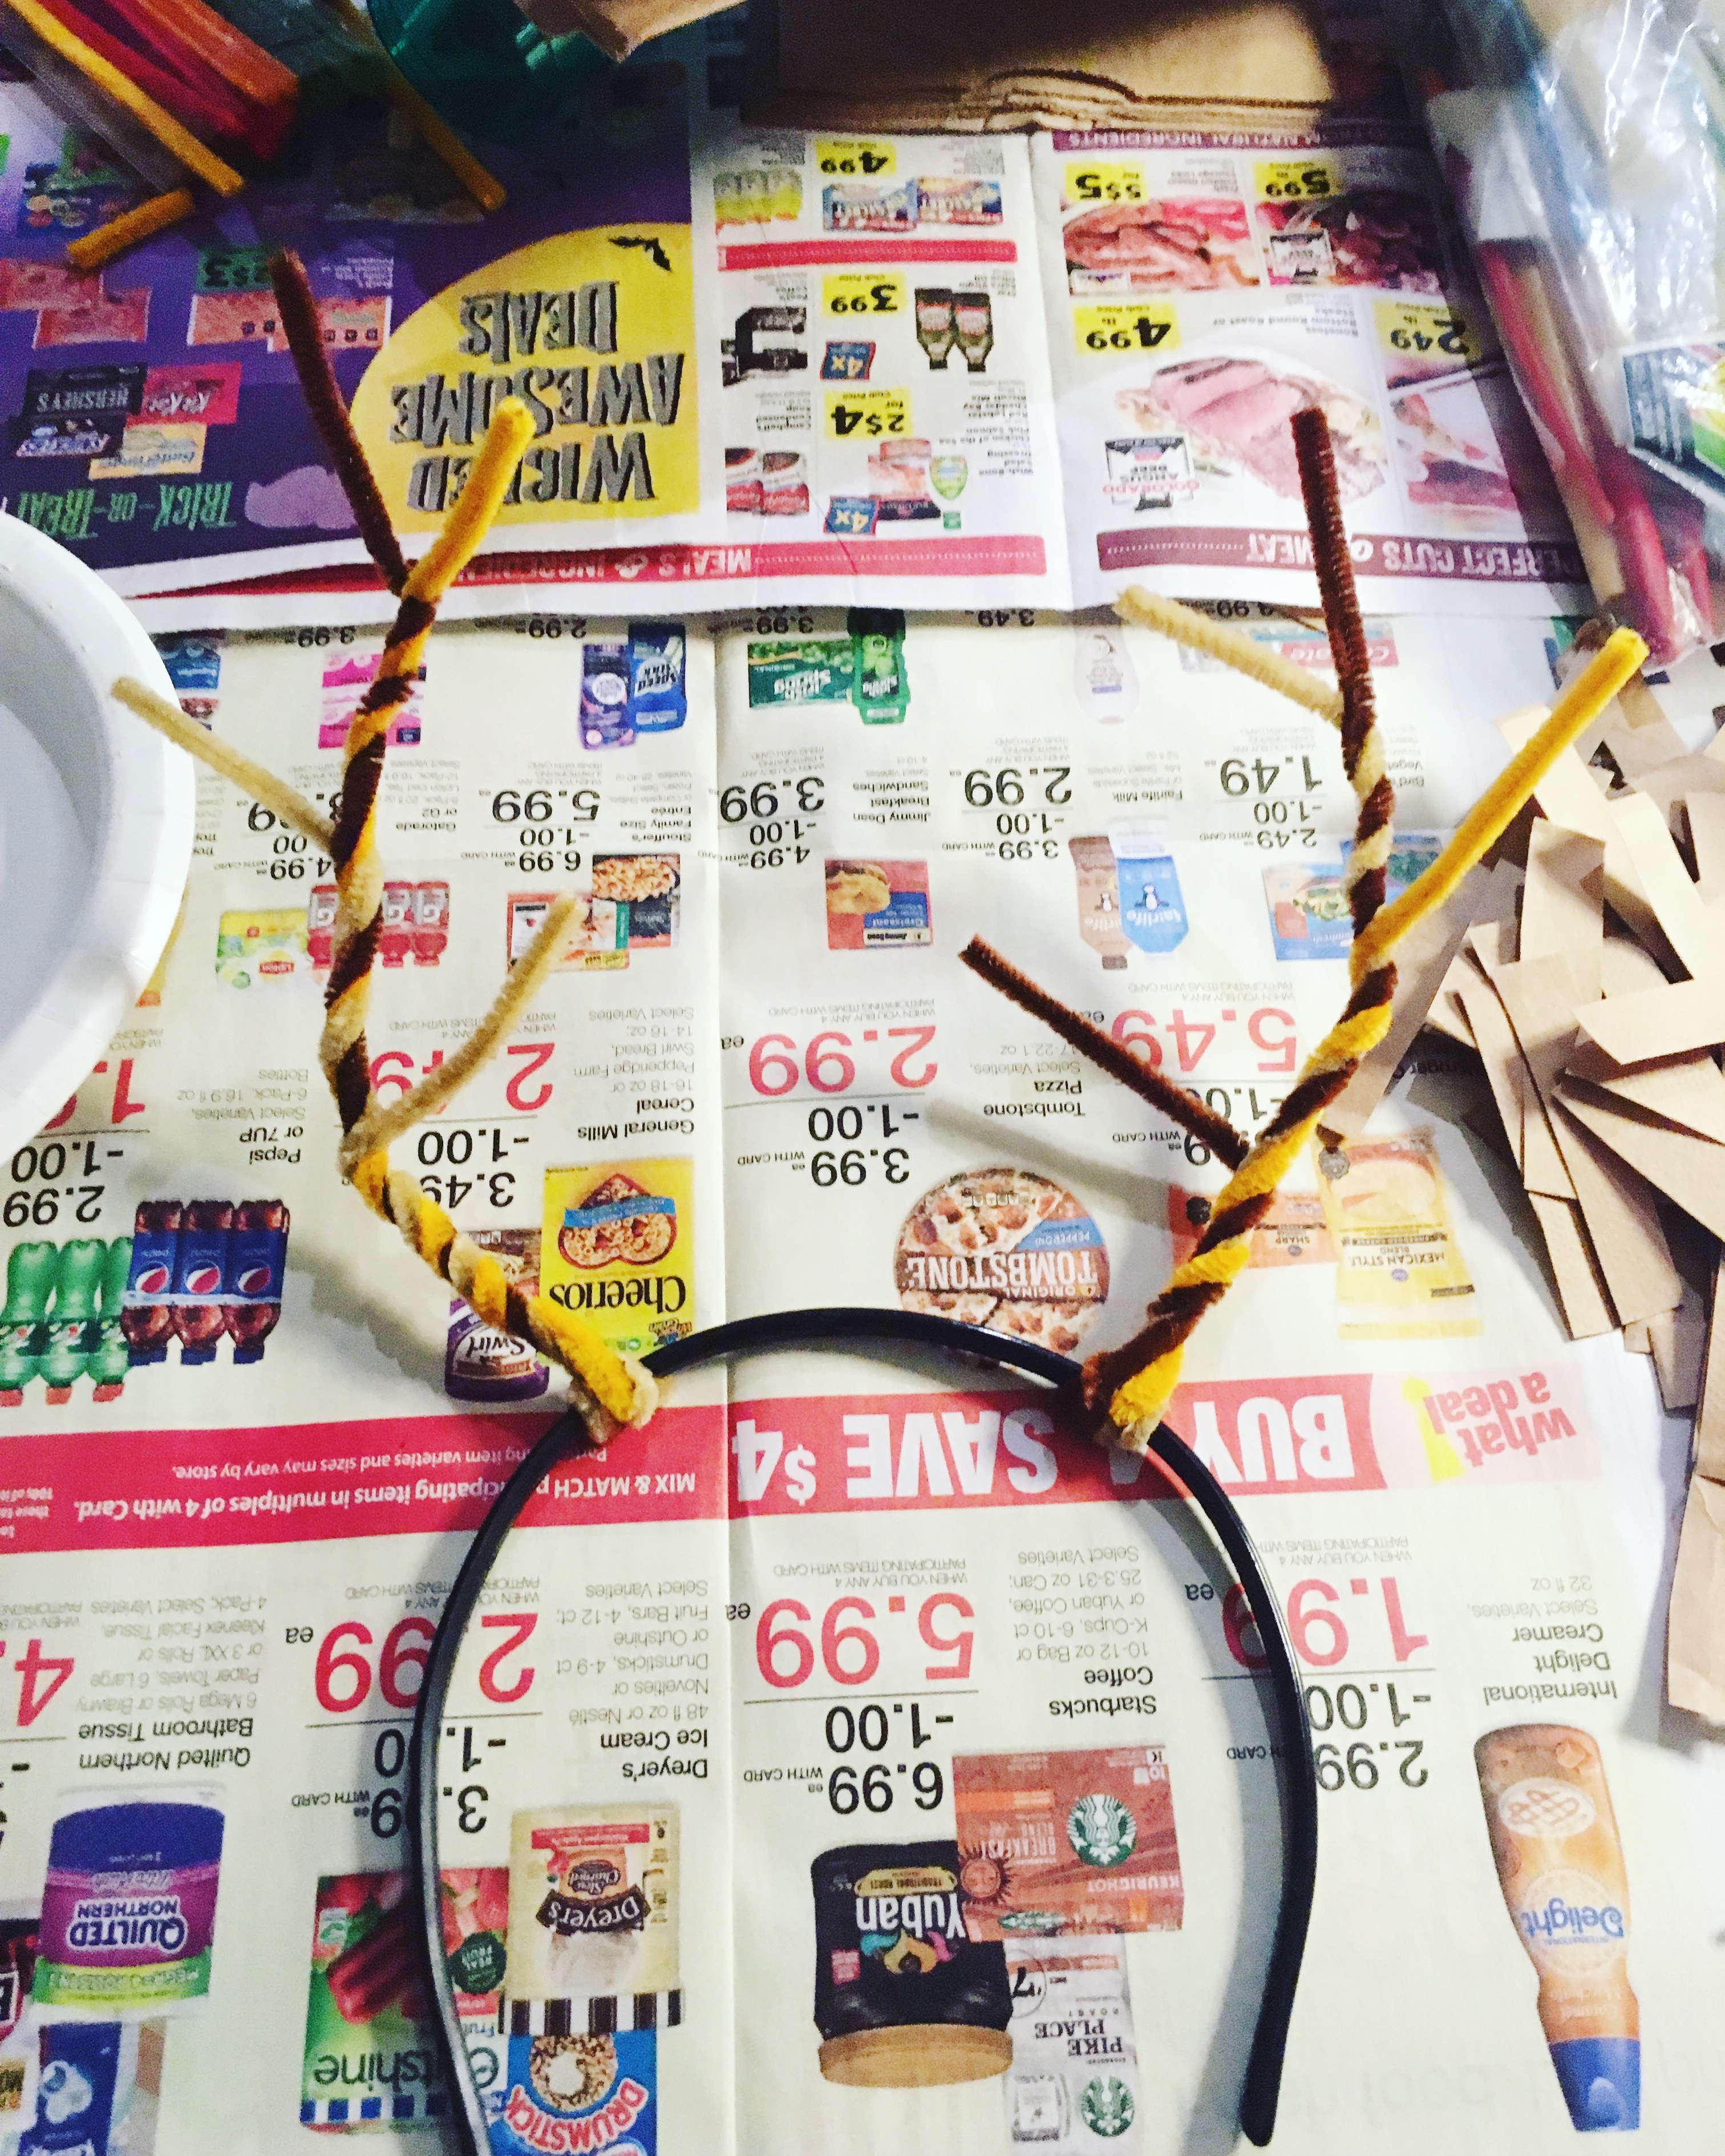
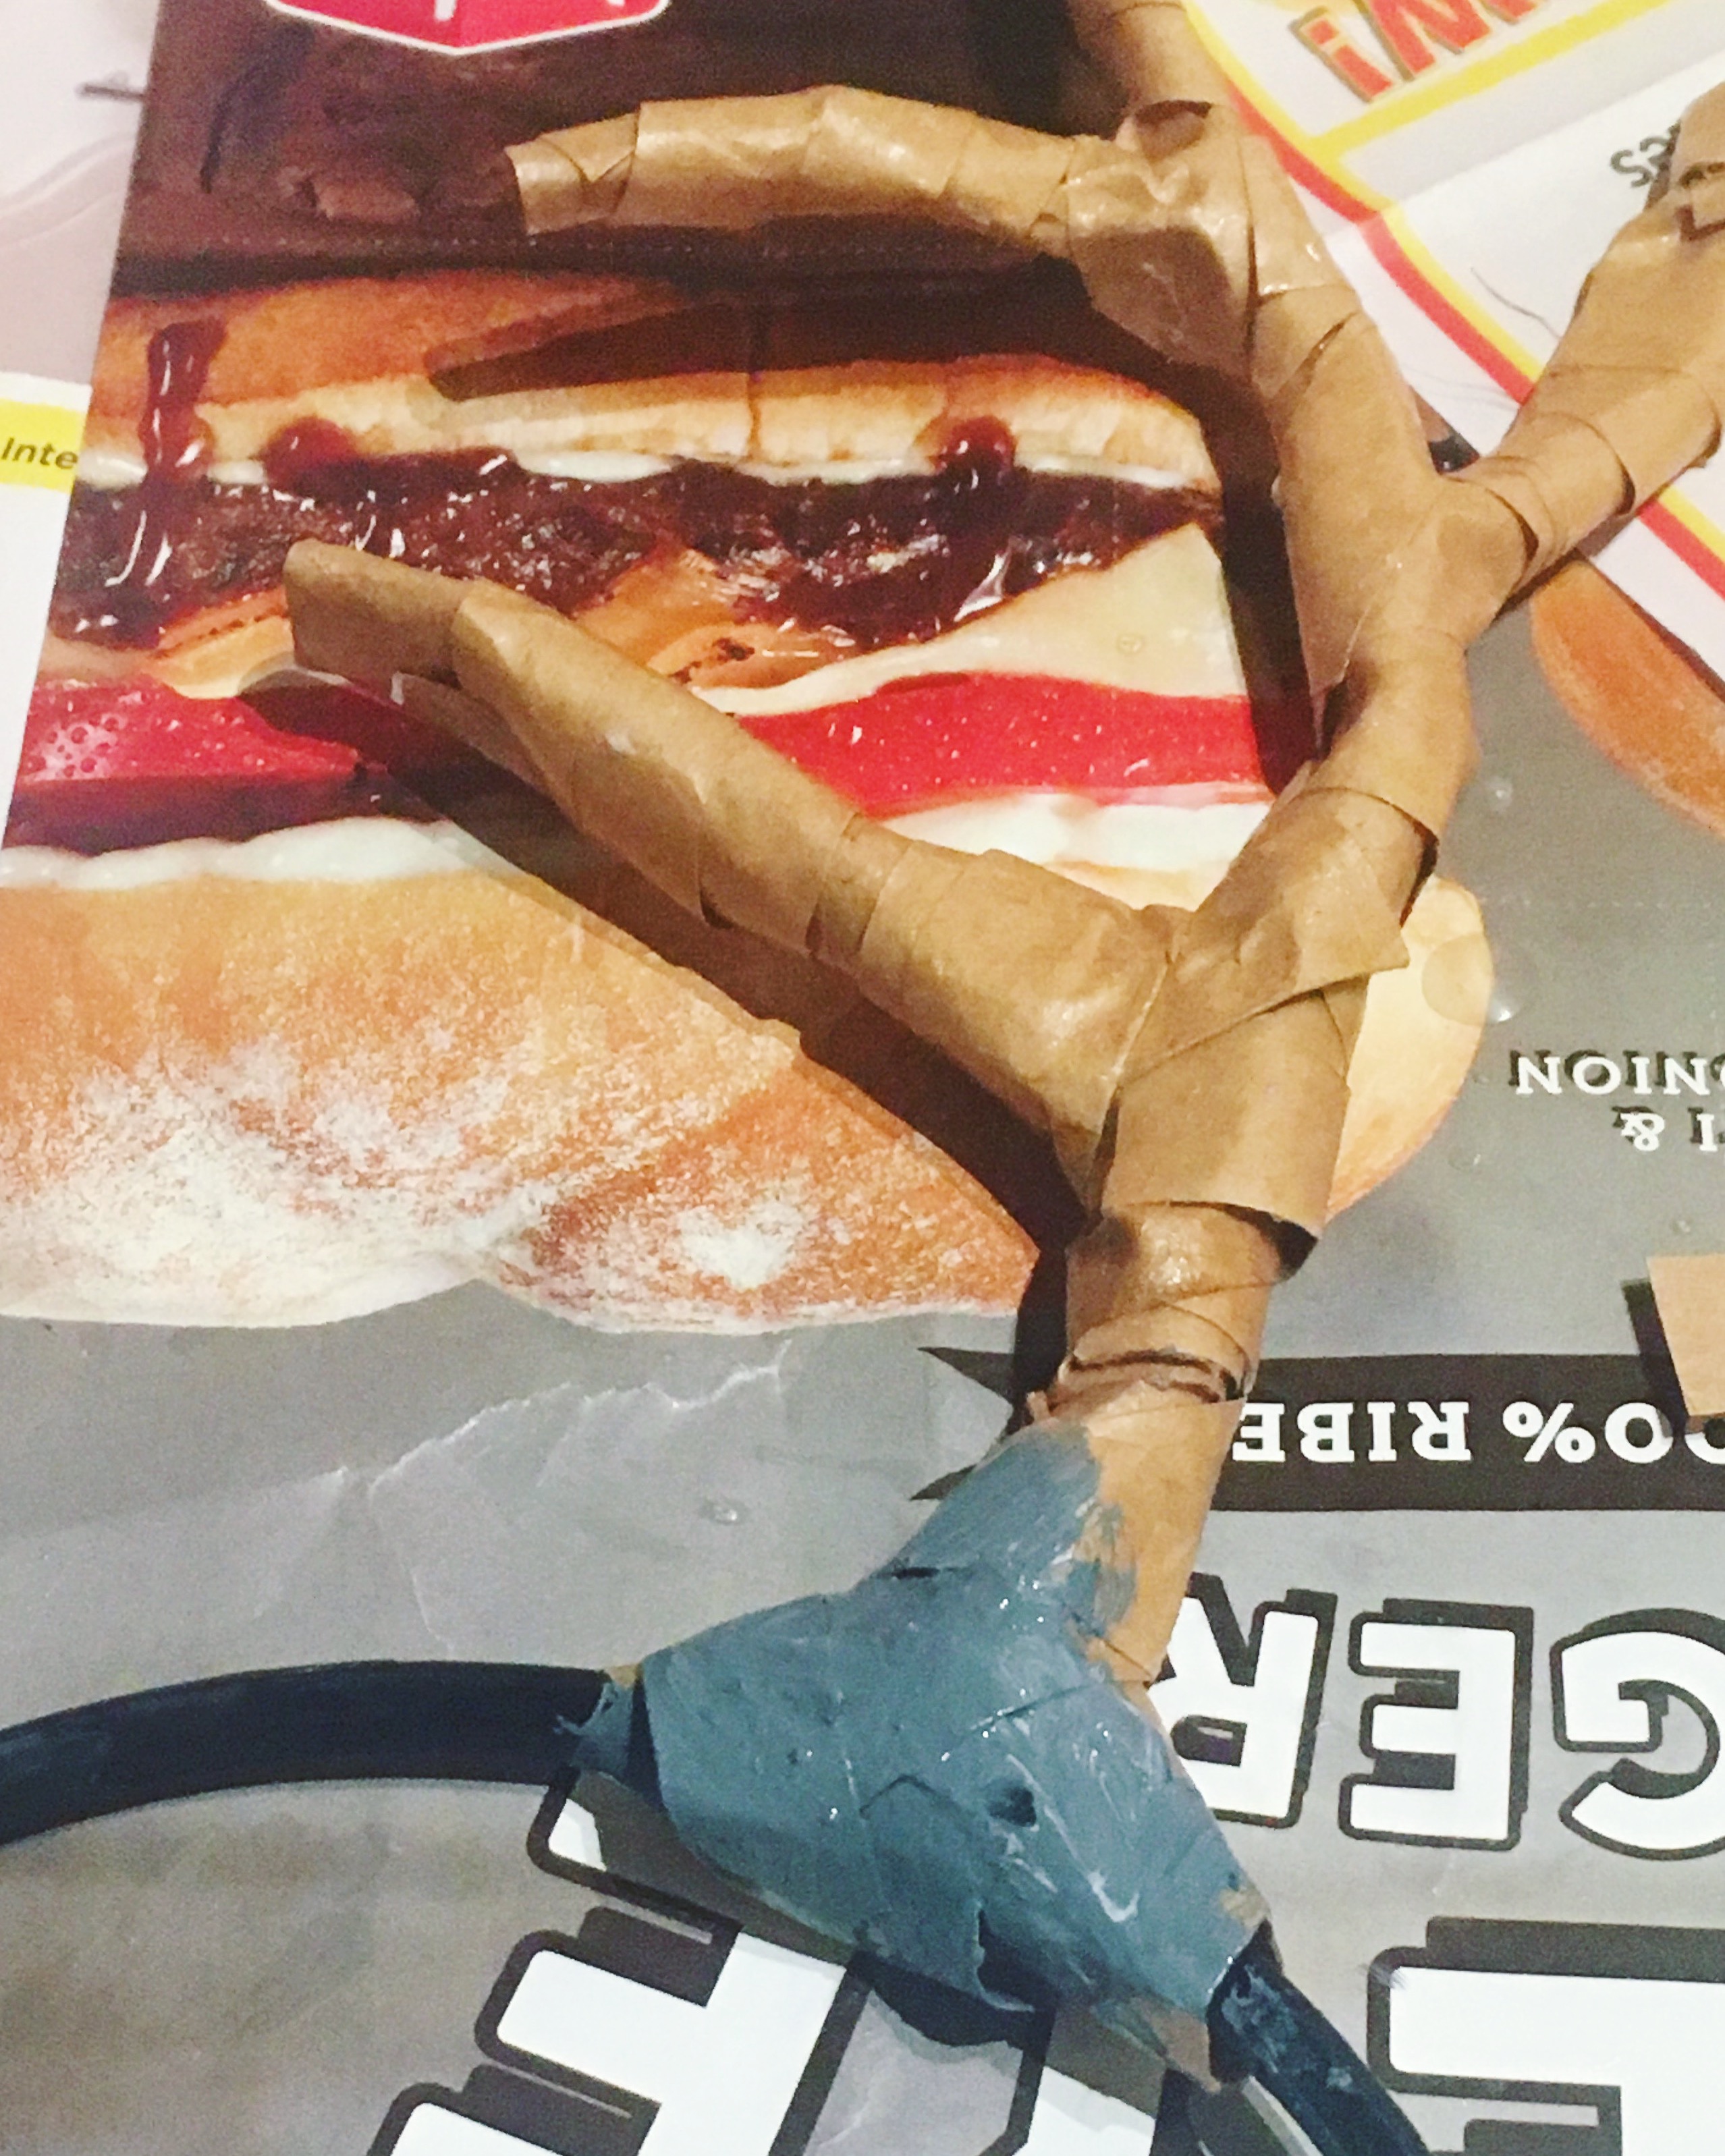
the photos above were after round 1 of mod podge/paper strips…
…and here they are after round 2 of mod podge/paper strips, before they dried.
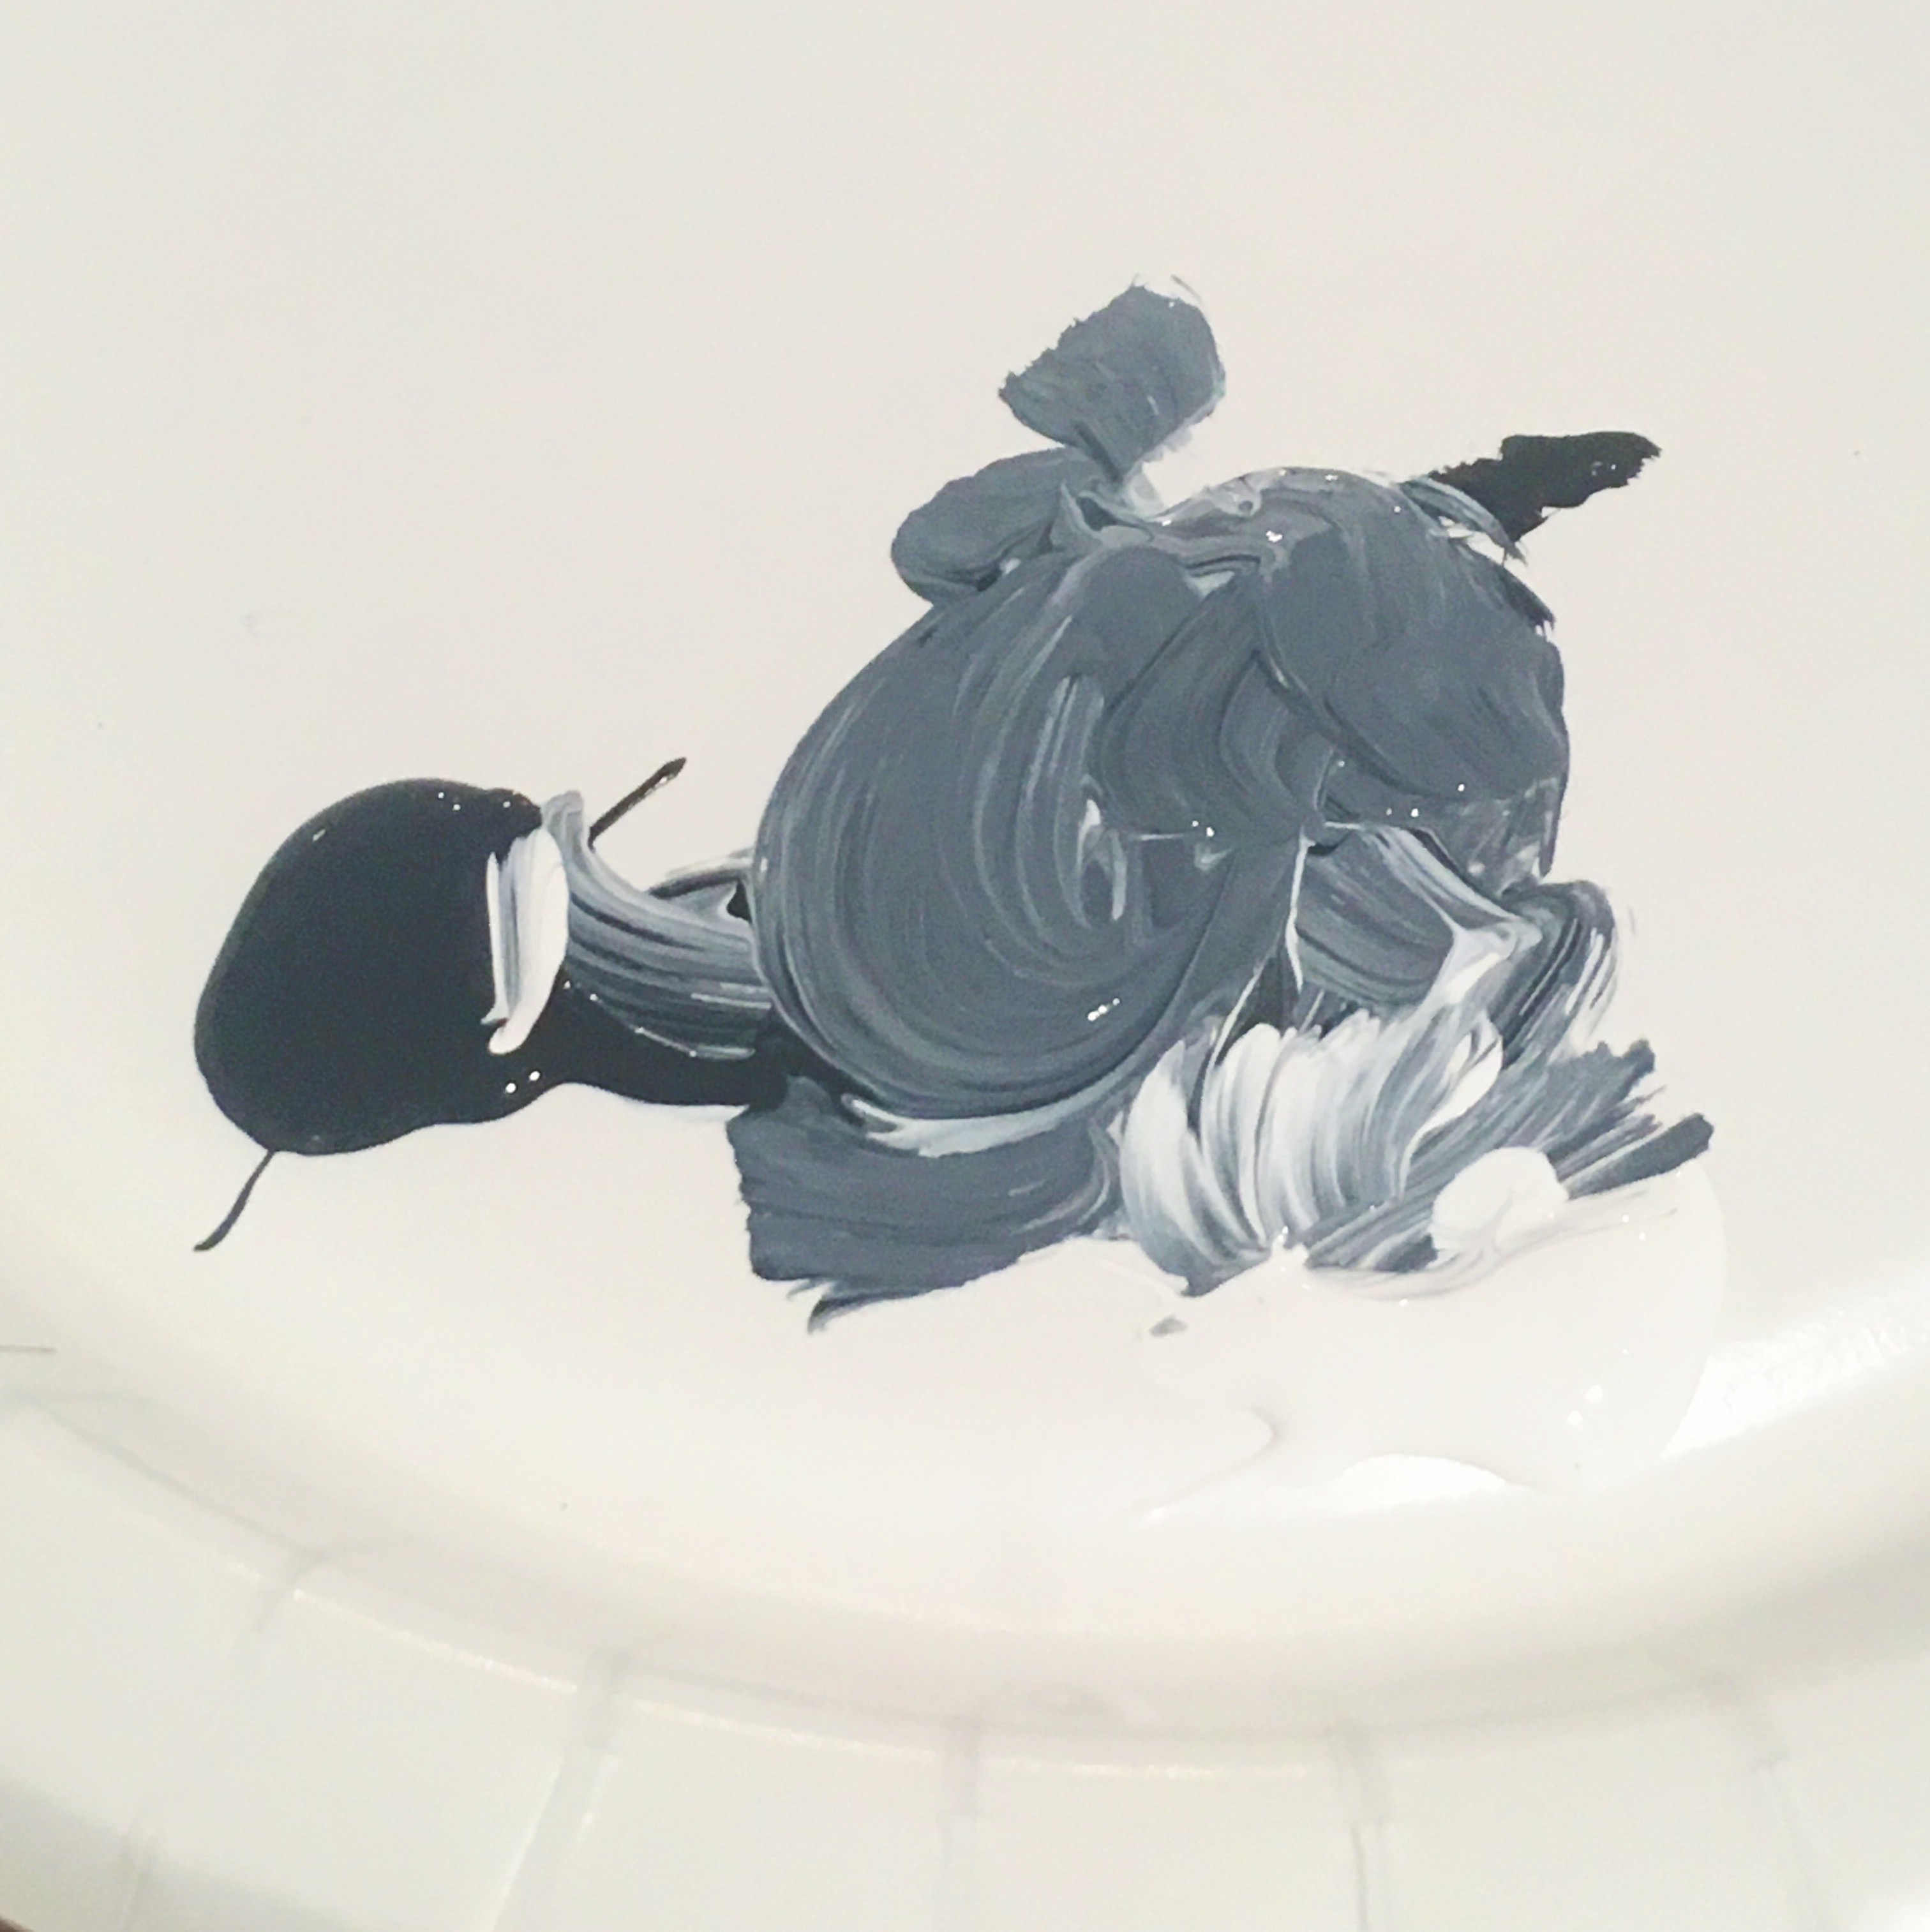
next it’s time to paint them! make sure you wait until they are fully dry before you start painting. lauren said in her “what you will need” section that she used black and white for her antlers, which is what i started off using too…
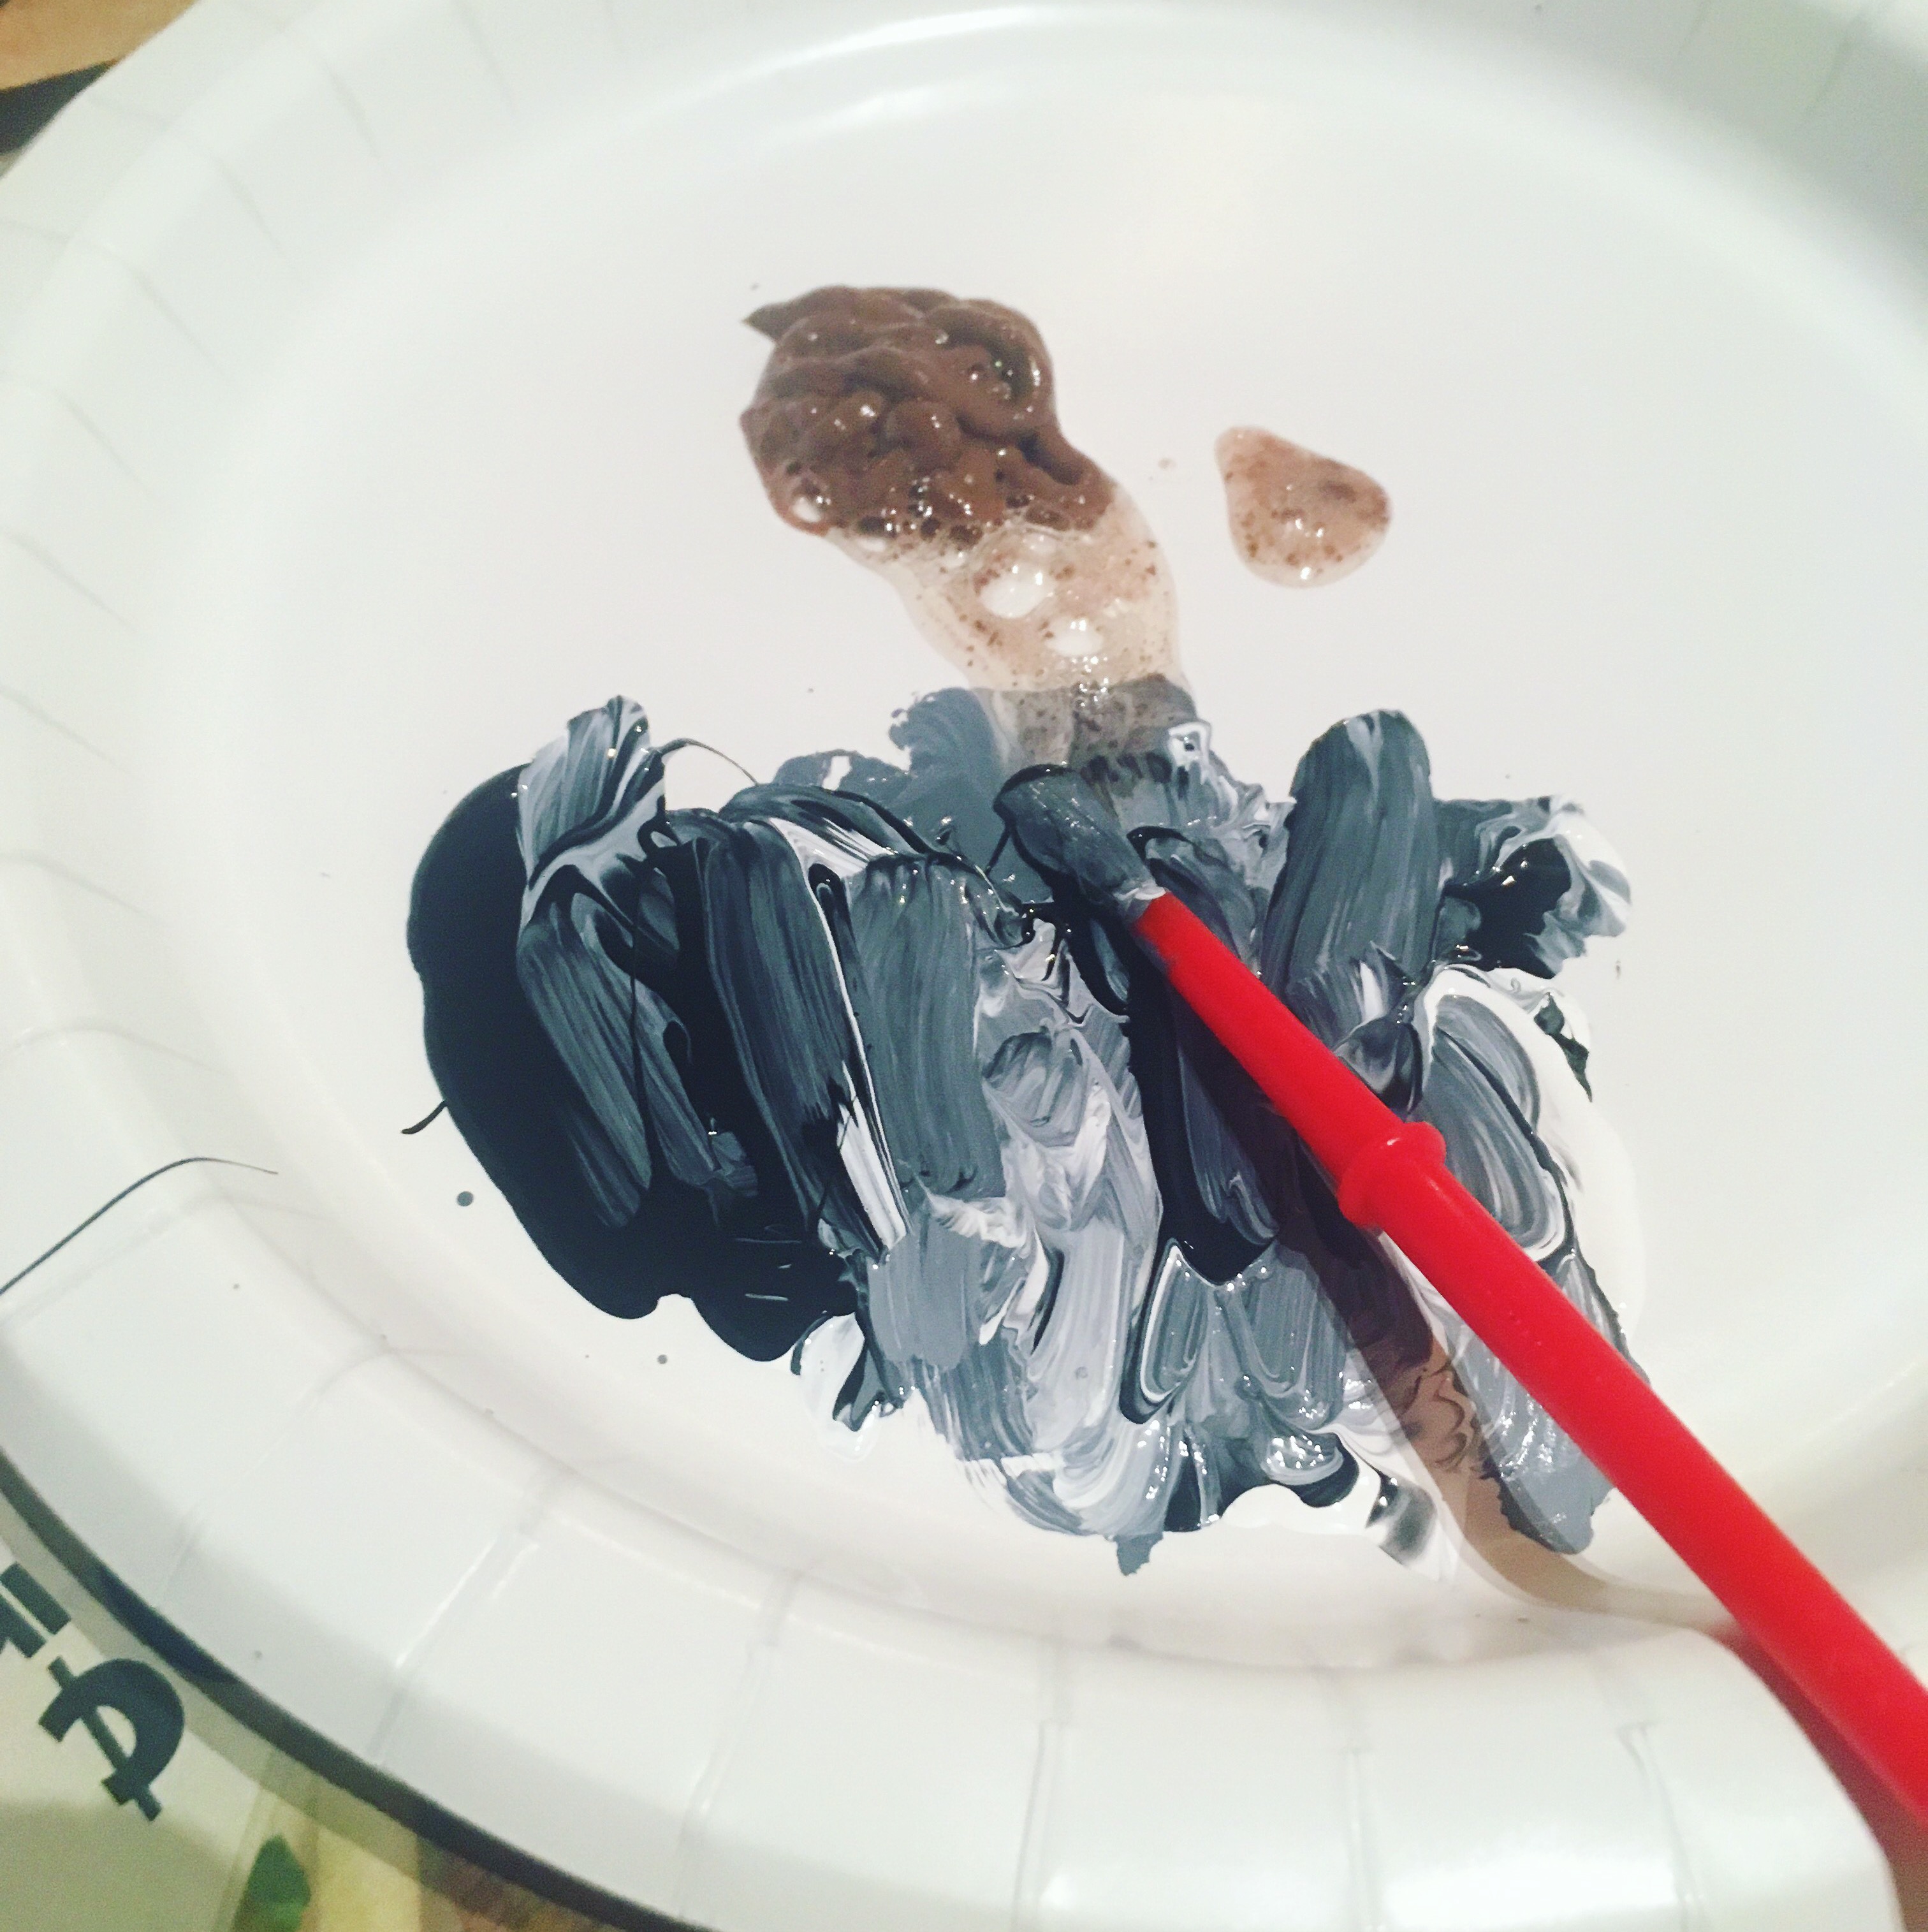
…but then i realized that the gray made from plain black and white seemed to have too much of a bluish tint for me. it wasn’t a warm gray – it was a cool gray that didn’t really fit my vision for this costume. so i dug up some brown paint in my craft box which was probably a million years old, definitely past its expiration date:
…gross, right? it had totally separated into this light brown translucent water with speckles and a very thick, viscous paint that didn’t mix well. BUT i didn’t have time to go to the store for more, so i made it work. i don’t recommend using expired paint if you can help it!! but i do think it’s a good idea to use brown to make them look more realistic… later on in step 3, lauren mentions using dark brown, which i had totally missed, but if i were making them again, i’d use even more brown than i did.
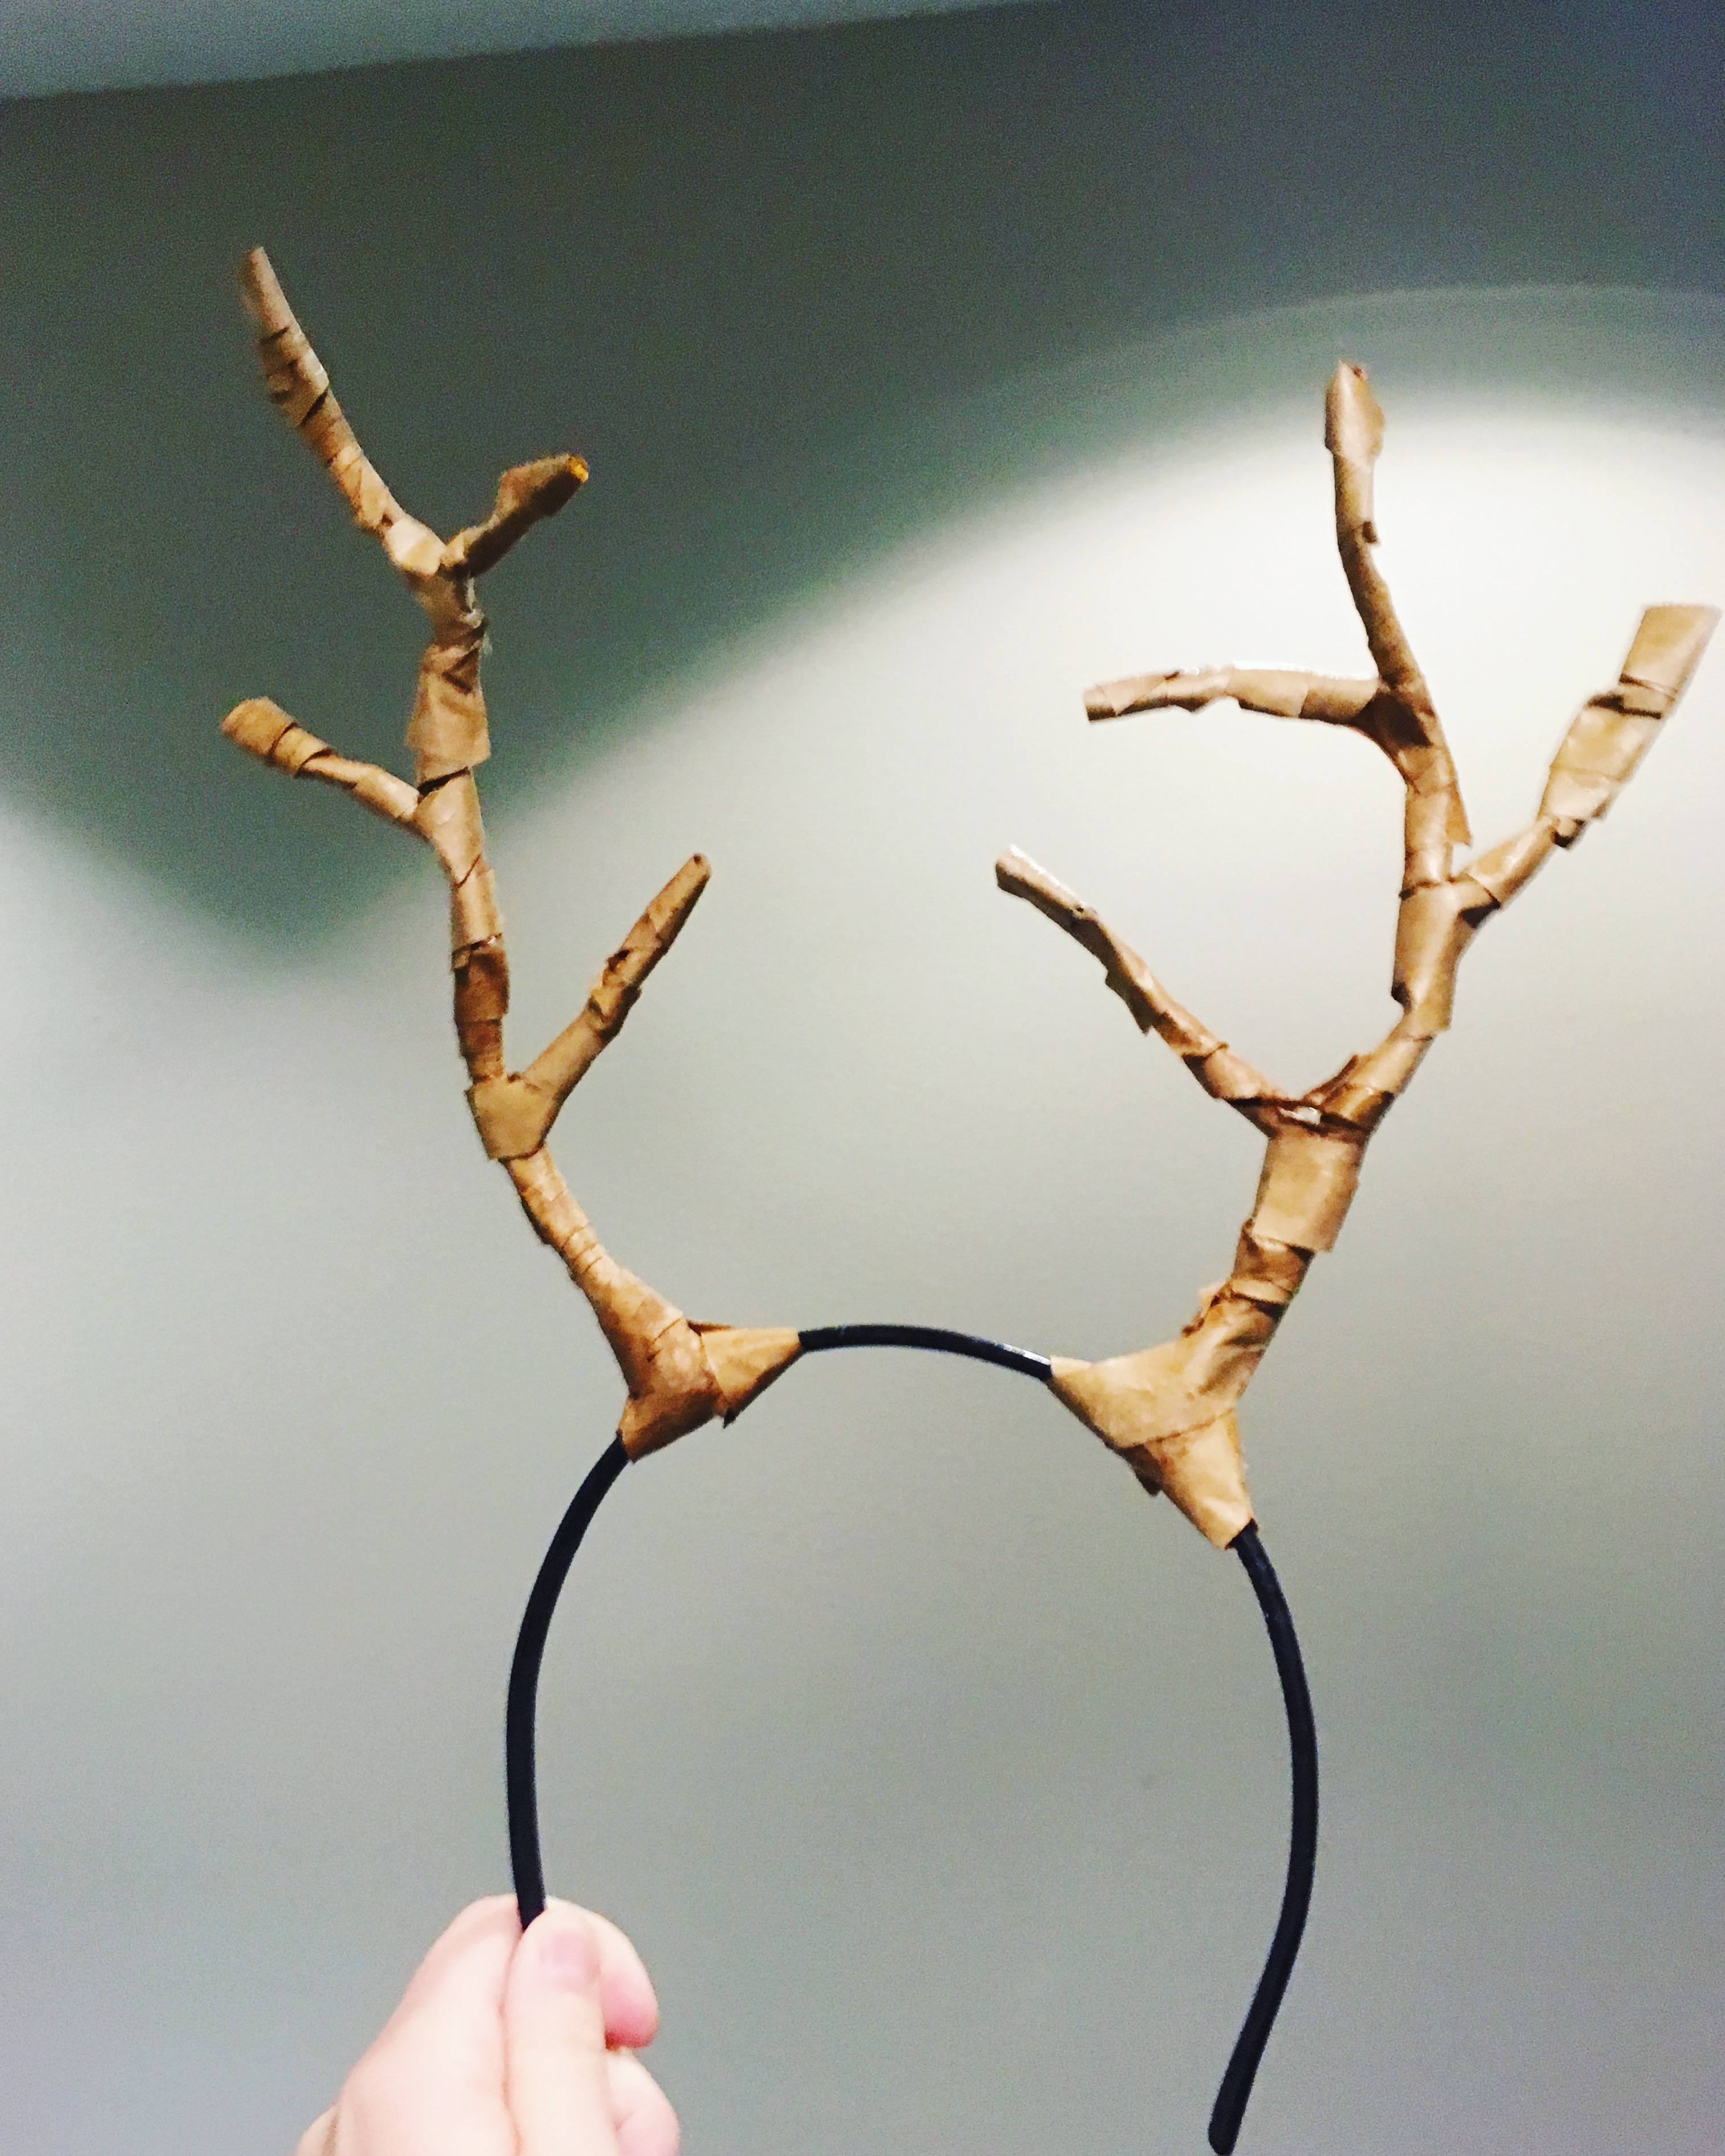
i didn’t get a picture of the freshly-painted antlers until after they dried and the ears were added so i’m sorry about that, but you can scroll down a few pictures if you want a look.
for the ears, i followed random housewifery’s tutorial. here’s what i ended up needing to make them:
: : the PDF template from random housewifery’s blog [see link above!] printed on a piece of paper. it’s in her list of what you will need.
: : one 8.5″ x 11″ sheet of brown felt
: : one 8.5″ x 11″ sheet of off-white felt
: : sharpie
: : scissors
: : hot glue gun and glue sticks
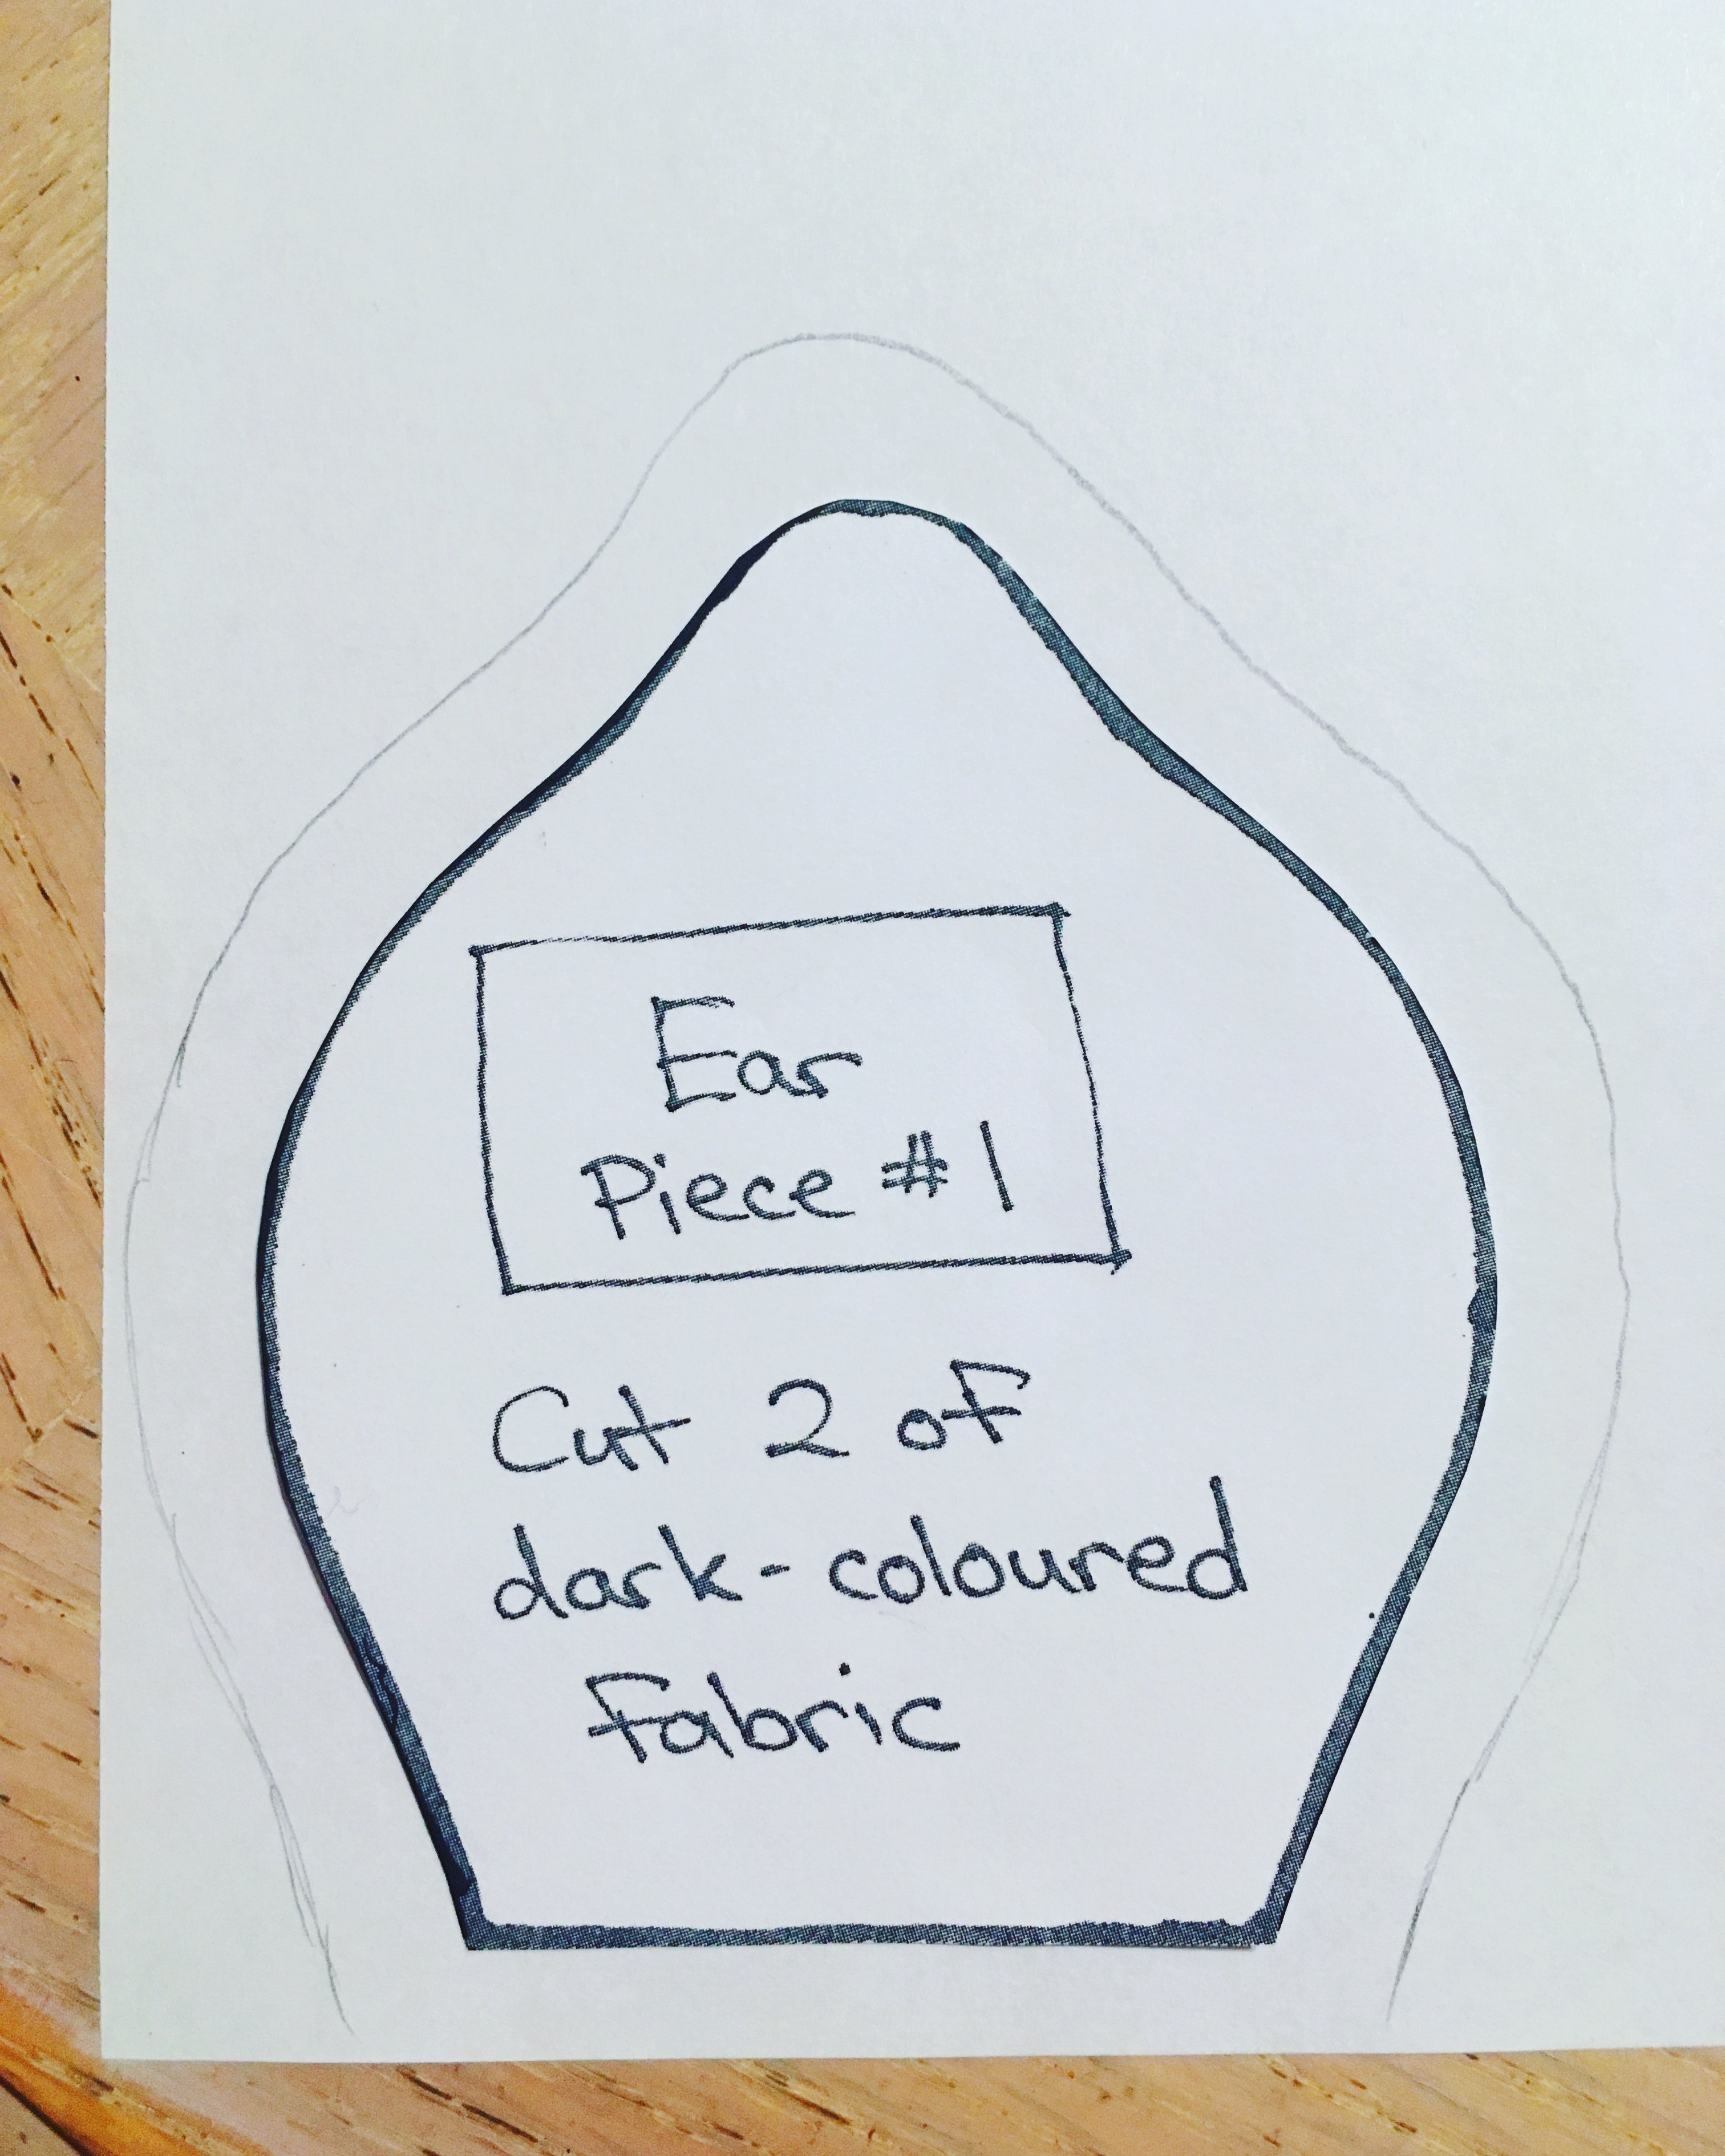
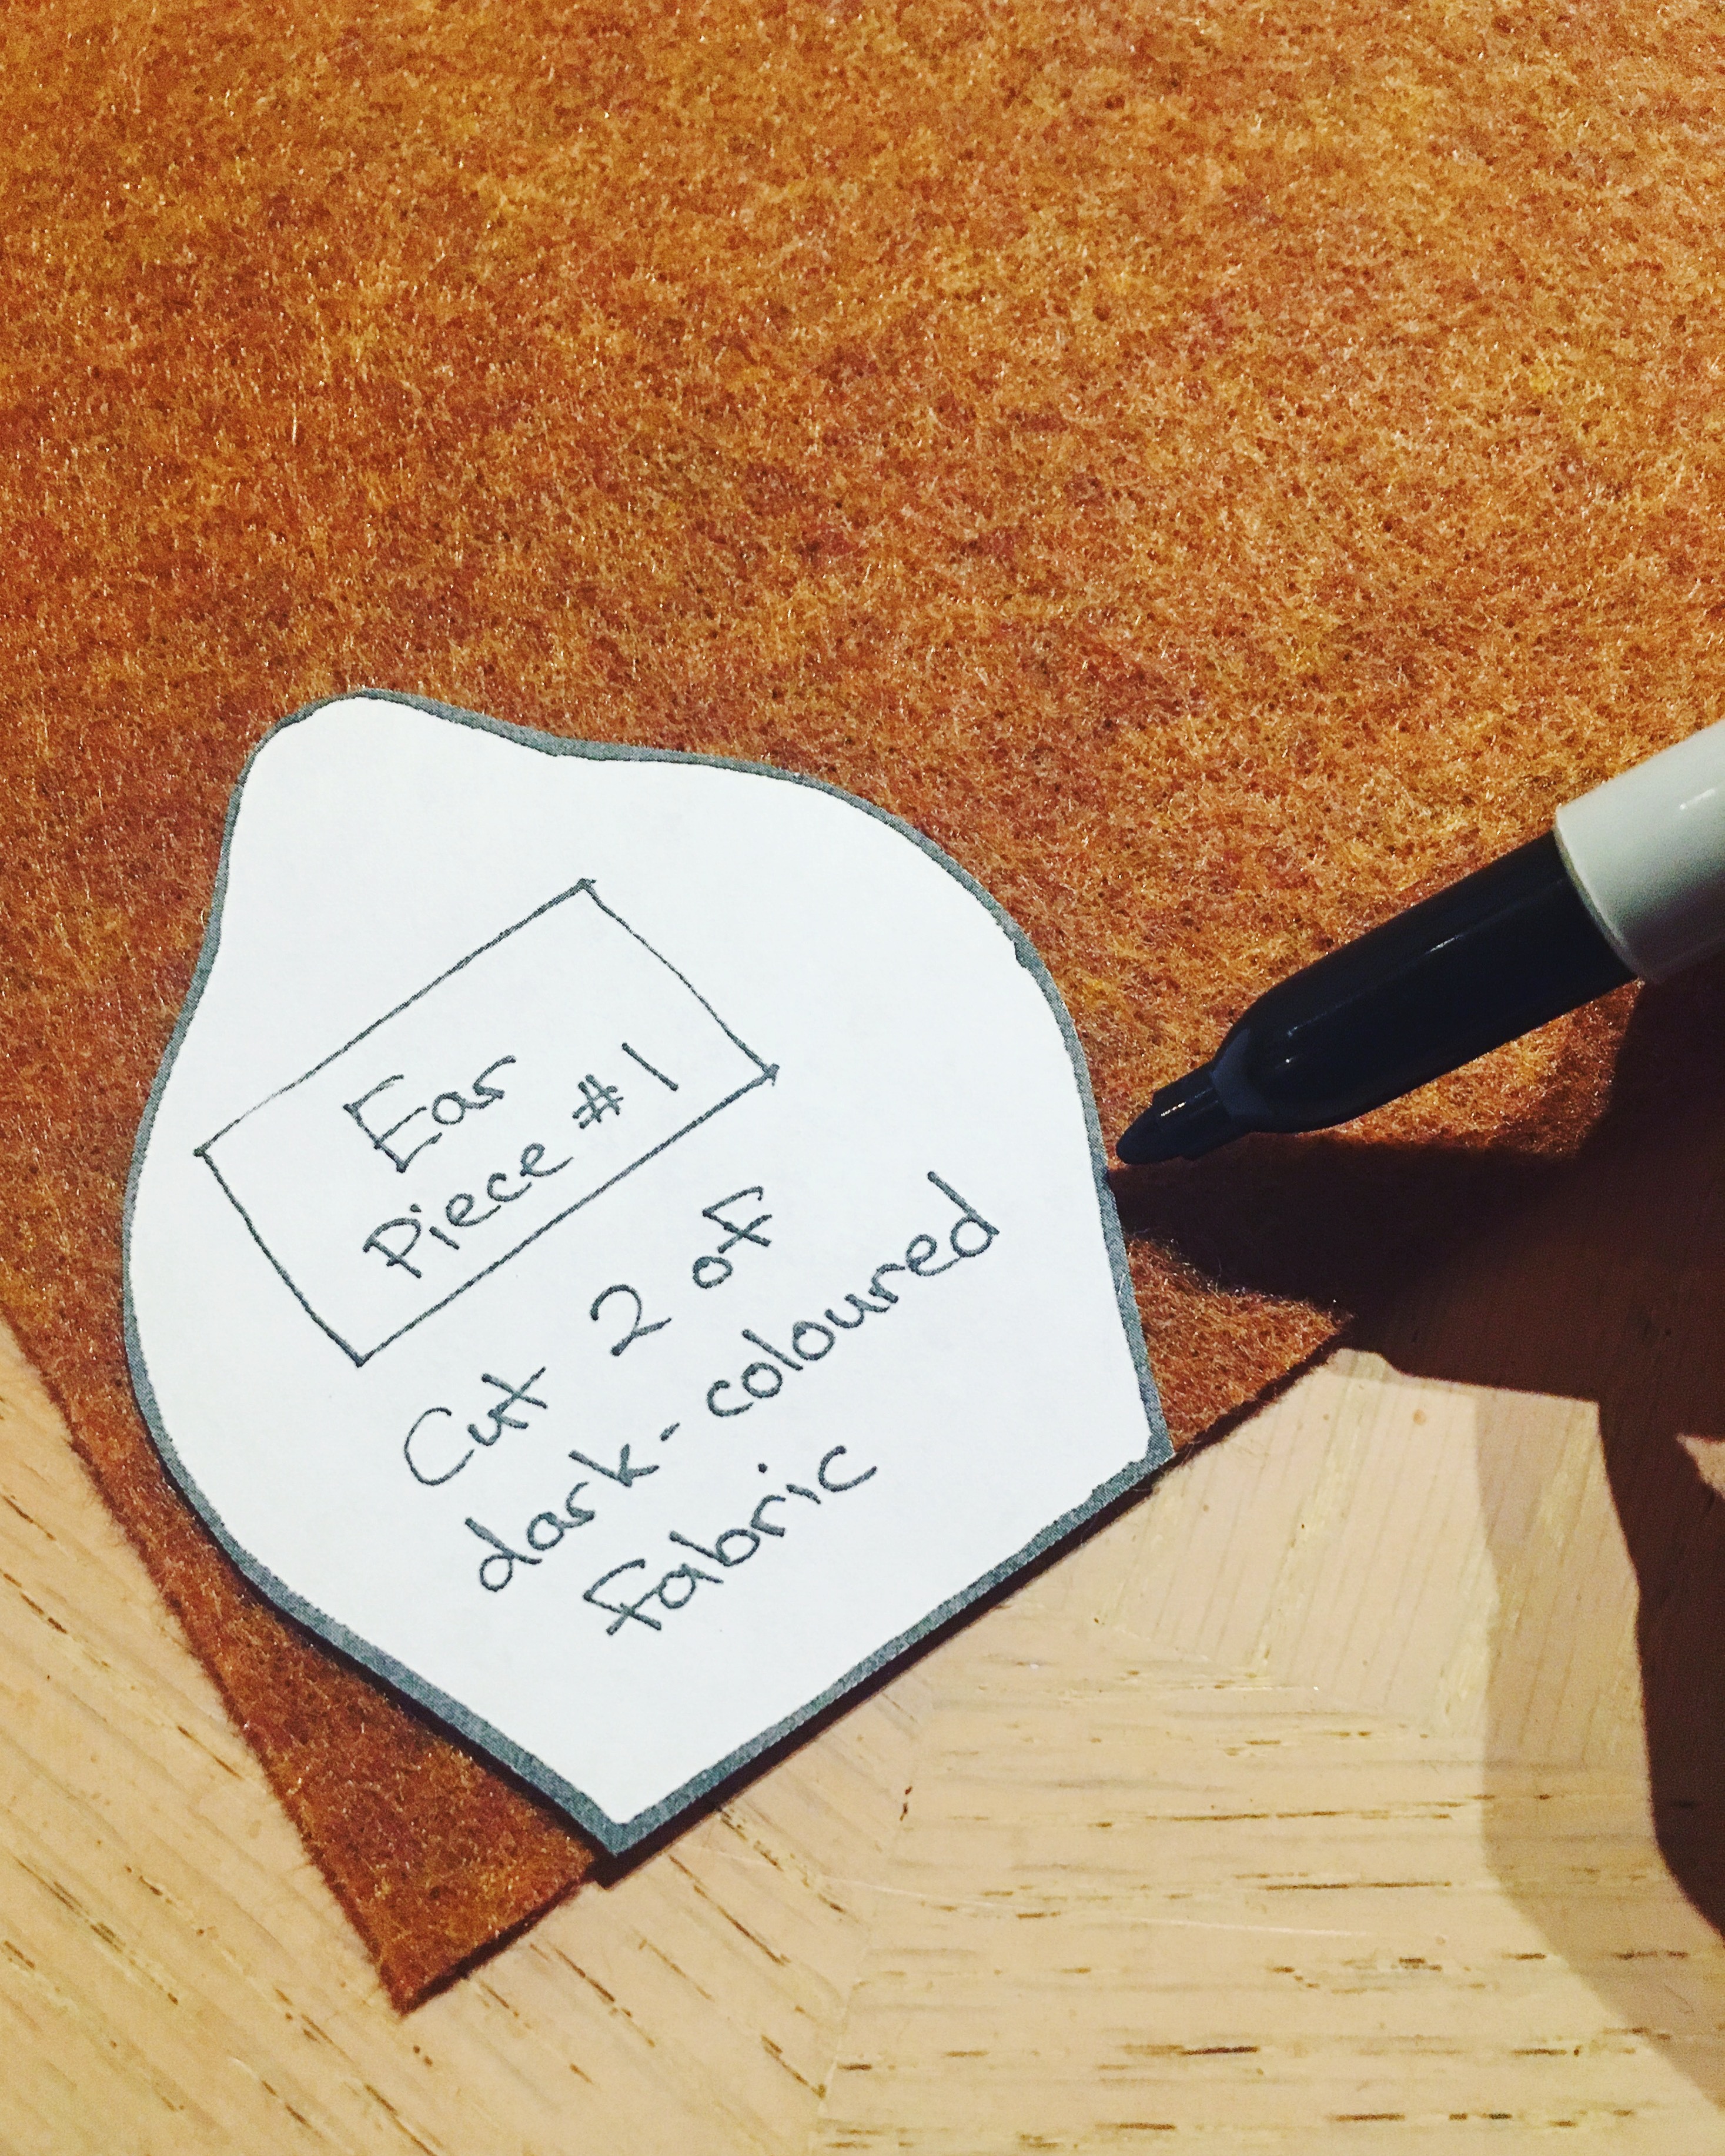
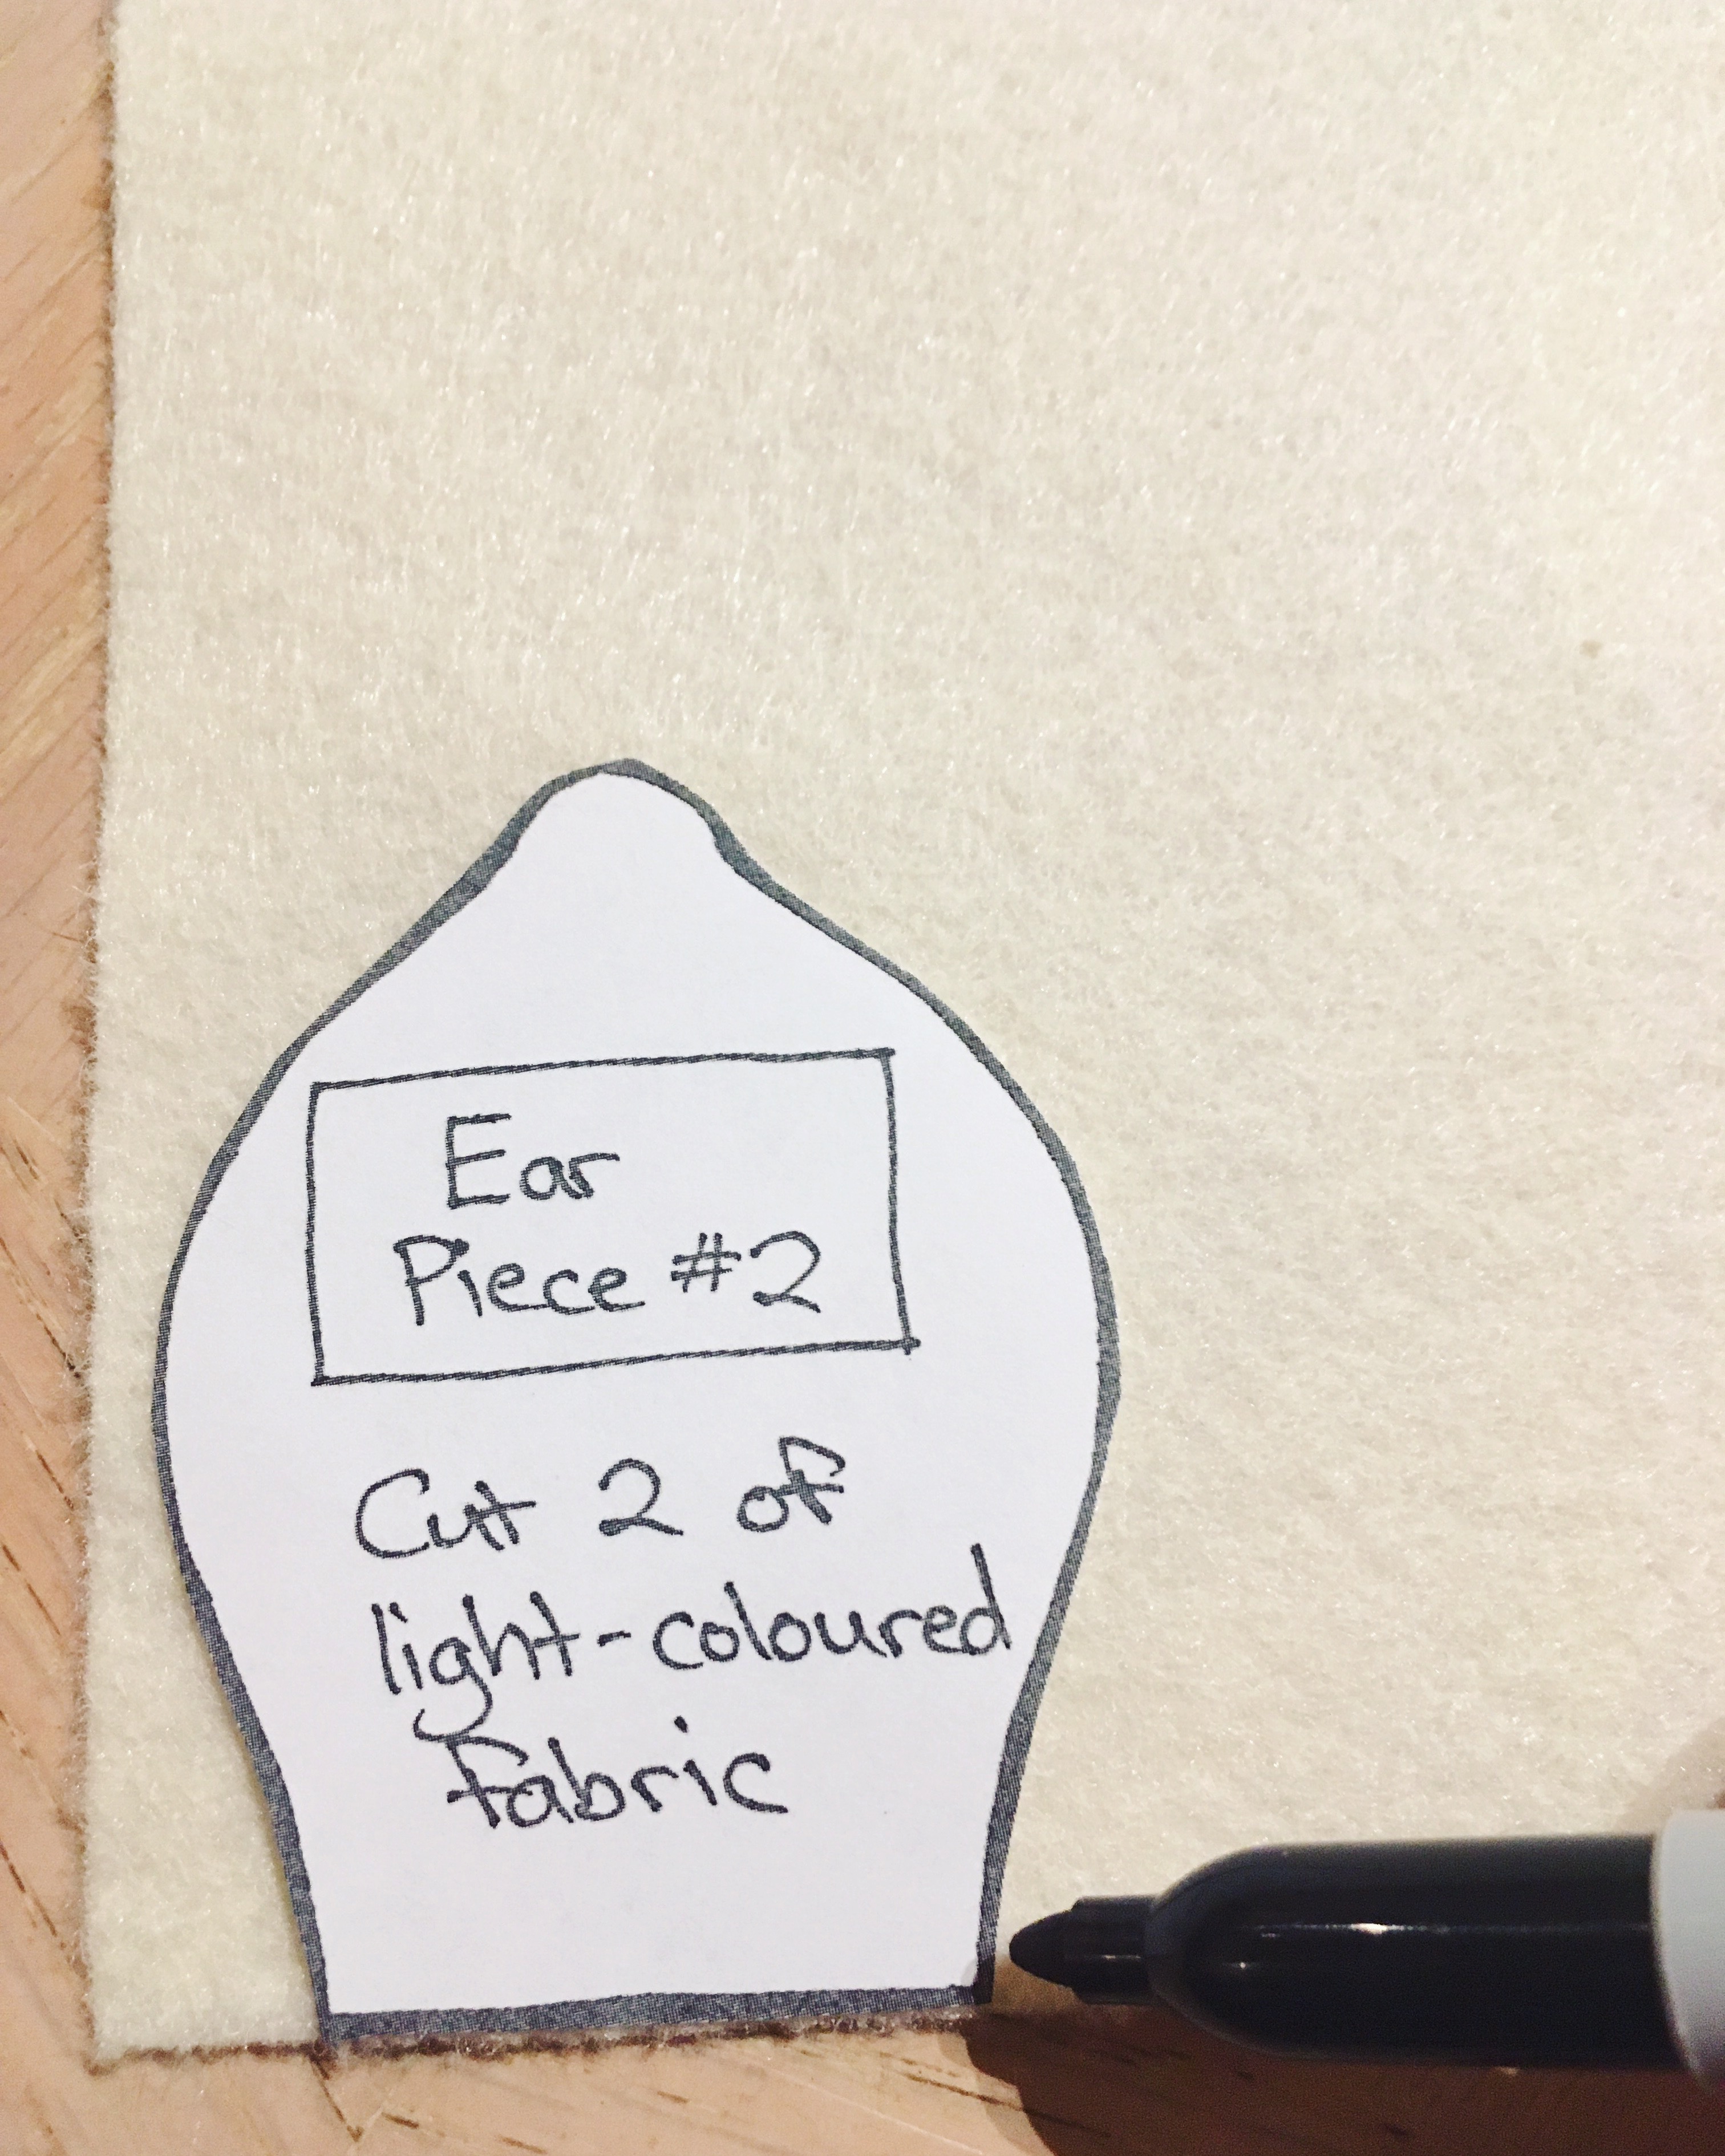
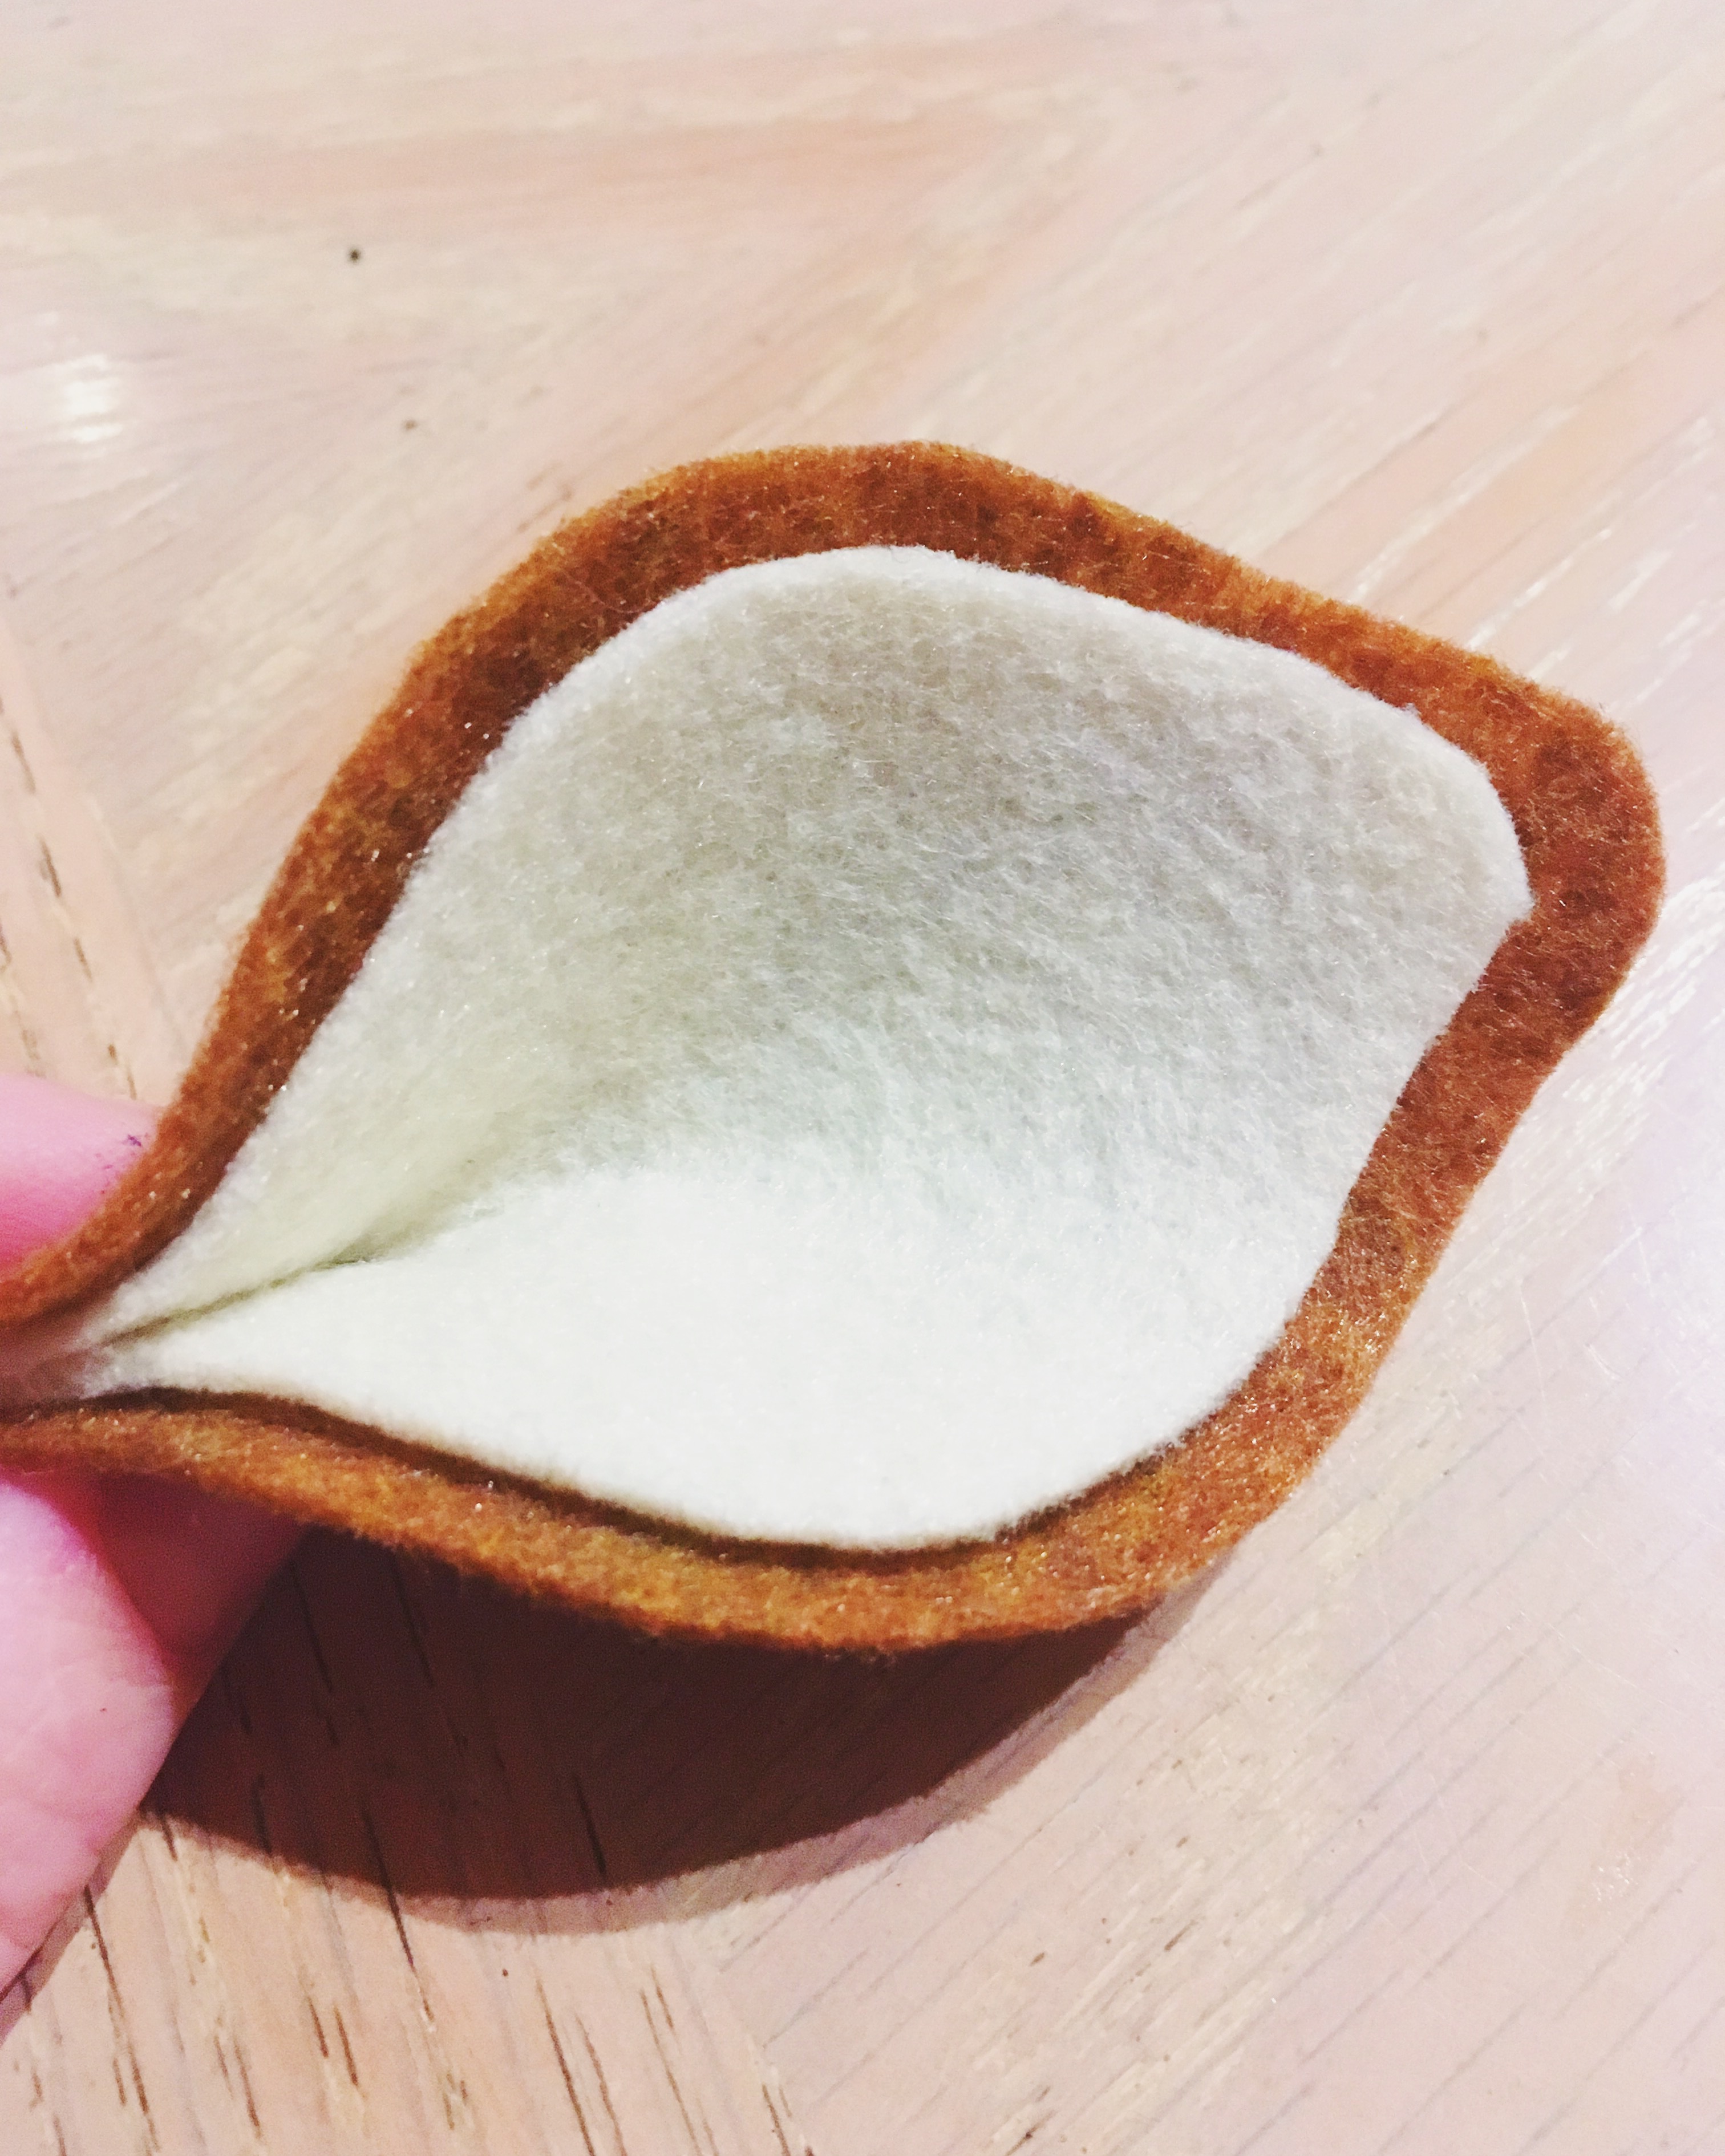
first, cut out the shapes on the random housewifery PDF template labeled “ear piece #1” and “ear piece #2.” i used this template and followed the instructions on her blog, but after i cut out the ears, i decided that i wanted to make them a little bigger. so, i used the random housewifery templates to make myself new templates where the ears were 1/4″ – 1/2″ larger than the templates. i didn’t measure them or trace them or anything, just eyeballed it. it wasn’t too hard and again, doesn’t have to be perfect, see below. i did this for both ear piece #1 and ear piece #2.
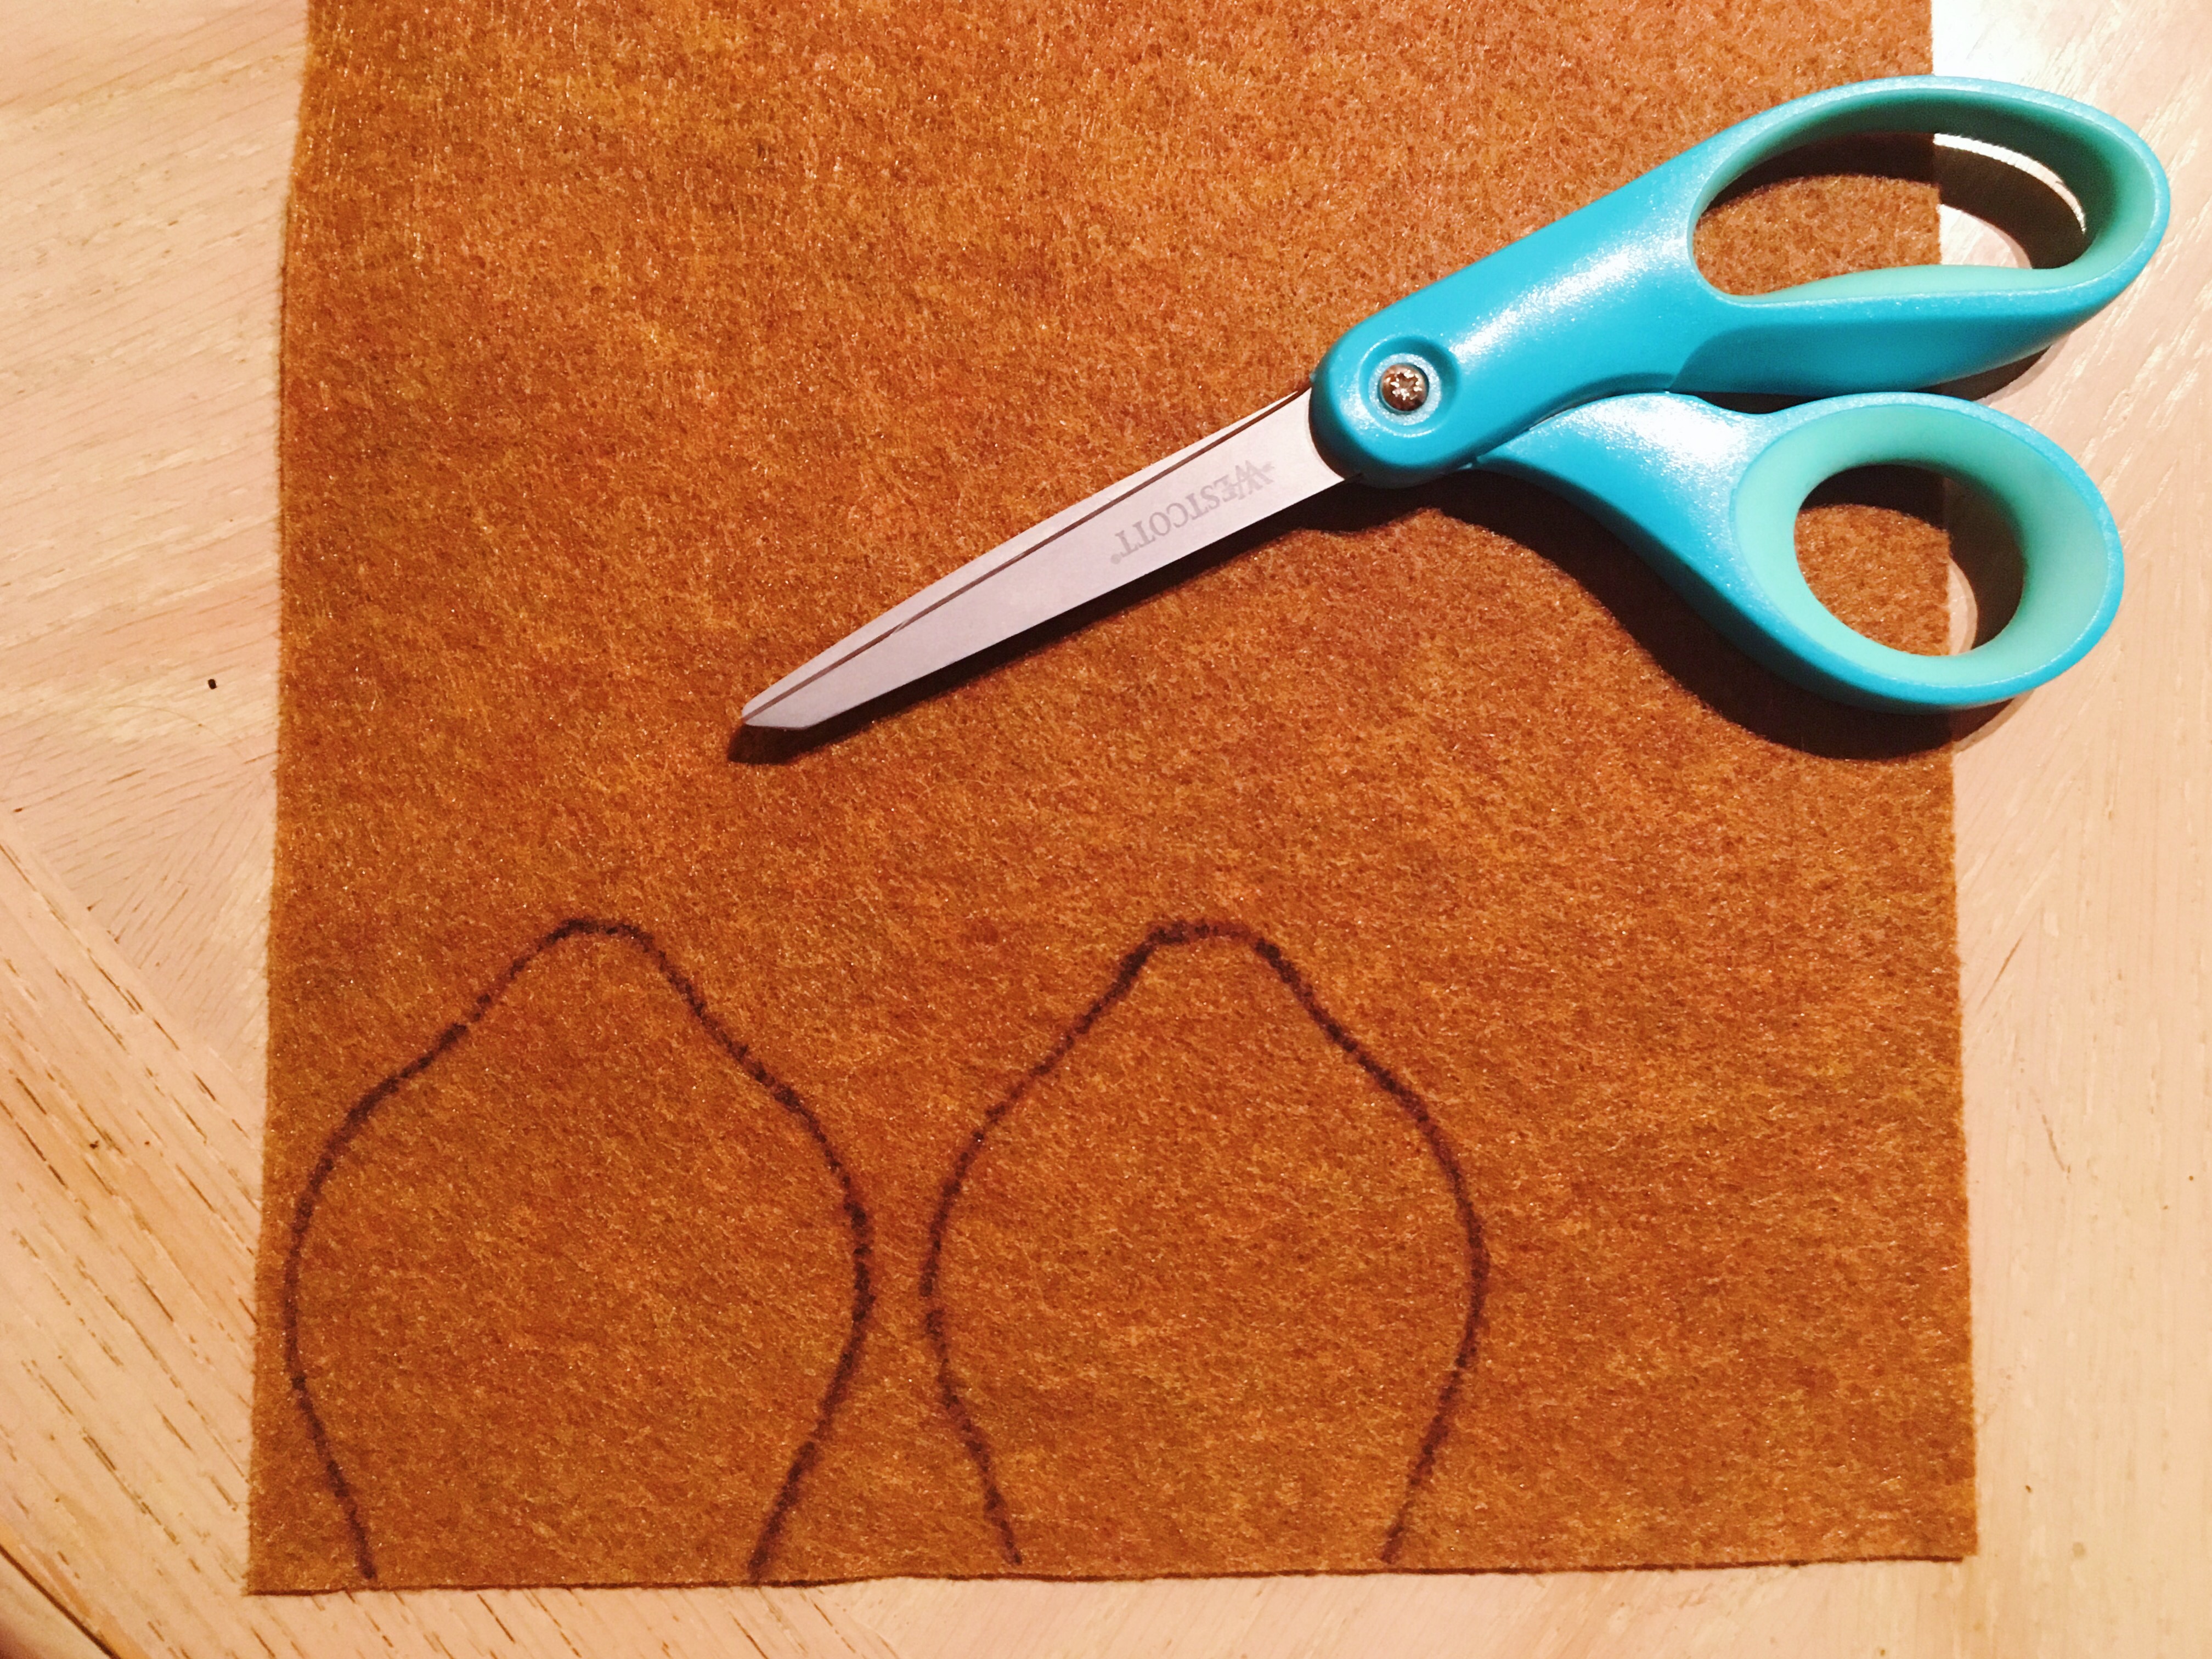
after i cut out the new templates, i continued following the instructions and traced ear piece #1 onto the brown piece of felt with a sharpie, twice, to make two ears. i did the same with ear piece #2 on the off-white piece of felt.
i took these pics before i made my homemade templates, but you get the idea. same concept. then i cut out the shapes like she says to do…
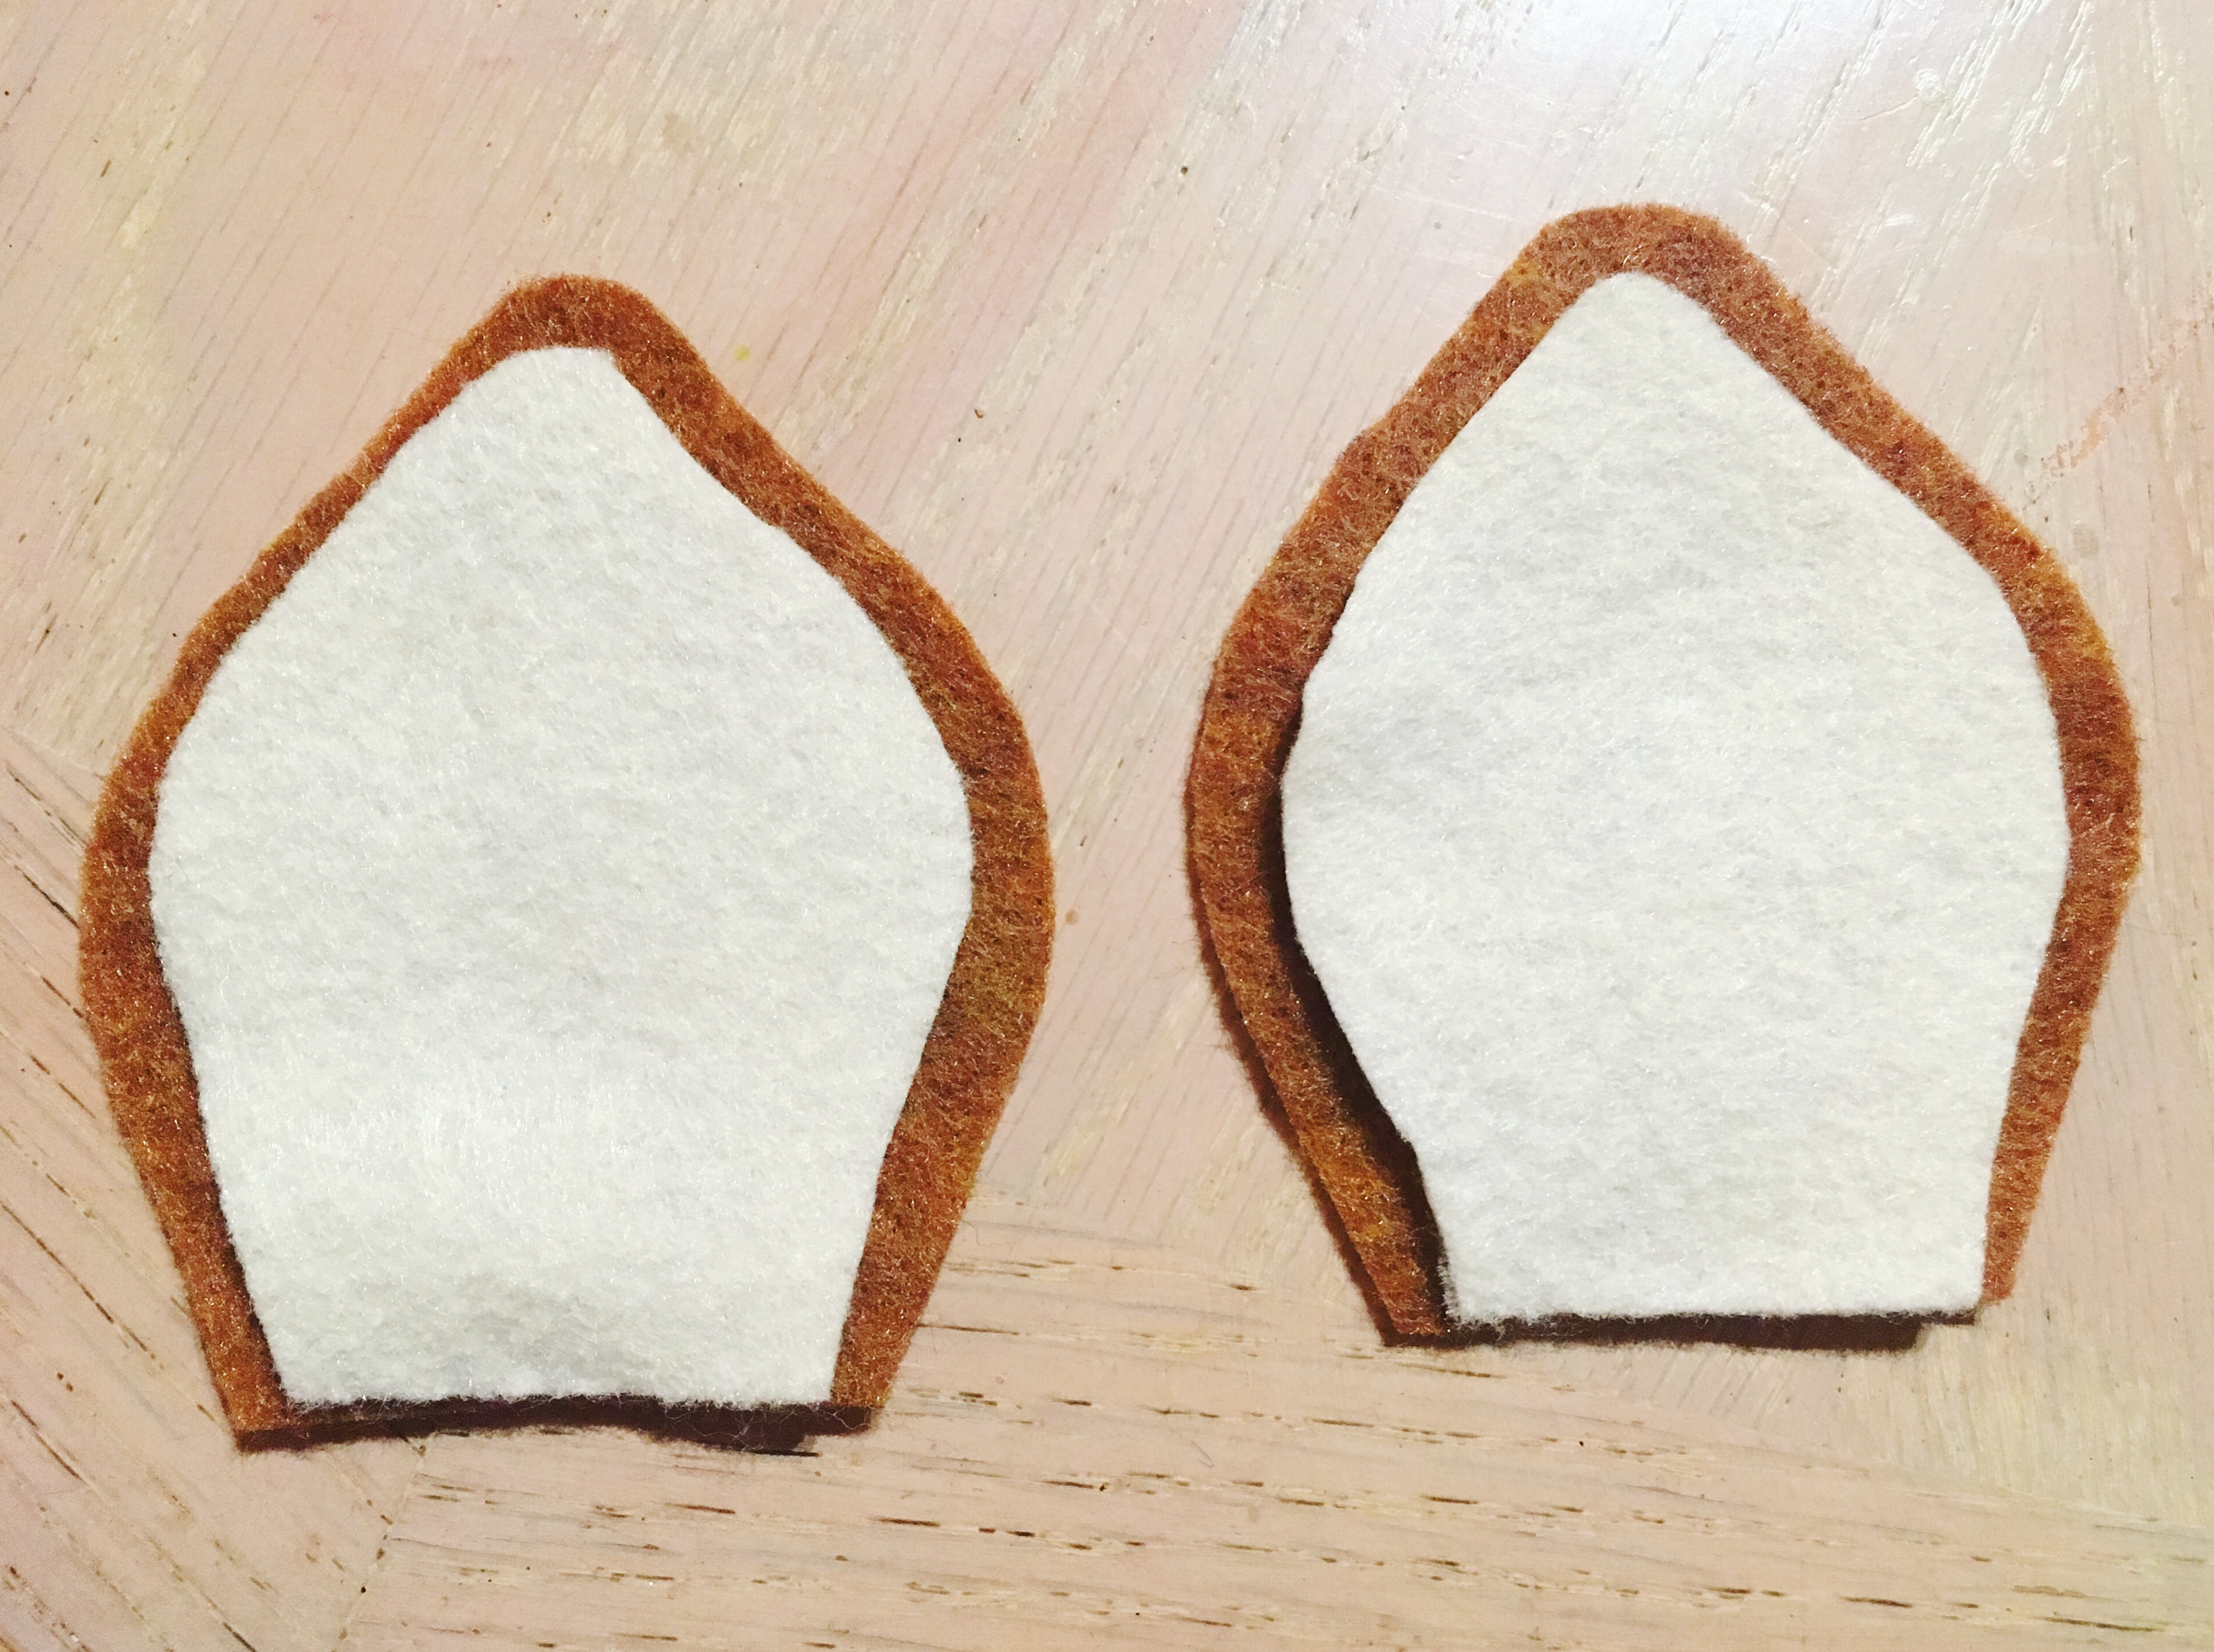
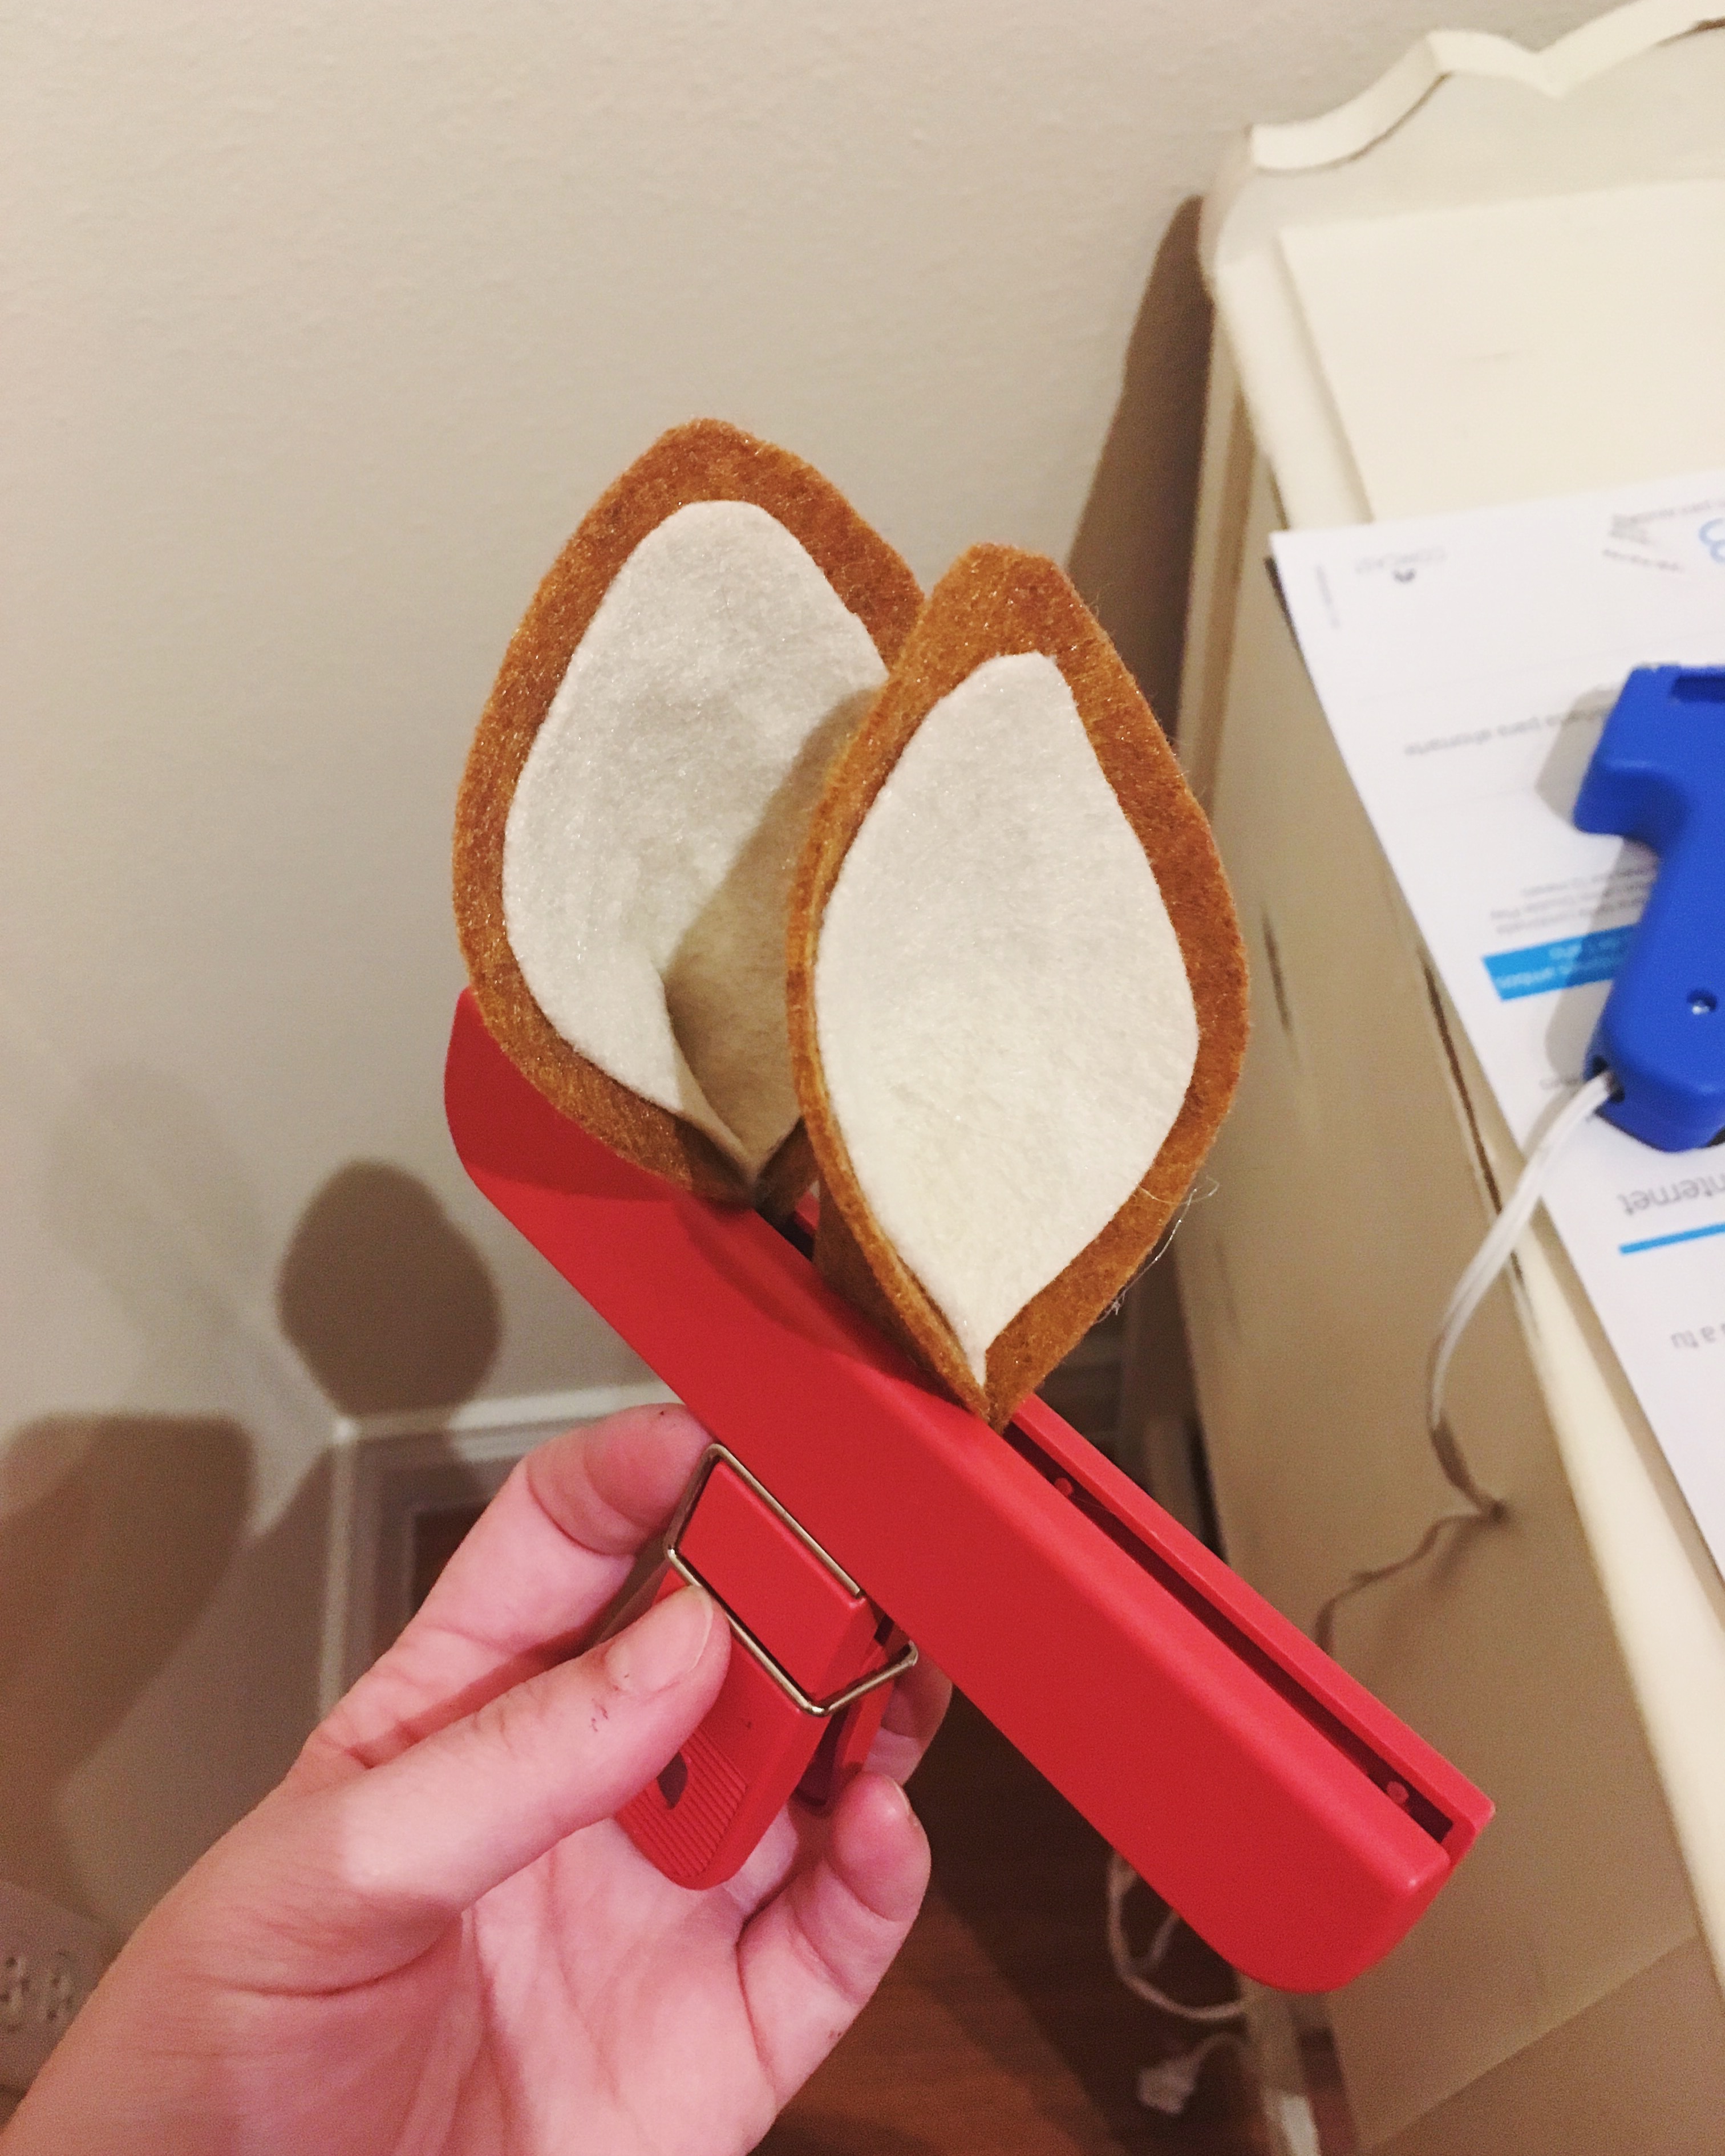
next, i hot-glued the off-white felt shapes inside of the brown shapes, matching up the bottom edges like you see above. i followed her instructions on pinching the bottom corners together and hot-gluing this way, and then i secured them with a chip clip [haha] and let them dry.
i actually took this picture above of the first ears i made, the smaller ones. you can see the size difference between these and the ones below… just thought that the bigger ones looked more proportionate on the antlers i made.
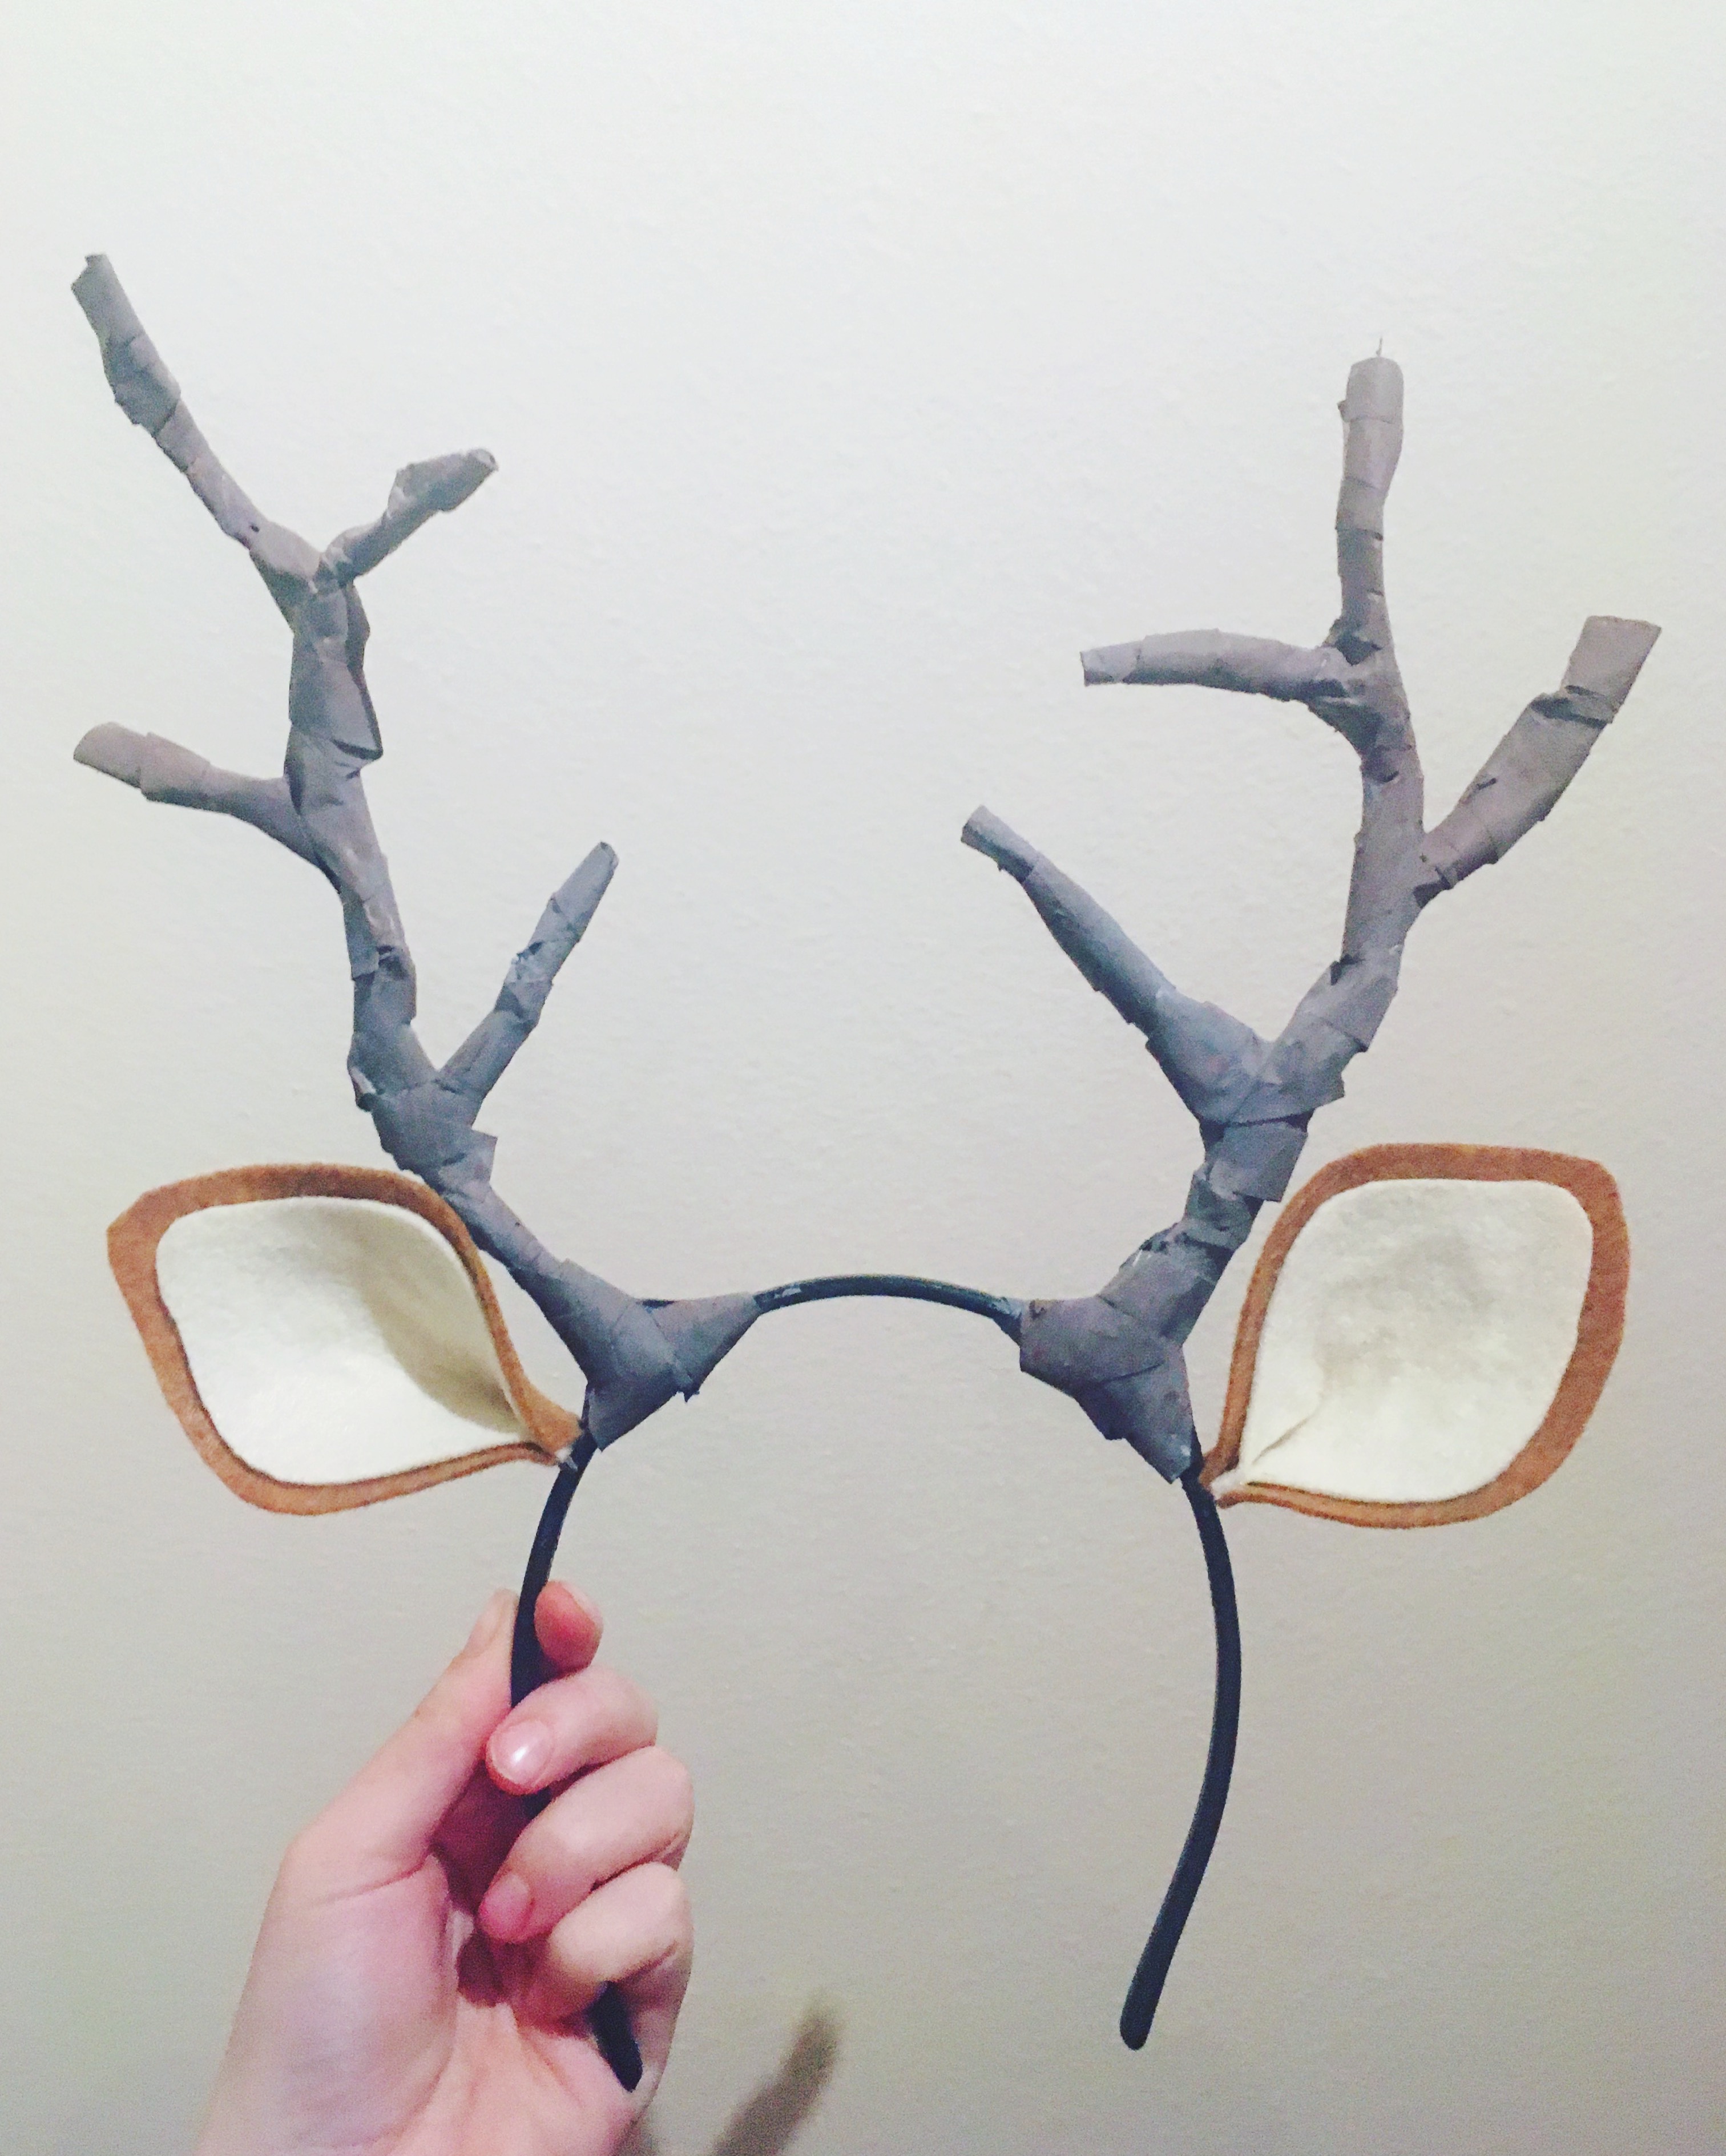
one they were dry, i actually hot-glued them directly onto the headband just below the antlers. i was worried that they might fall off, but i had no problems with this at all.
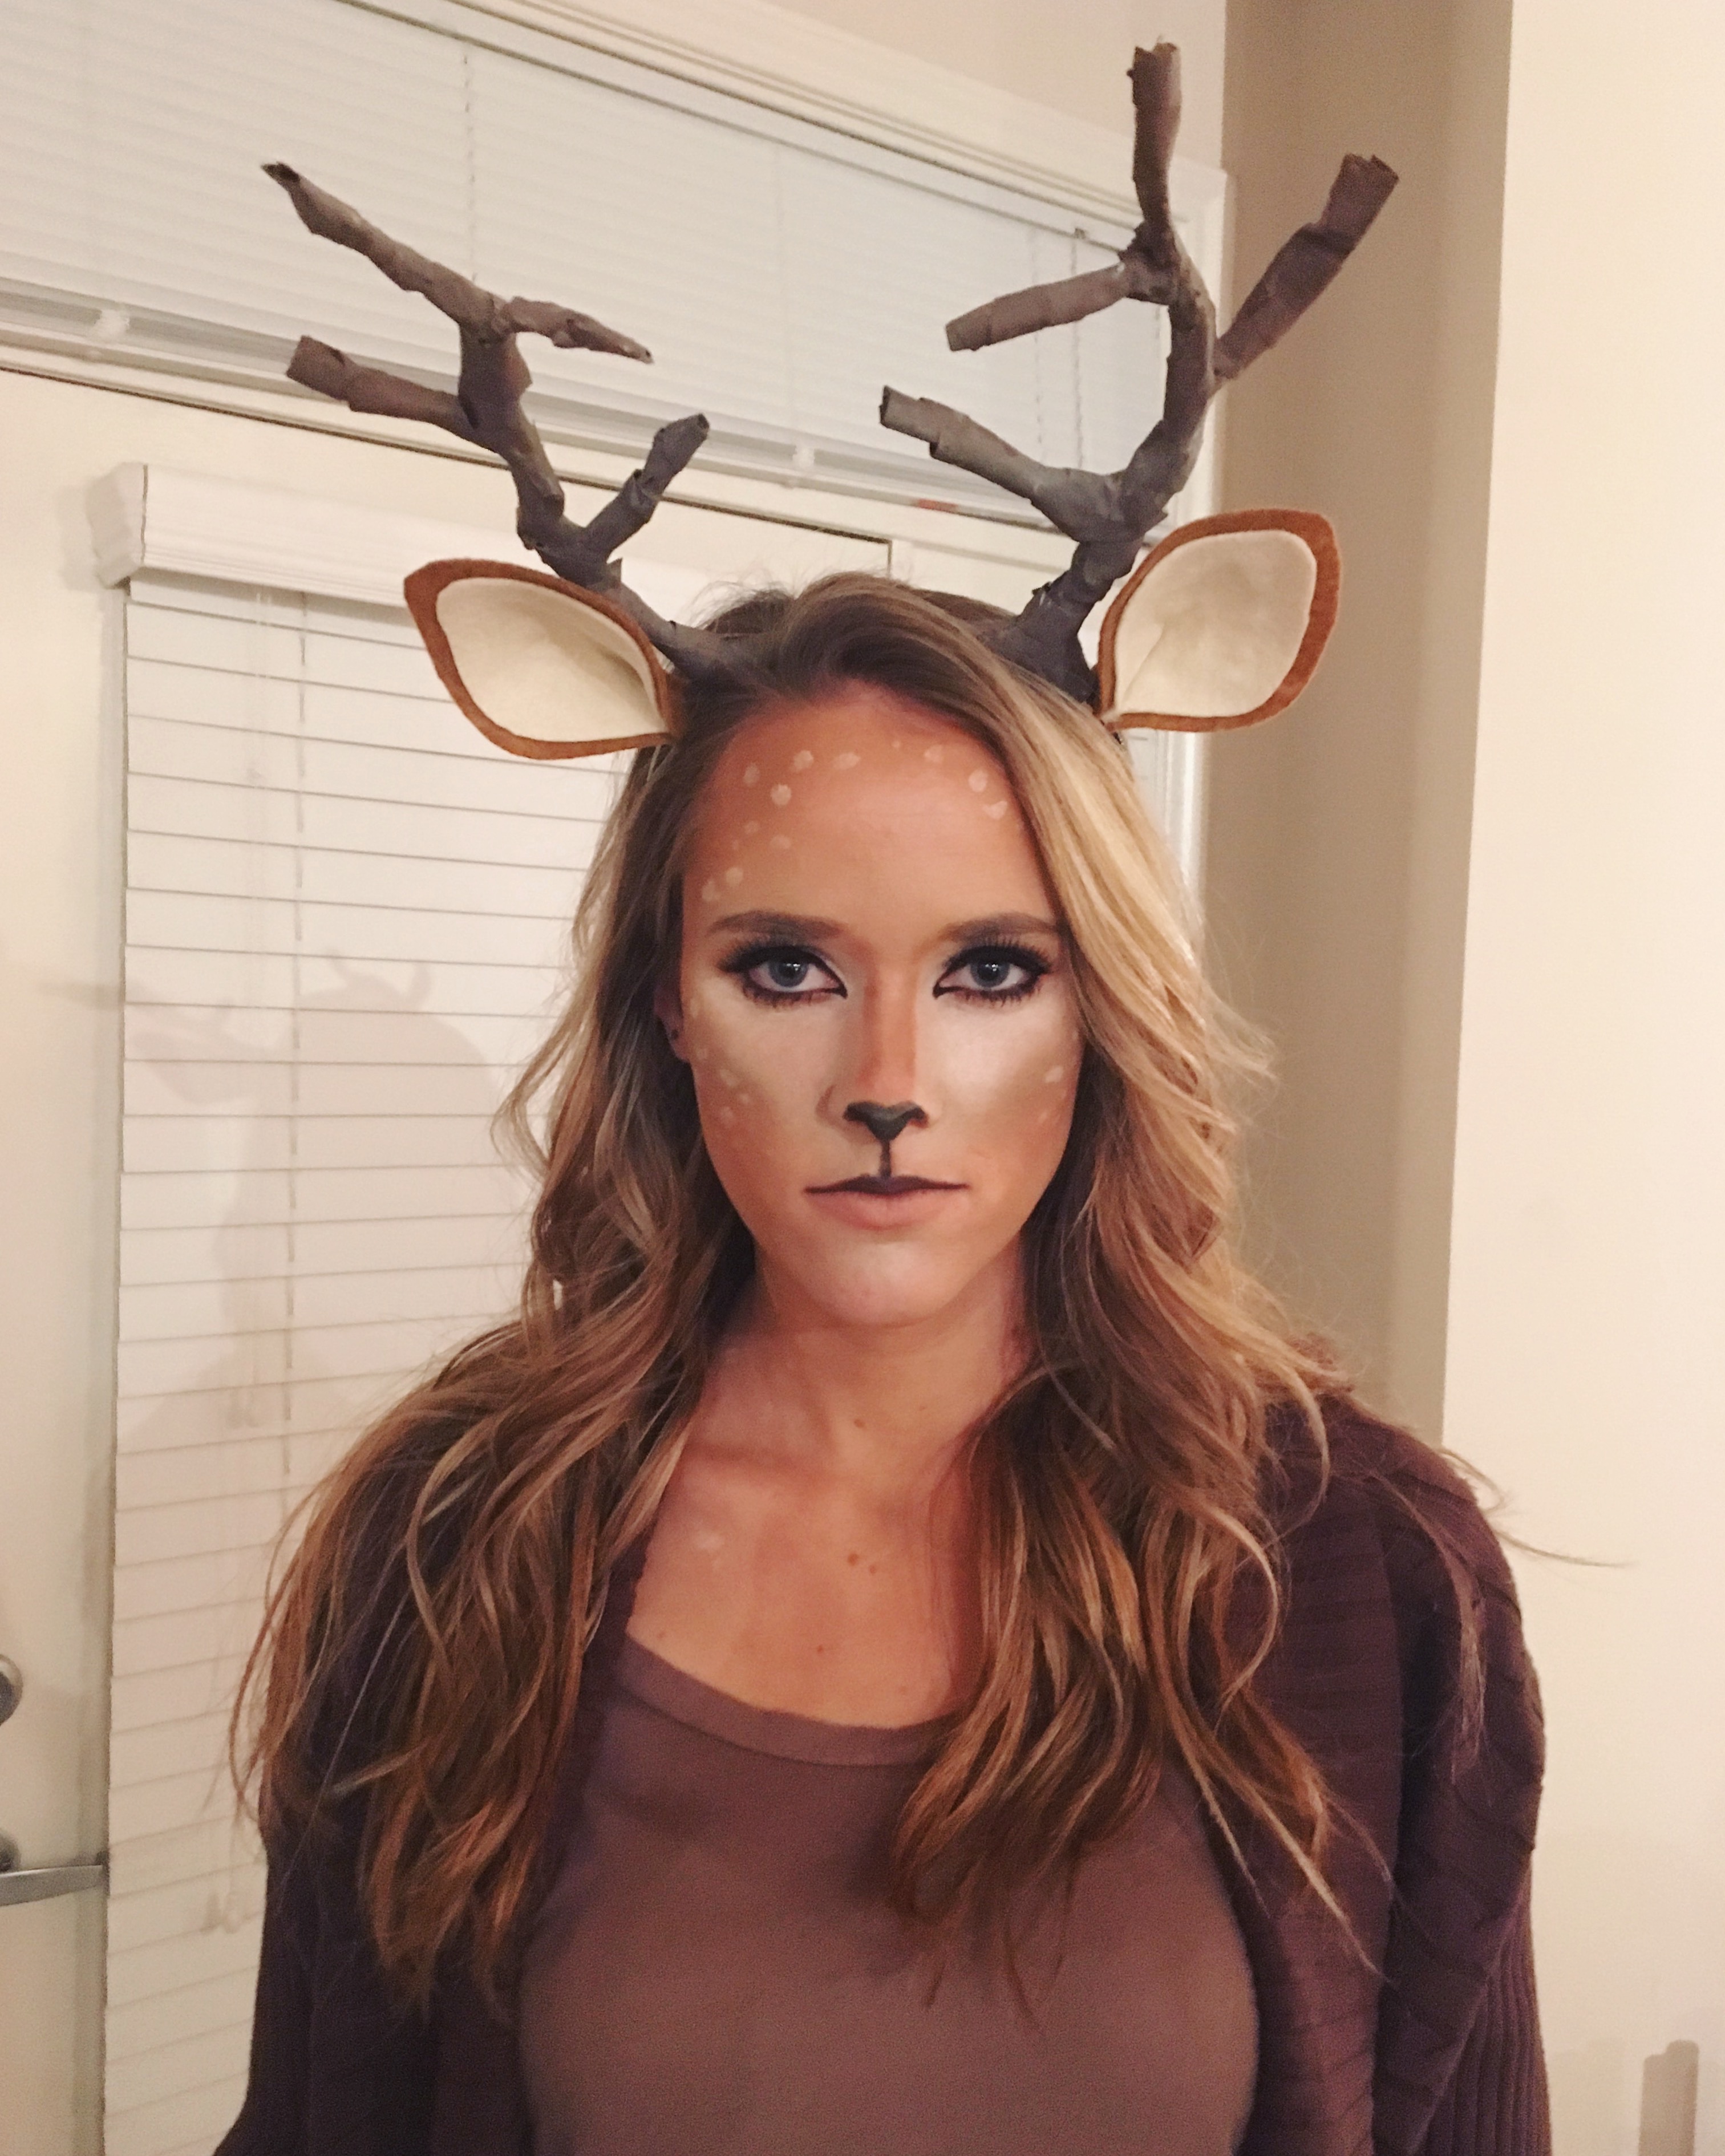
and there you have some deer antlers and ears!
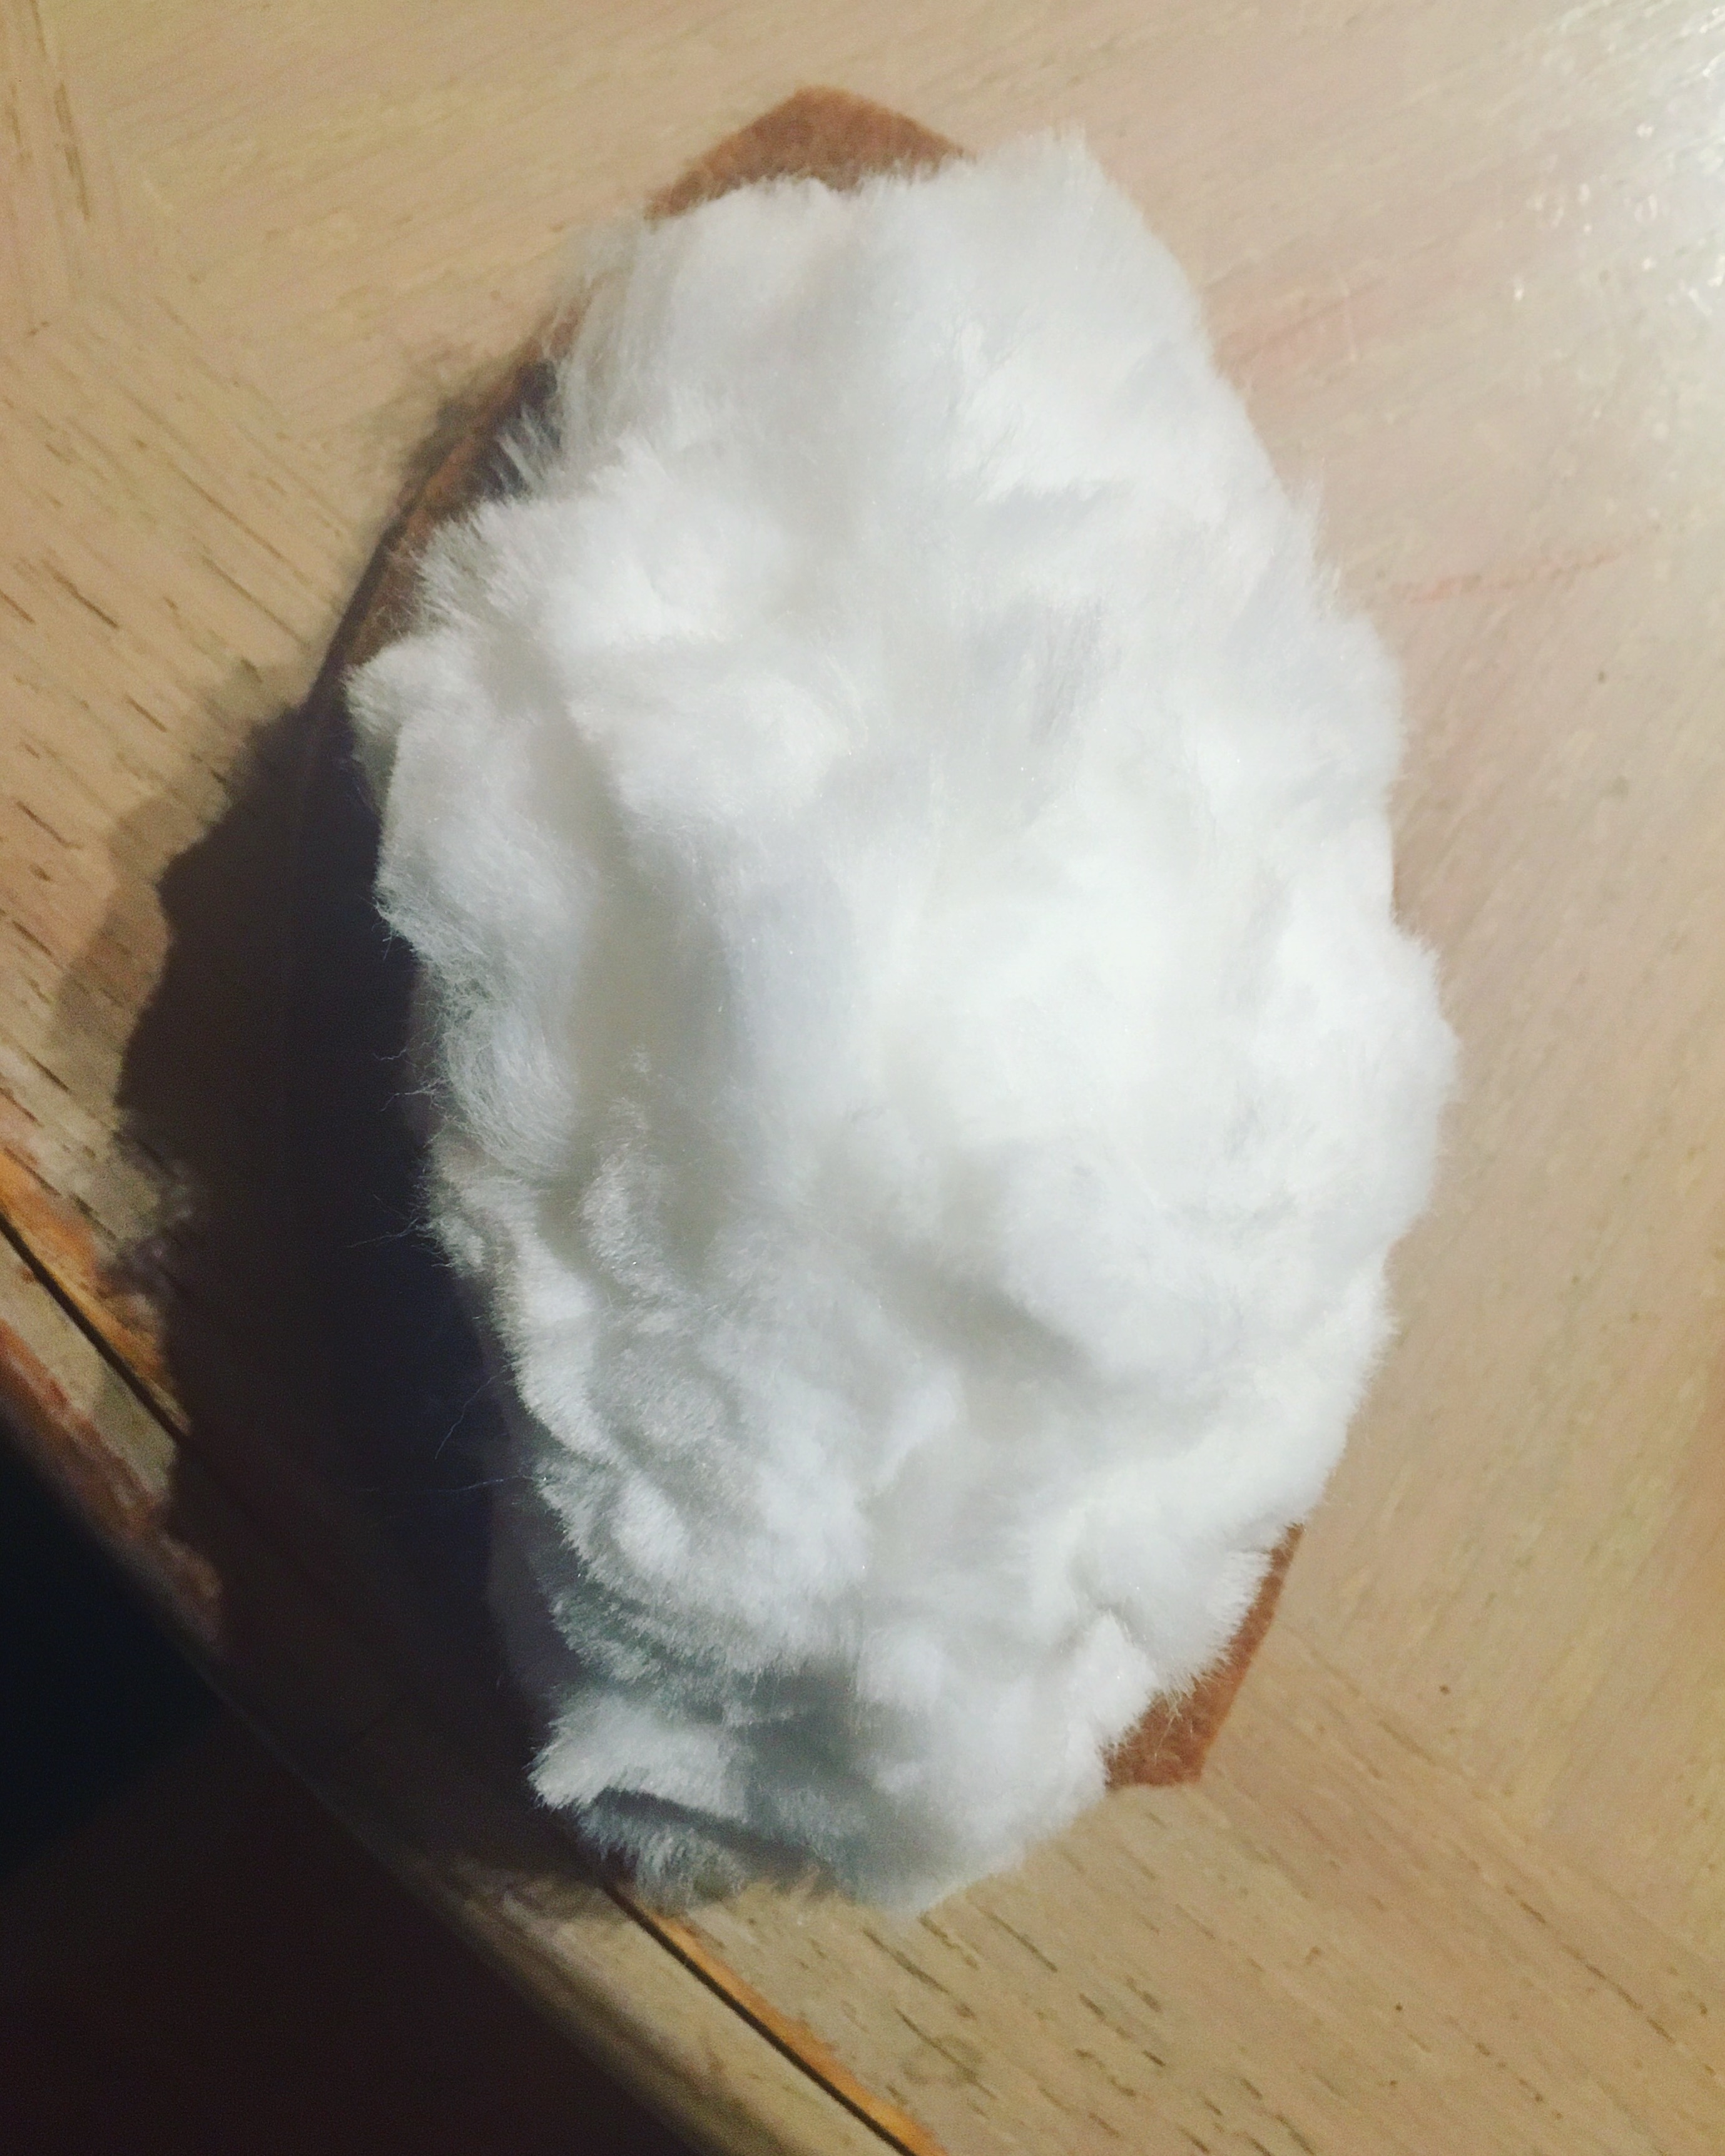
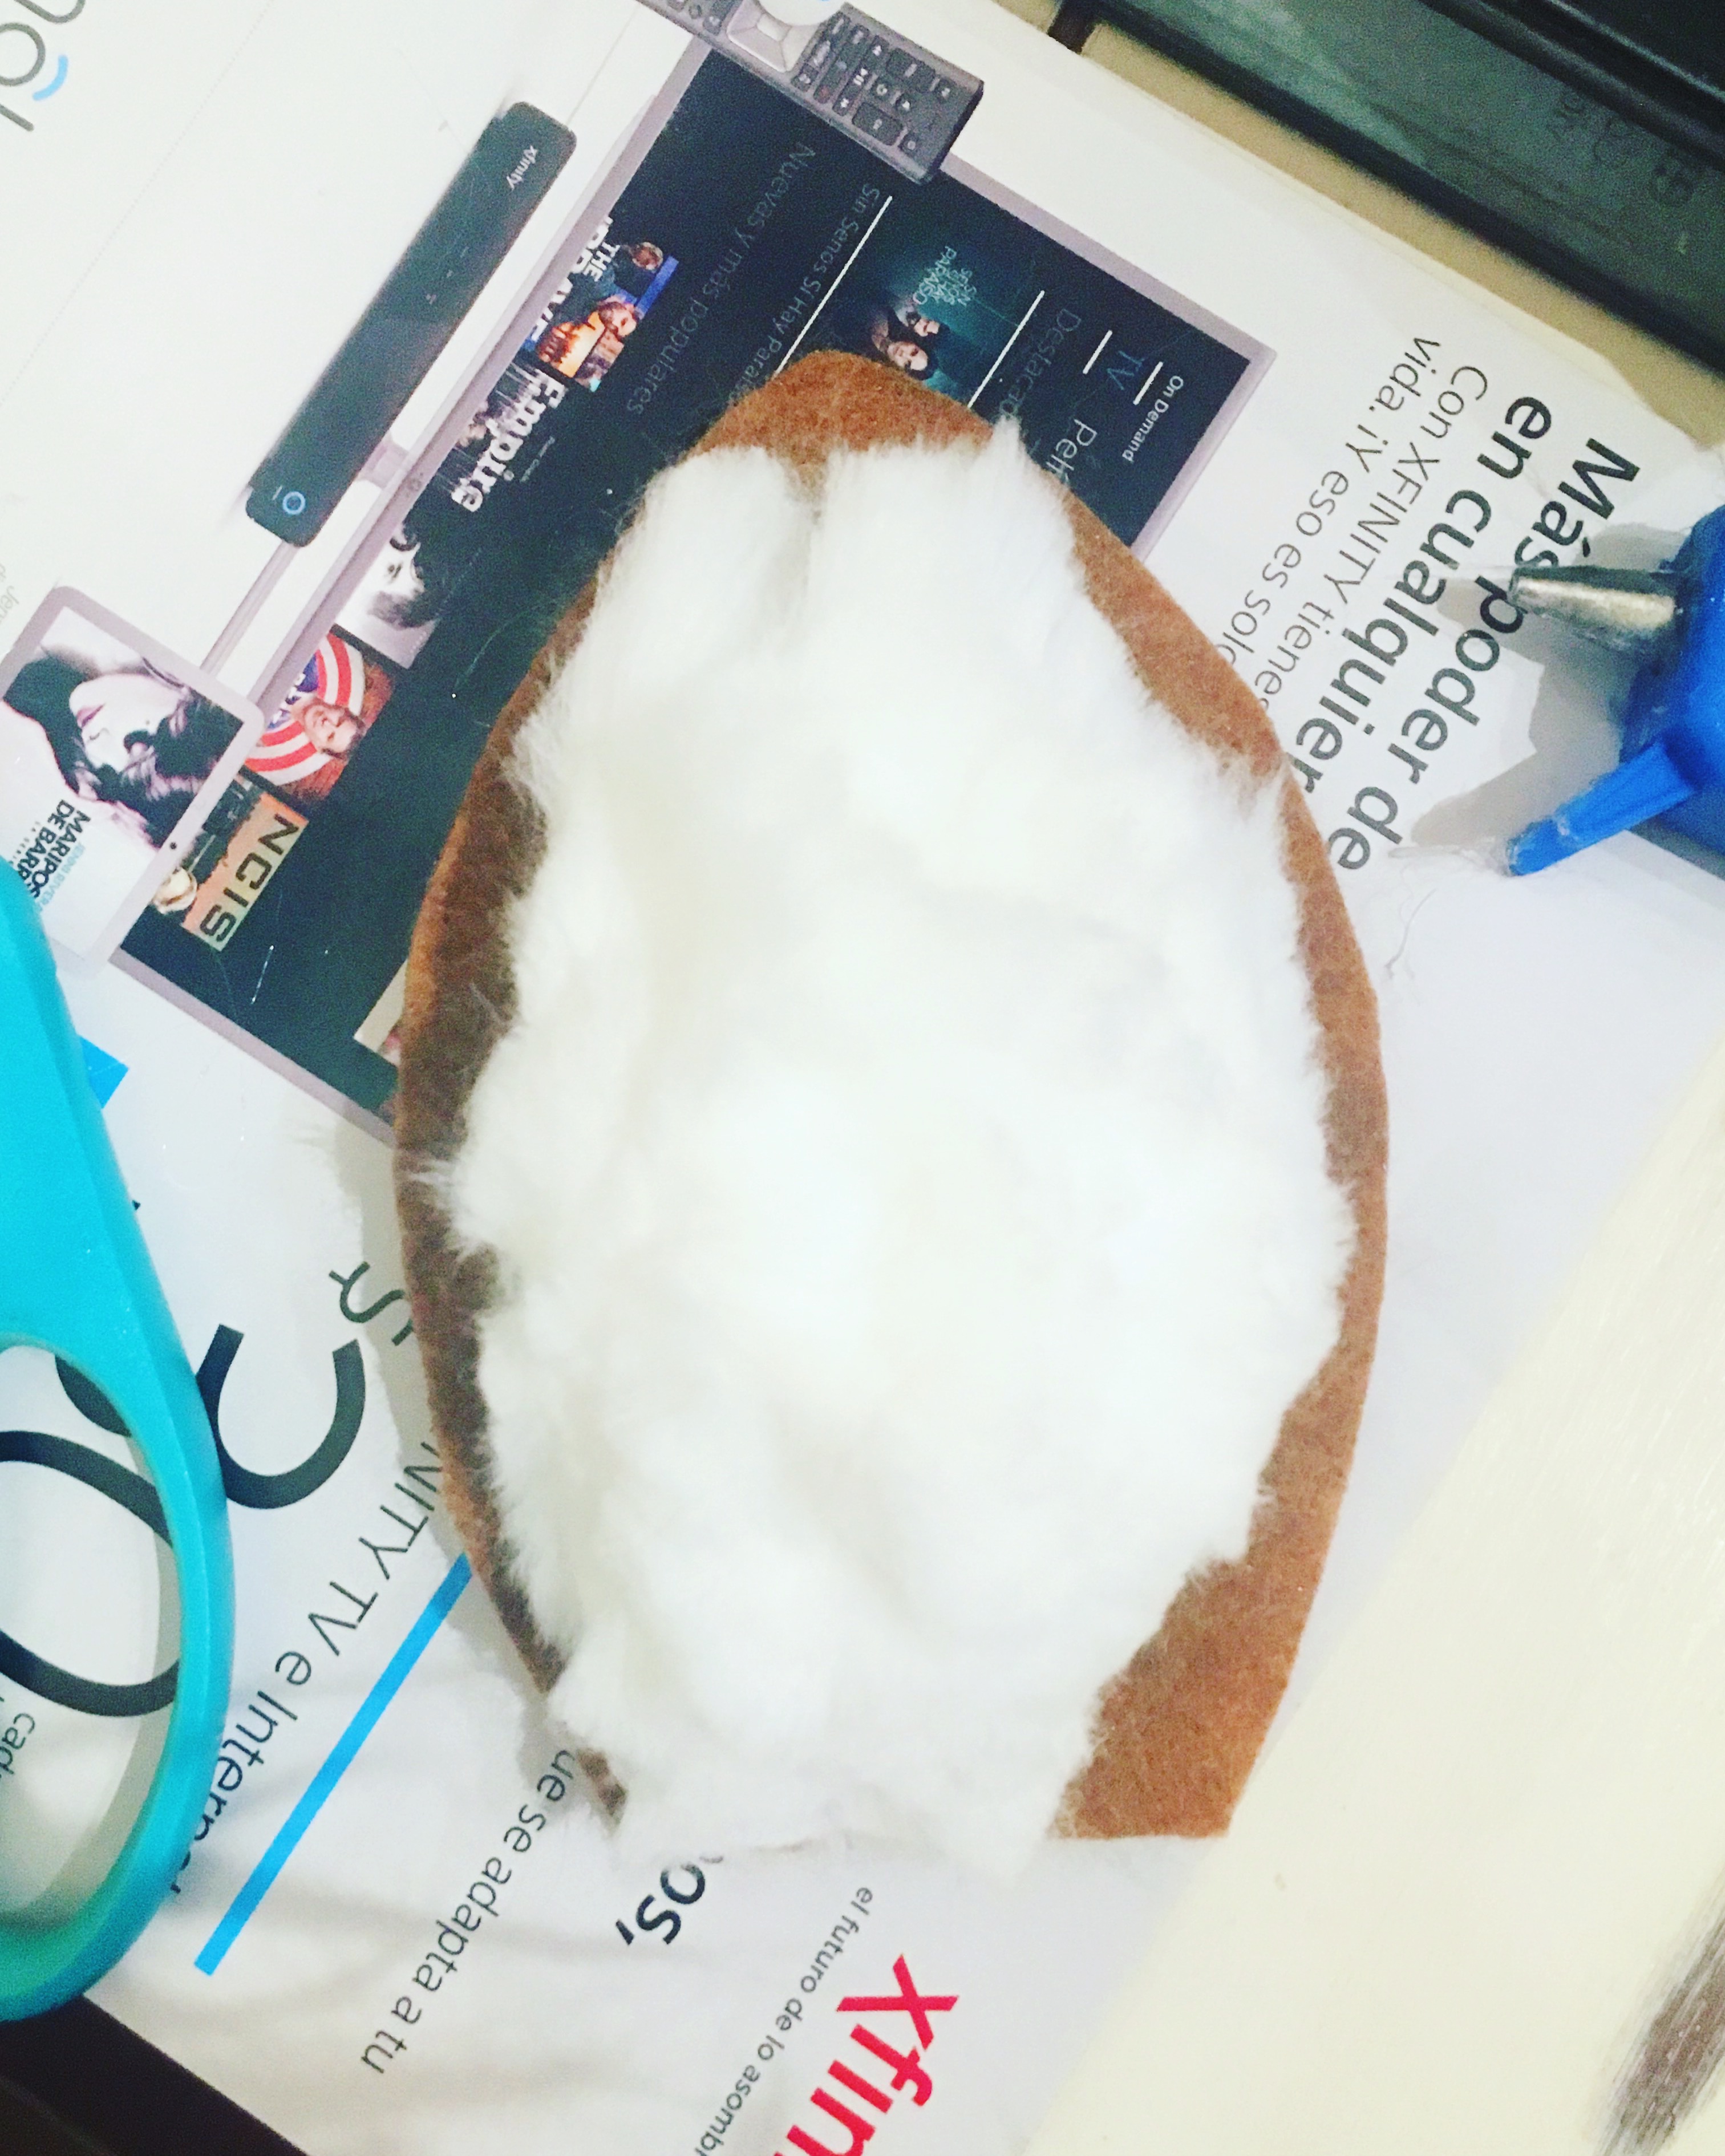
for the tail, i used the same PDF template from random housewifery’s deer tutorial, but i kind of did my own thing. besides the PDF template, you’ll need:
: : one 8.5″ x 11″ sheet of brown felt
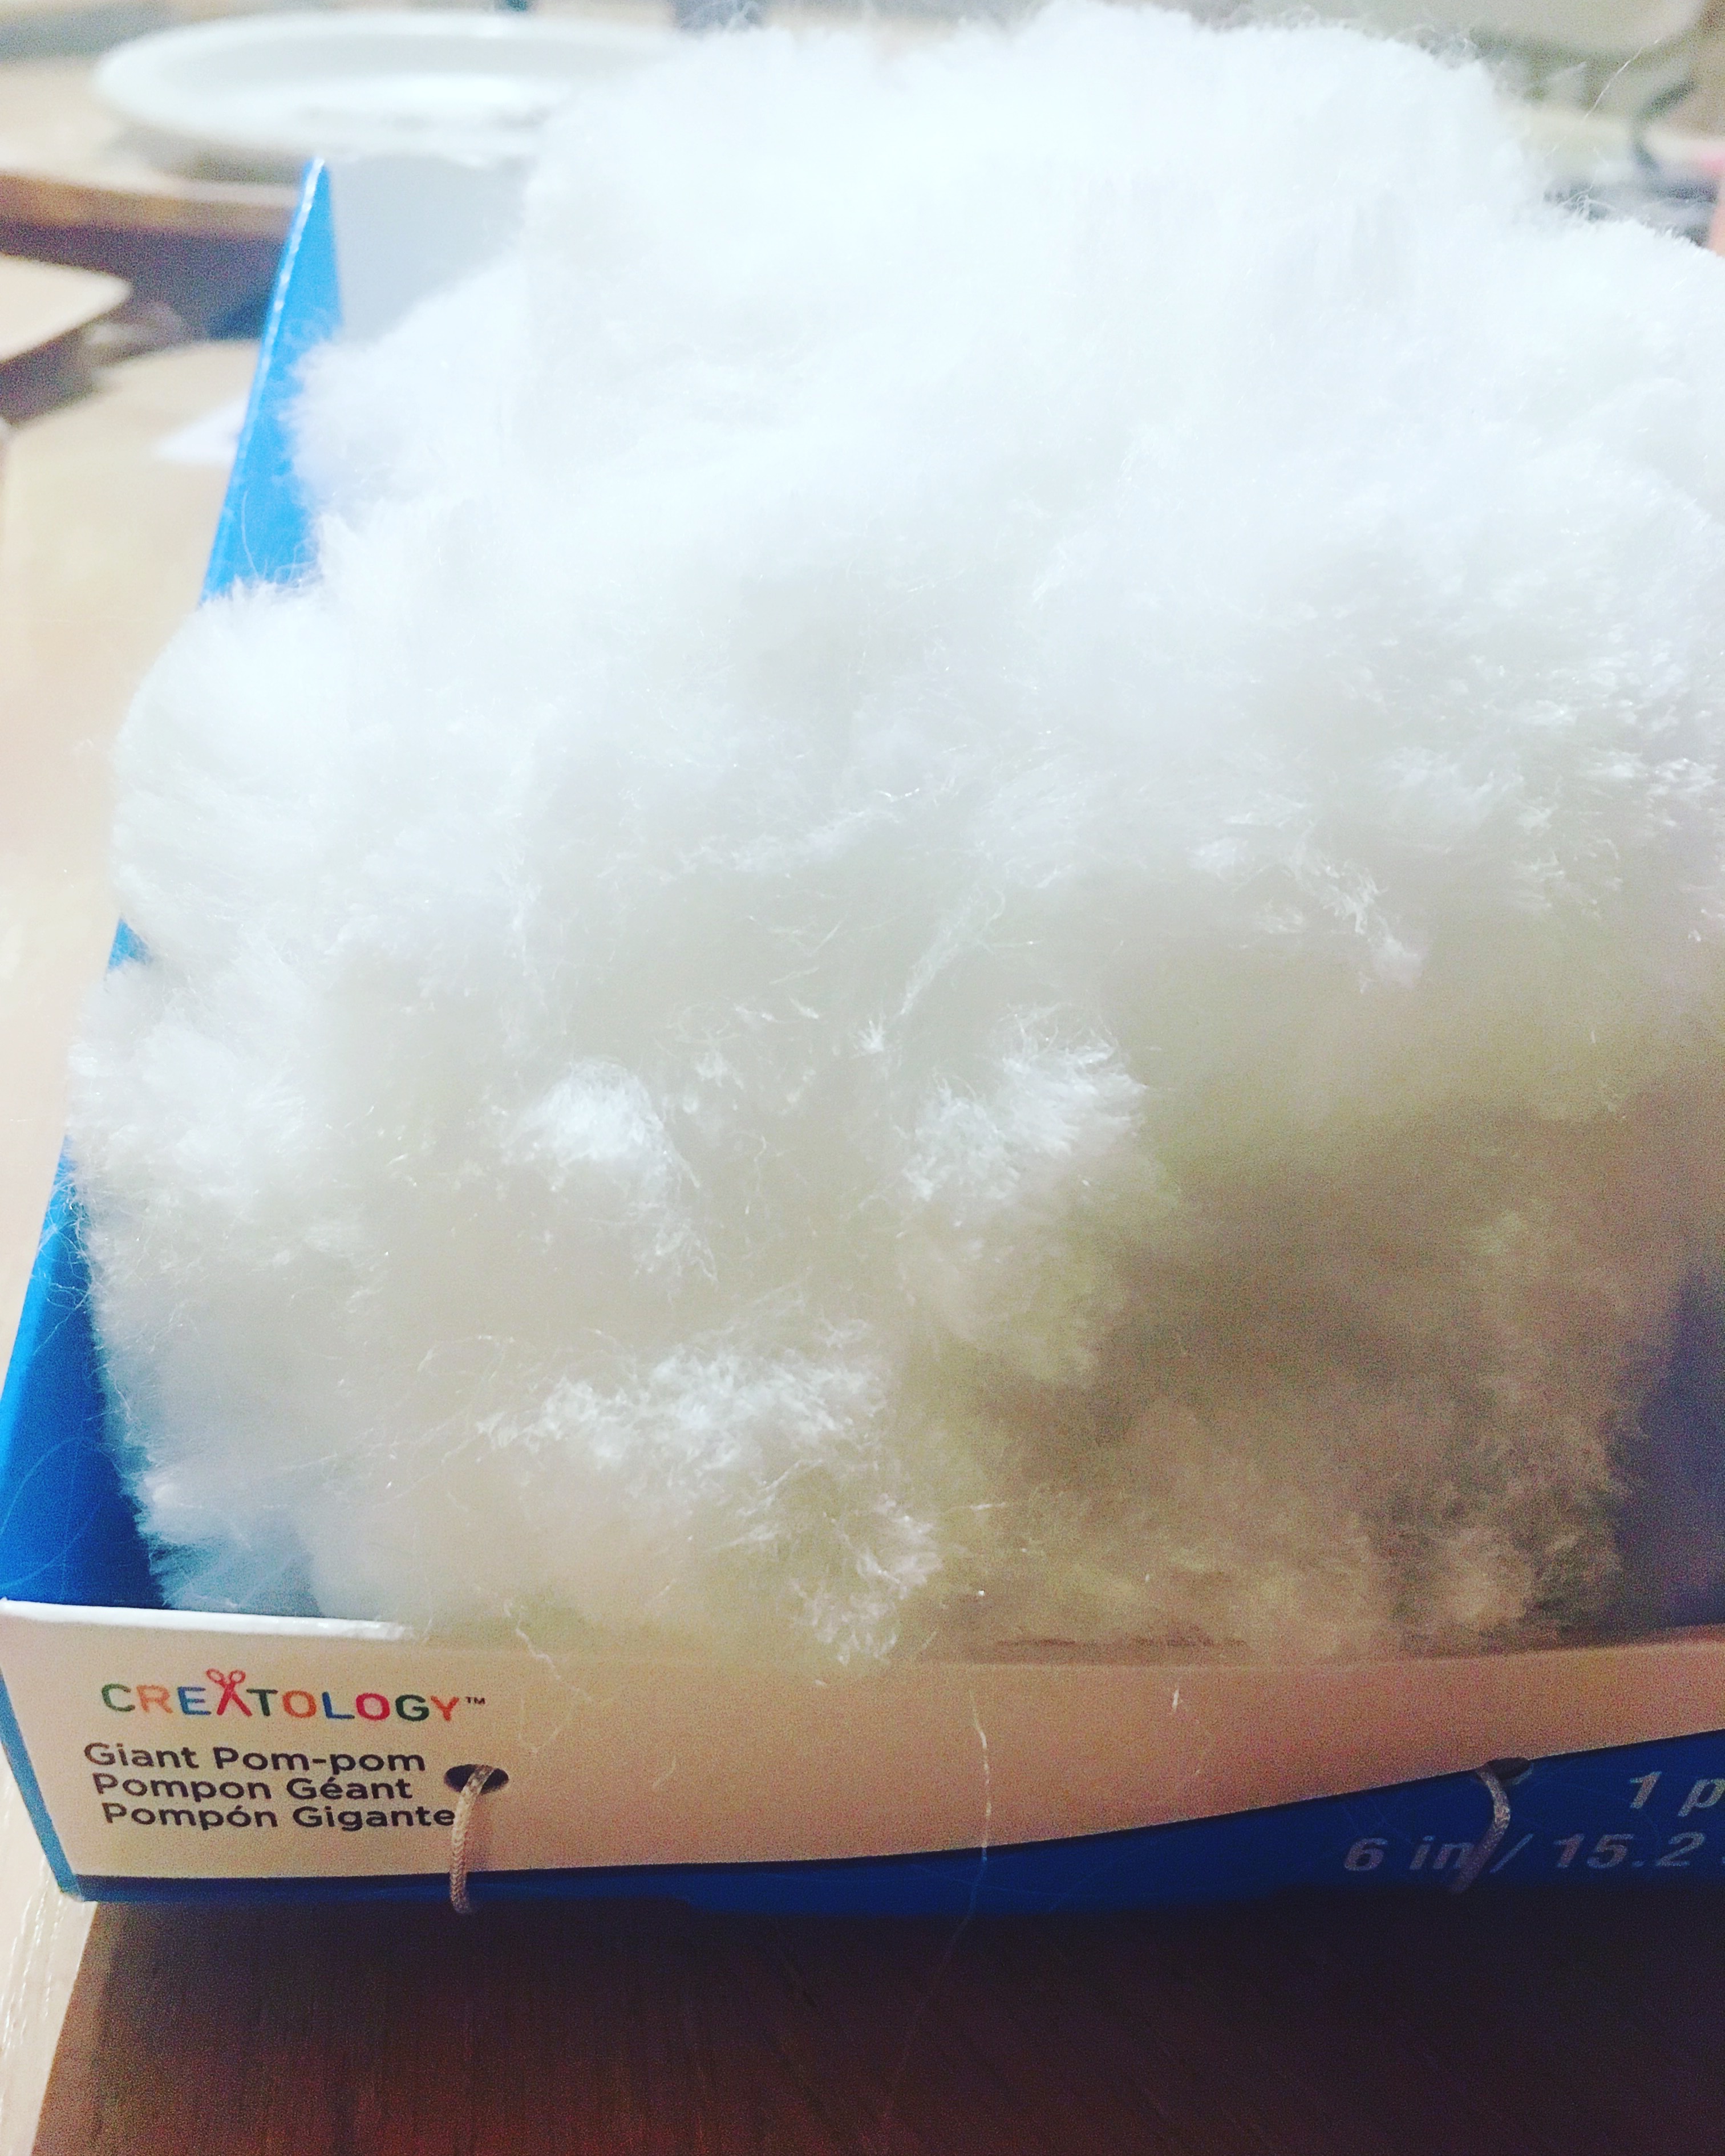
: : a giant white fur pom-pom [i got mine at michael’s], OR some white fur or a white feather boa
: : sharpie
: : scissors
: : one large safety pin
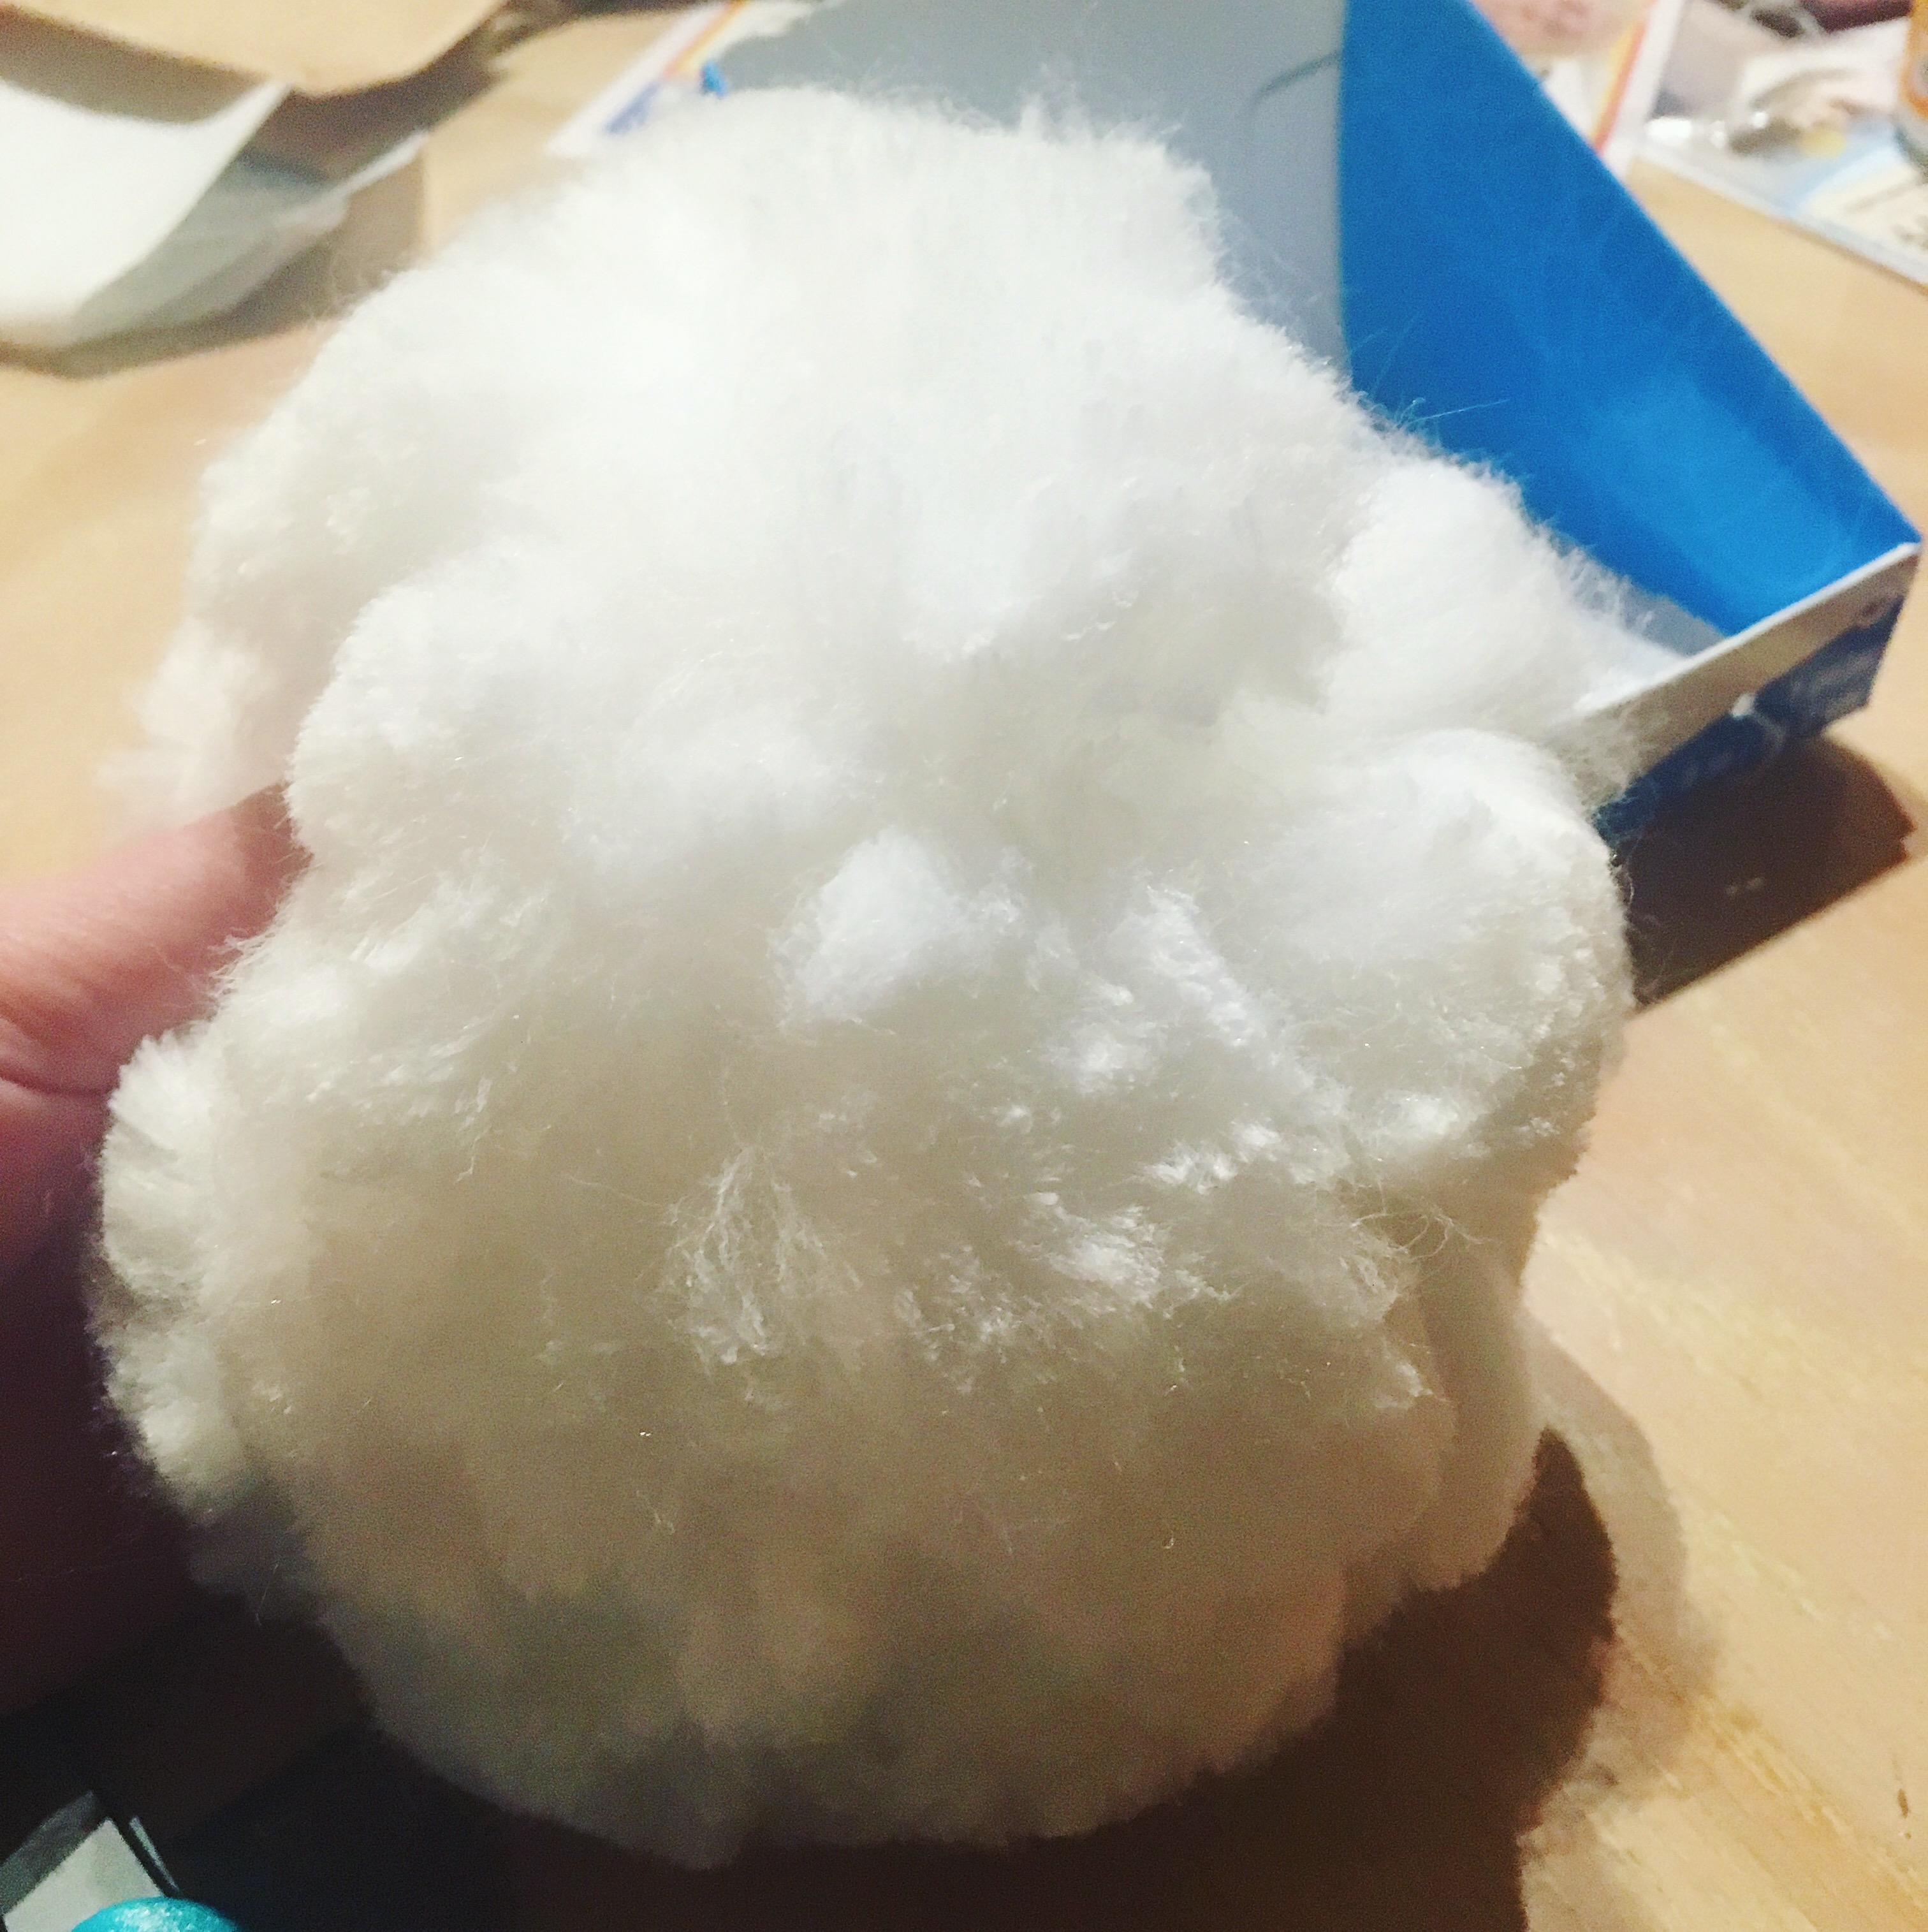
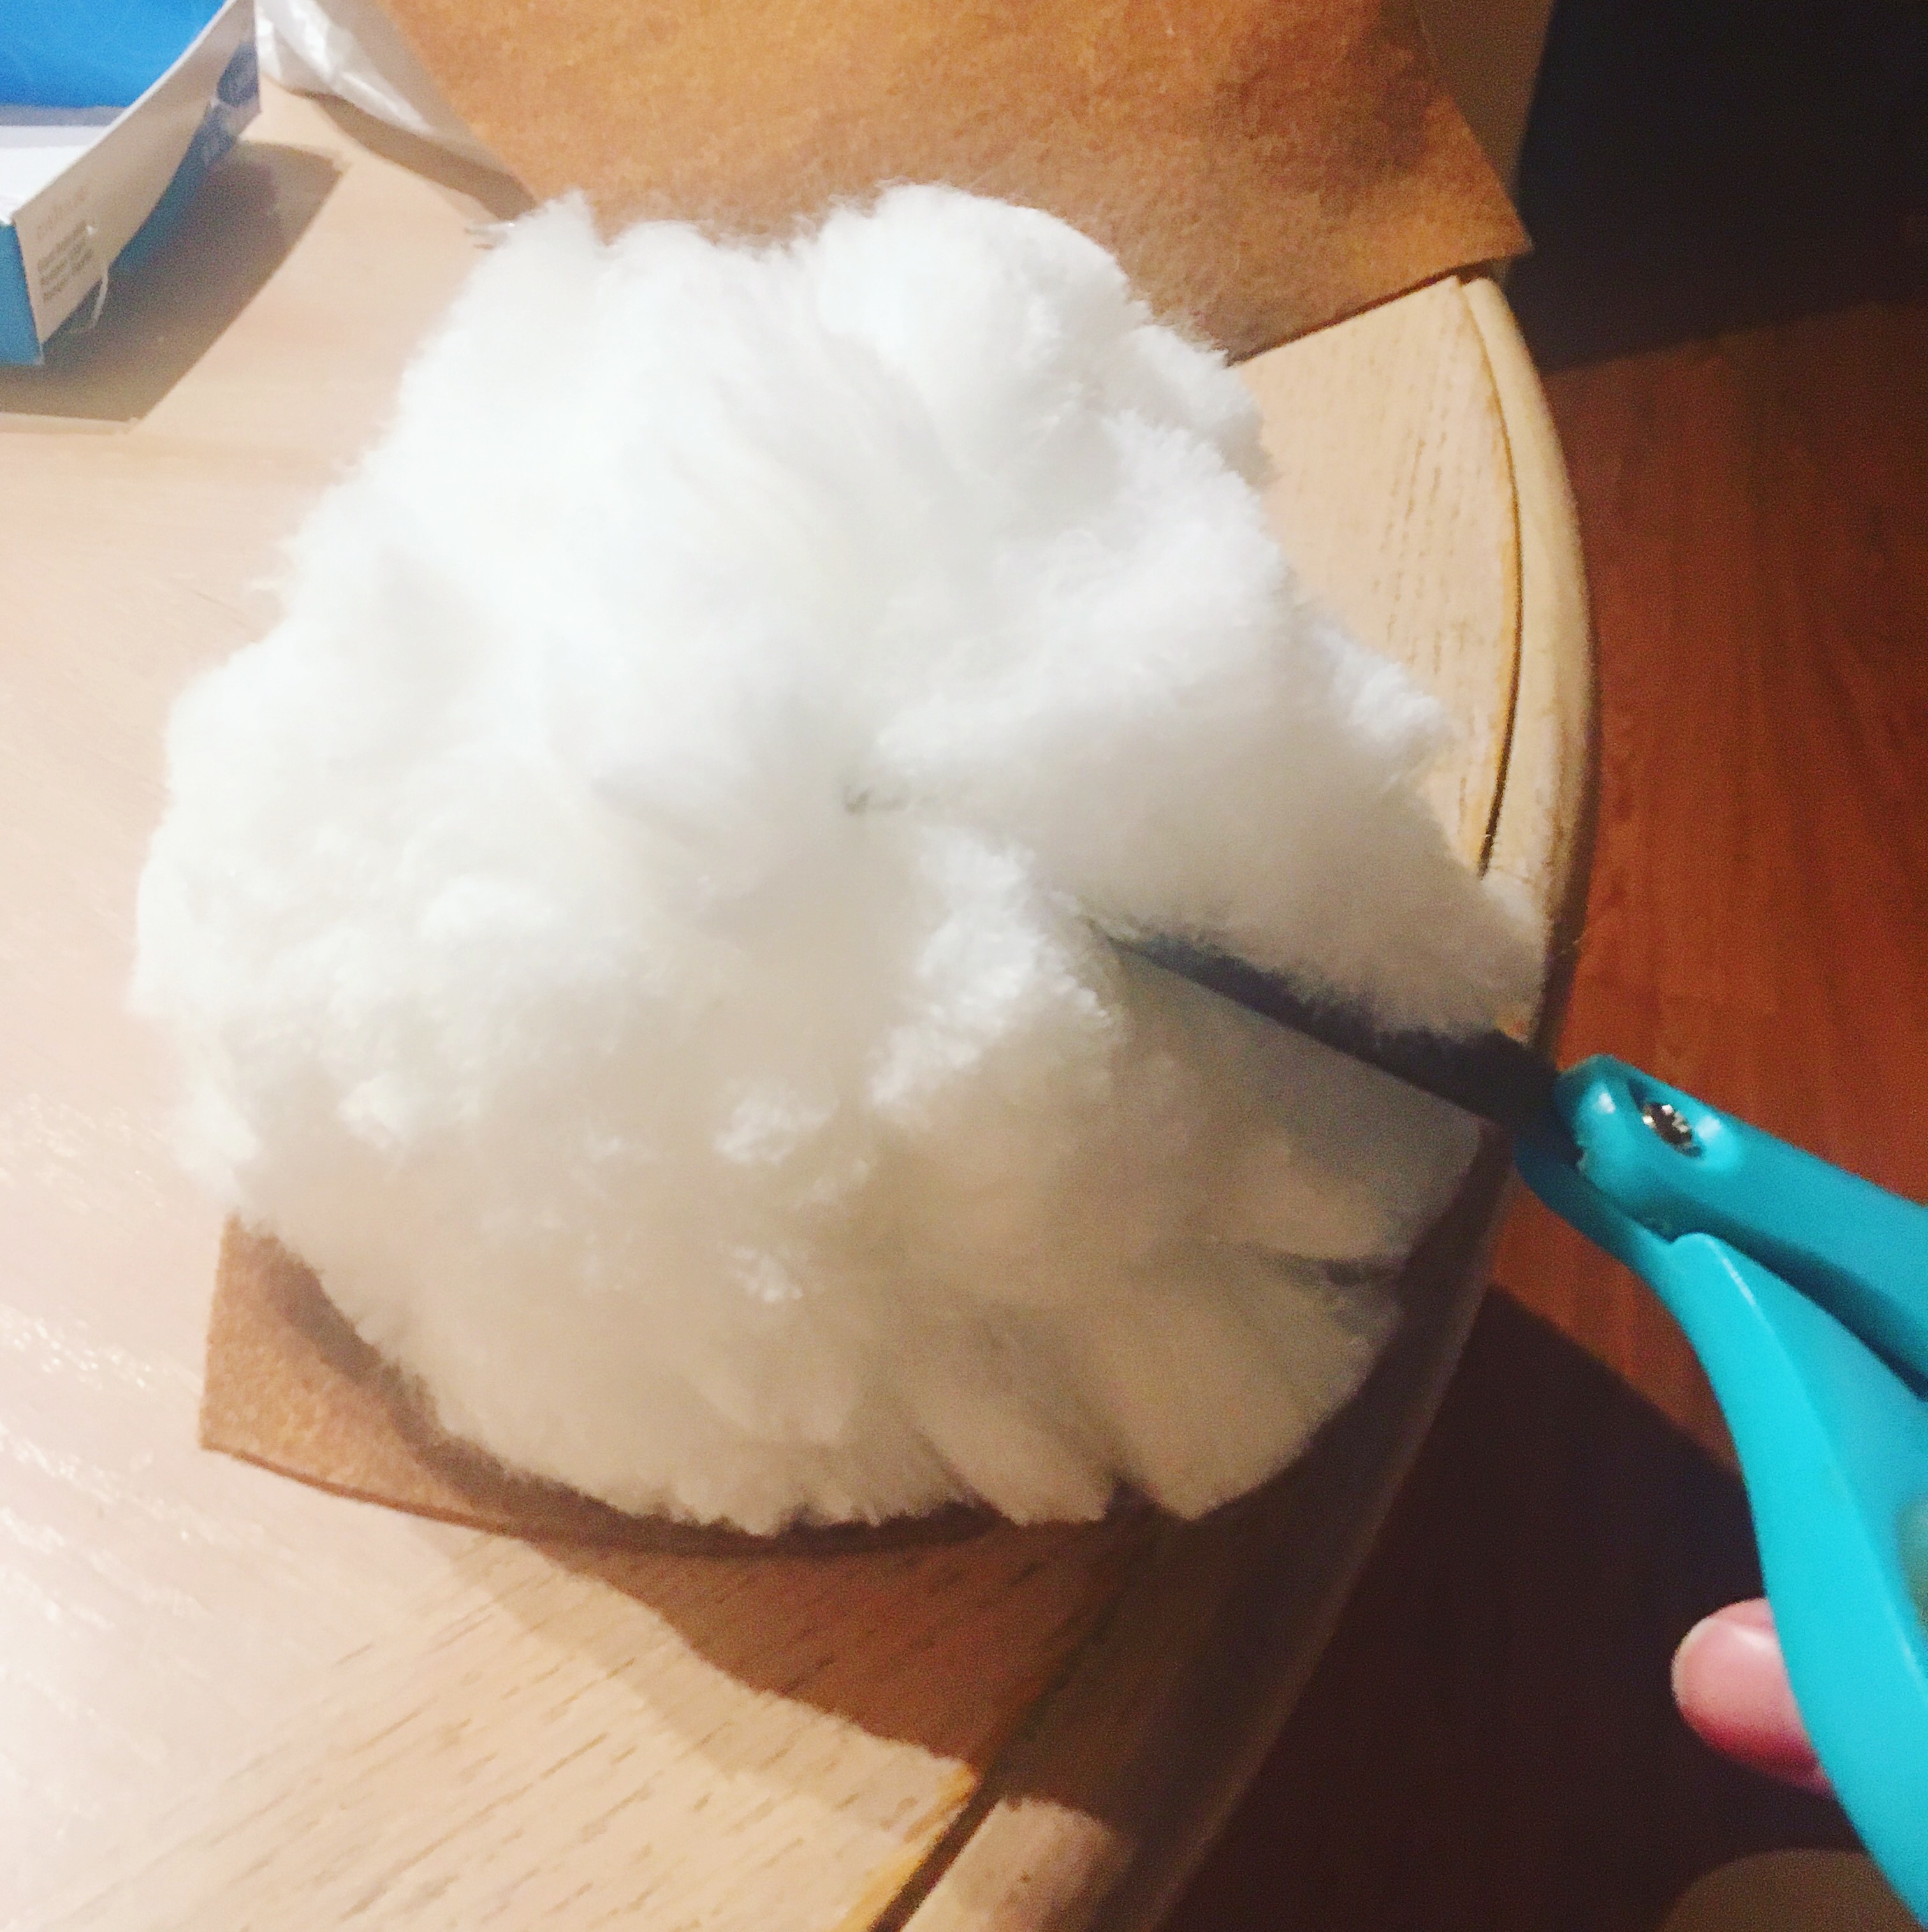
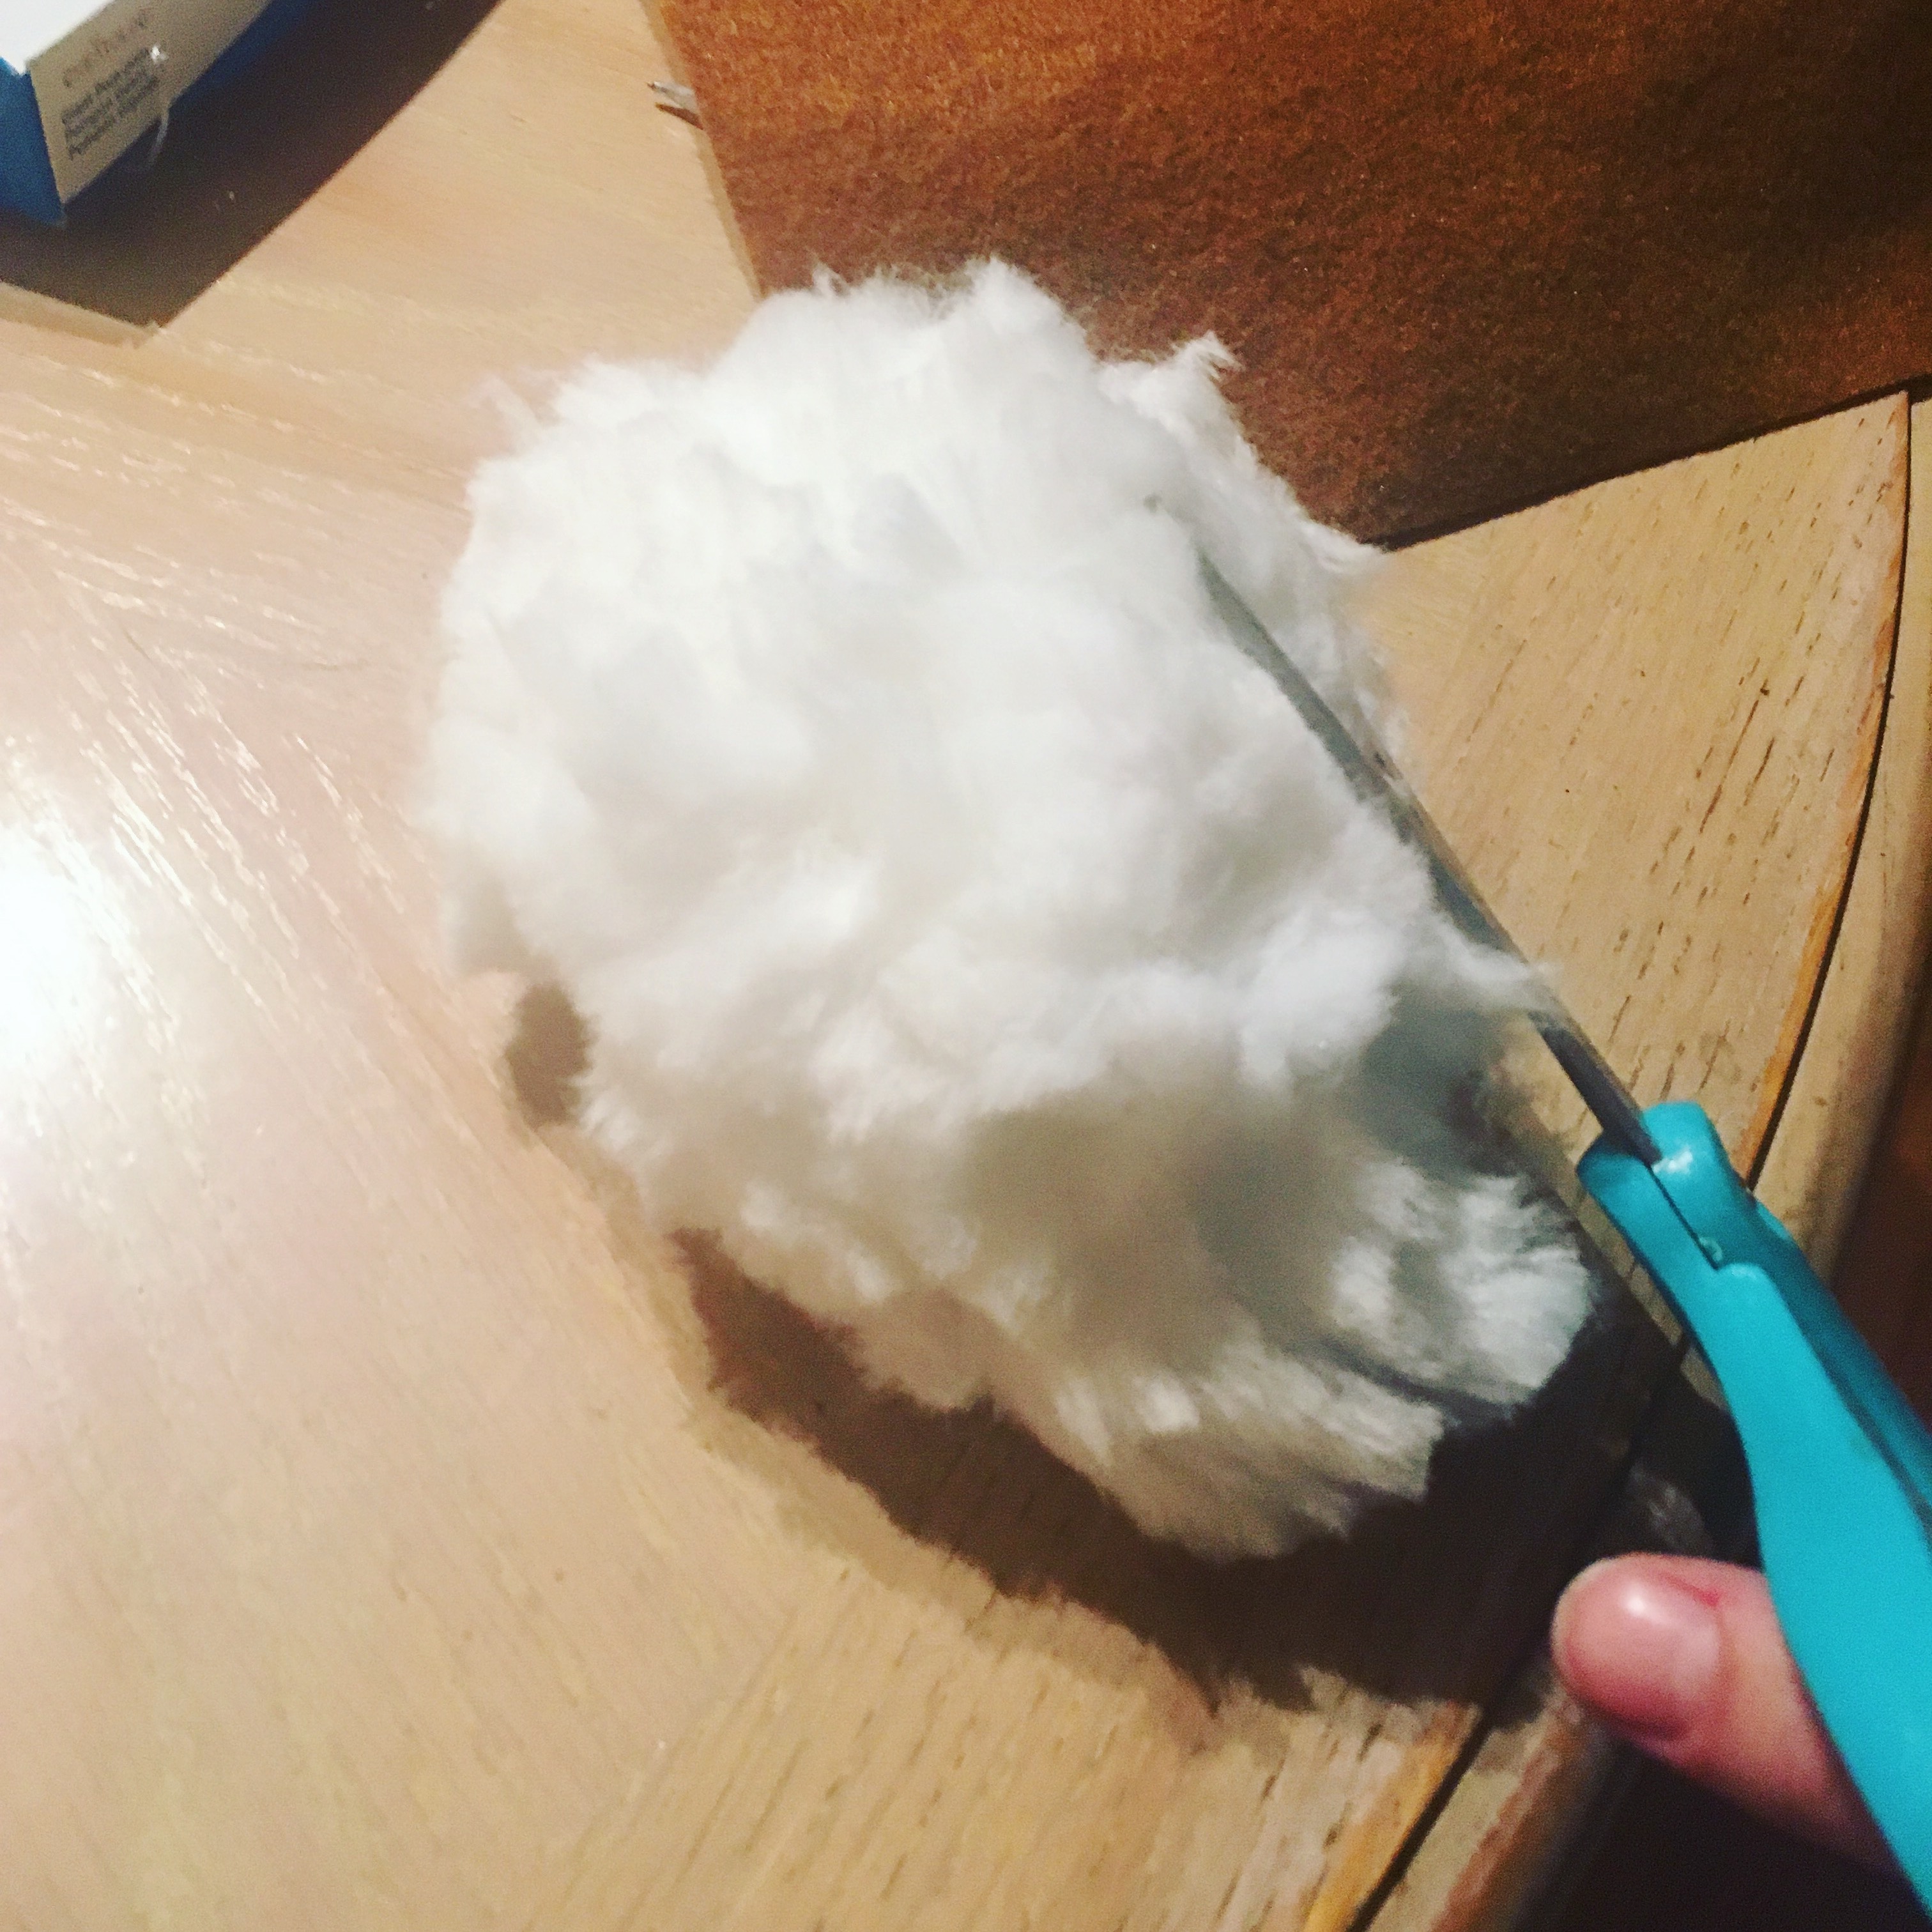
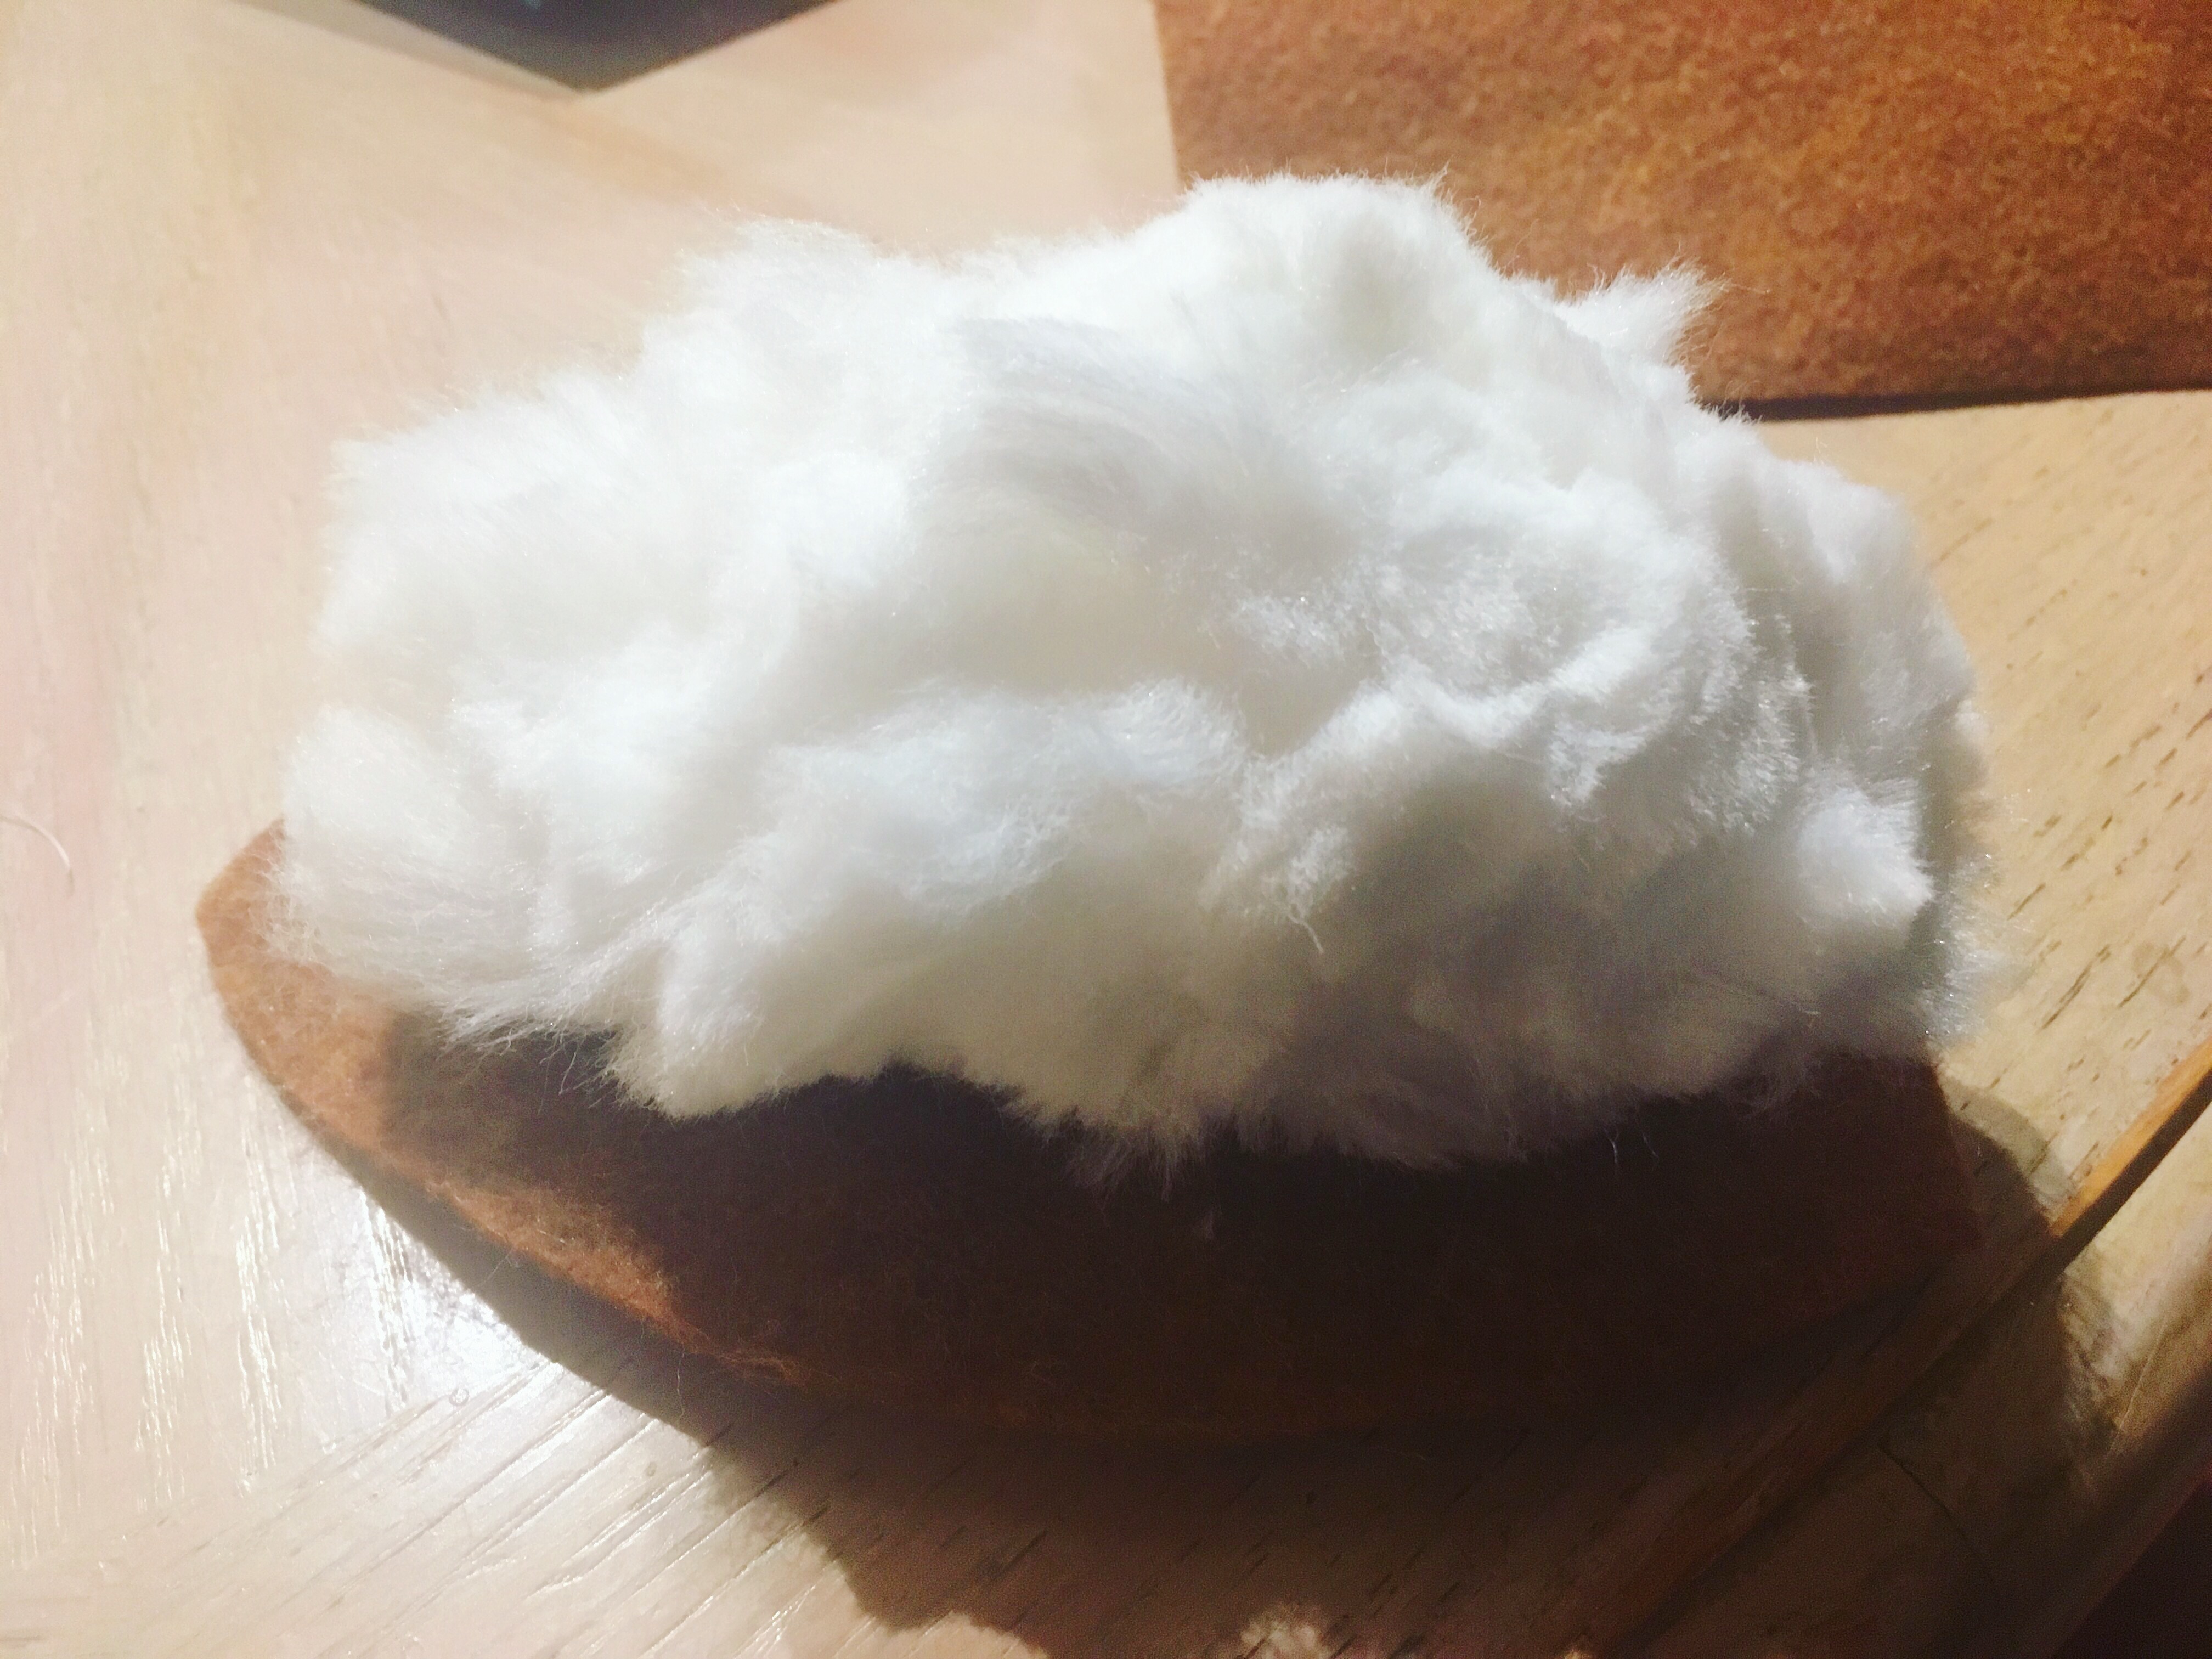
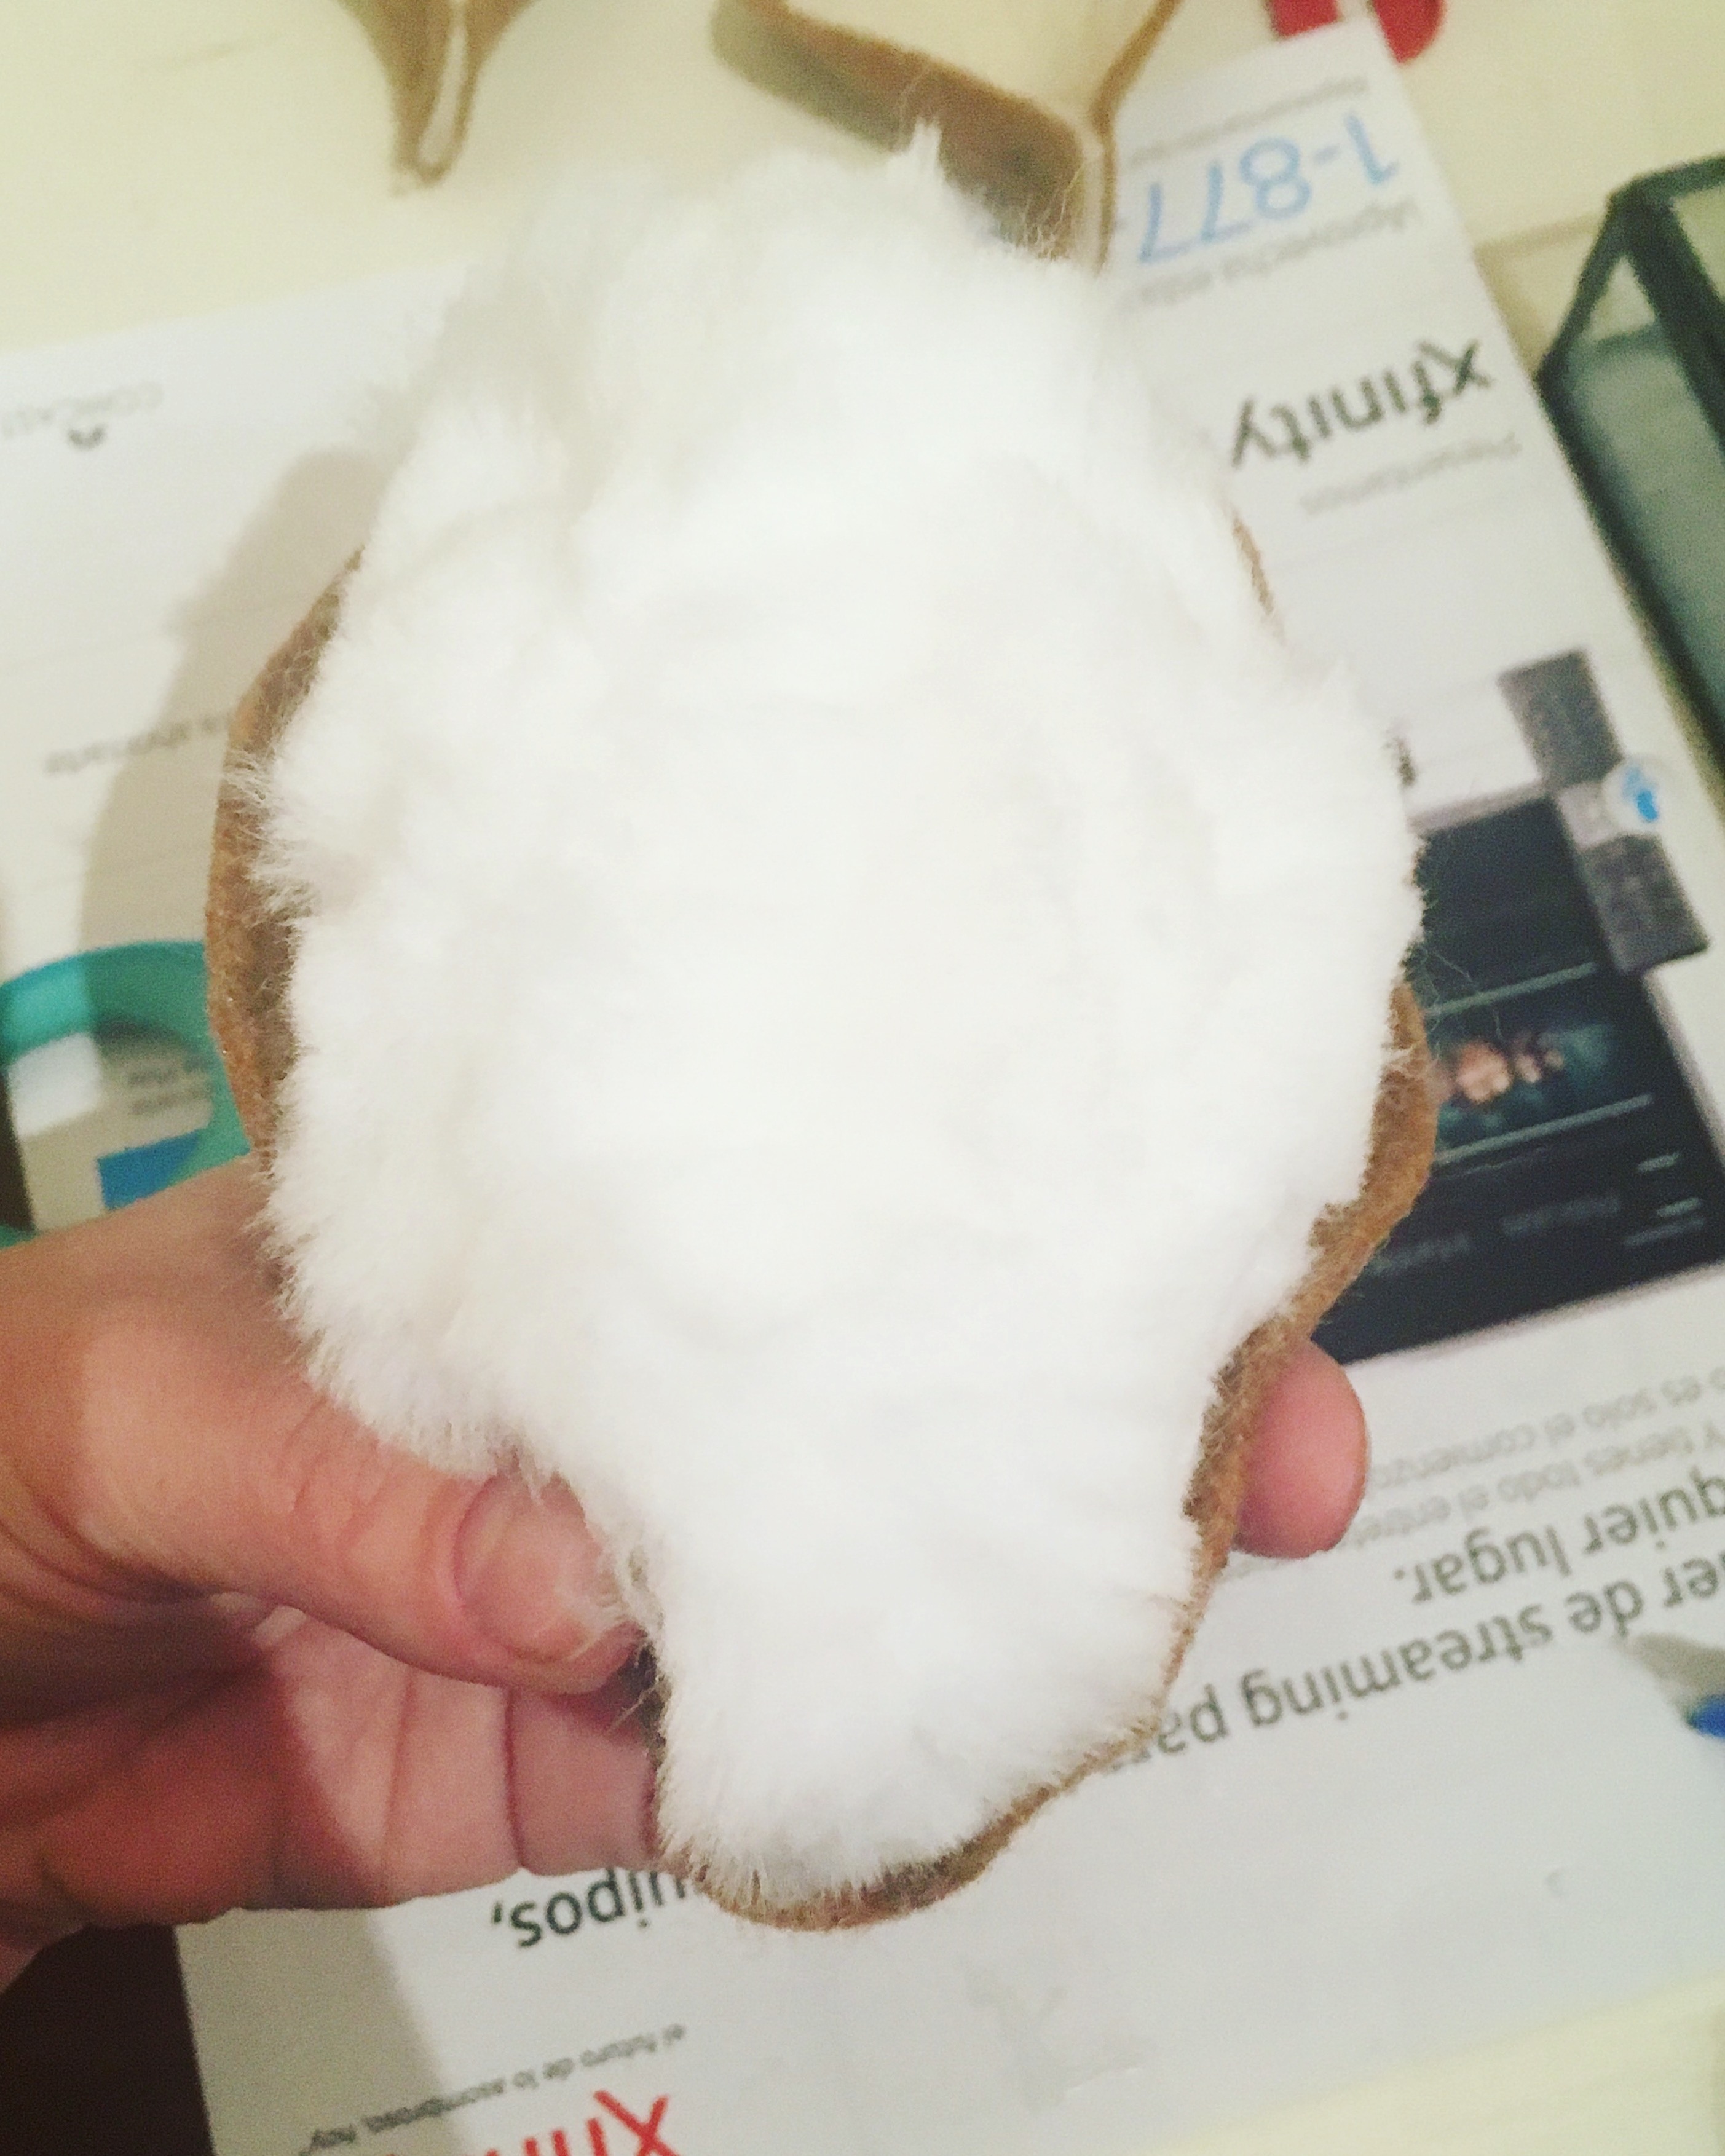
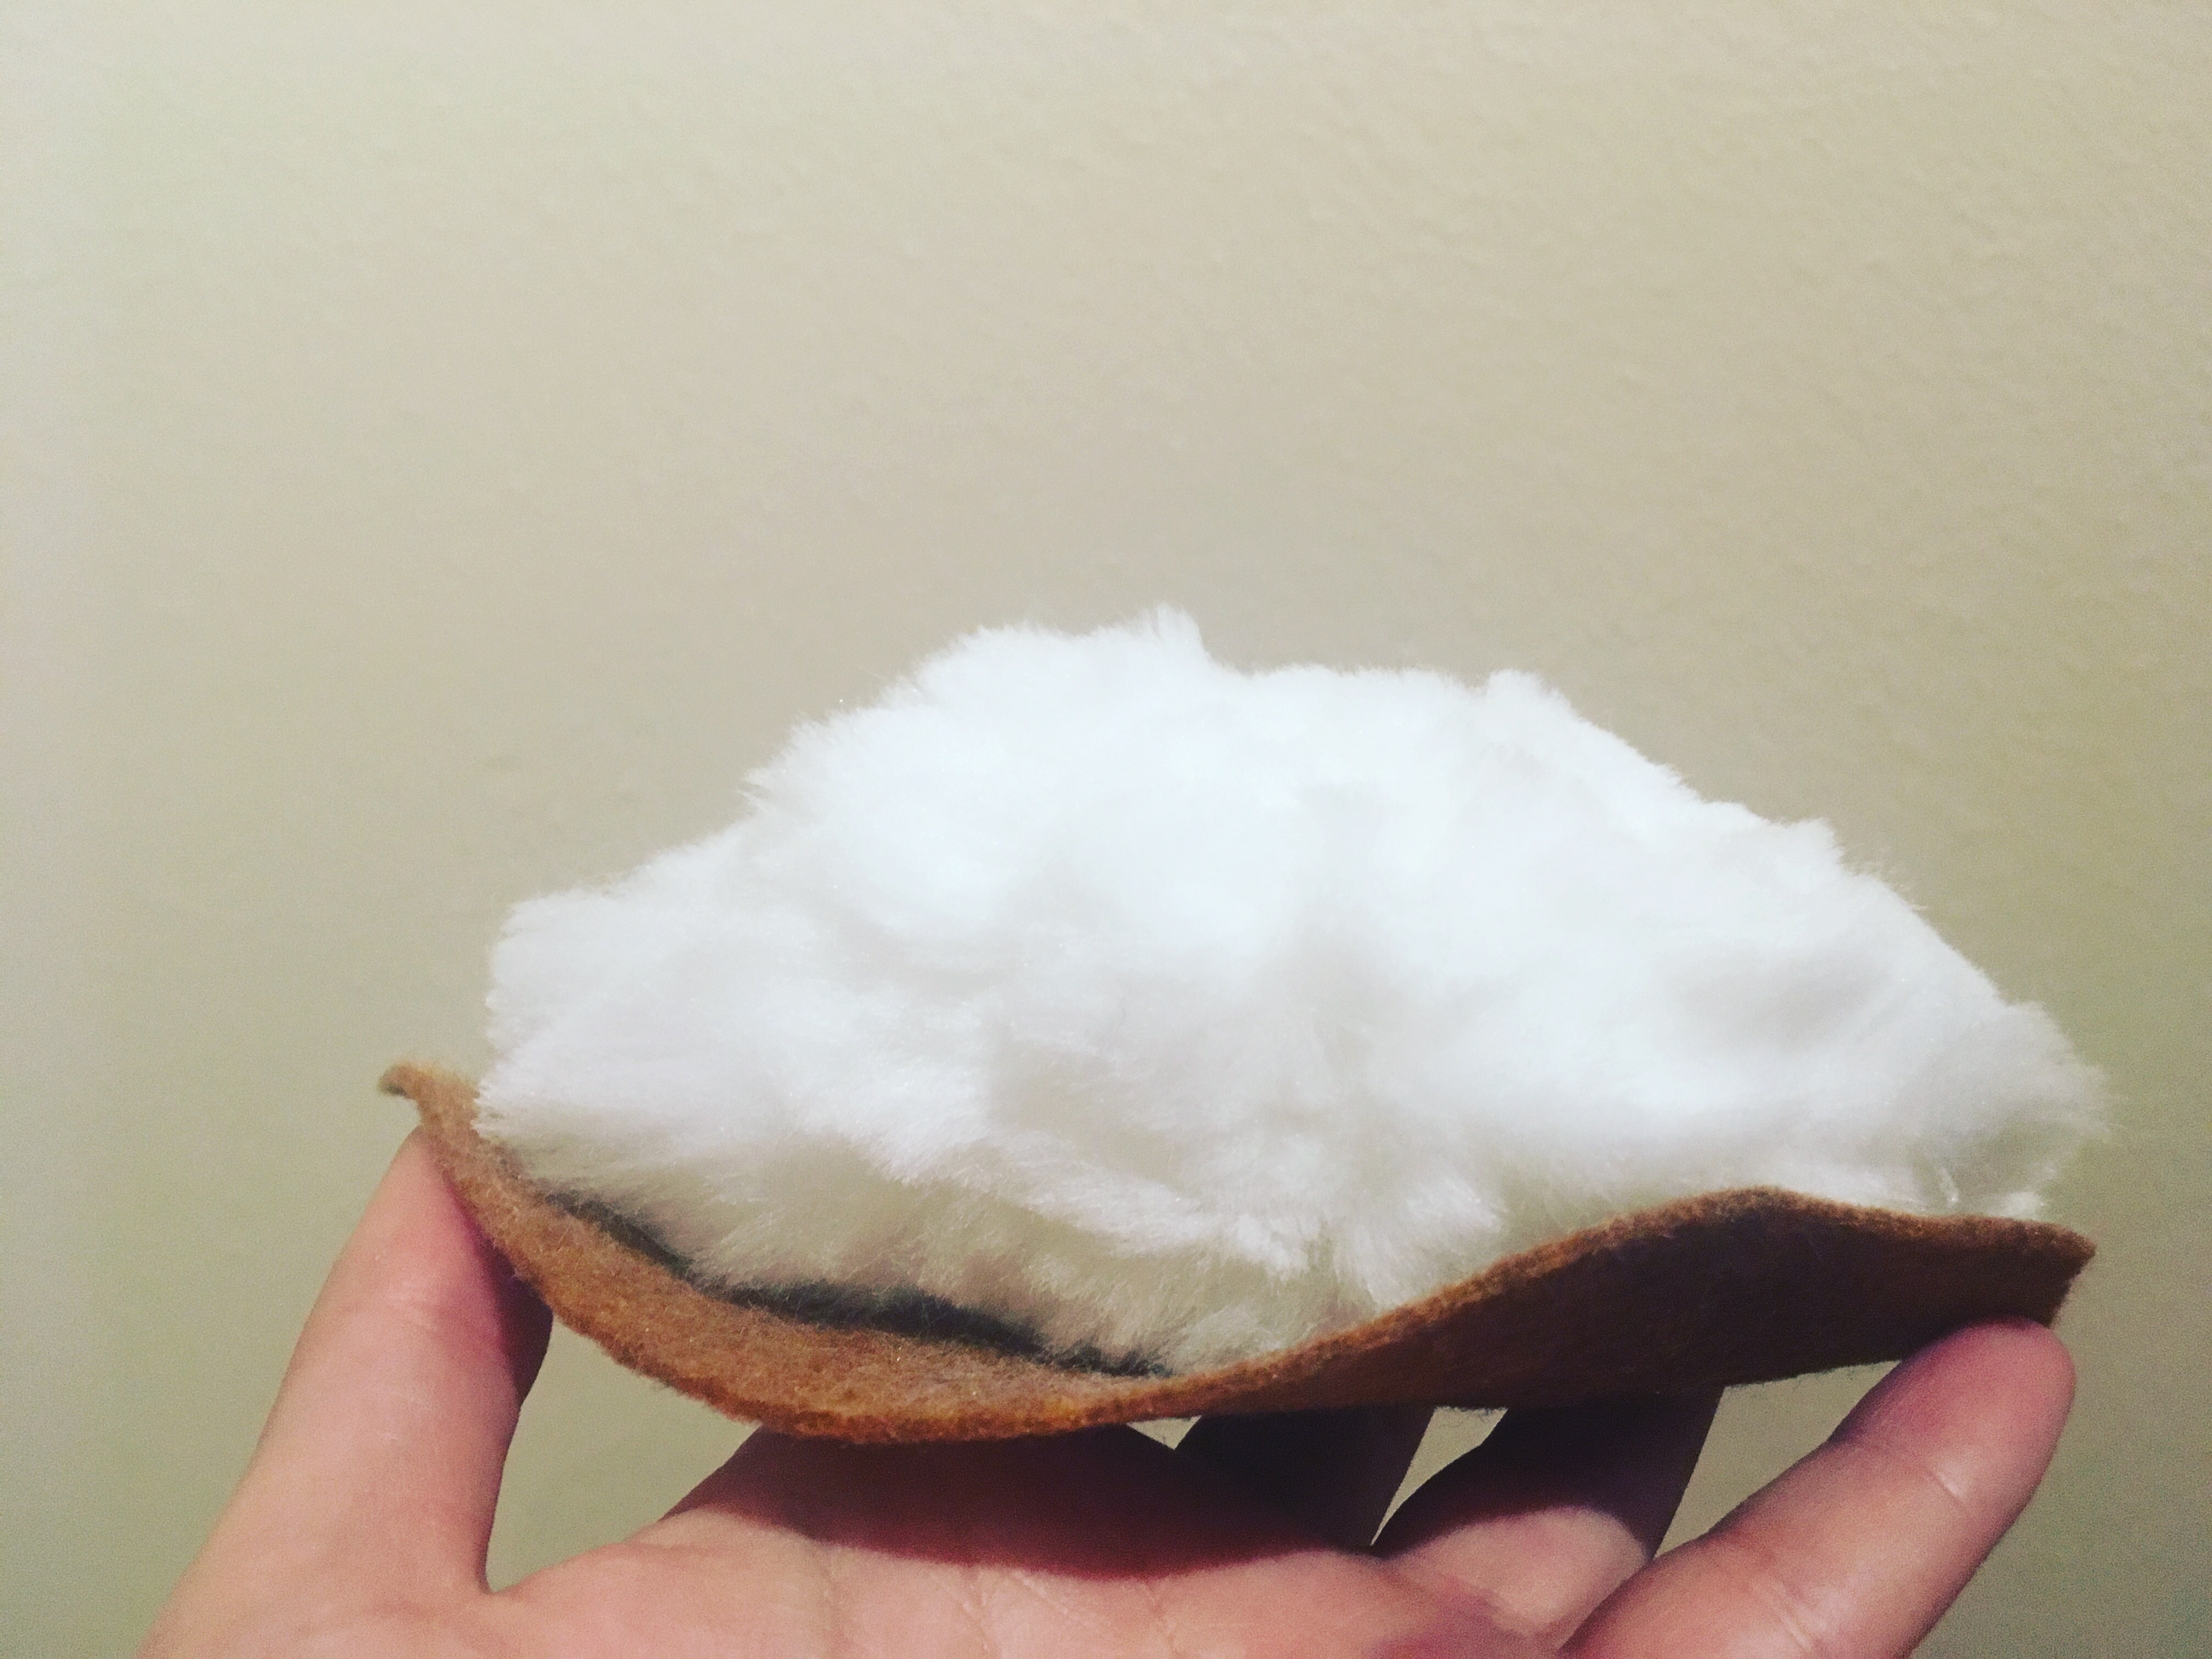
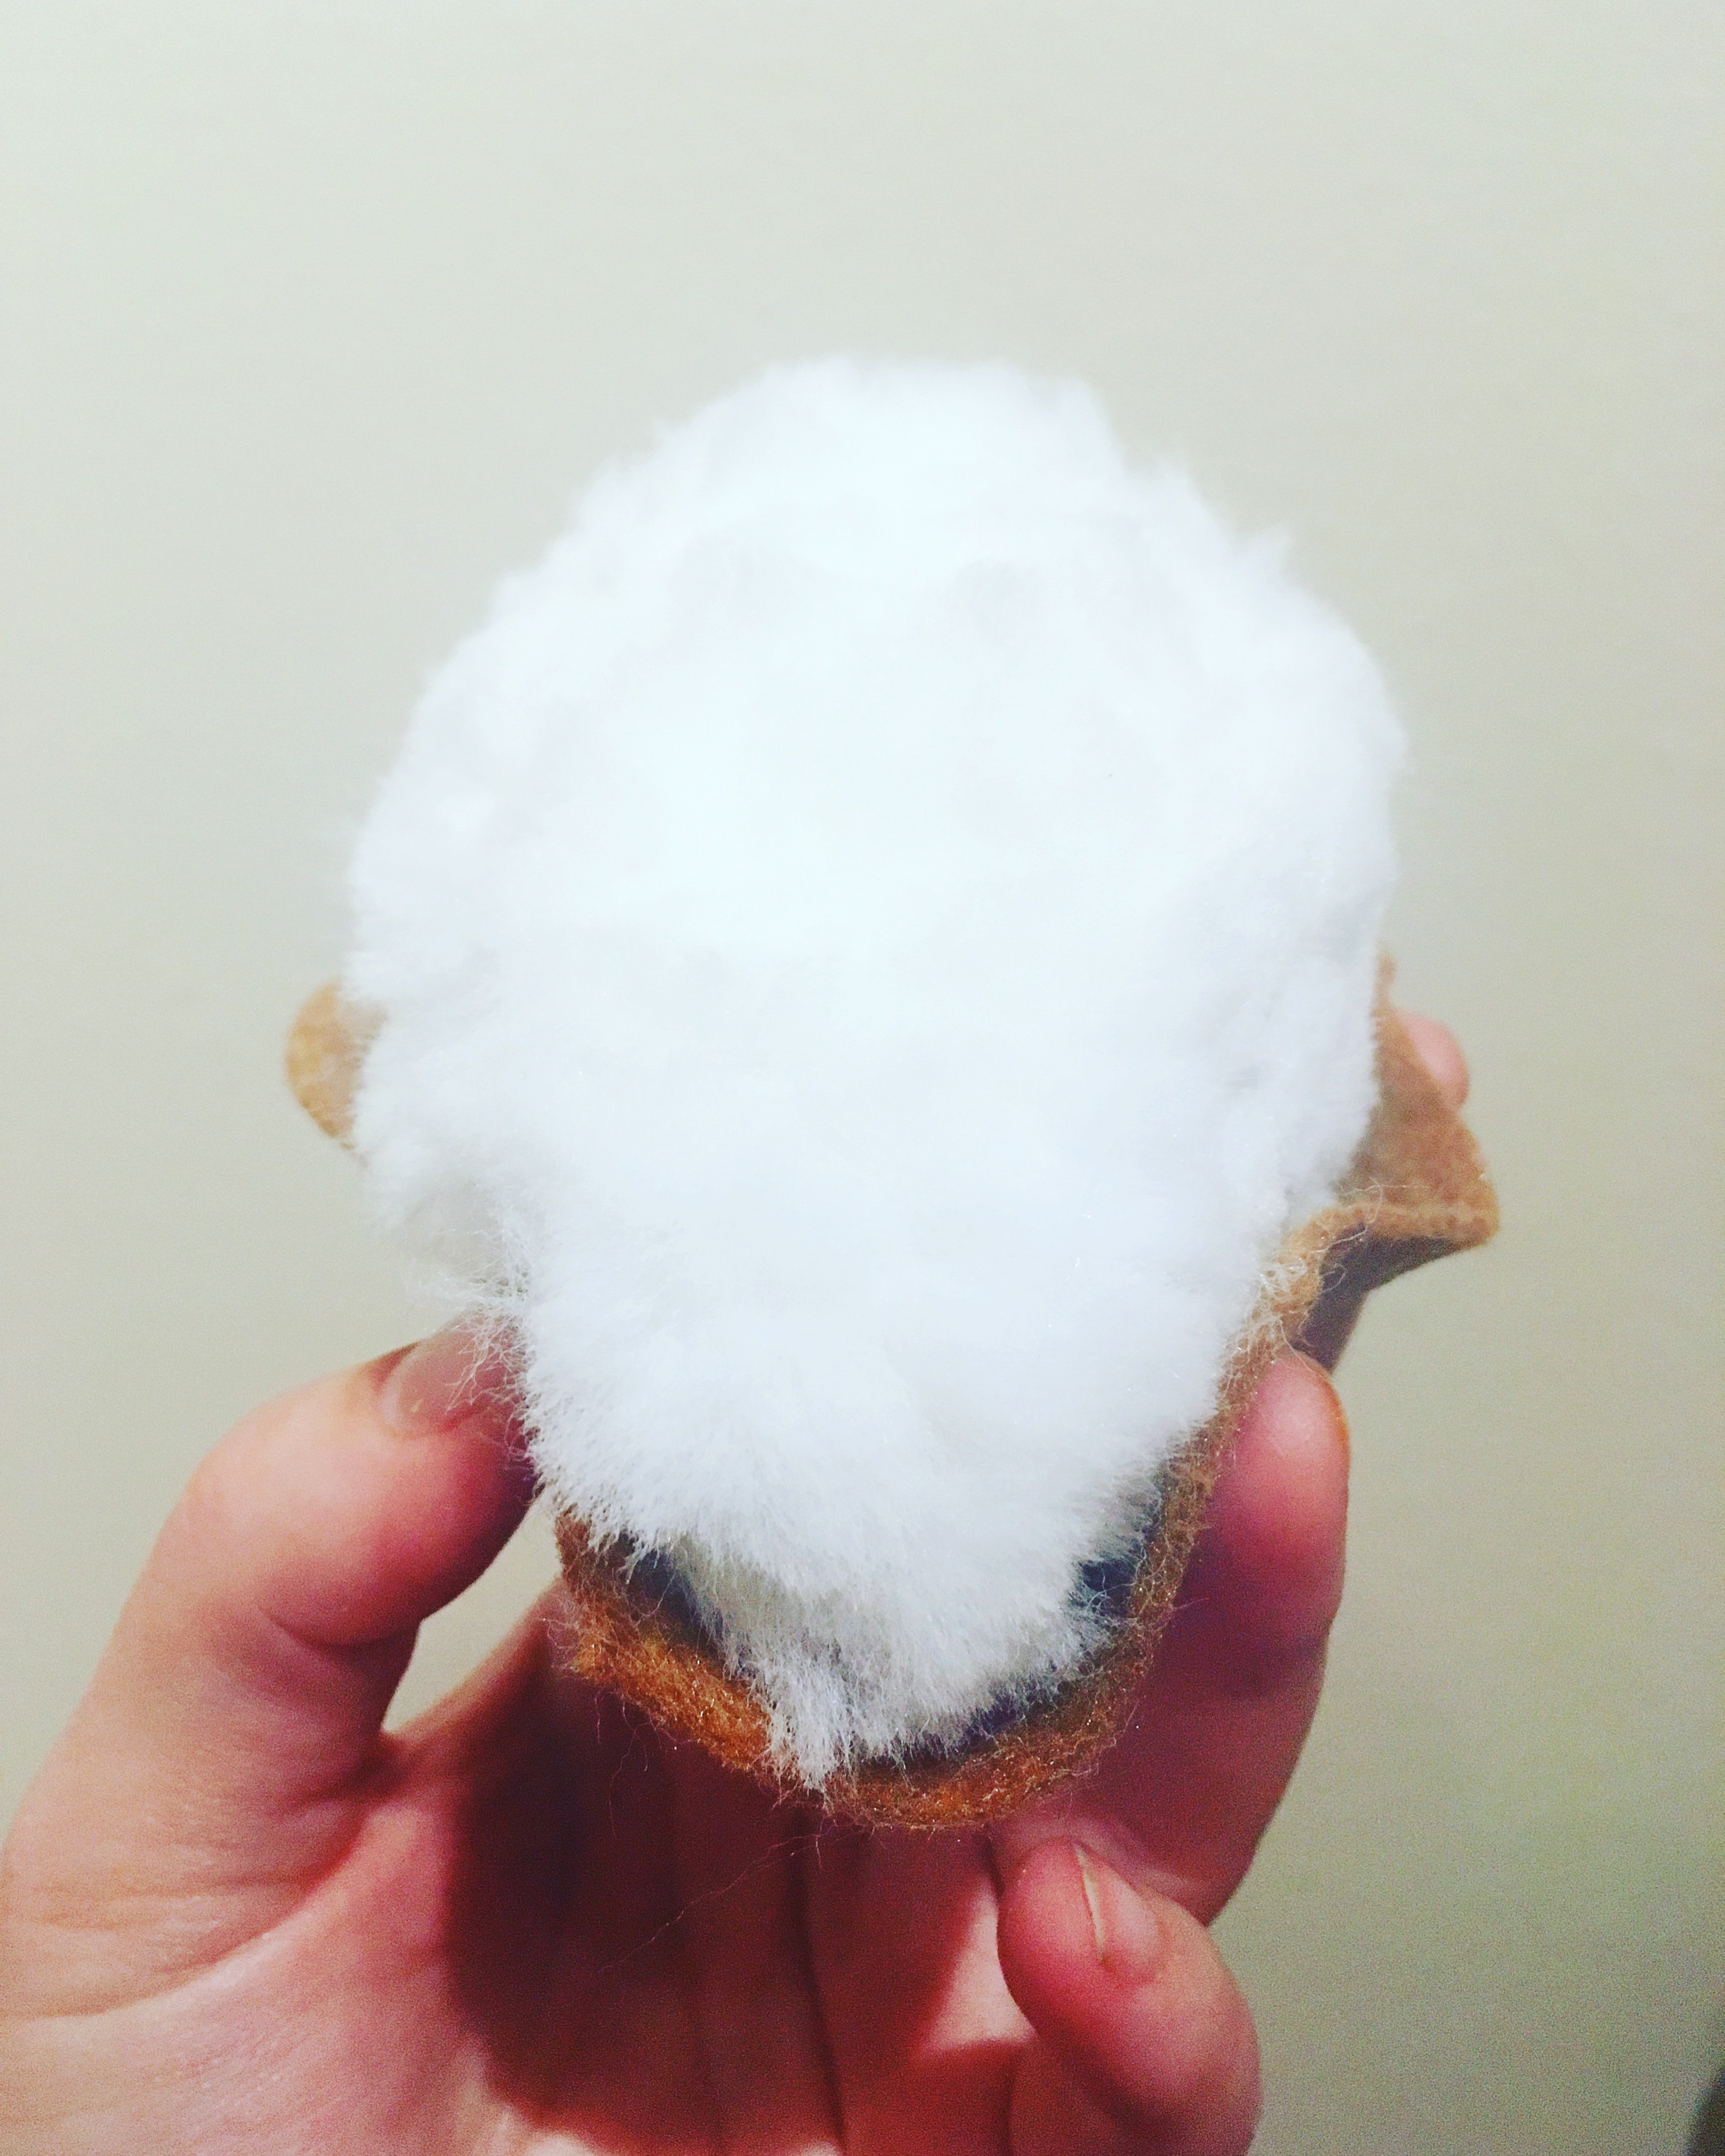
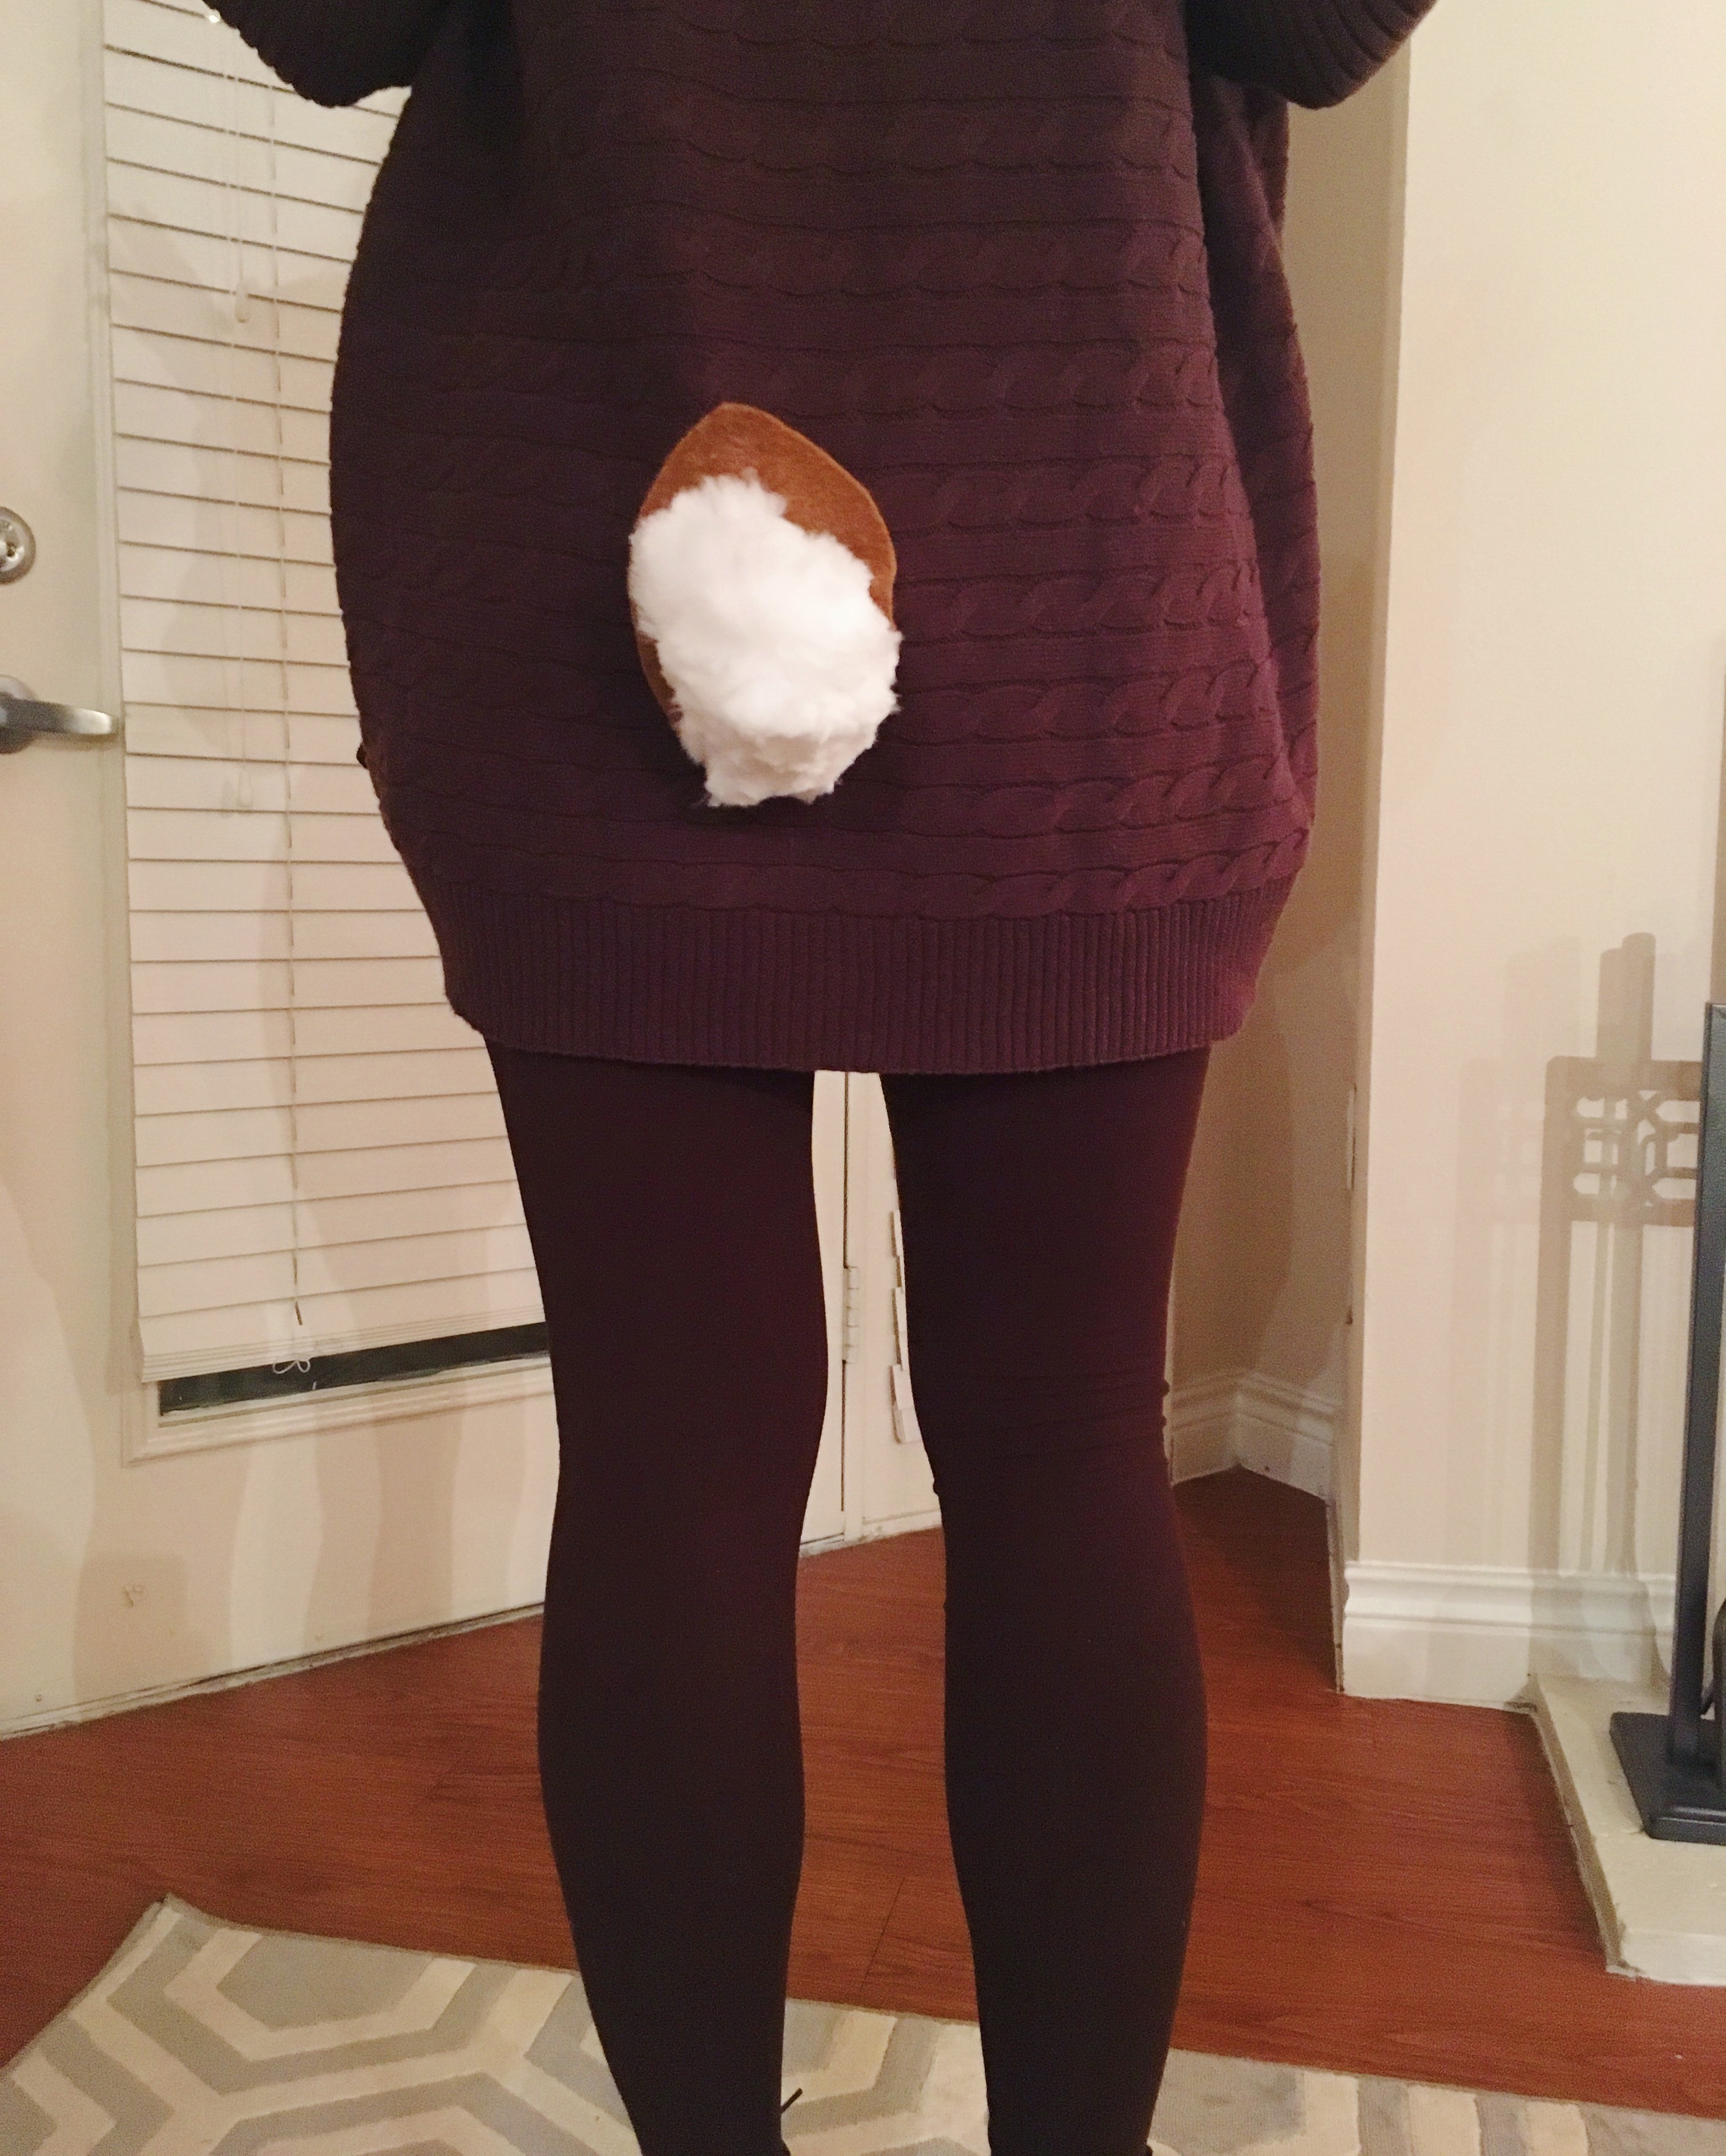
i cut out the template labeled “deer tail top” on the PDF, then traced it onto the brown felt with the sharpie and cut it out. i couldn’t actually find white fur or a white feather boa at michael’s… i think those might actually be easier than the pom-pom, but what i did is gave the pom-pom a “haircut.” i kept cutting the fluff off of it until it started resembling a small football shape – like a 3-D oval and sort of coming to a point at the top and bottom.
if you have some white fur, i would cut it into a similar shape as the brown felt tail [maybe slightly smaller], and if you have a white feather boa, cut a strip that’s just a little smaller than the brown felt tail. then, just hot glue the trimmed pom-pom, fur, or white feather boa onto the tail to make the fluffy white underside.
on the flat edge of the tail, i kind of tucked the corners around the pom-pom and glued it a little more snugly than the rest of the tail.
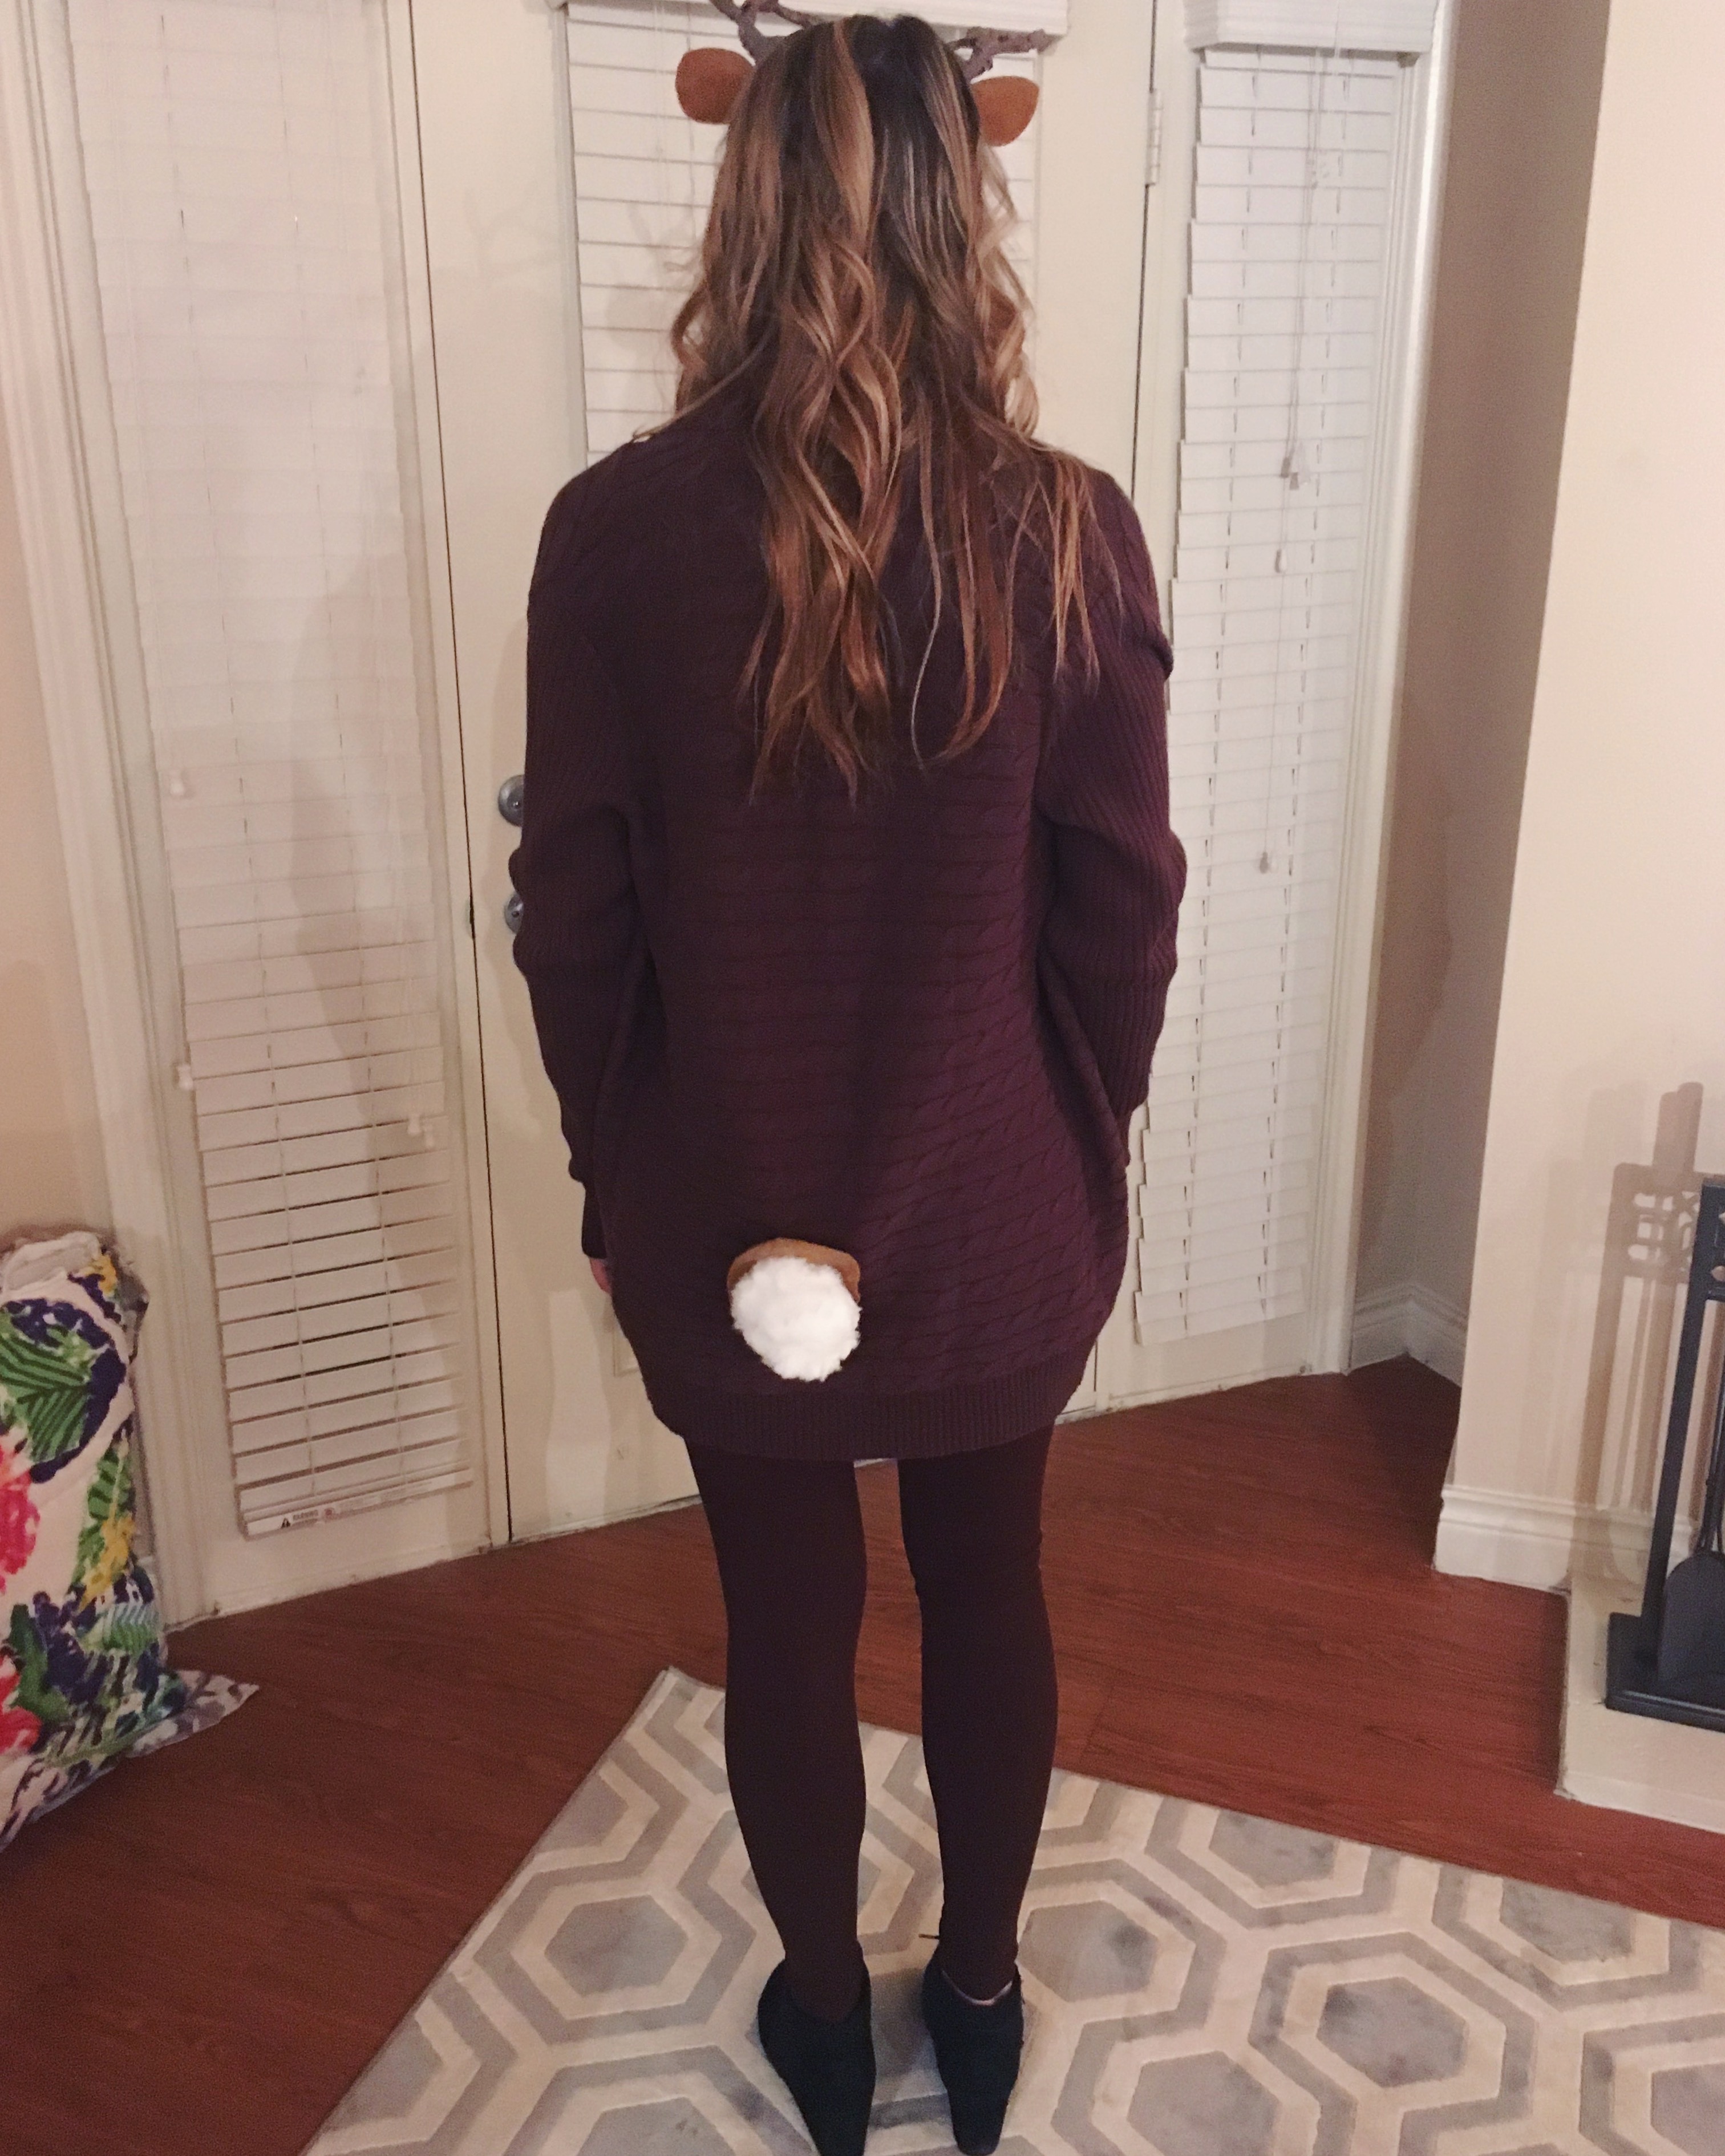
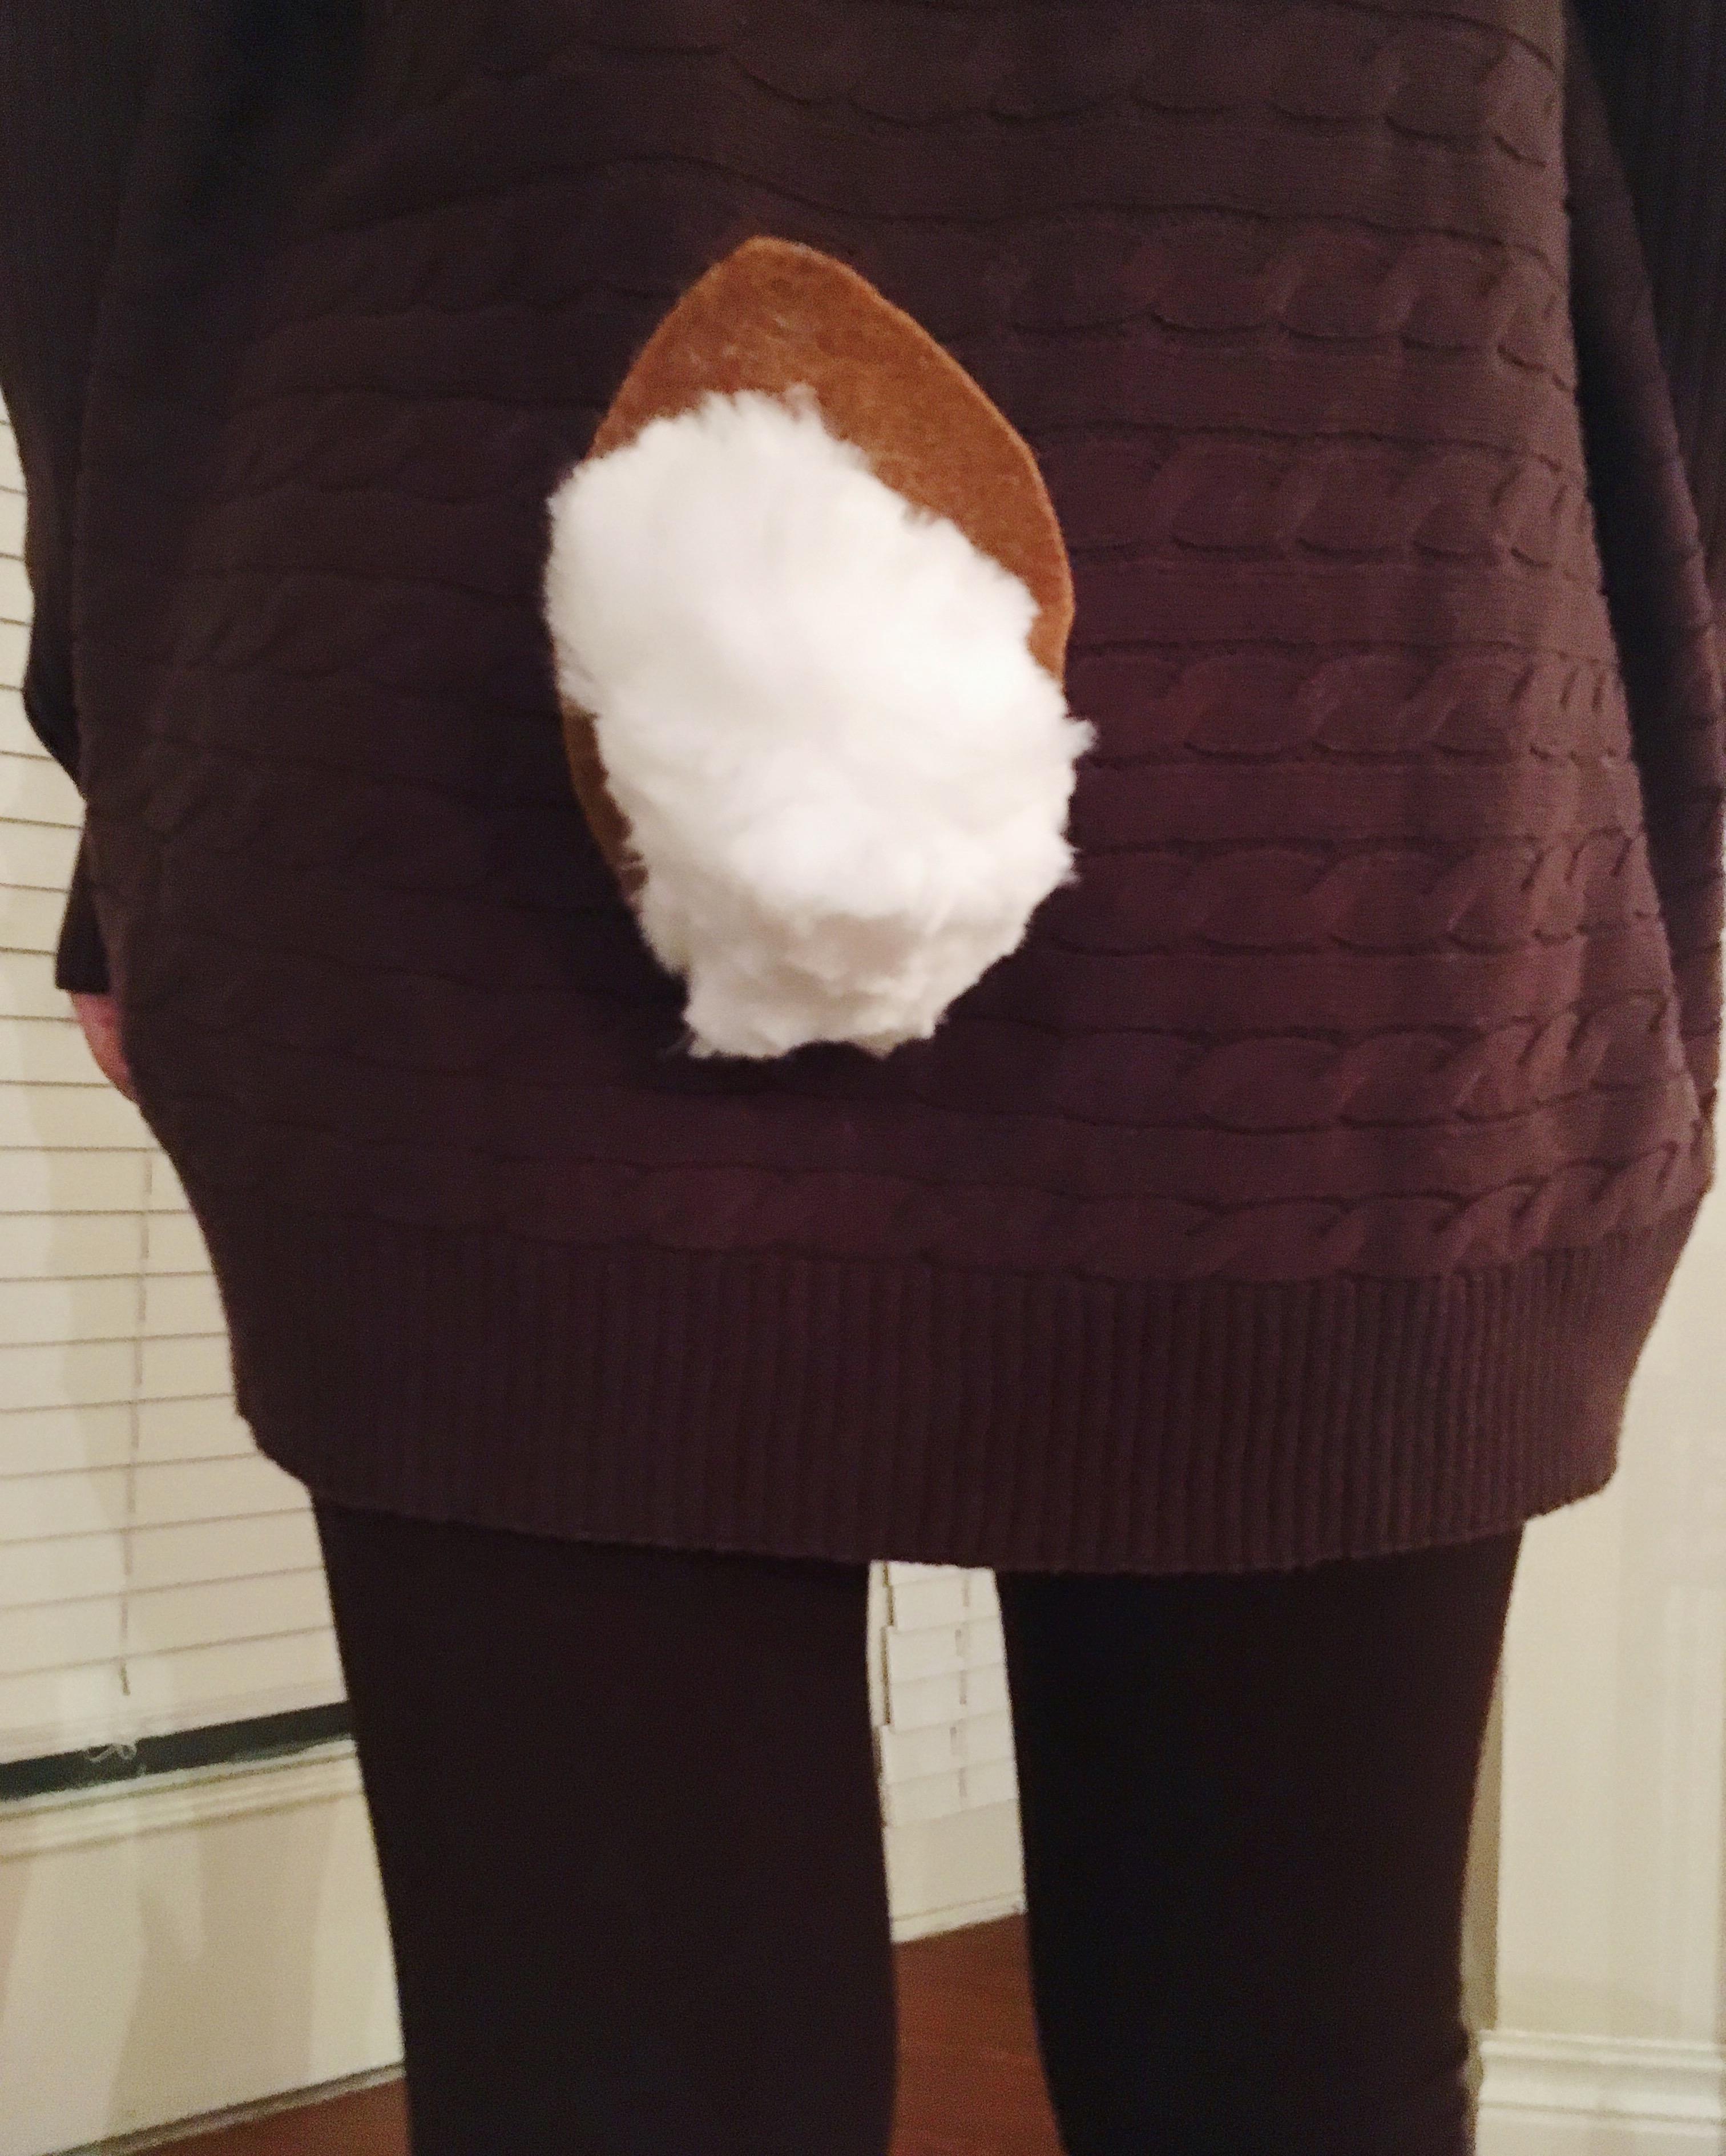
and that’s the tail! i used a safety pin to pin it to my costume with the flat side of the brown felt facing down and the white fluffy part of the tail facing out. it might feel like that’s pinning the tail the wrong way, but in my opinion, it’s more deer-like when the point is facing up and the white fluffy part out. google a deer running and you will see what i’m talking about!
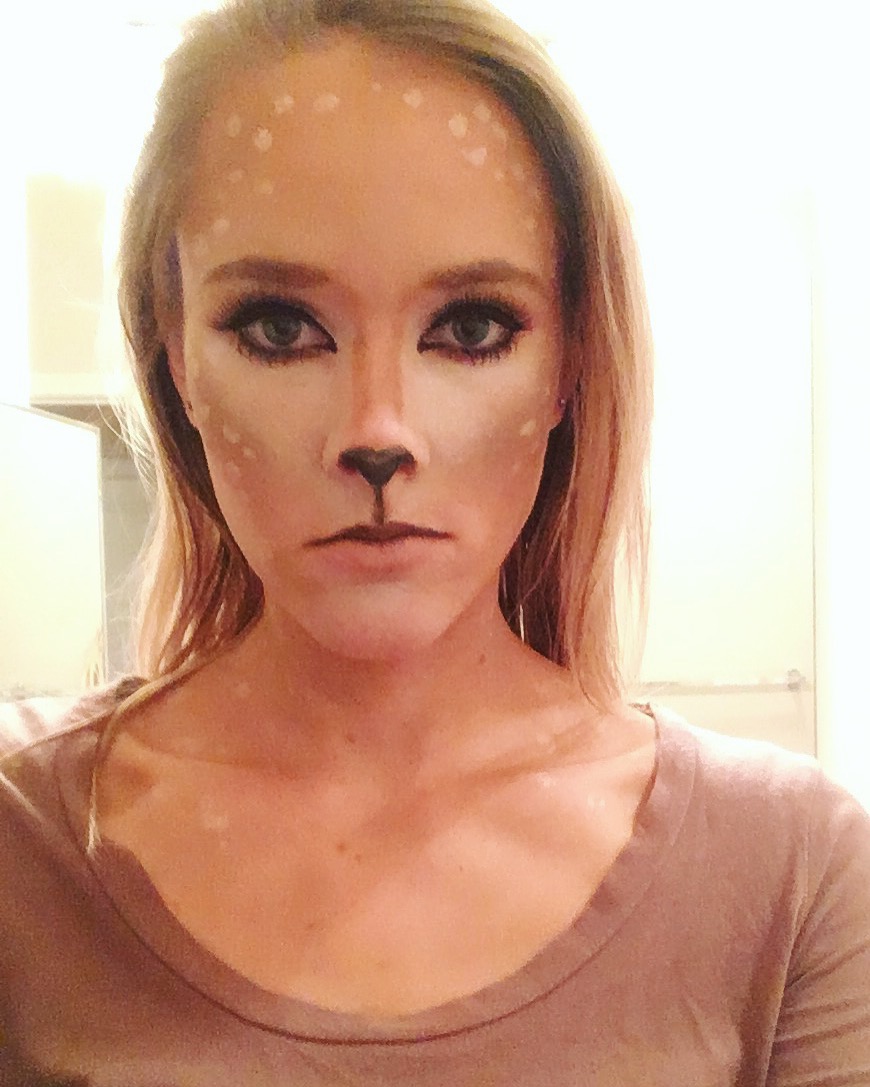
and then the makeup. this is what makes the costume extra cute! i was most nervous about this because guys, i am NOT a makeup artist. nor a makeup expert. nor a person who spends more than 5 minutes on their makeup per day. i don’t know anything about contouring, i’ve never done fancy makeup nor painted my face to be any kind of animal. sooooo this was all experimental.
i won’t lie to you, it took me a very long time to do my deer makeup. literally two hours. so my suggestion is to plan that amount of time, especially if you’re a perfectionist like i am. the second thing is that i did spend a good amount of money on makeup, mostly because i’m not a person who has or uses a ton of makeup so there wasn’t much that i didn’t have to buy. none of it was all that expensive individually, but it definitely adds up. i got all my makeup at target, but i think you could get most, if not all, of this stuff at any place that has a decent makeup selection.
the good news is that the two hours flew by fast [i thought i had been working on it for 45 min…] because it was FUN! i really did enjoy doing it. and it really wasn’t as hard as i thought it would be. the hardest part was getting both sides of my face to be symmetrical [and even after my efforts, they didn’t even end up totally symmetrical in the end], but it really didn’t matter because you don’t really notice. and the contouring was pretty easy, honestly.
i used the makeup chair’s tutorial and i absolutely loved it. i followed it pretty closely, although i didn’t use the same products that she did, just items that were similar. if you’re doing deer makeup, i would highly recommend following her tutorial. here’s how it went for me… i apologize for the poor lighting, but hopefully you get the basic idea:
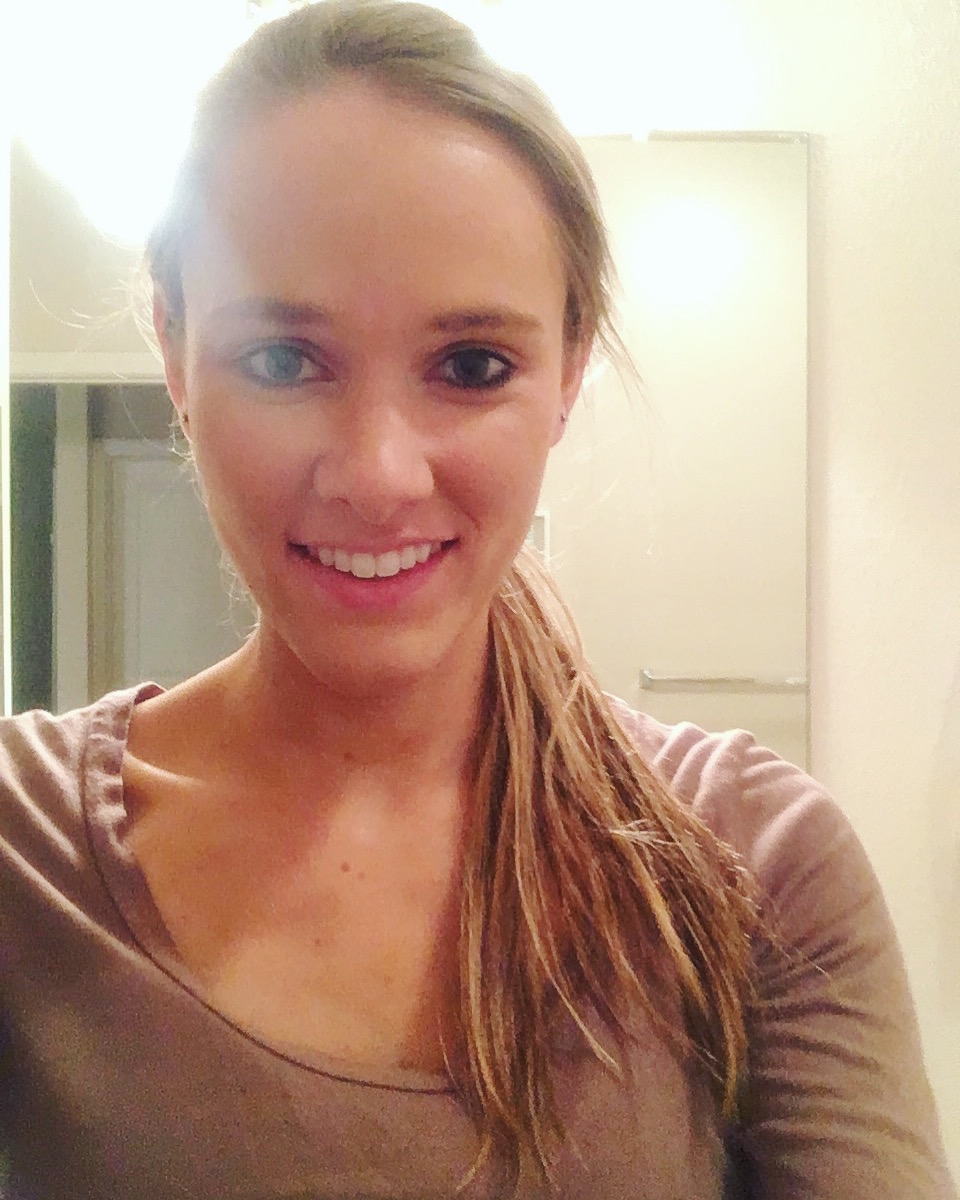
after a simple base of foundation. i used these:
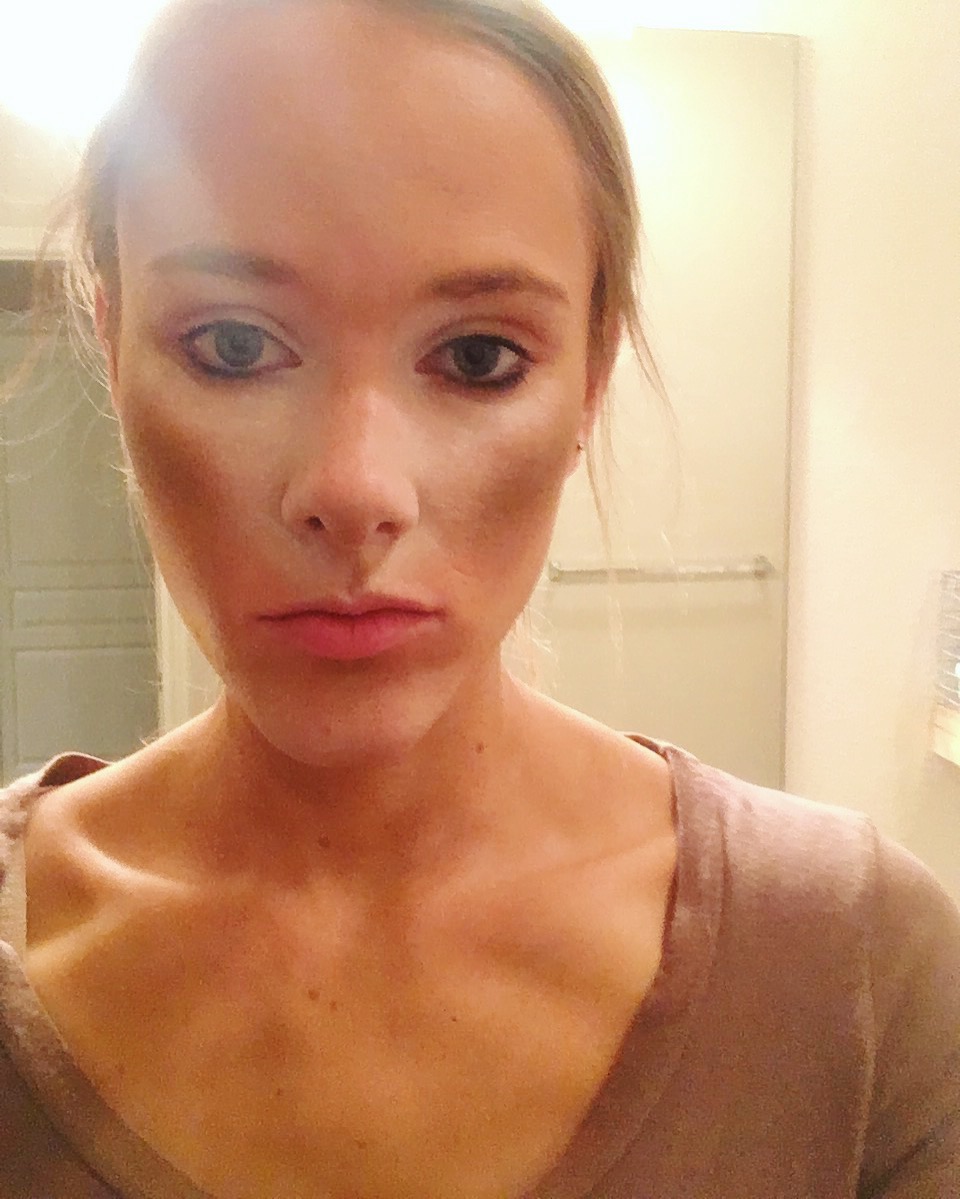
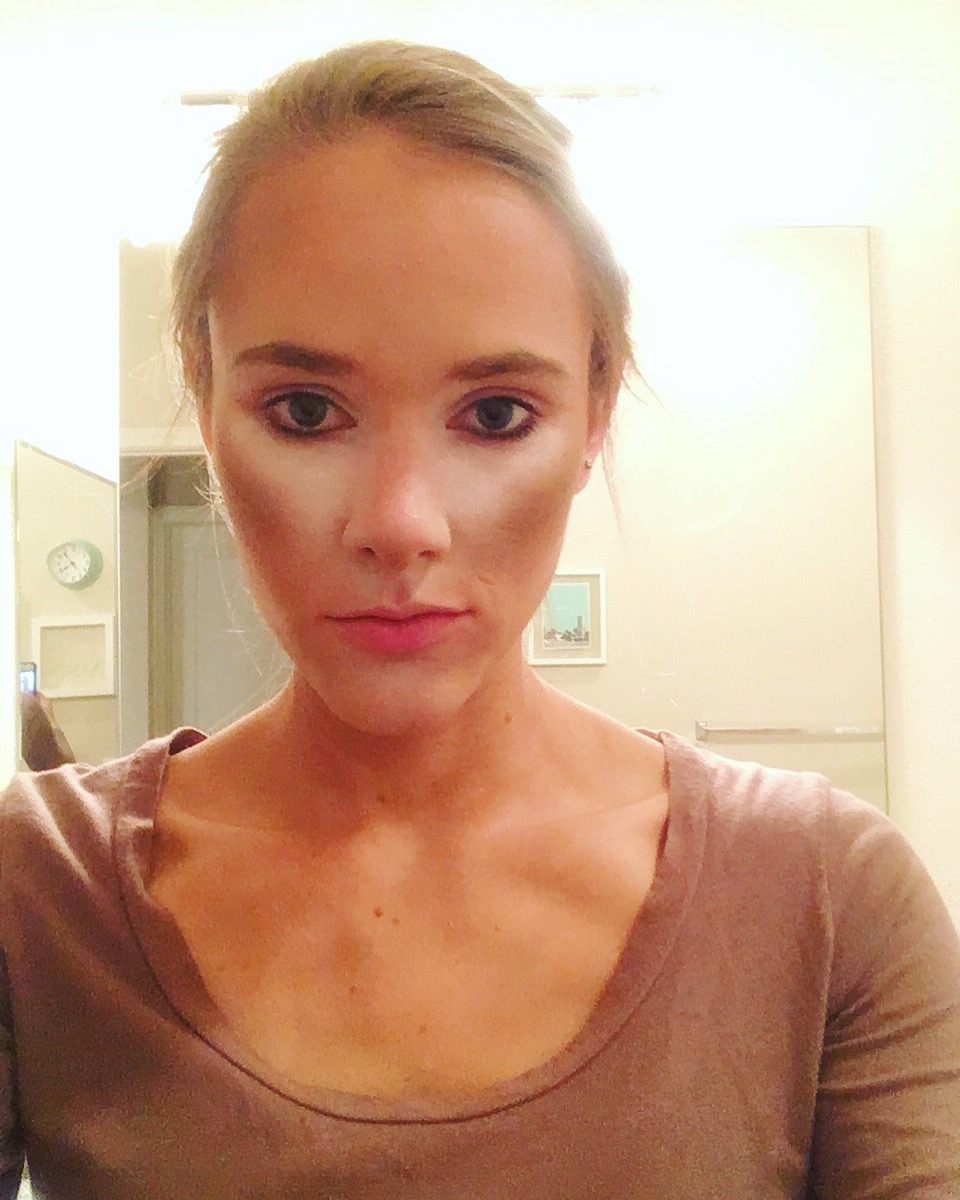
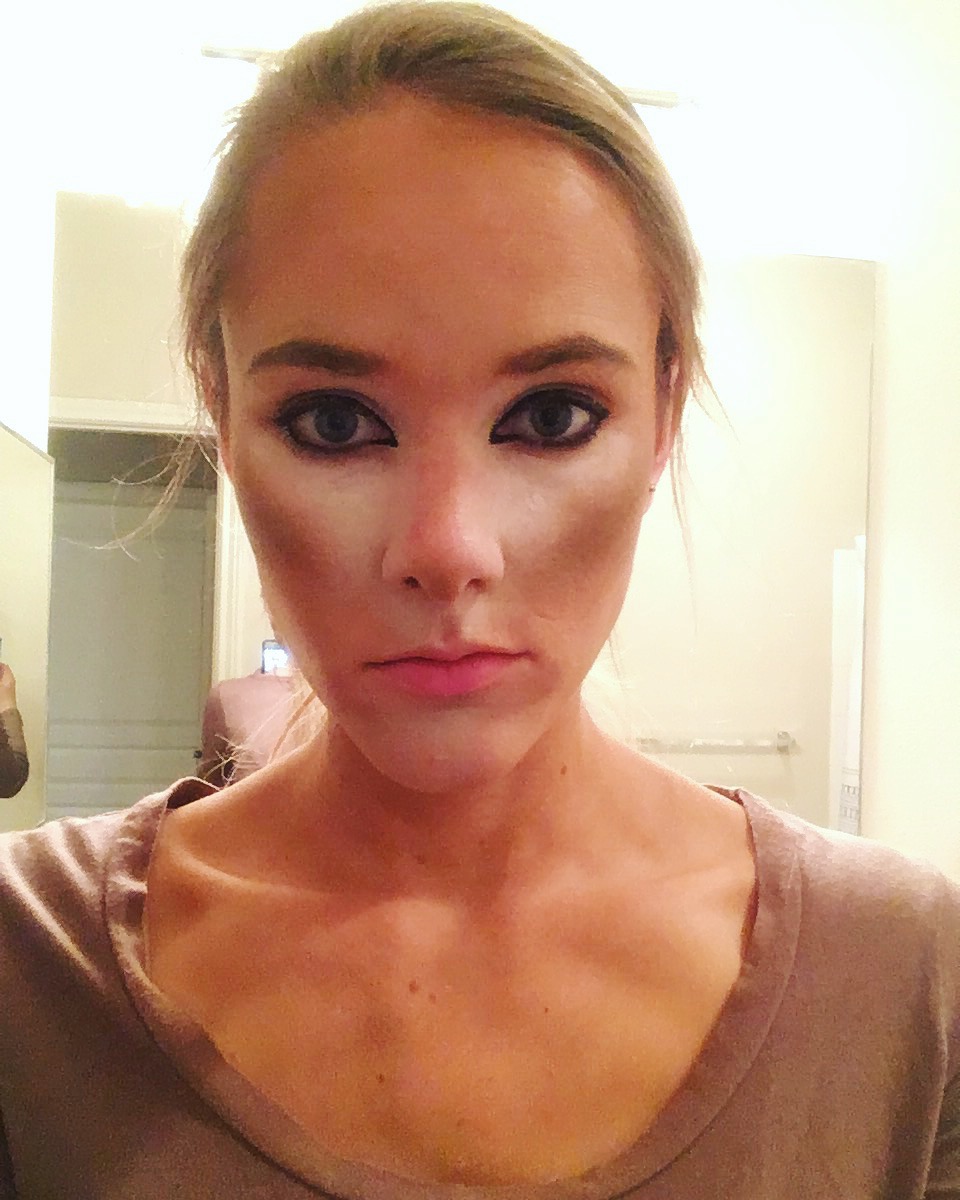
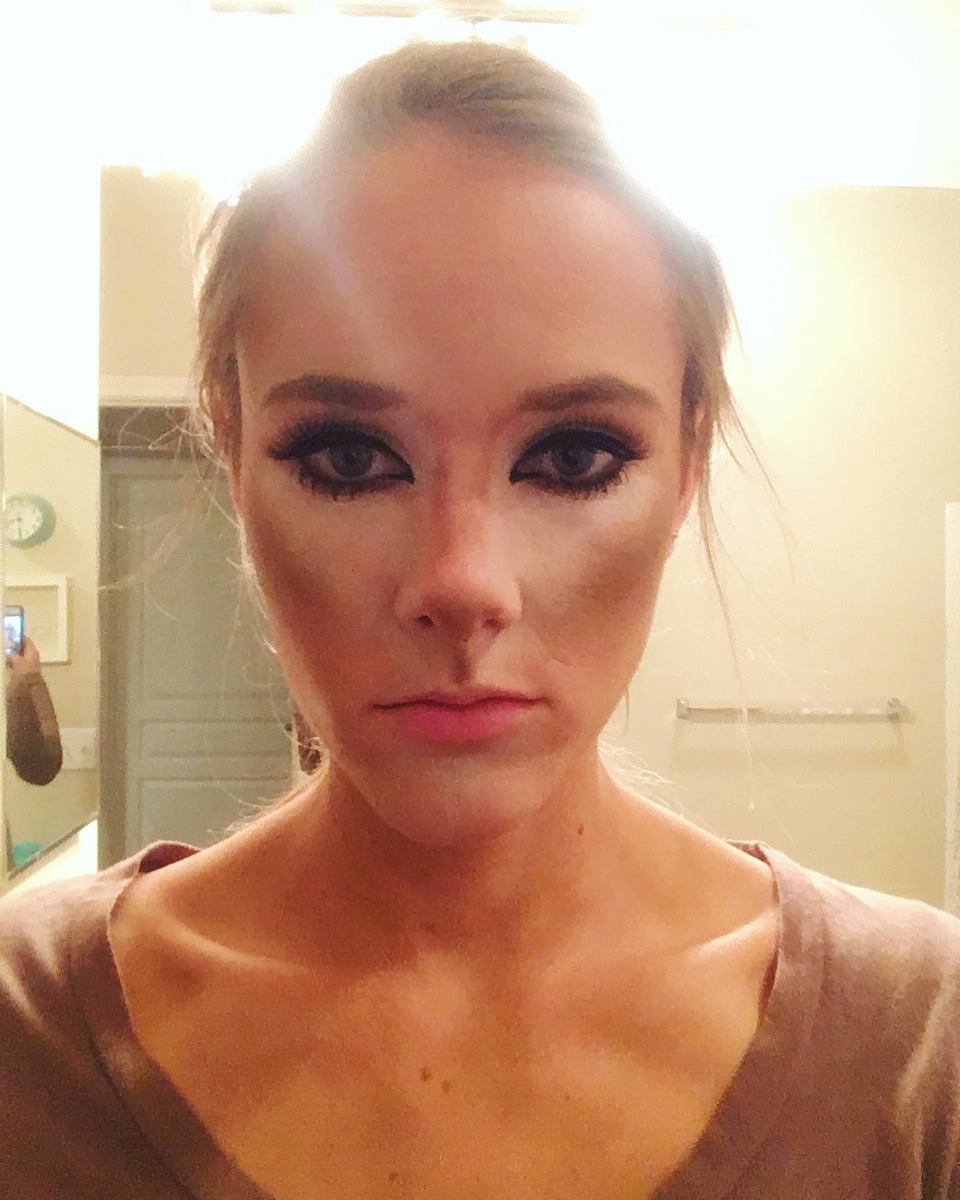
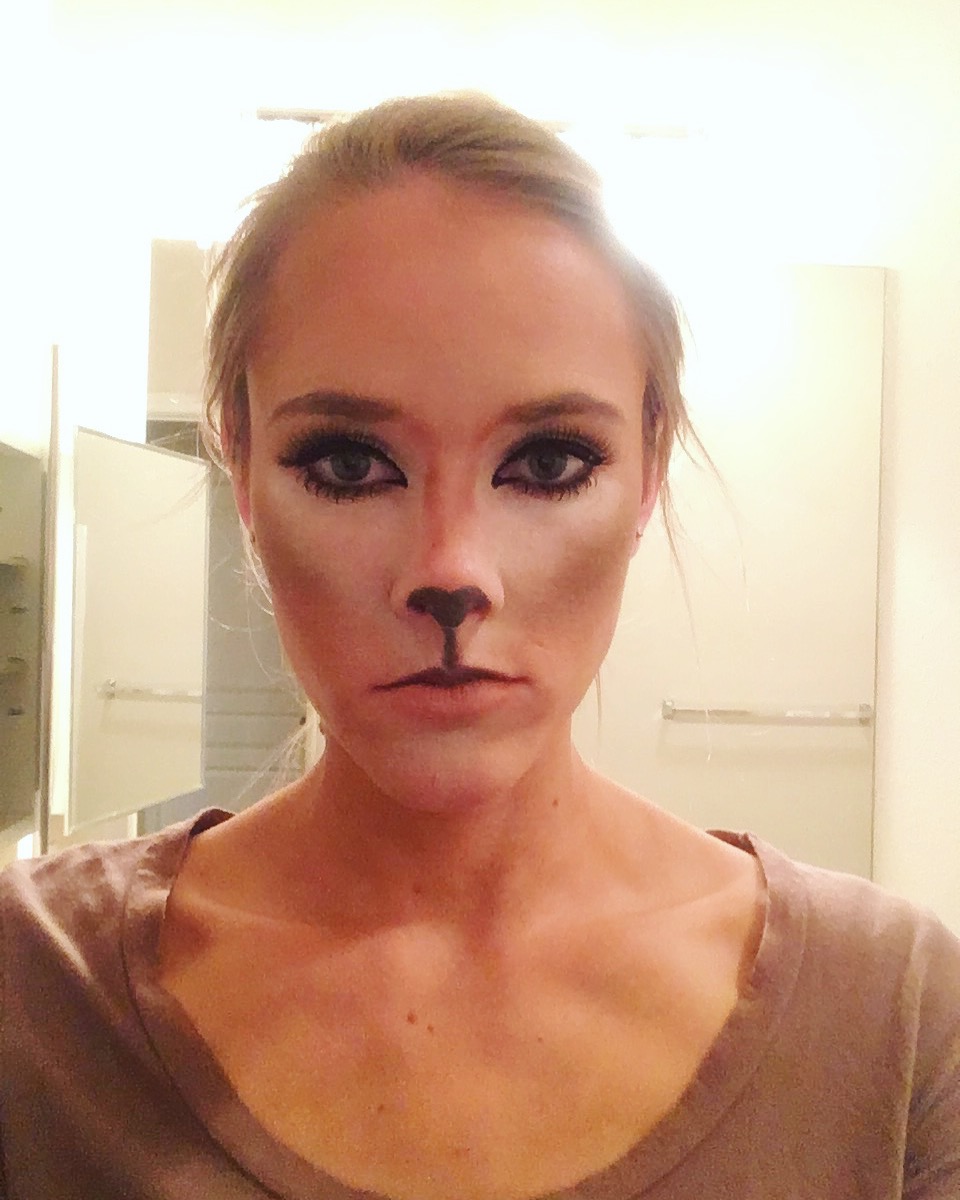
and then, working on the contour. mine was pretty dramatic!
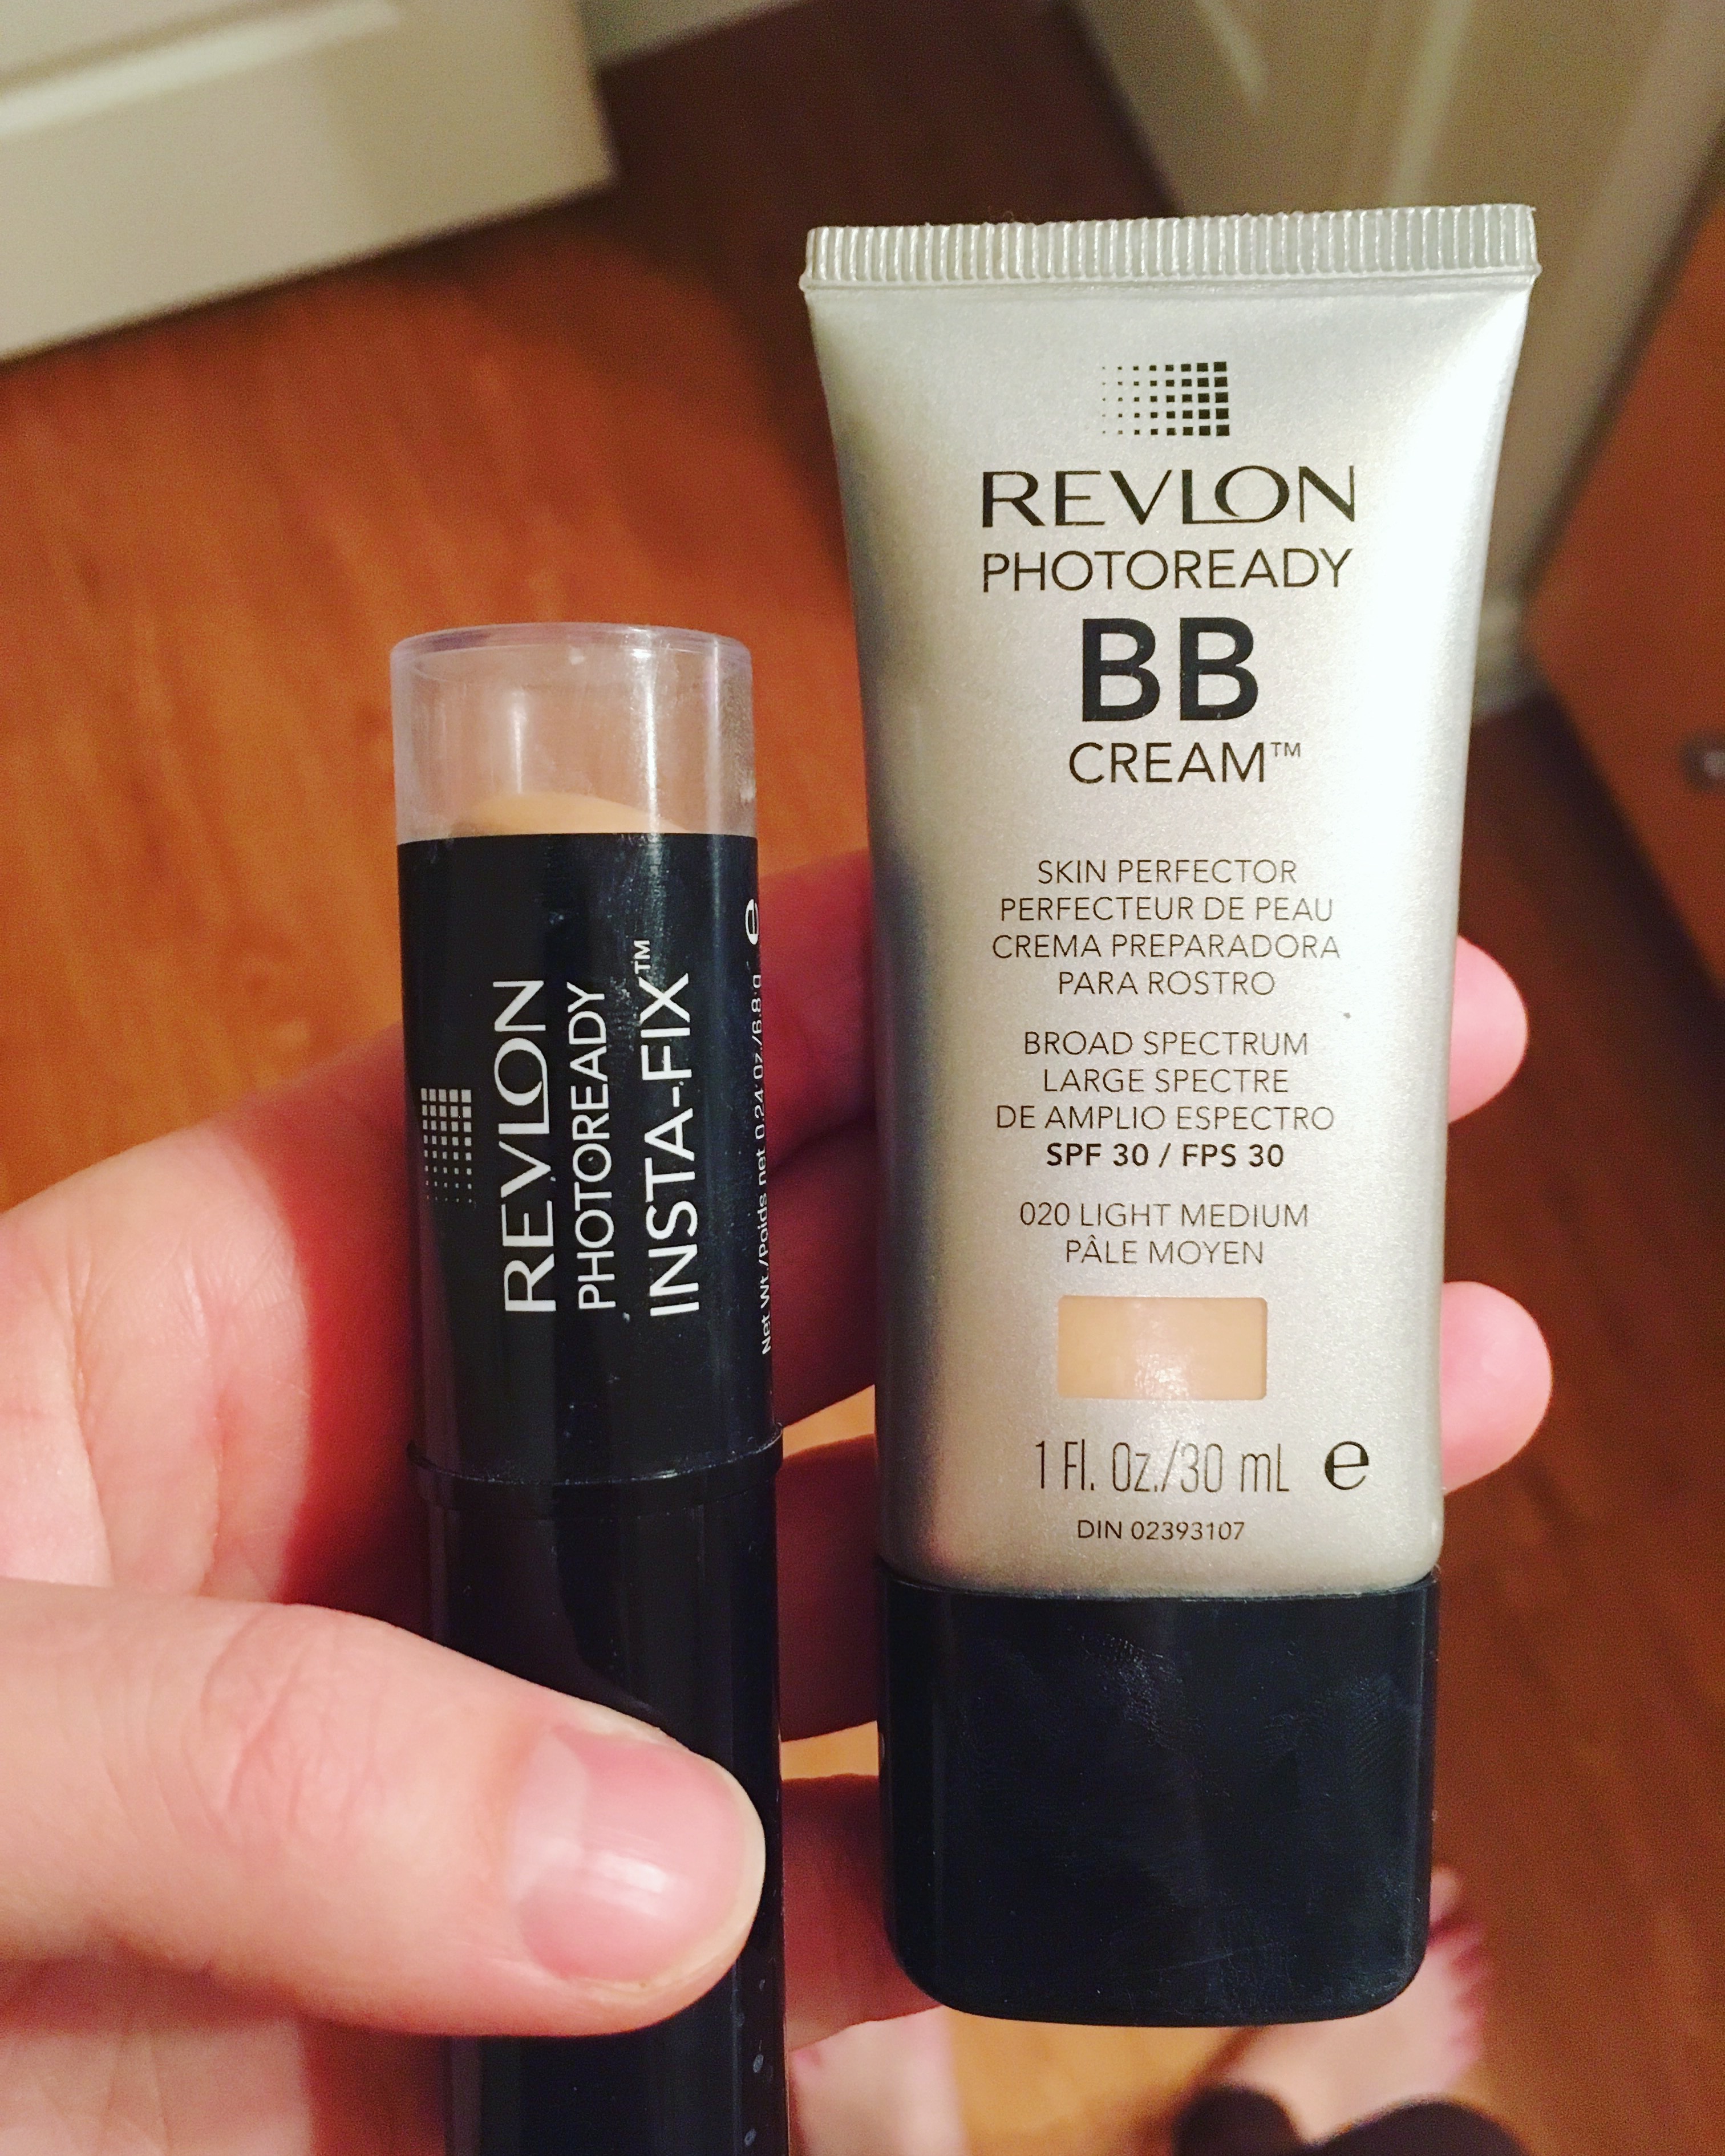
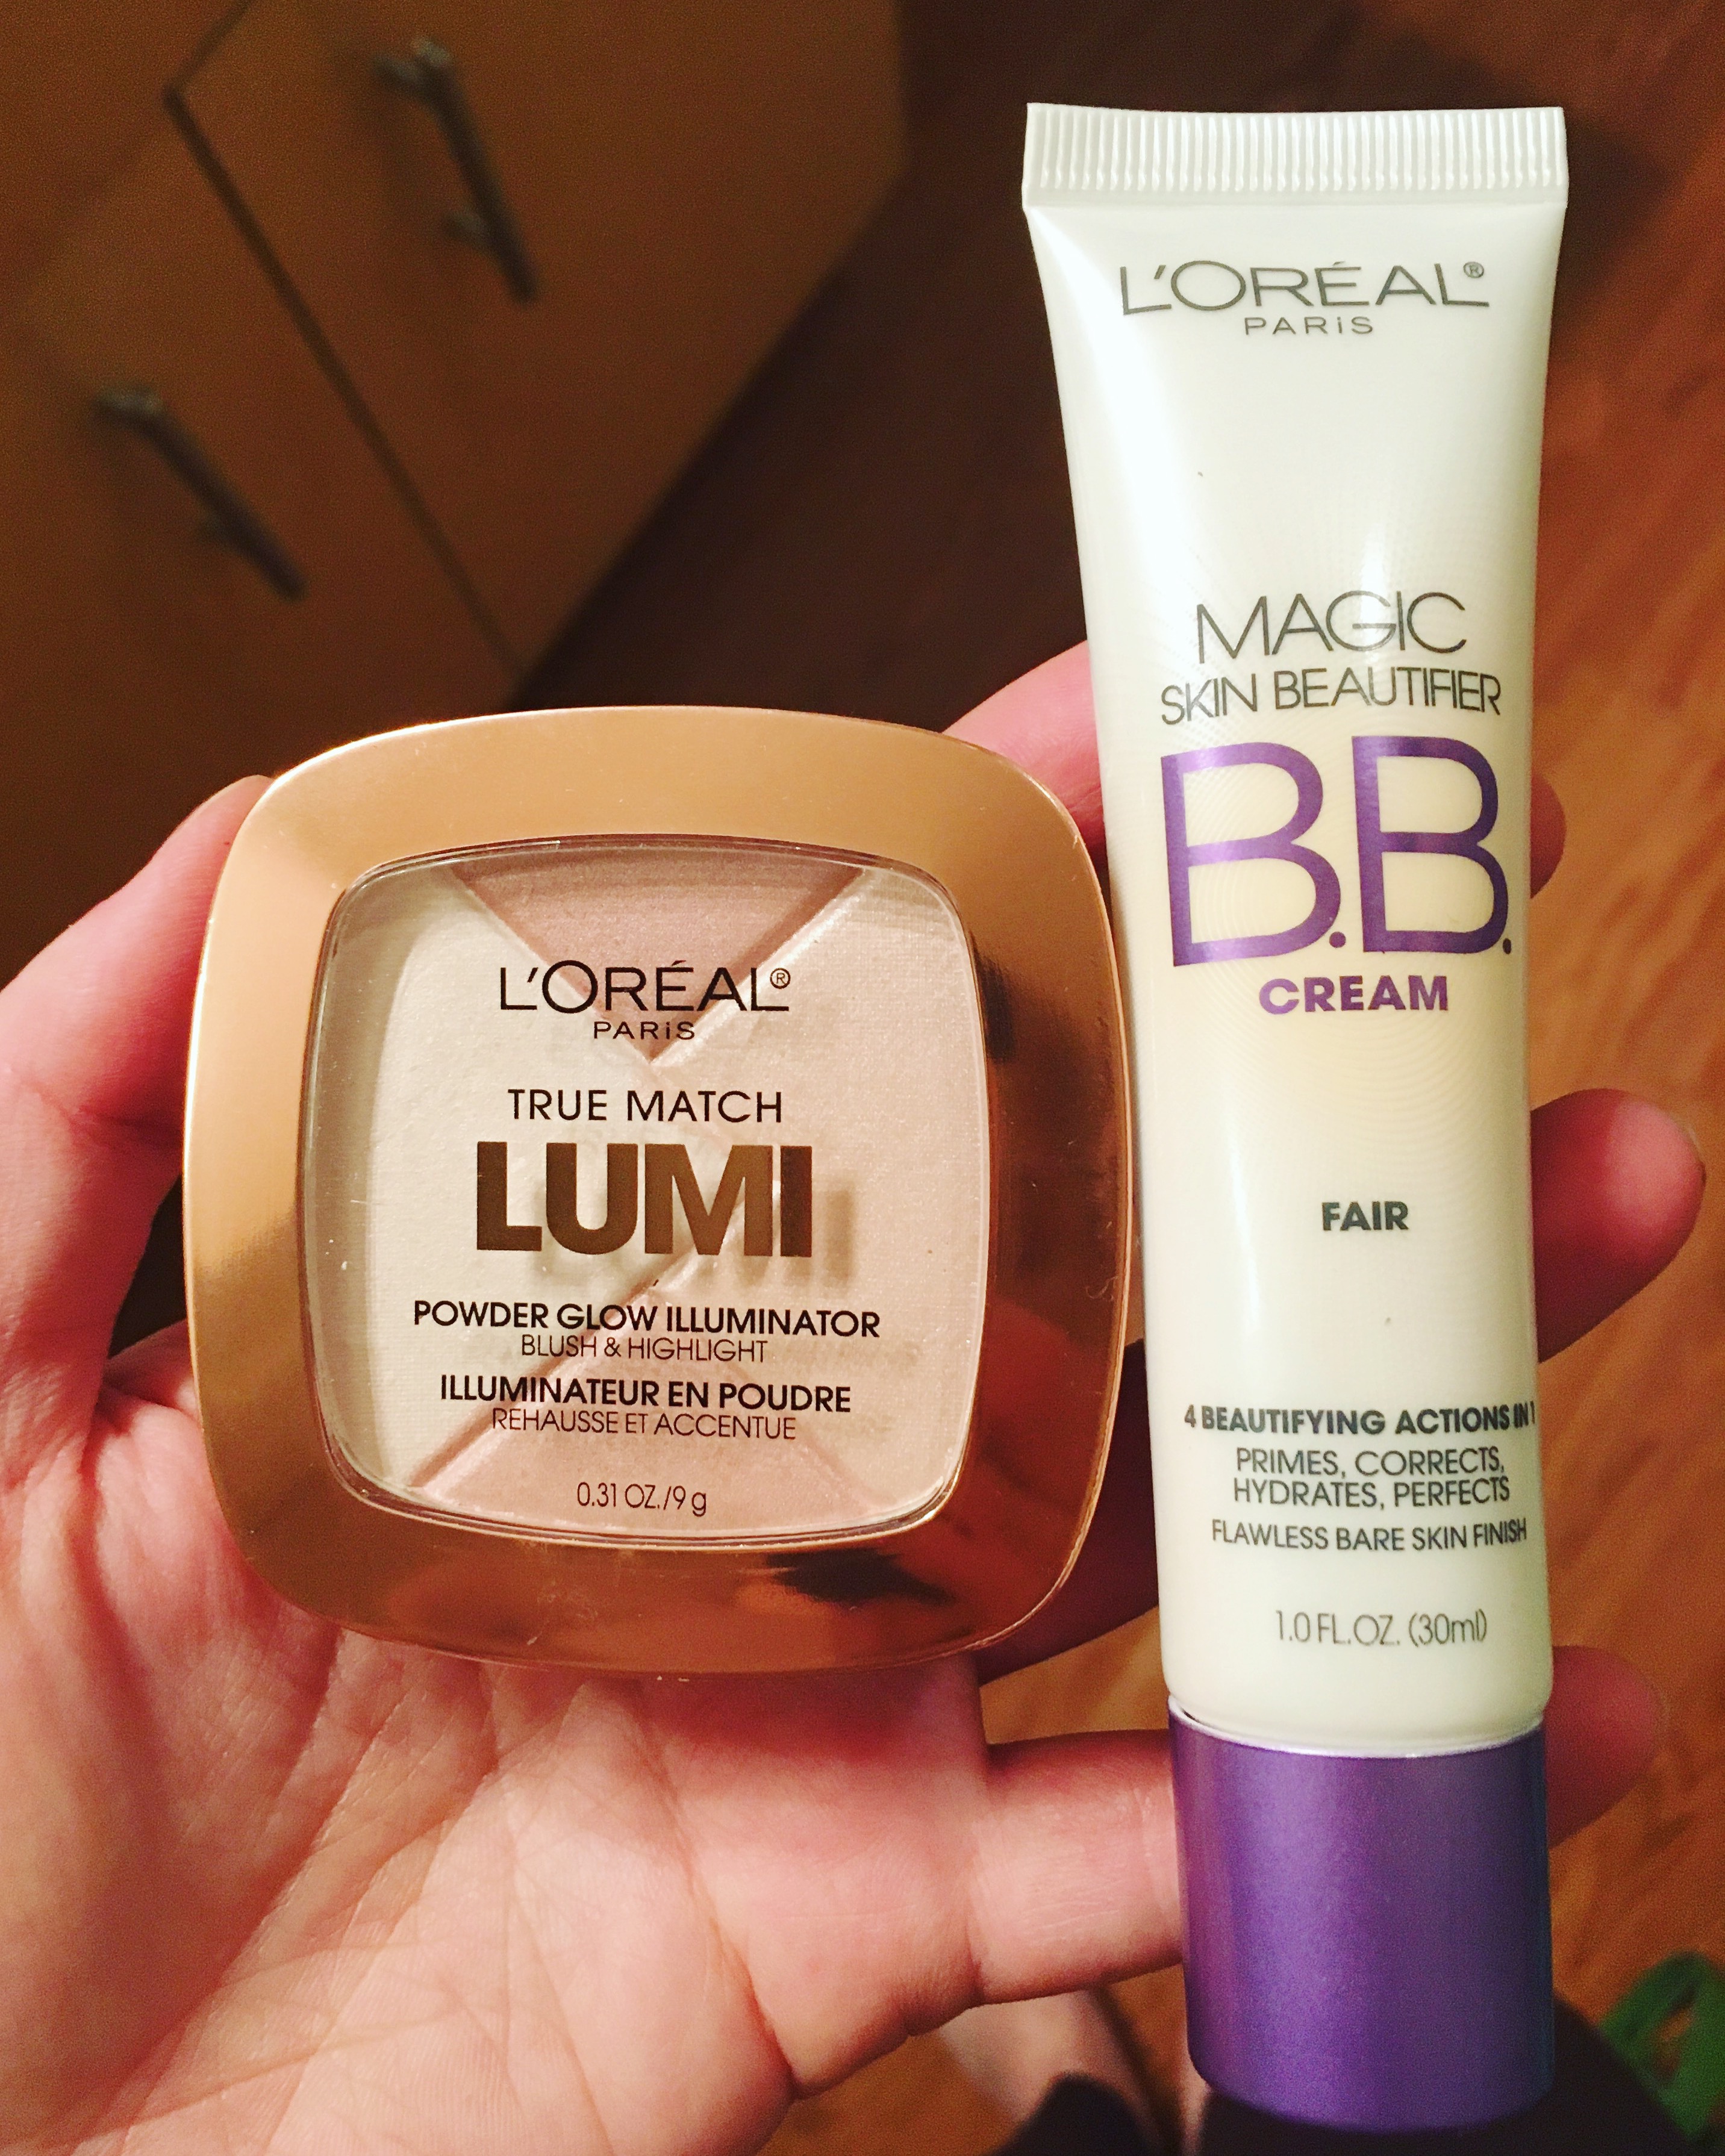
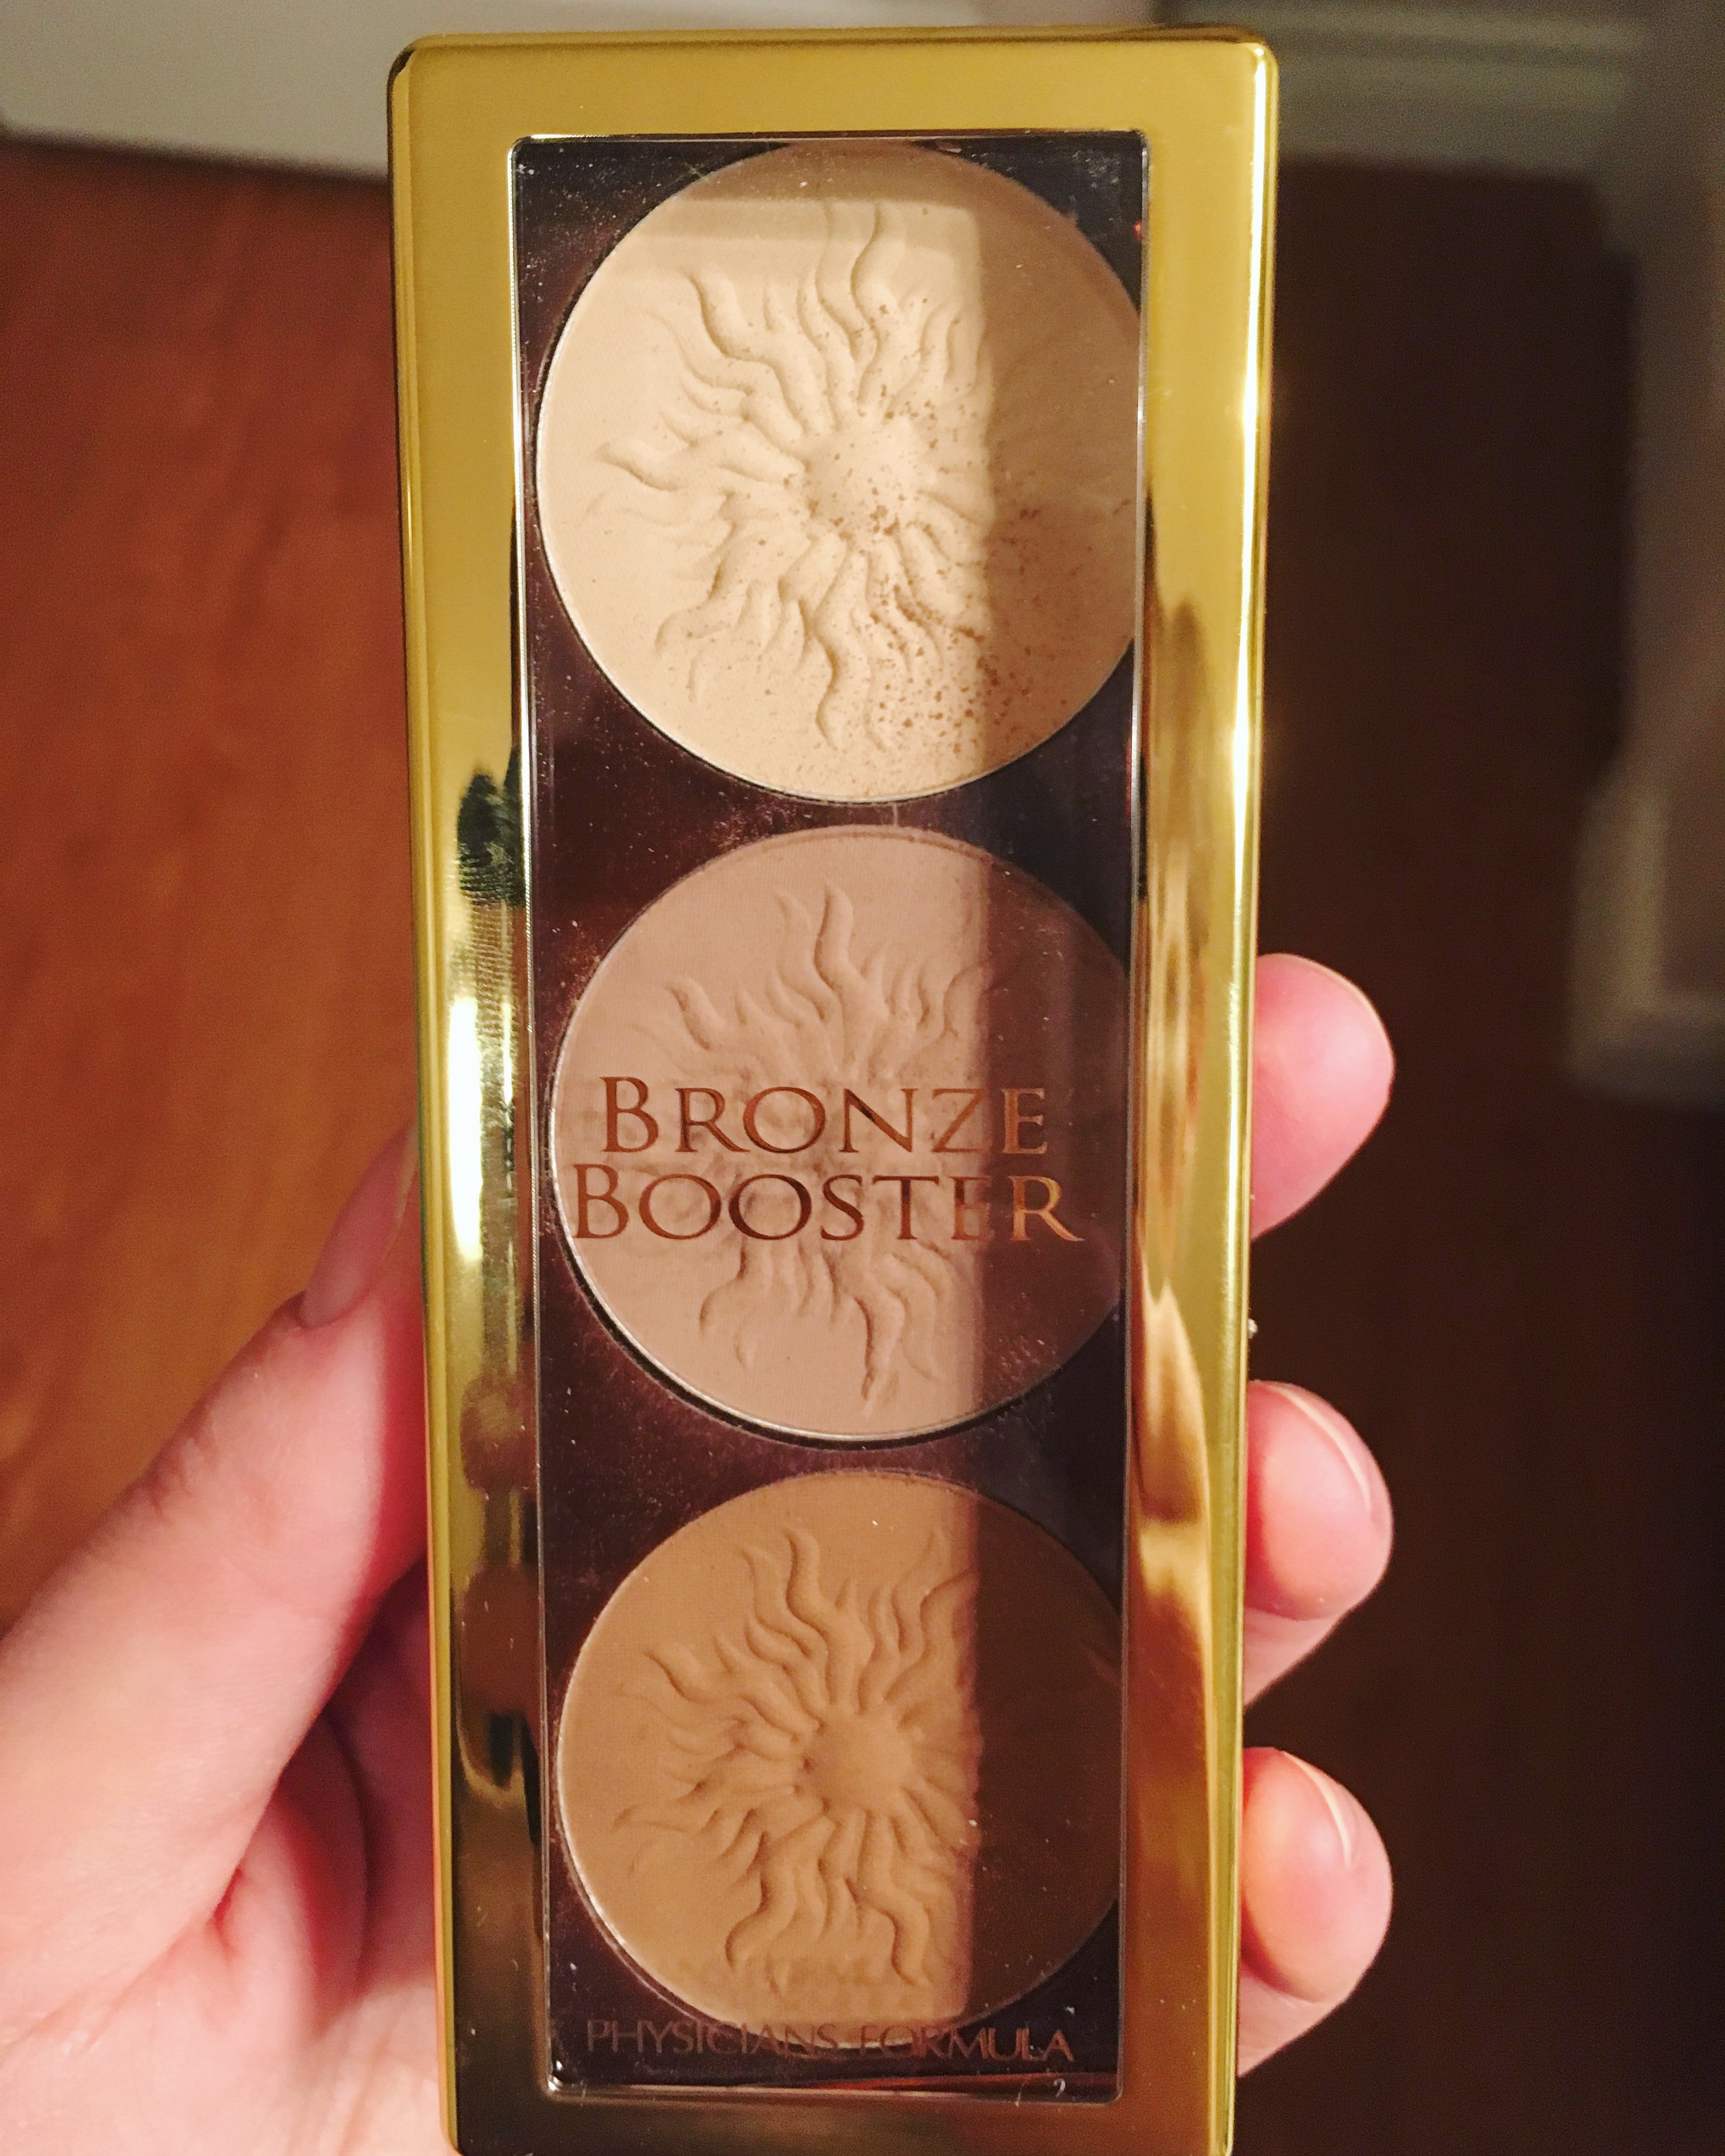
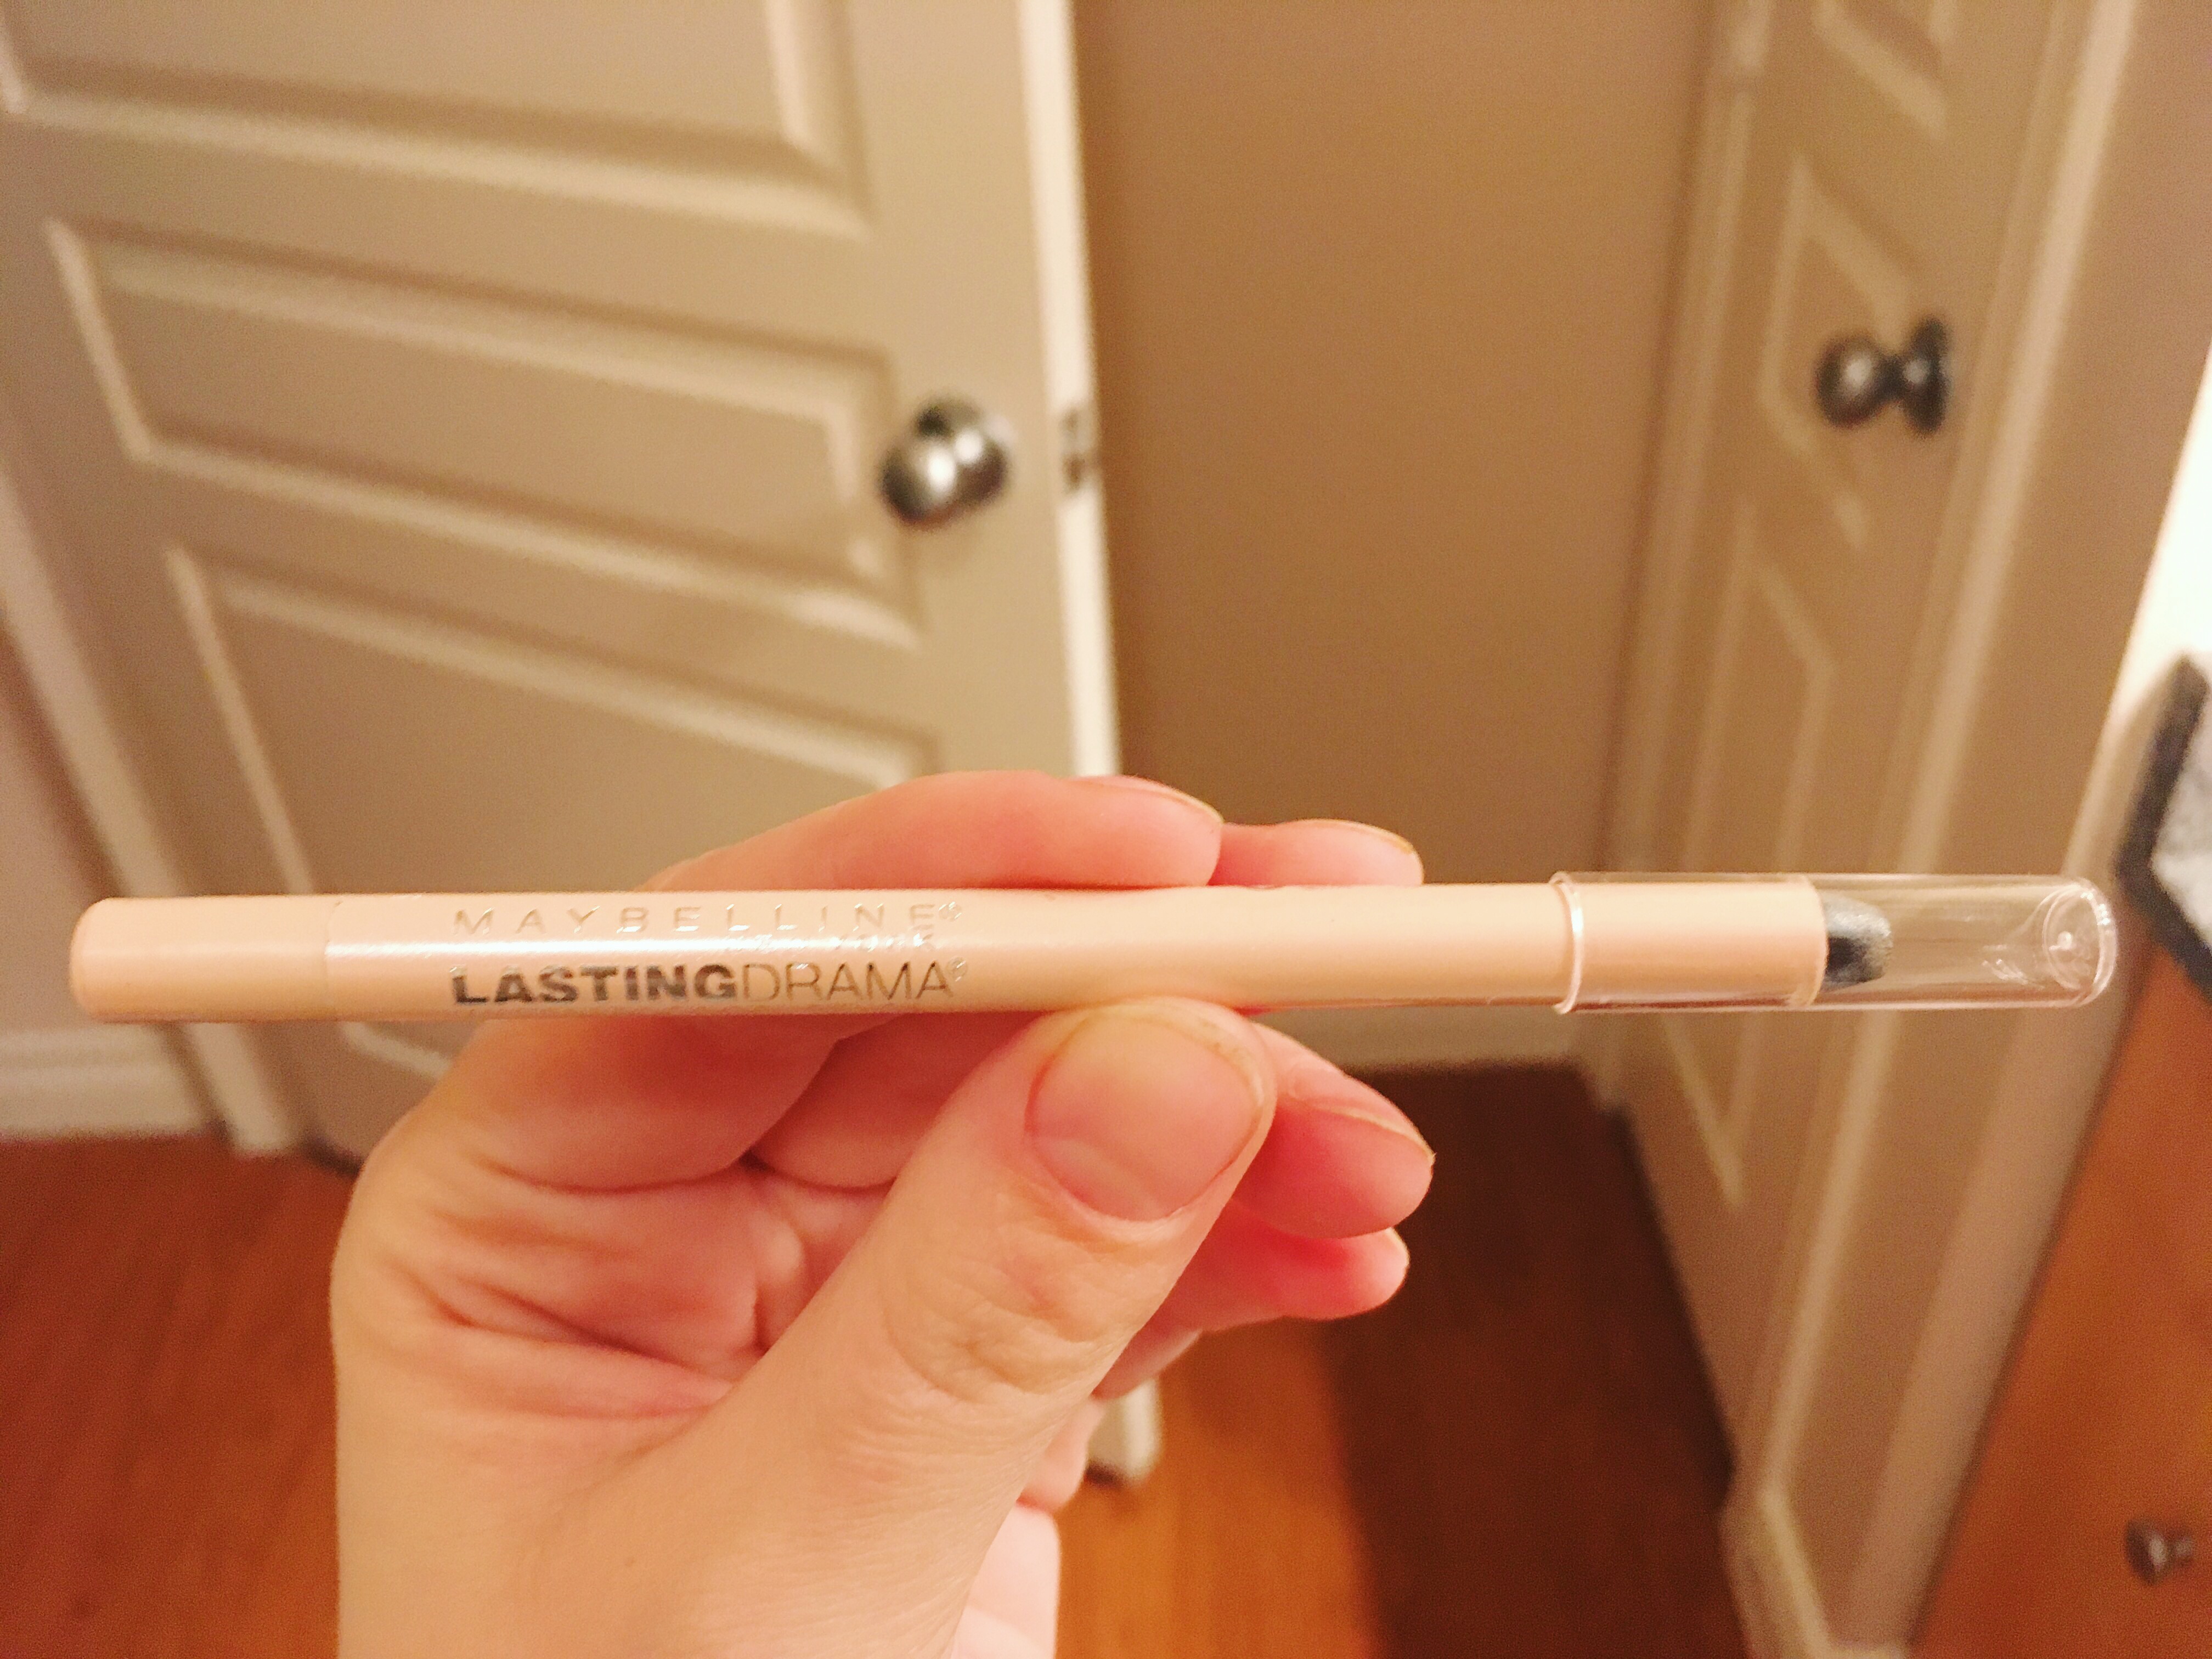
i used a few different things for the contour, first a liquid highlighter [it was a very fair BB cream], a dark powder bronzer, and then a shimmery white highlighter to finish. here’s what i used:
this was after a little more blending and highlighting:
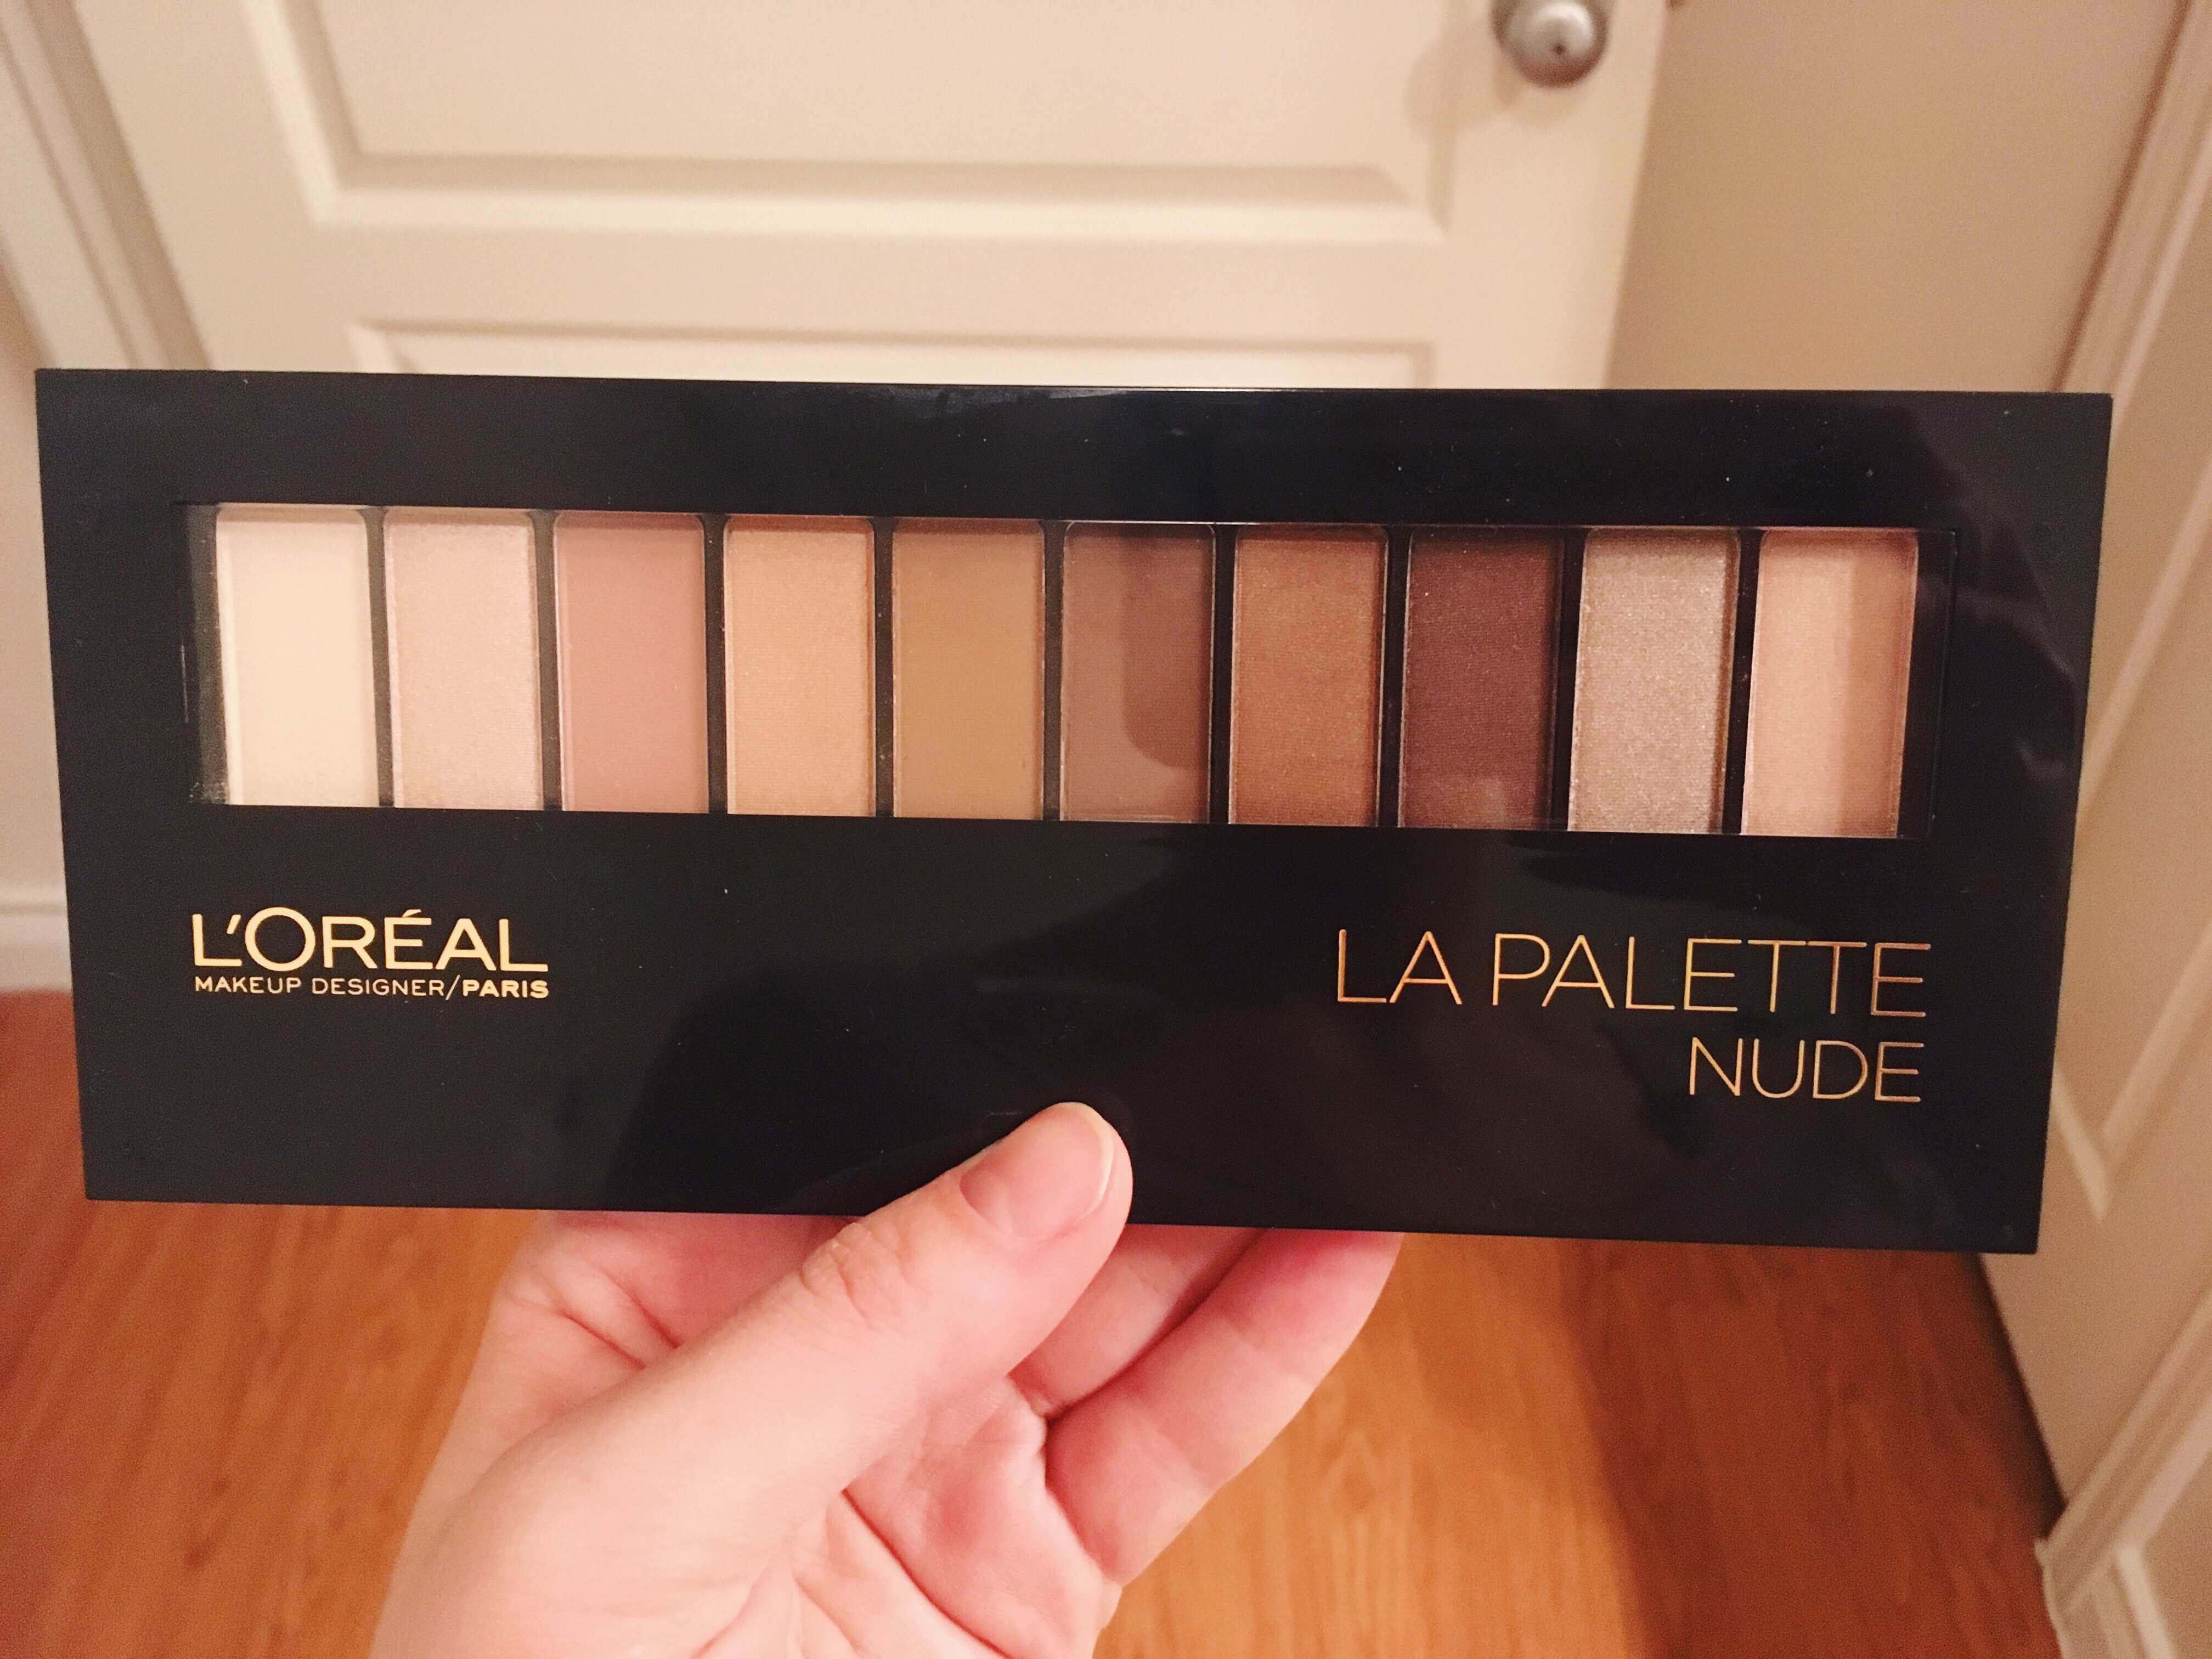
in the tutorial, she doesn’t mention eyeshadow, but i used a little of the medium browns from this palette and blended it. nothing dramatic:
and then i did my brows like she did in the video with this:
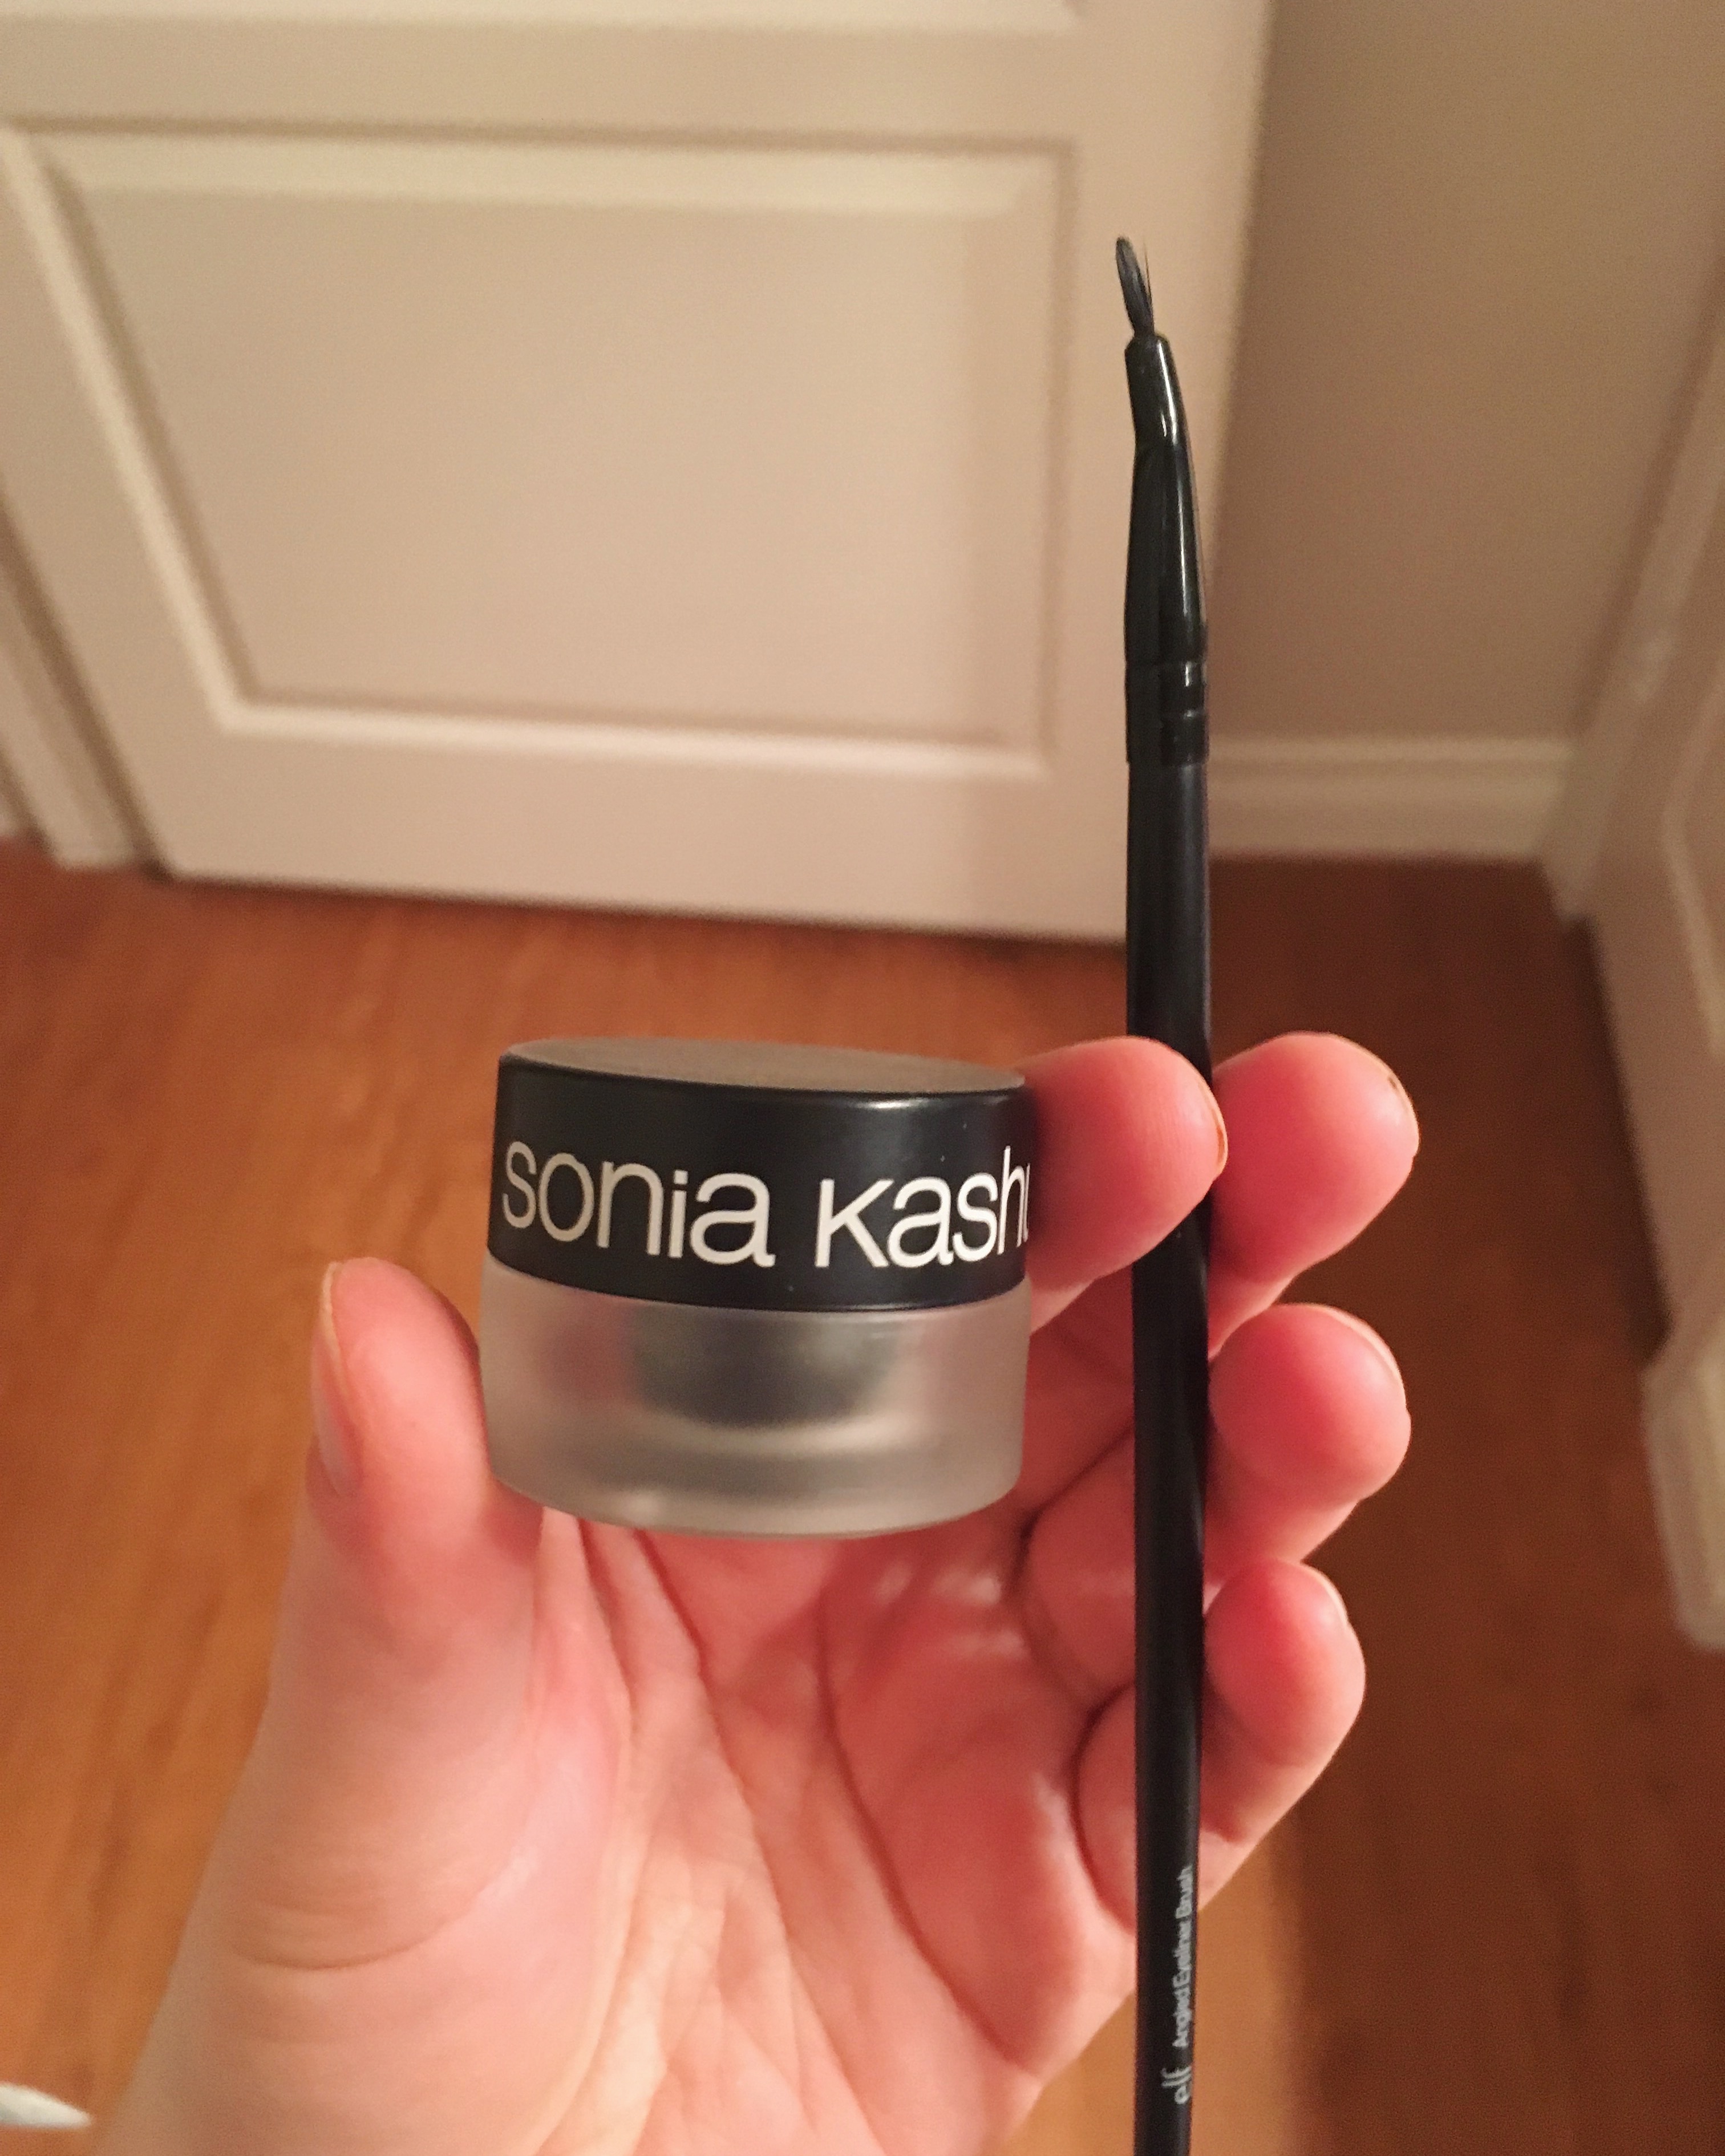
and the eyeliner with this [i love my gel eyeliner]:
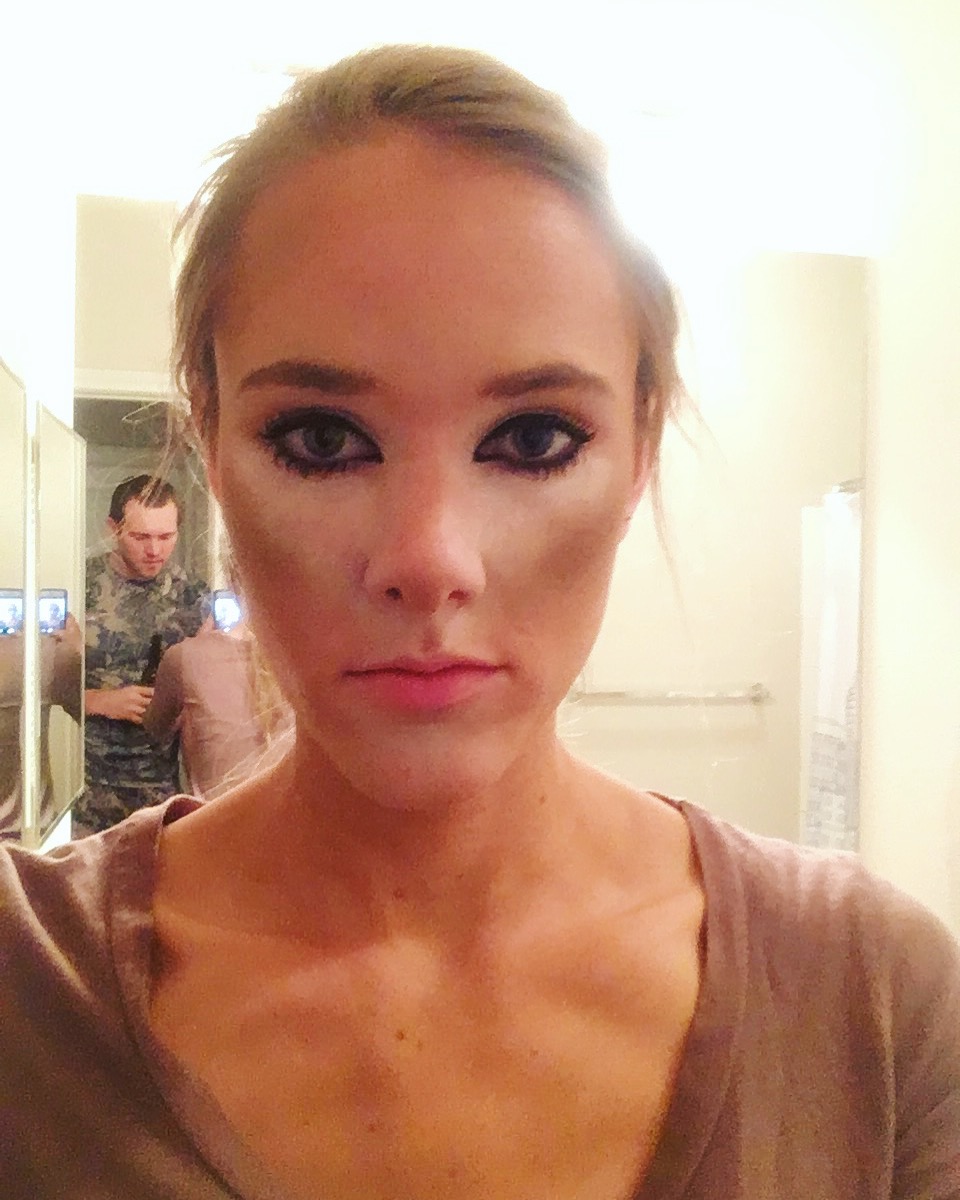
i followed her instructions for elongating the inner corner of the eyes, and i also accentuated the outer corners of the eyes slightly as well. here’s what it looked like after i did the brows and eyeliner:
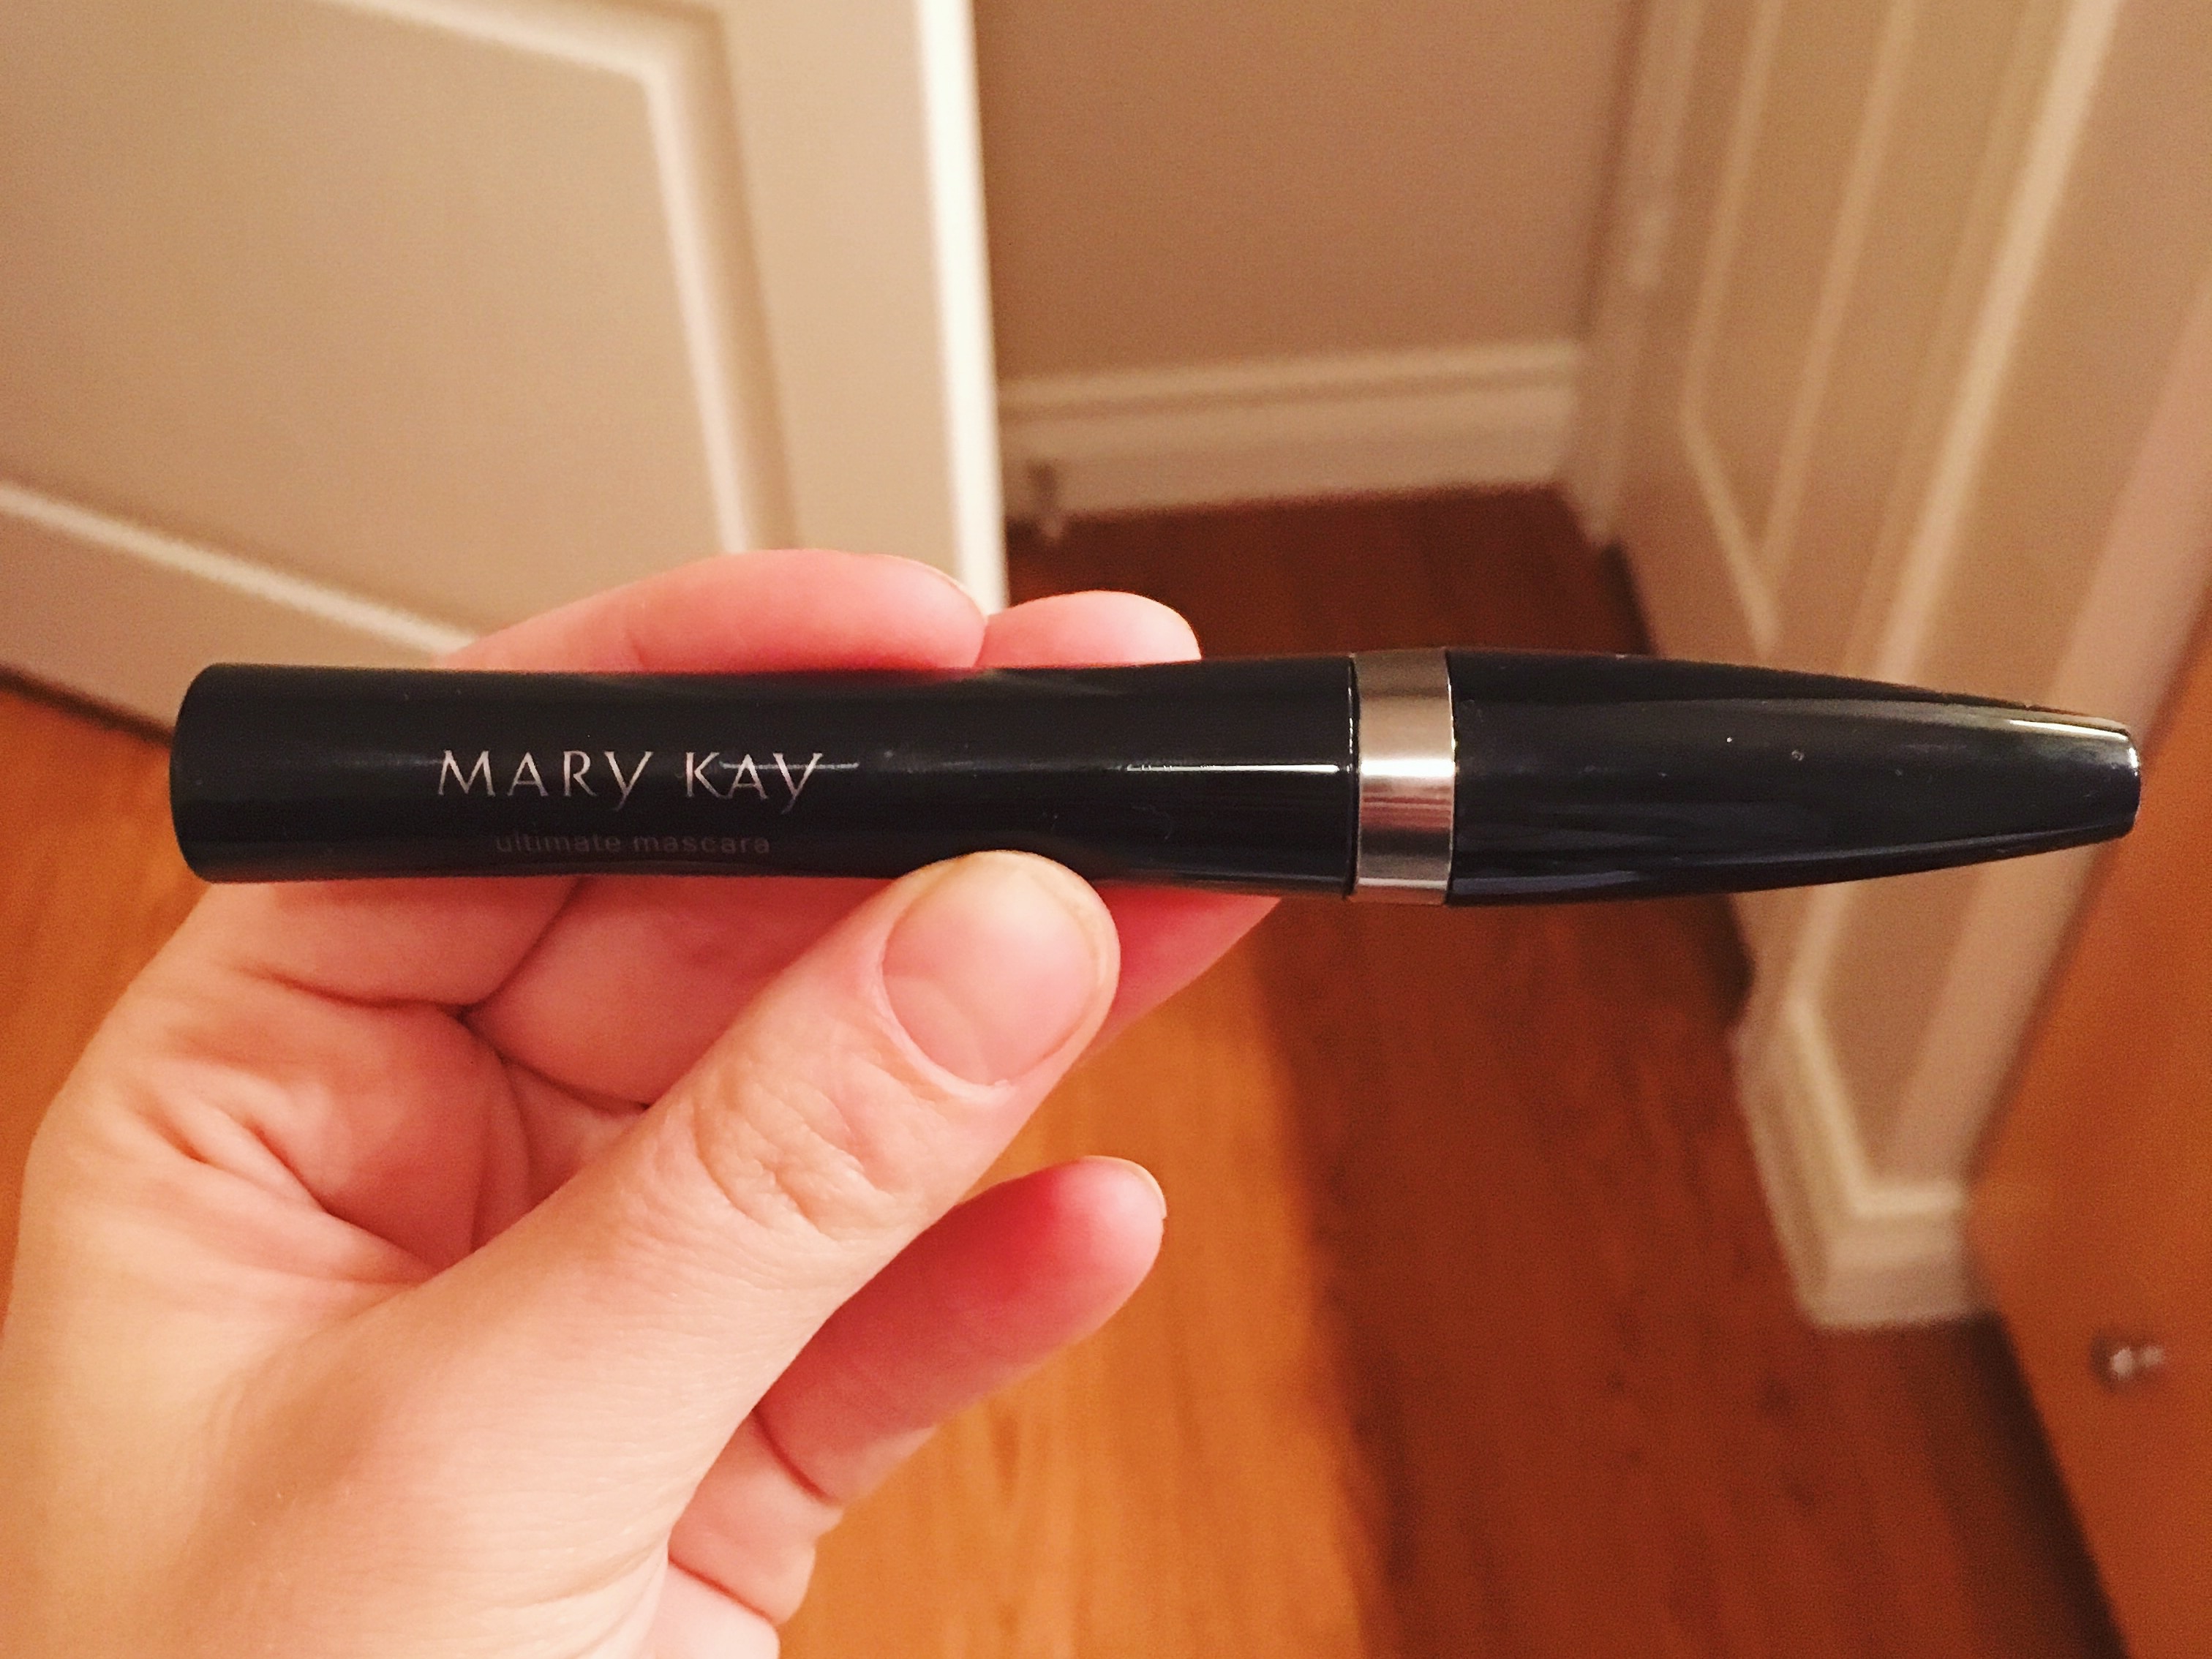
and then i applied a few thick layers of mascara. this has always been my favorite mascara and is the only makeup item that i didn’t purchase from target:
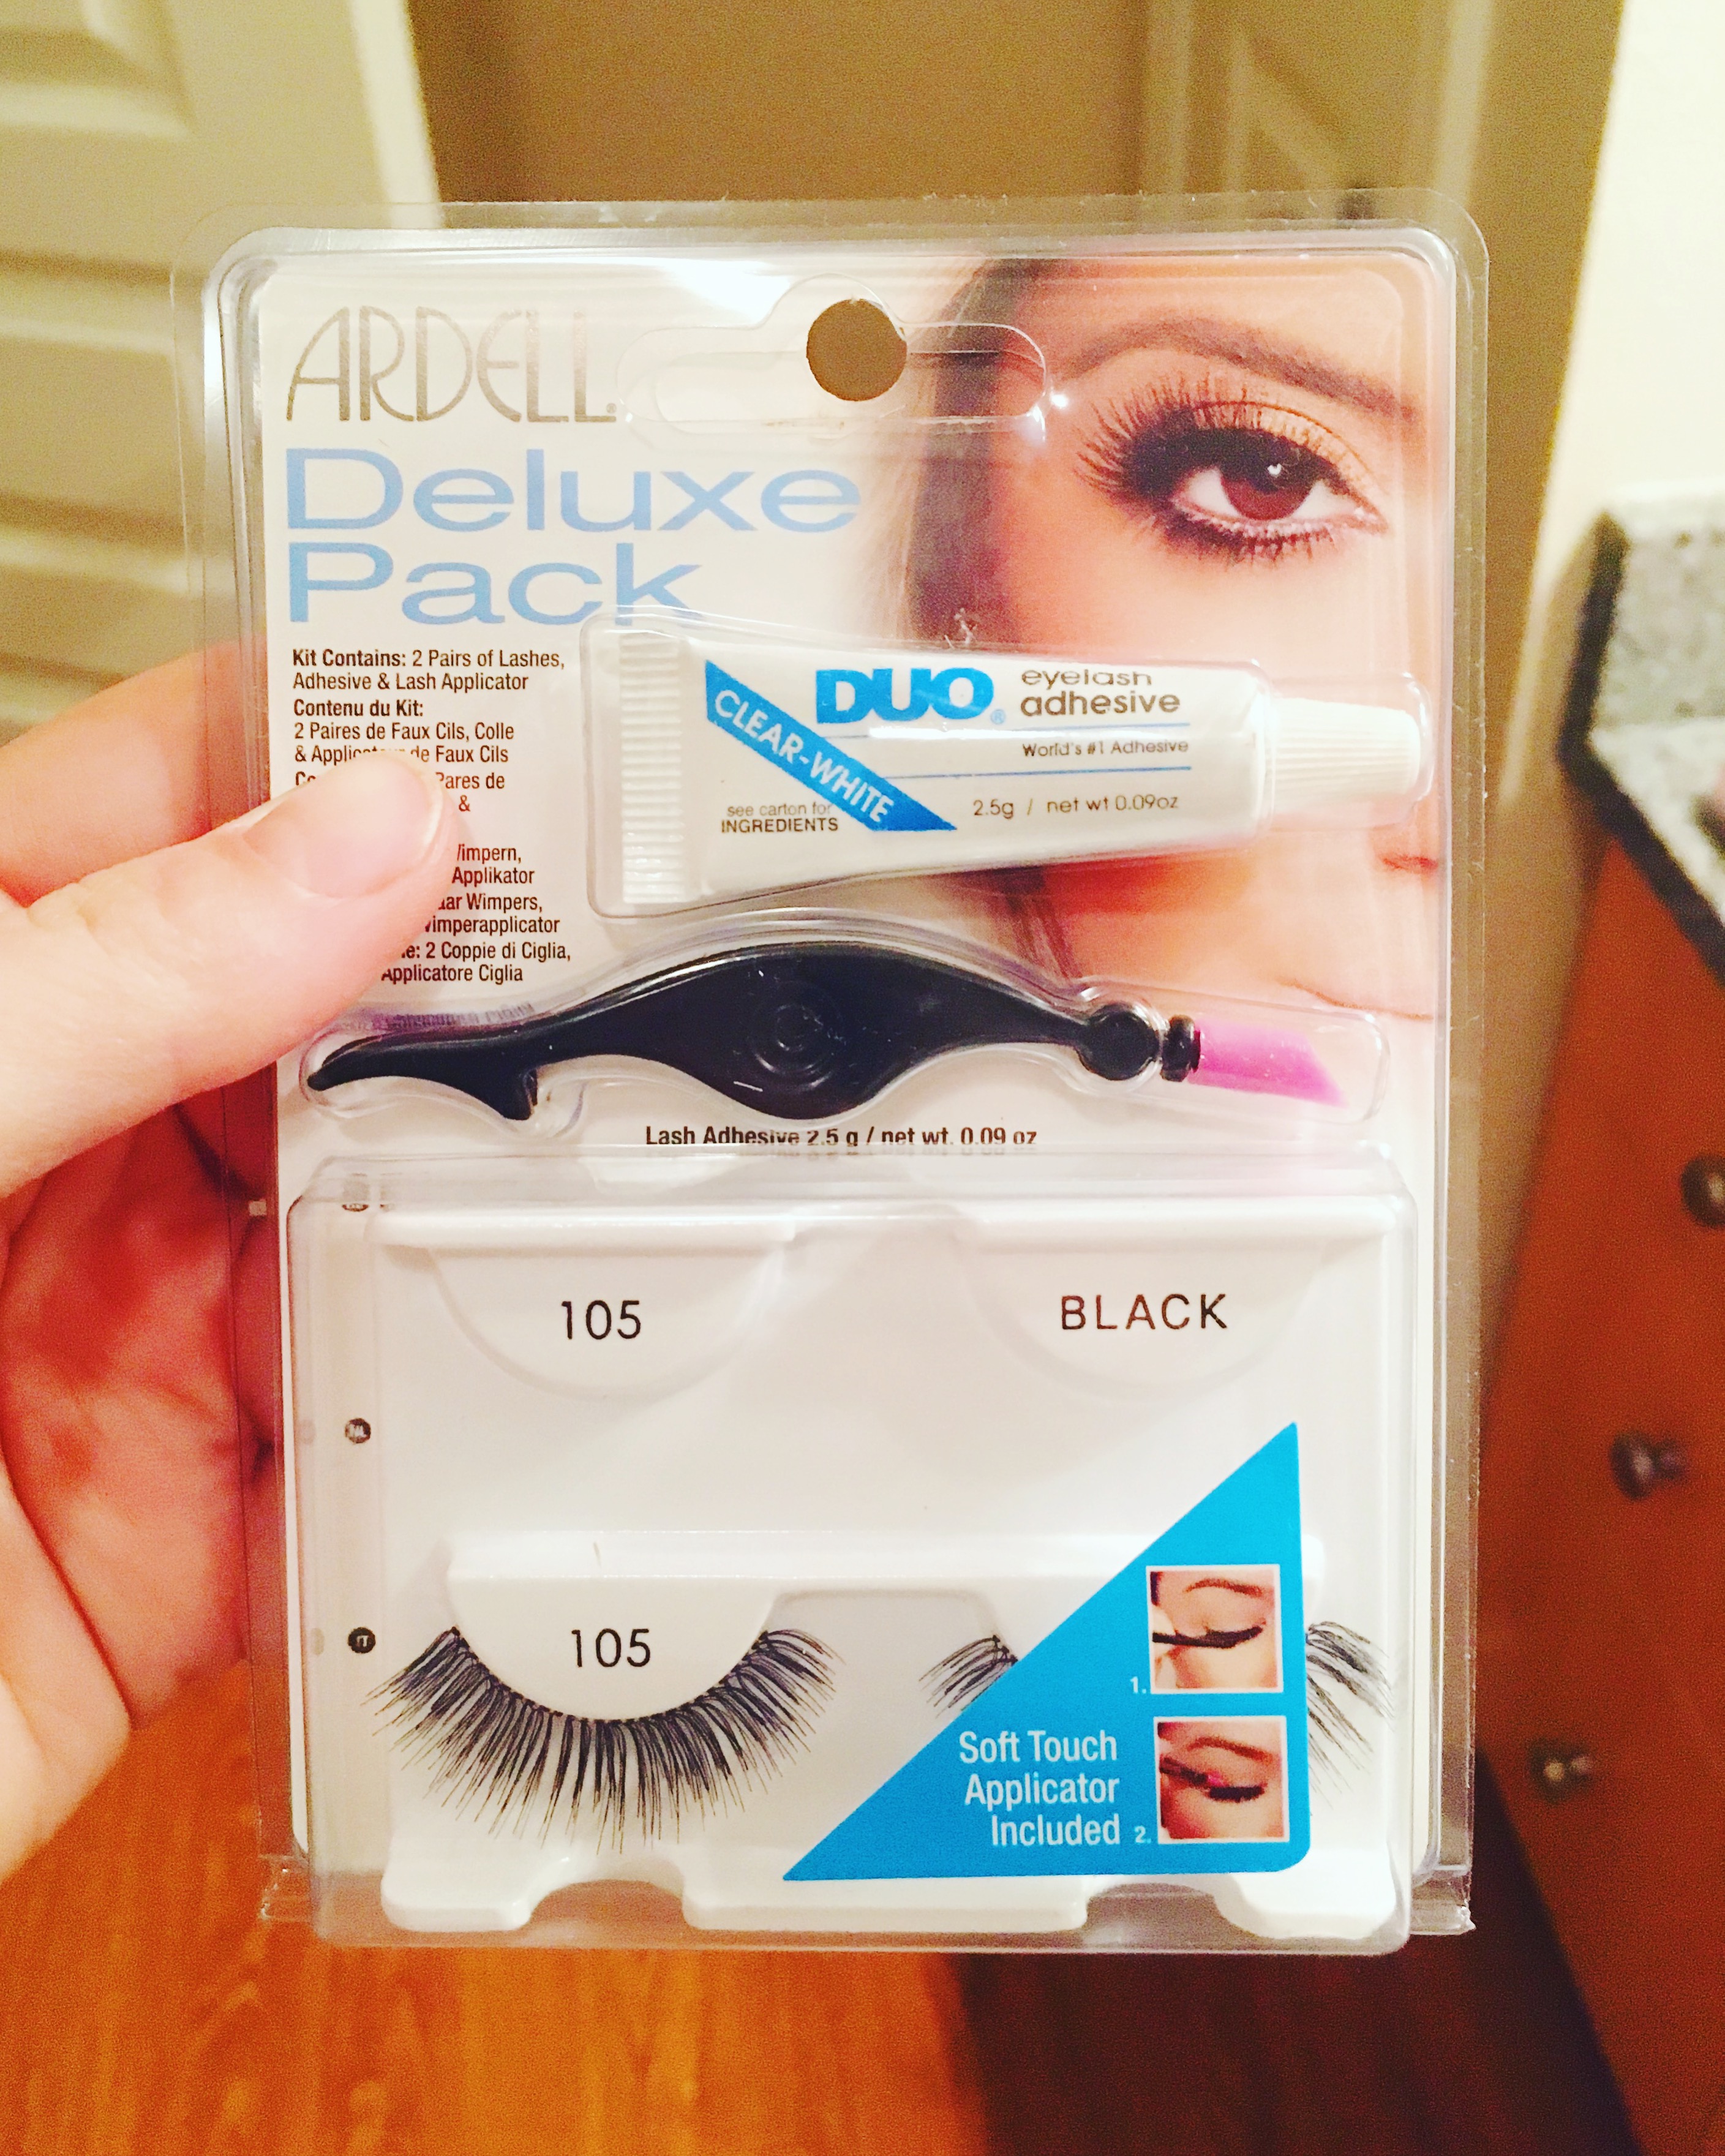
and then it was time for the false lashes, my favorite part! i used these:
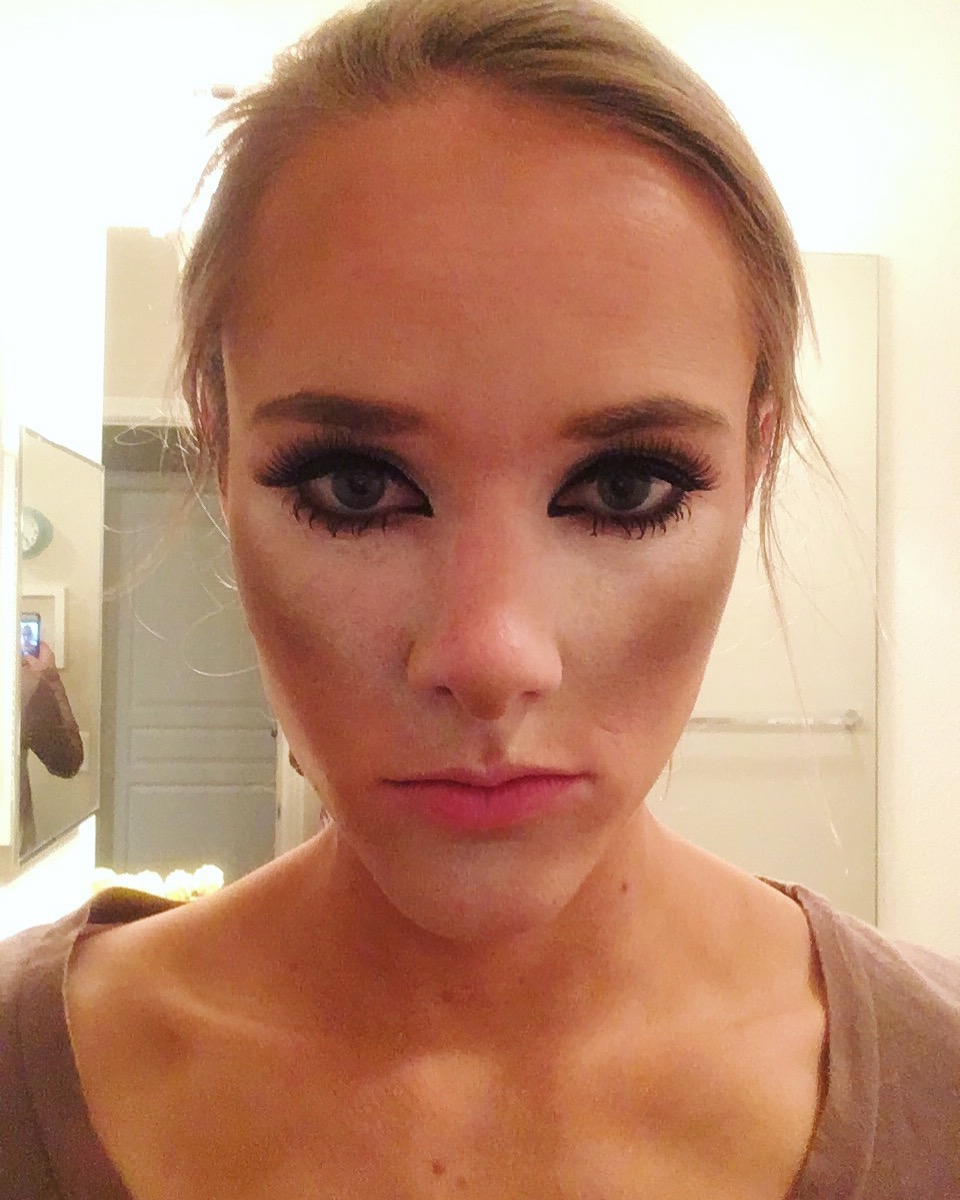
these can be challenging to put on at times, but i like this little tool that came with the kit. it has one end that you use to apply them and the other end can be used to press them down onto your eyelids while they are drying. genius! here’s how they came out:
after that, i started contouring my nose and working on my lips…
it was a little hard to get it even but i kept touching up…
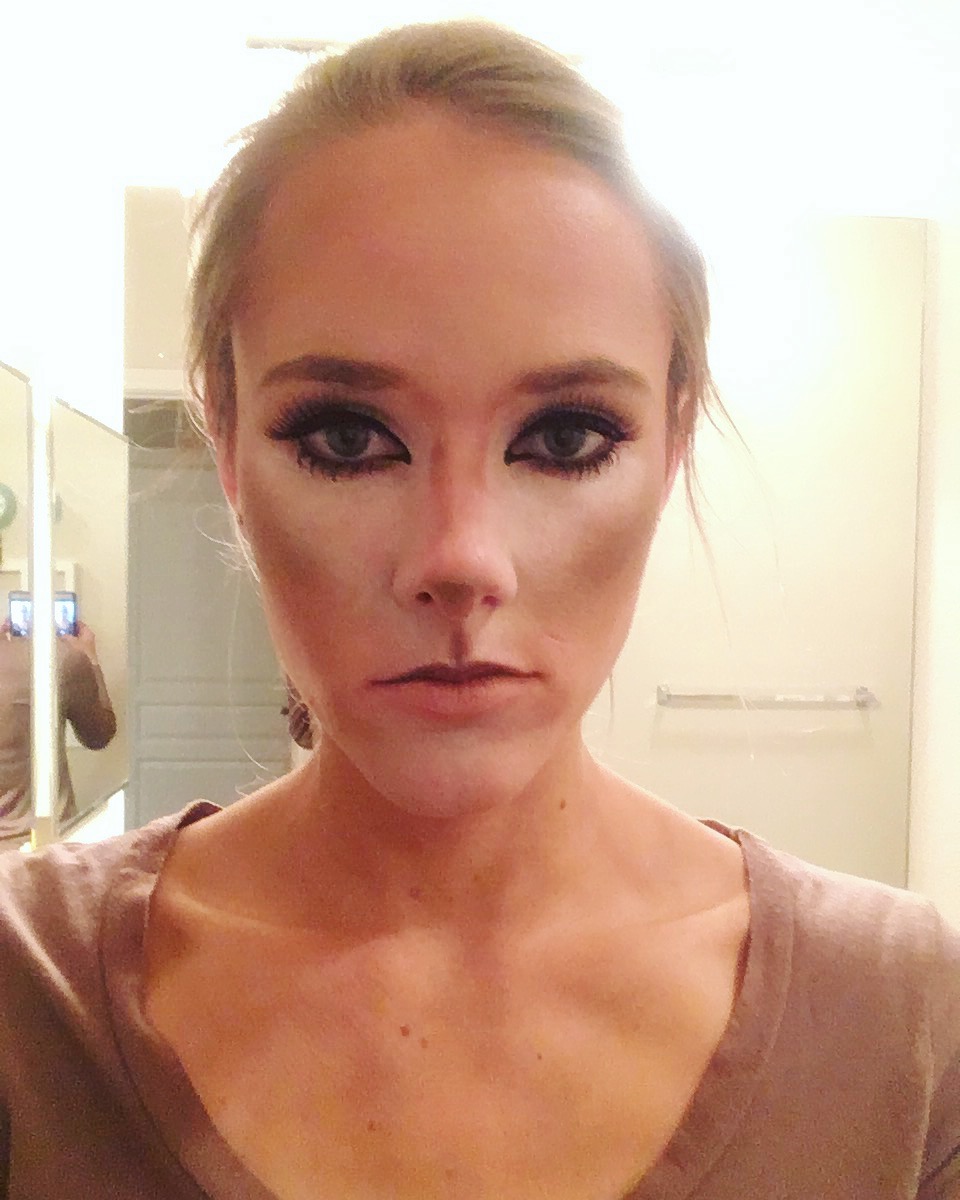
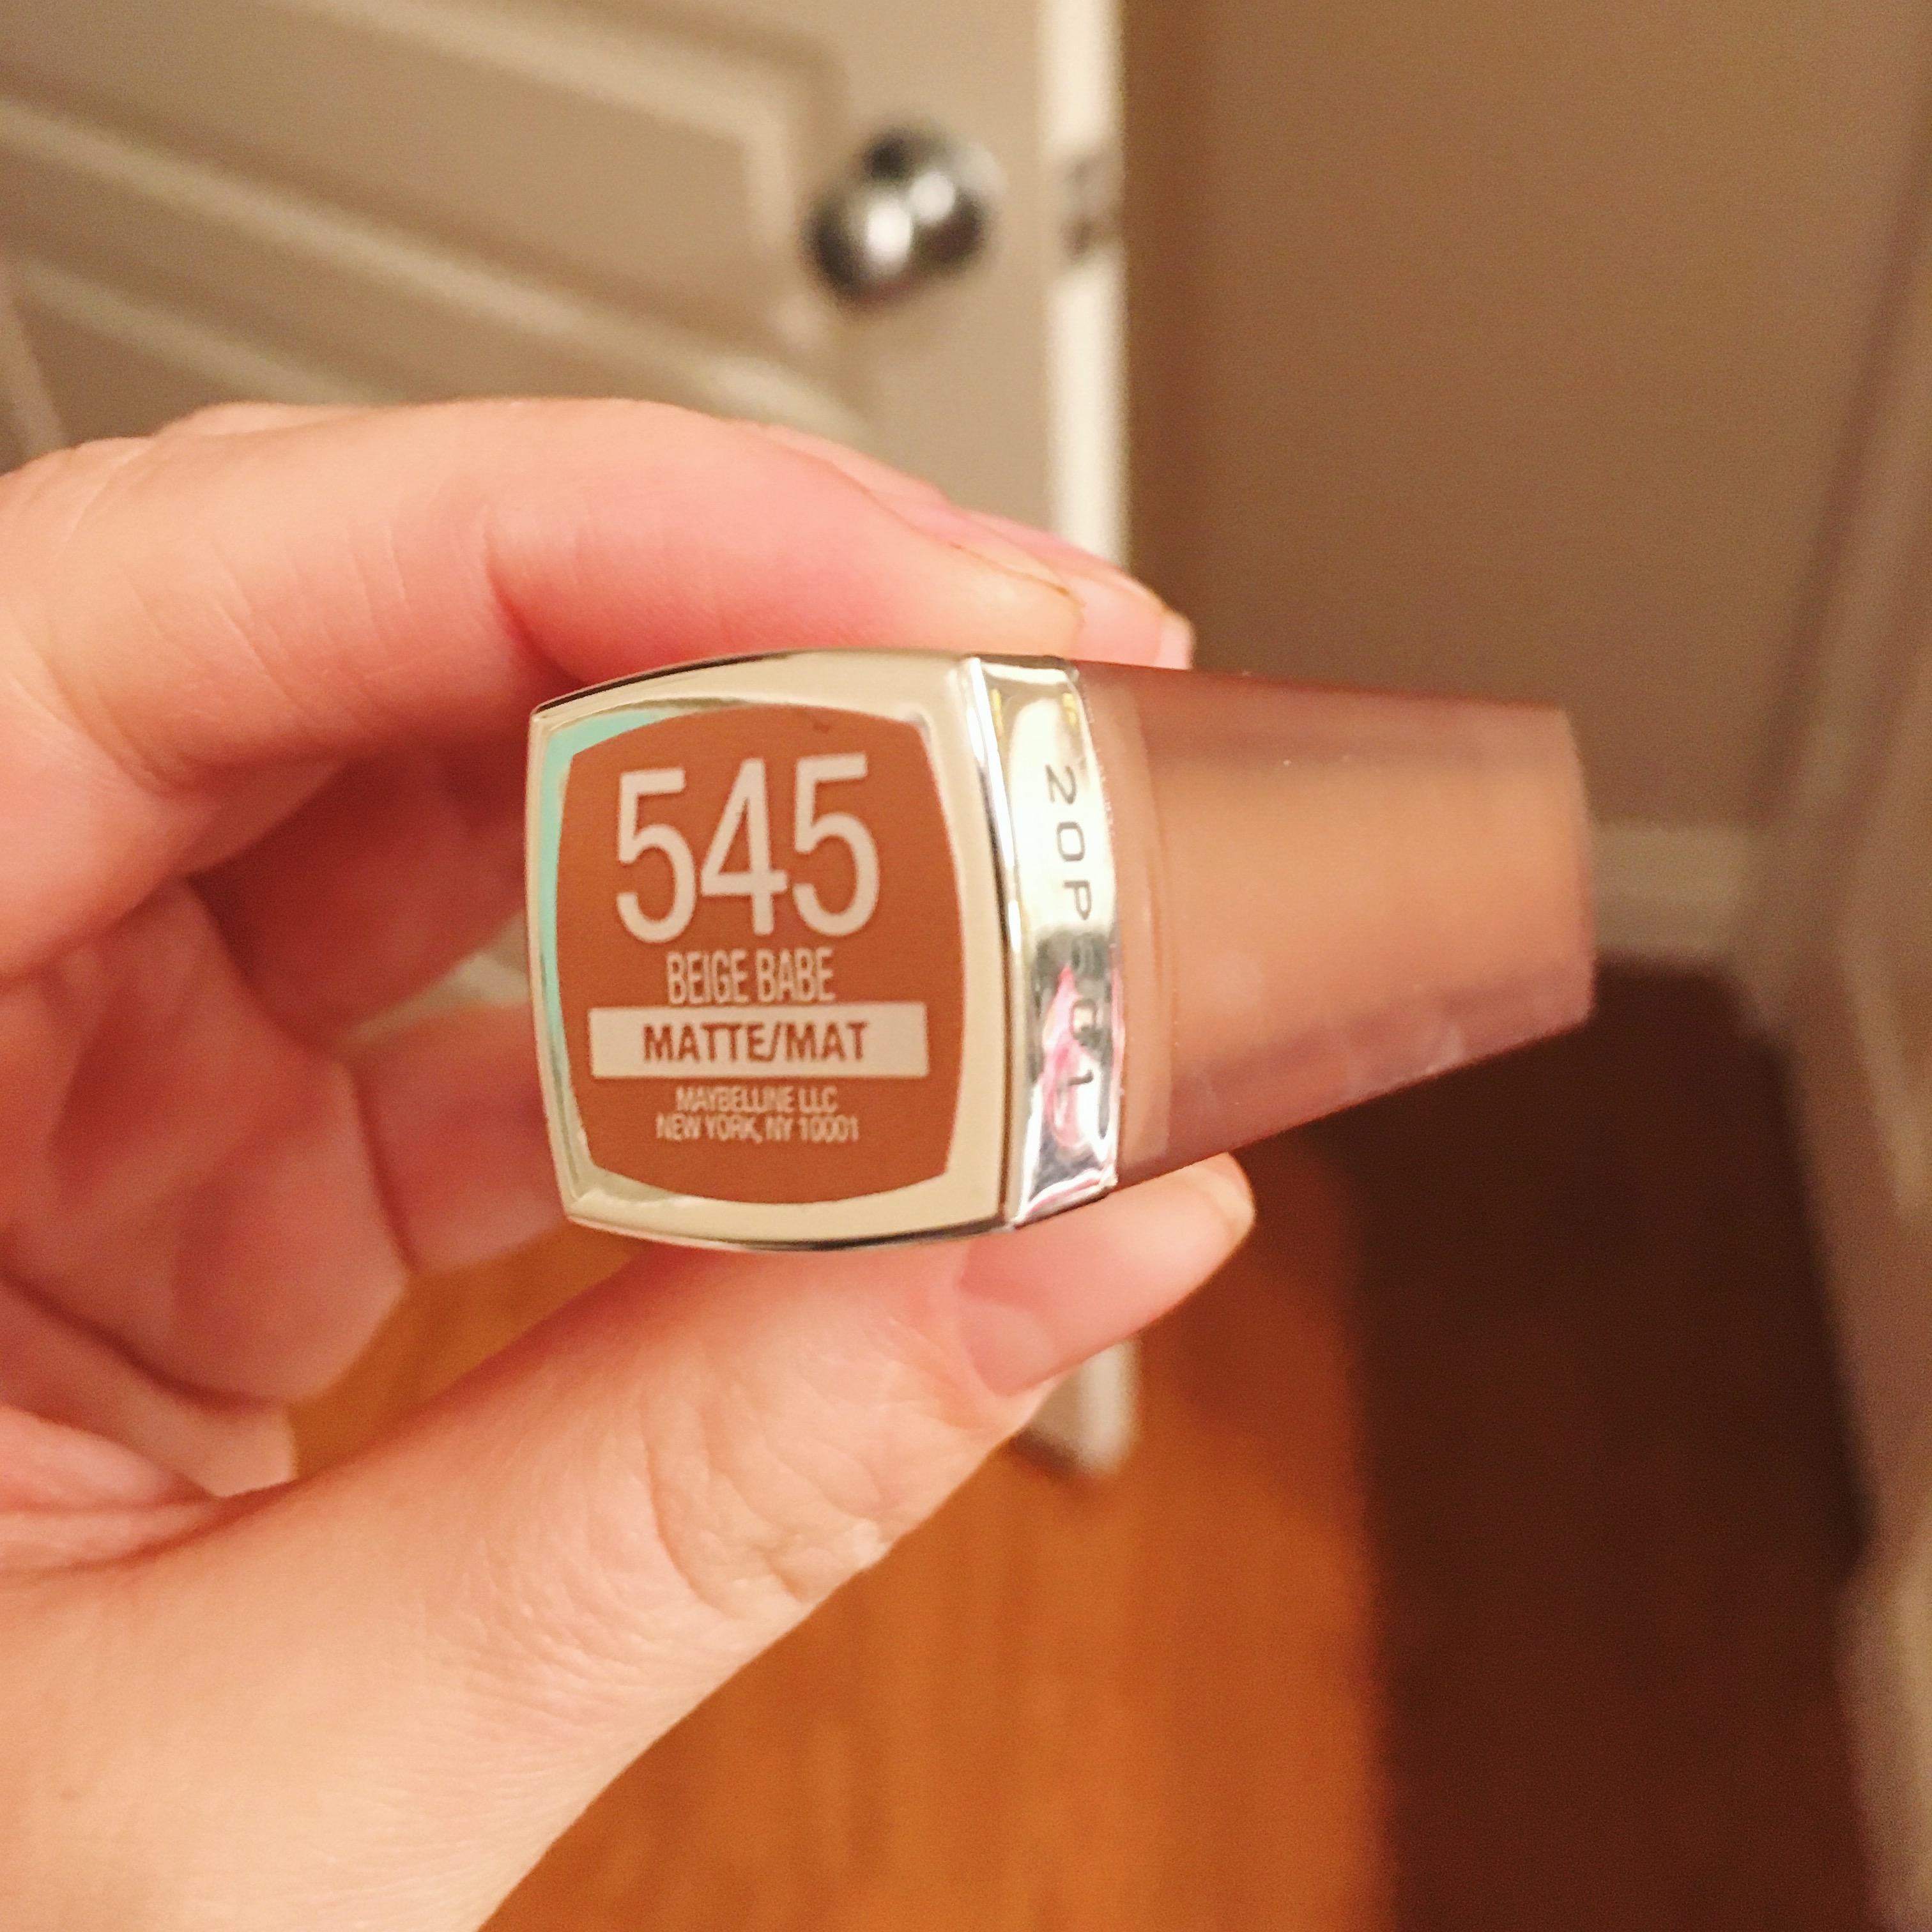
i realized that i forgot to buy lipliner, so i used the same thing on my top lip and nose that i used on my brows. probably wouldn’t recommend that though, because it didn’t stay on as well as lip liner would have. for the bottom lip, i used this:
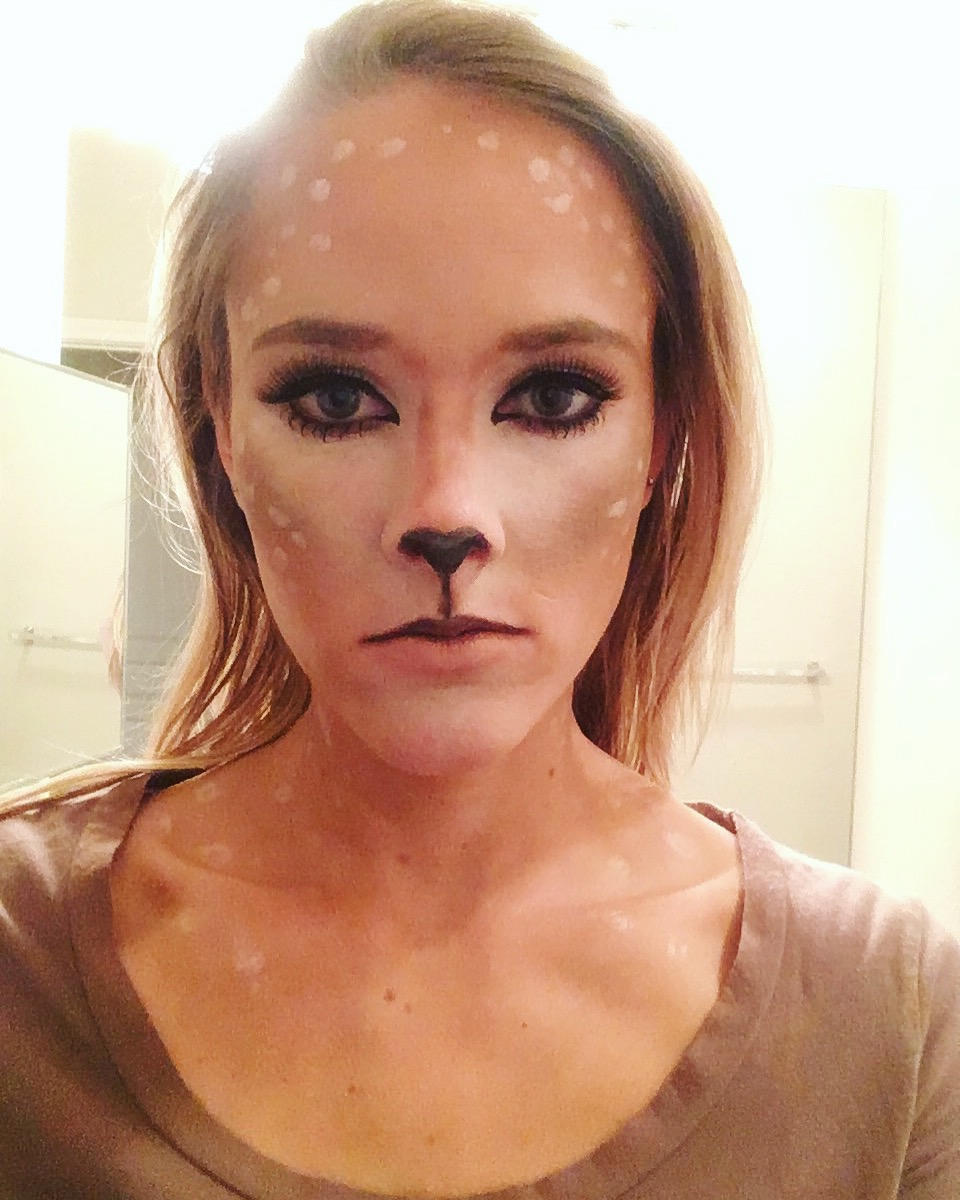
and finally, the cute little spots! i used this on my face, neck, and collarbone areas:
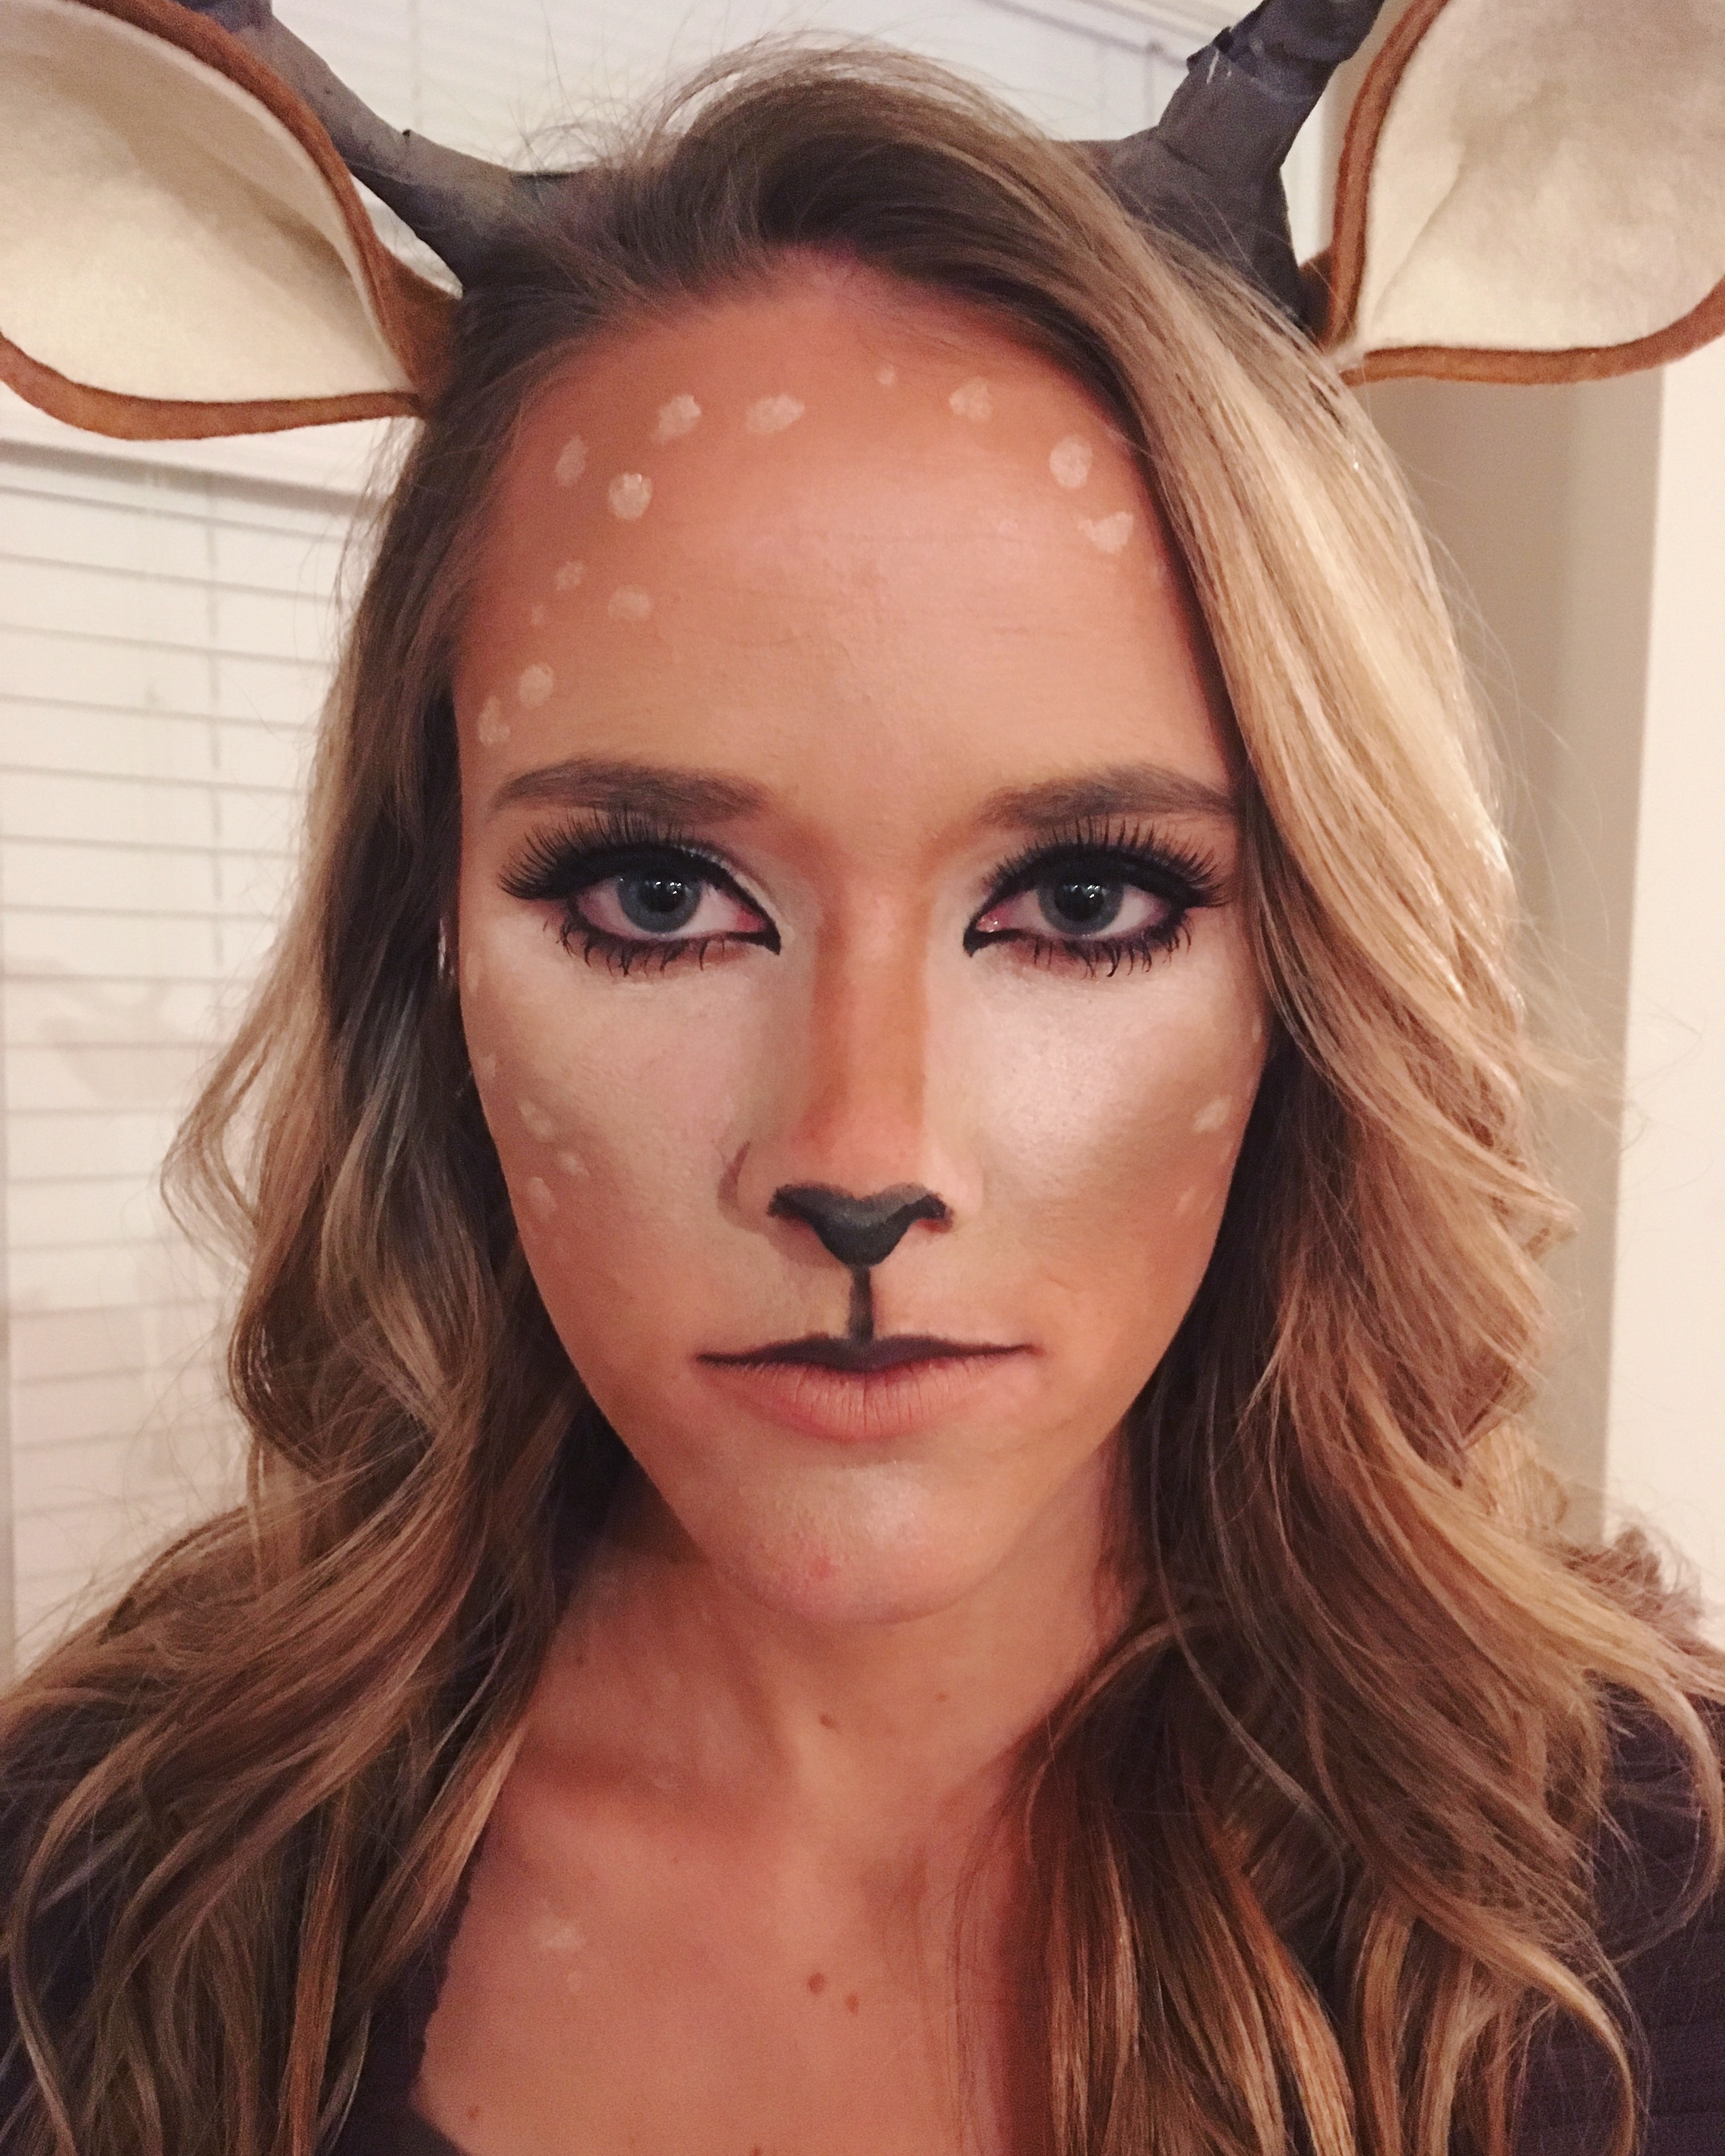
and with a final touch up with the shimmery powder highlight, i was ready to go!
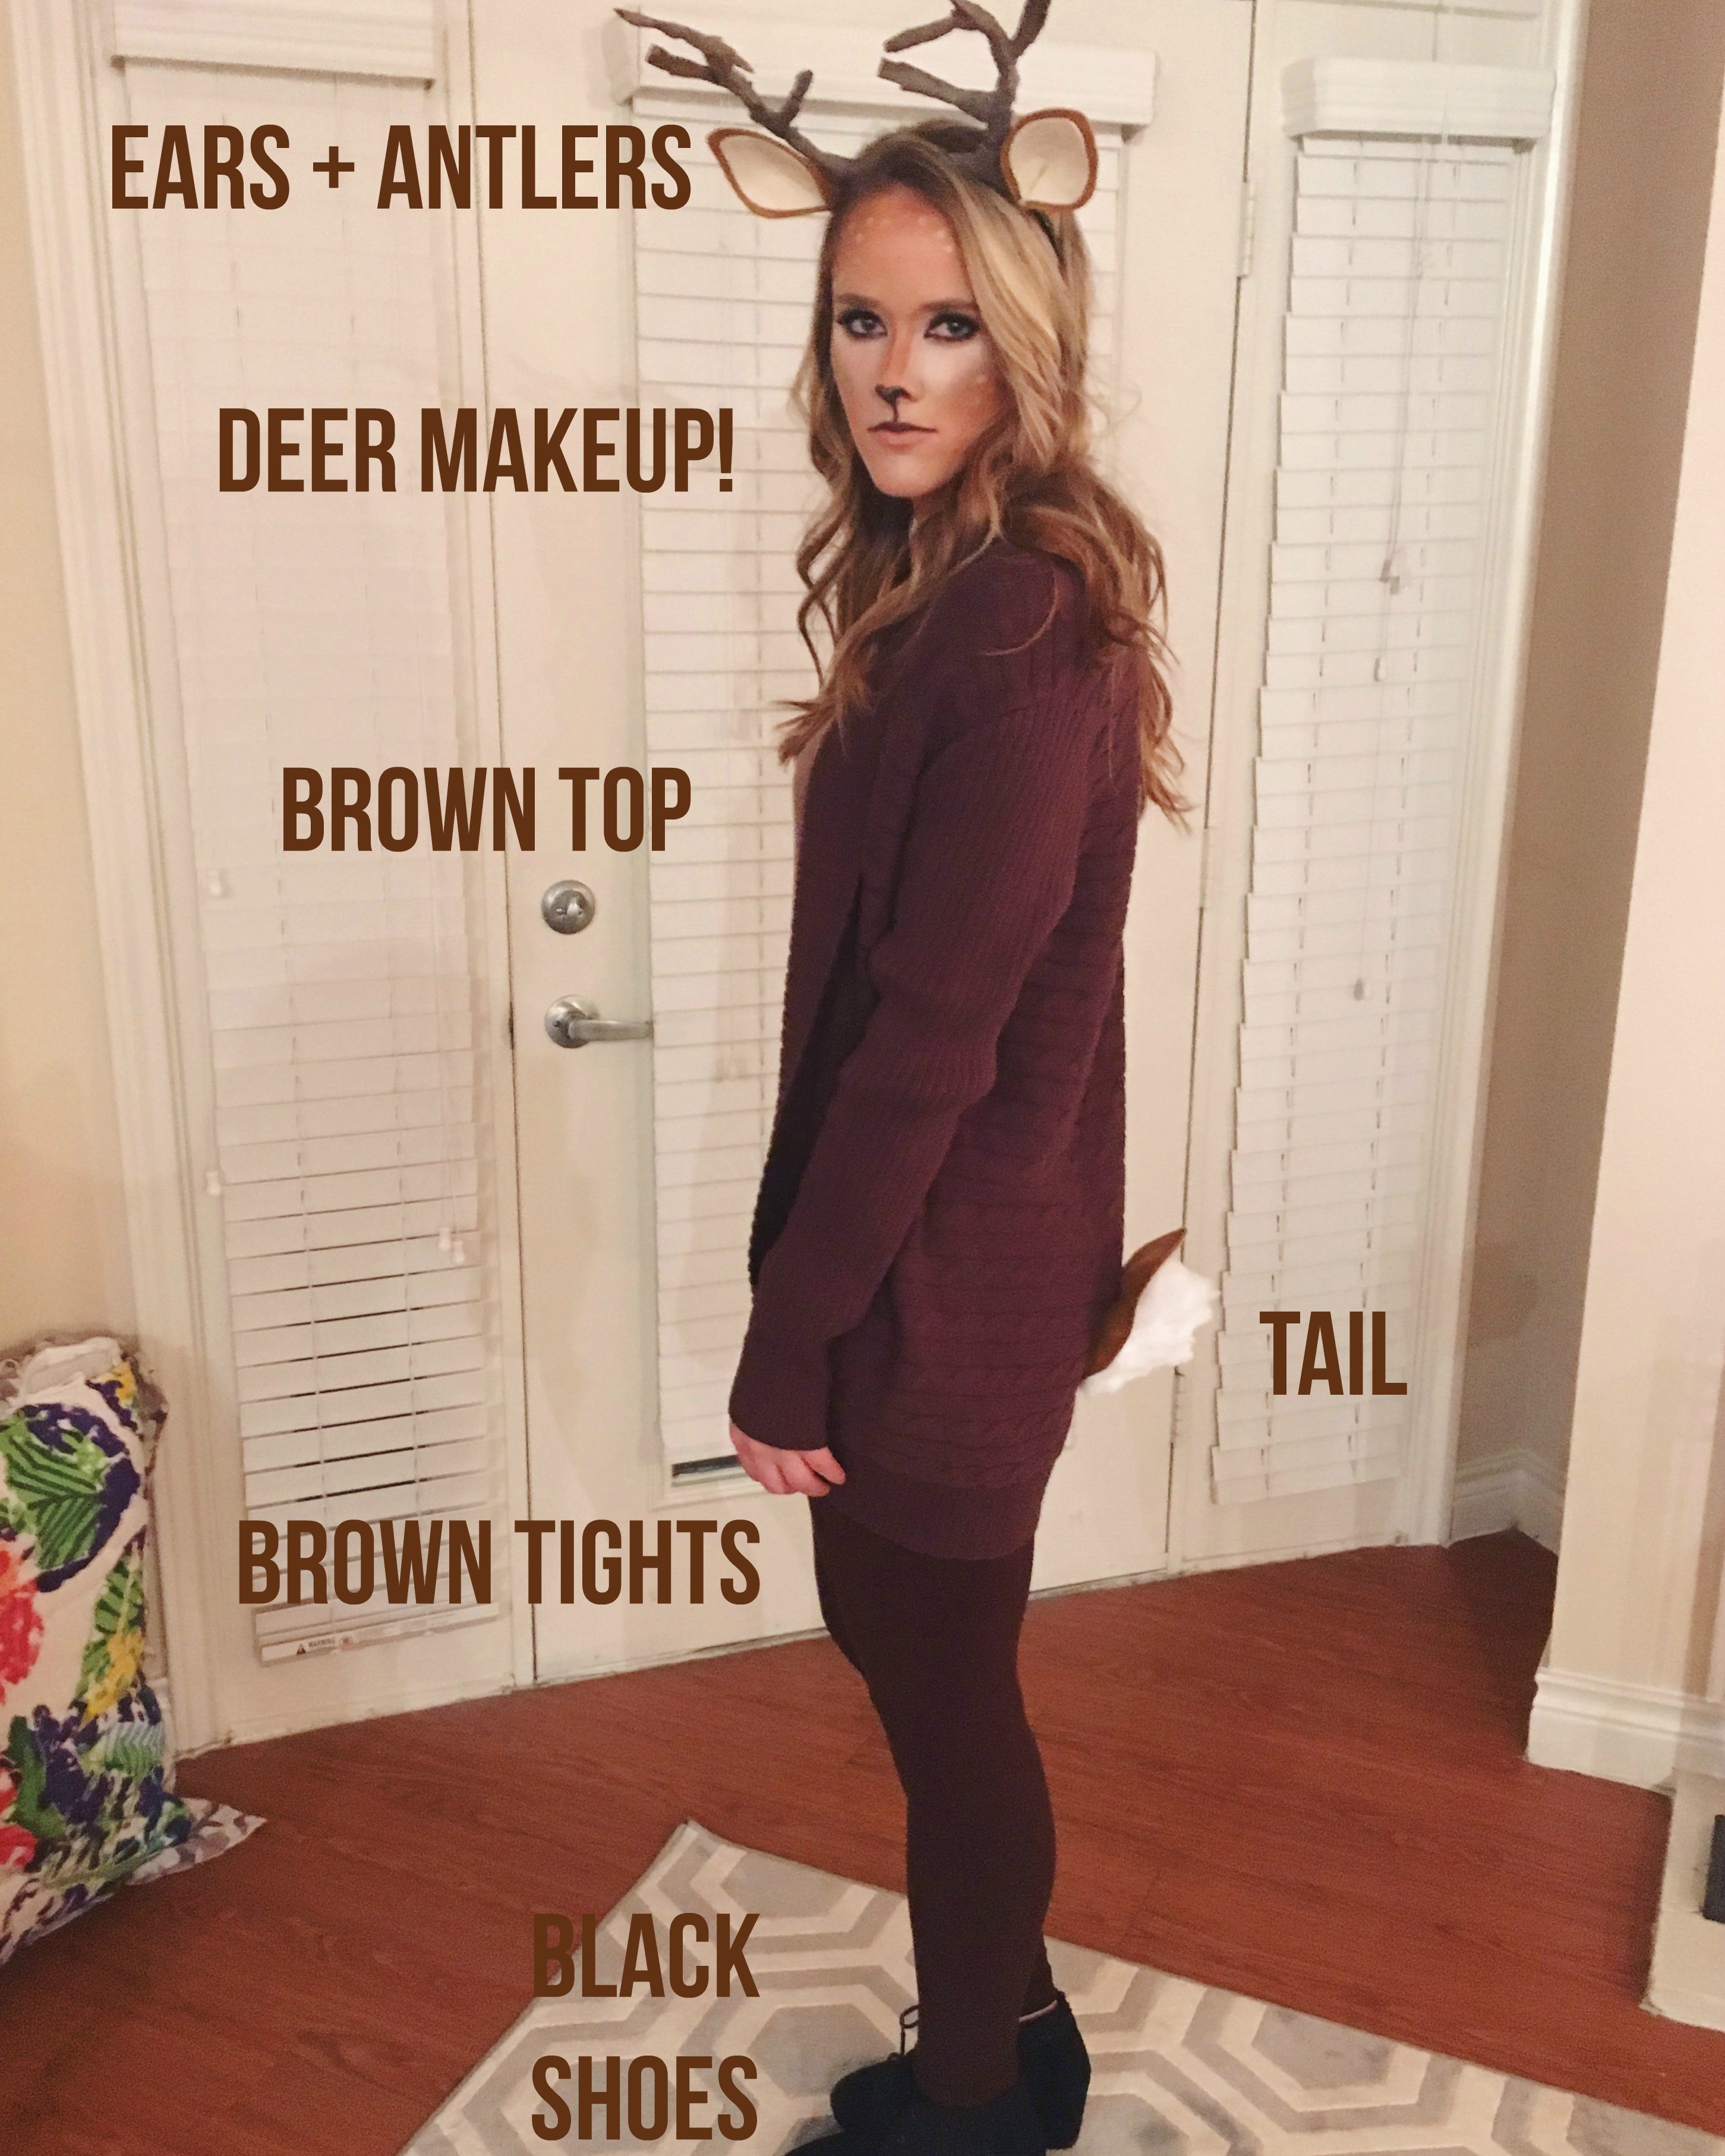
i got a brown shirt, brown leggings, and a brown sweater at goodwill, pinned the tail to the sweater, added a pair of black shoes [my “hooves”], the antlers/ears, and i was good to go! i also curled my hair just for fun.
here’s what the tail looked like on:
and another glimpse of the makeup up close:
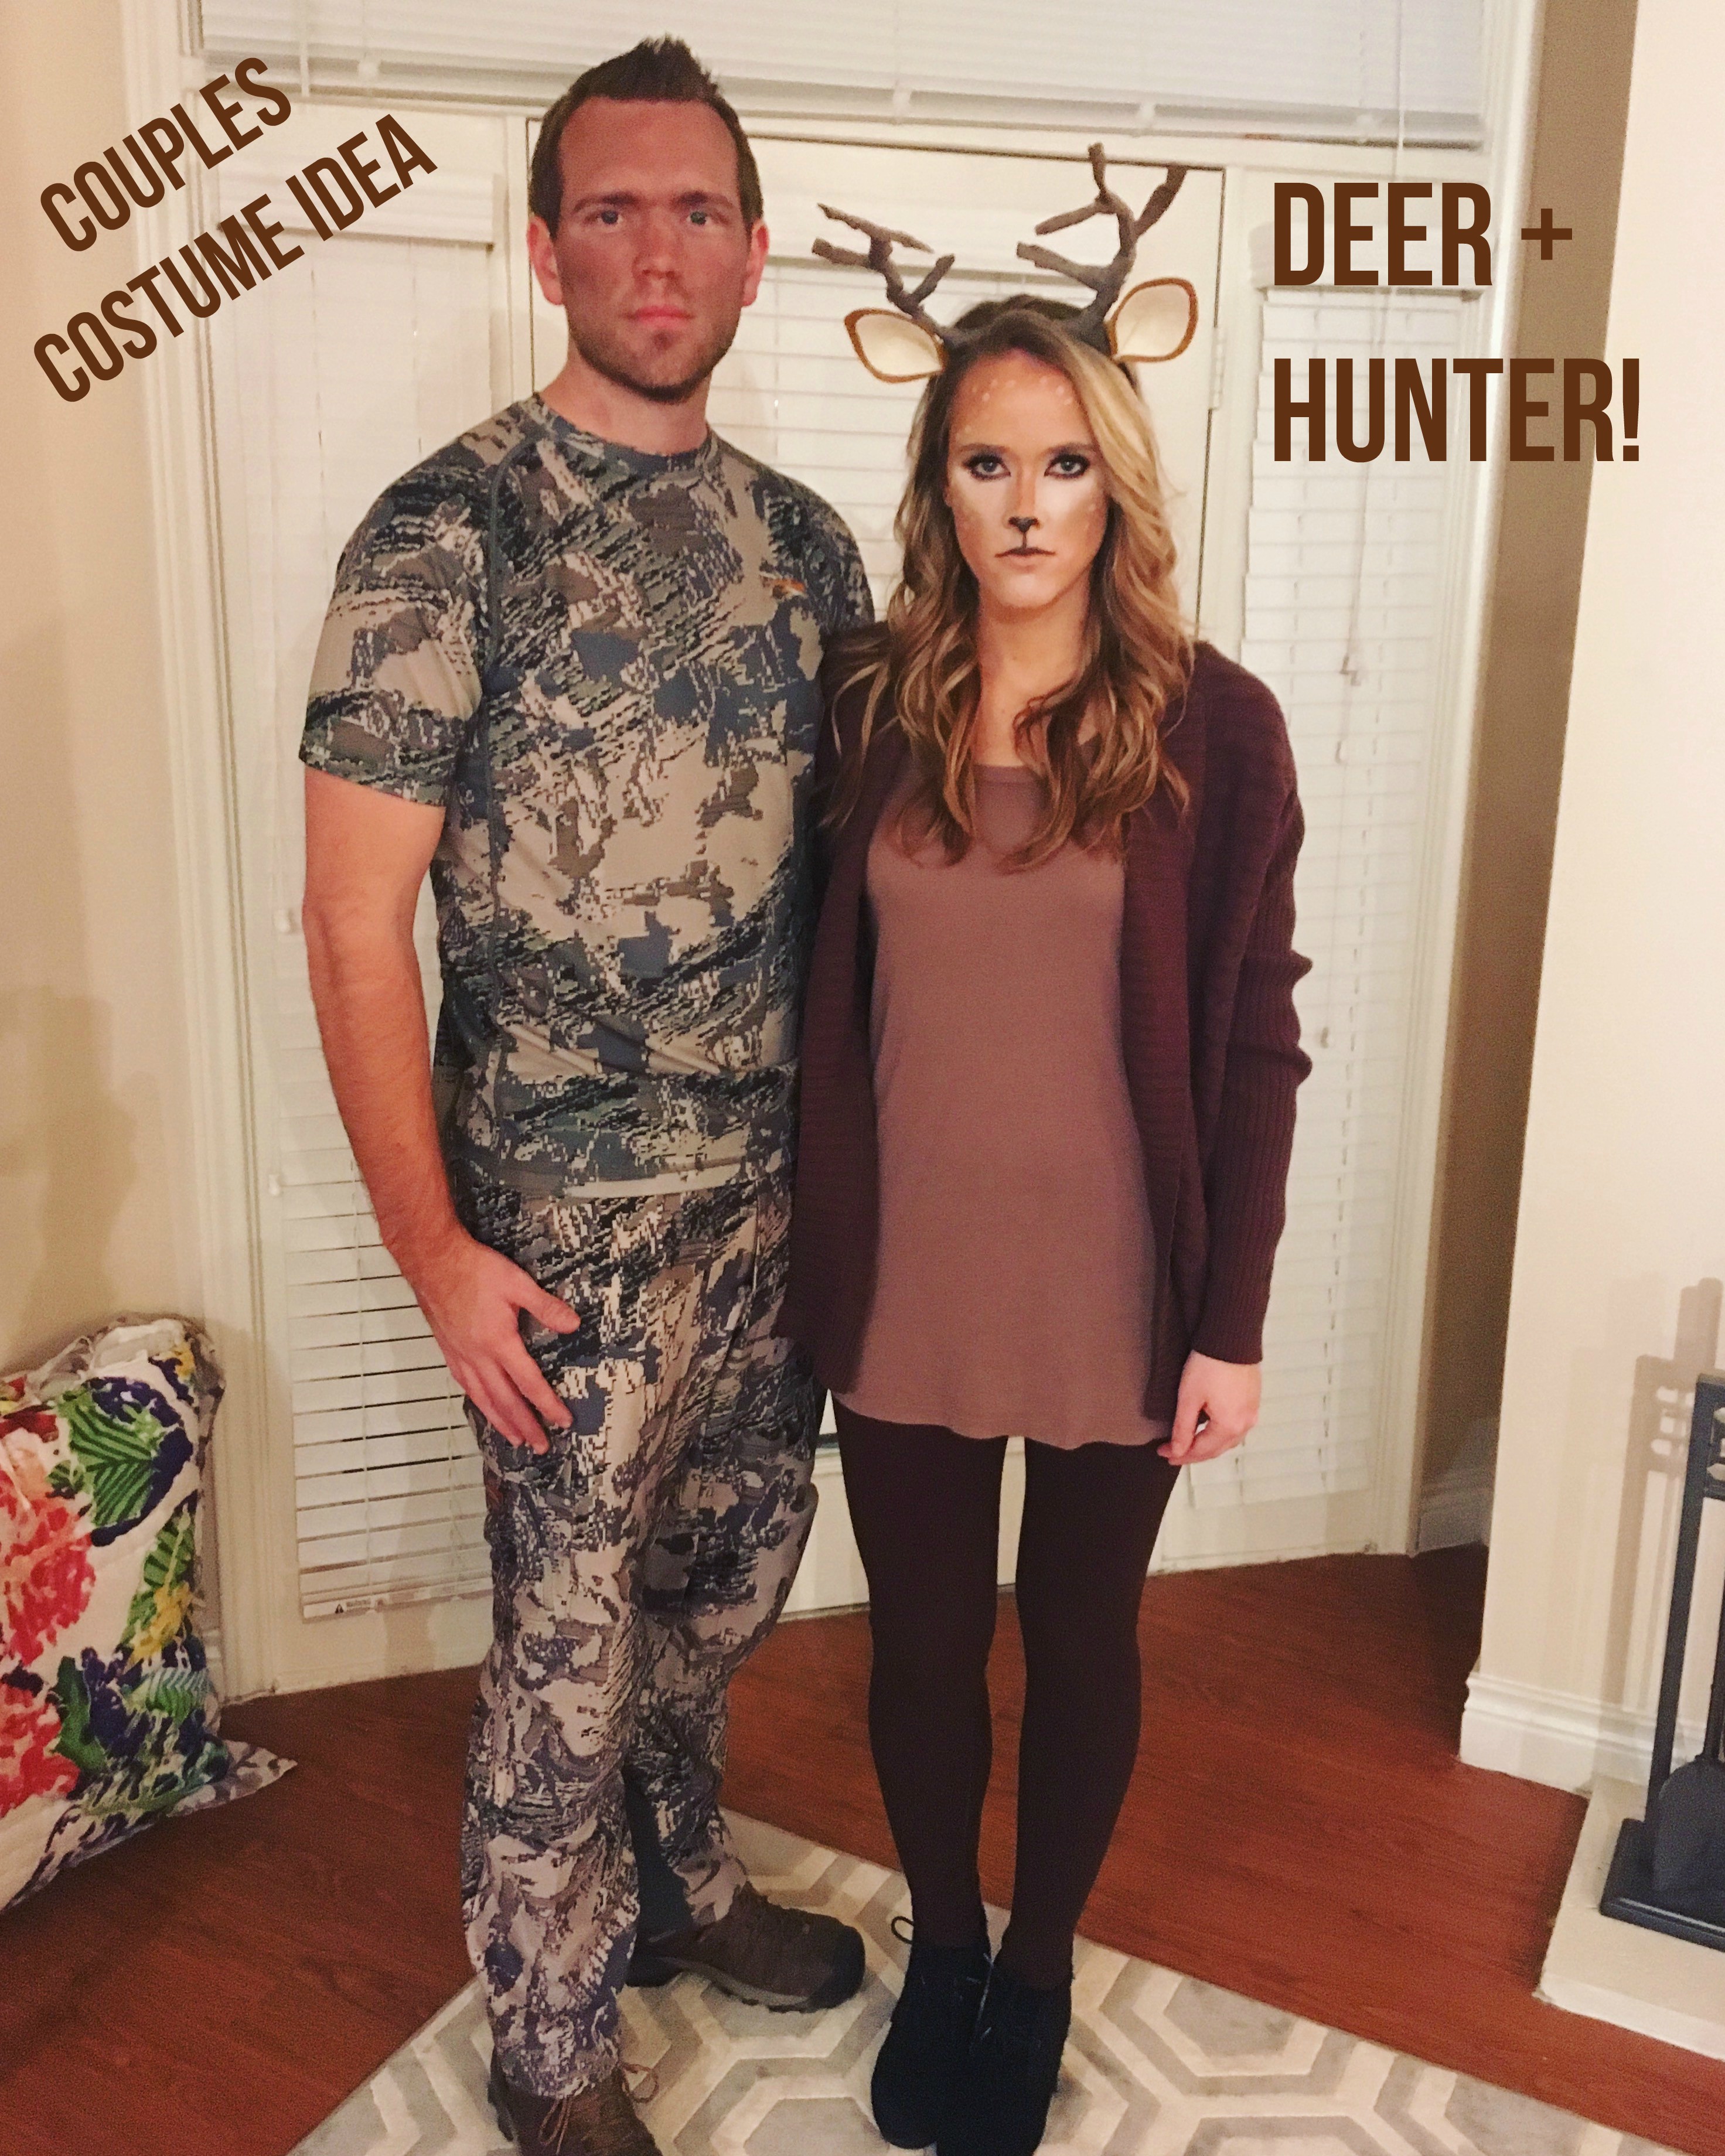
you can turn it into cute couples costumes if you add a handsome hunter!:
can’t go wrong with some sweet arm candy!! we had a fun time dressing up together. he called me “deer” the whole night which was sweet. ;) also, i really wanted to take a picture with him holding up my head like he’d just shot me, but he refused because he said that would imply that i was dead. haha.
hope you enjoy wearing this costume as much as i did! i didn’t even want to take it off at the end of the night! xoxo
